
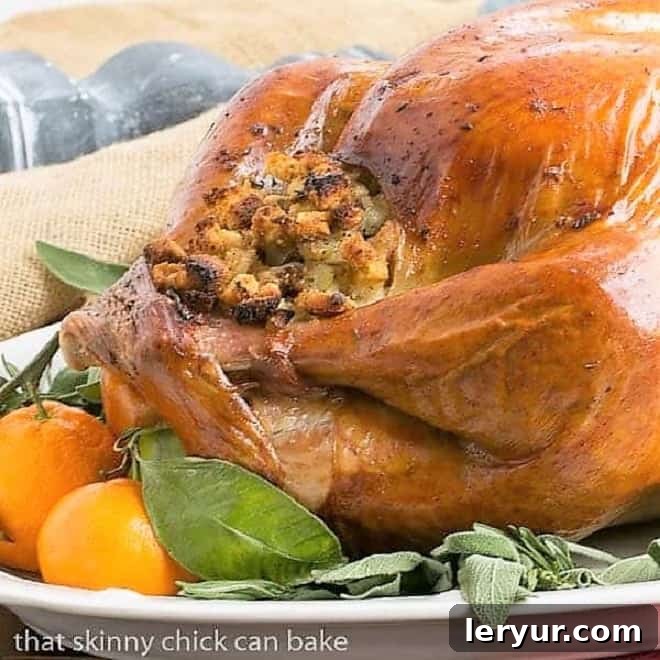
Welcome to the ultimate guide for preparing a truly unforgettable Thanksgiving centerpiece: a perfectly succulent and incredibly flavorful Dry Brined Turkey. If you’re tired of the soggy, often bland results, or the sheer mess associated with traditional wet brining, then this revolutionary dry brine turkey recipe is about to become your new holiday tradition. Prepare to achieve delicious, moist results with astonishingly crispy skin, all without the customary fuss!
This method isn’t just a recipe; it’s a culinary revelation. It’s my absolute go-to Thanksgiving Turkey Recipe, consistently delivering what I consider the Best Turkey Recipe I’ve encountered in three decades of holiday cooking. Its simplicity belies the deeply flavorful, tender meat and beautifully golden-brown, crackling skin it produces, making your holiday meal effortlessly spectacular.
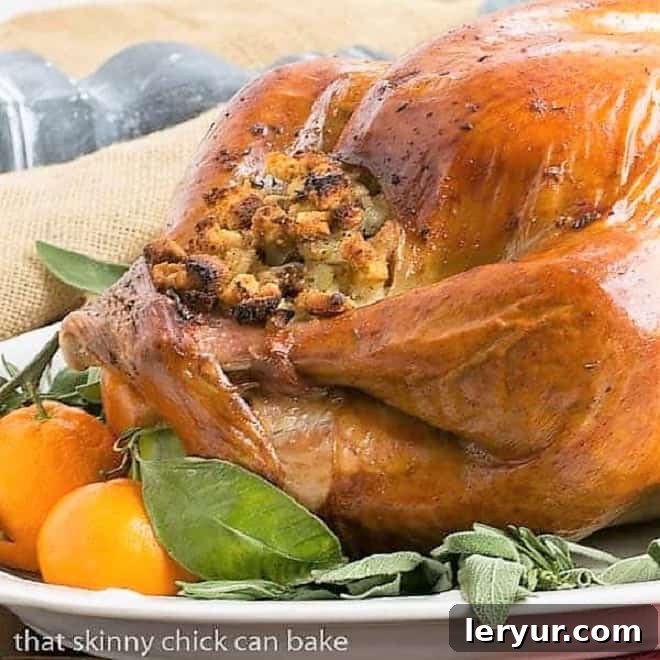
The Unbeatable Advantages of Dry Brining Your Turkey
Choosing a dry brine for your holiday turkey offers a host of benefits that will convert even the most skeptical cook. This method simplifies the brining process immensely while significantly enhancing the turkey’s flavor and texture.
- Effortless and Clean: Unlike wet brining, which involves submerging a large bird in a bulky, often leaky, liquid solution, dry brining is remarkably clean. You simply rub a flavorful salt and herb blend onto the turkey, eliminating the need for huge containers, messy liquid transfers, and potential spills.
- Deep Flavor Penetration: The salt and herb mixture is applied directly to the turkey’s skin, and over a few days in the refrigerator, the salt works its magic. Through osmosis, it draws moisture out of the turkey, dissolves the salt, and then reabsorbs the seasoned liquid back into the meat. This infuses the turkey meat with a perfect balance of savory flavor and exceptional moisture from the inside out.
- Superior Texture and Crispy Skin: Dry brining not only tenderizes the meat but also helps to dehydrate the skin slightly, leading to an incredibly crispy, golden-brown exterior once roasted. This contrasts sharply with wet-brined turkeys, which often struggle to achieve truly crisp skin due to their higher initial moisture content.
- Guaranteed Juiciness: The dry brine process helps the turkey’s muscle fibers retain moisture more effectively during cooking, ensuring that every slice of meat, from breast to thigh, remains wonderfully juicy and tender. You’ll never serve a dry turkey again!
Essential Ingredients for a Perfect Dry Brined Turkey
Achieving a stellar dry-brined turkey begins with selecting the right ingredients. Each component plays a crucial role in ensuring maximum flavor and moisture.
- Turkey: The Foundation of Your Feast
It is absolutely critical that your turkey has NOT been pre-brined or injected with a saline solution. Many commercial brands, like Butterball, come pre-brined, which means they already contain salt. Double brining by adding your own dry brine will result in an excessively salty and unpleasant bird. Always check the label carefully for any mention of “contains up to X% solution,” “enhanced,” or “pre-brined.” Opt for an all-natural, unbrined turkey for the best results. Ensure your turkey is completely thawed before beginning the brining process. - Kosher Salt: The Magic Ingredient
Do not substitute table salt for kosher salt in this recipe. Table salt’s fine granules mean it’s denser by volume and will be absorbed too quickly, leading to an overly salty taste. Kosher salt, with its larger, coarser crystals, allows for more even distribution and controlled absorption, ensuring optimal flavor without making the turkey too salty. Use approximately 1 tablespoon of kosher salt for every 5 pounds of turkey. - Dry Herbs: Aromatic Enhancement
The choice of herbs significantly contributes to the turkey’s overall flavor profile. Classic poultry herbs like rosemary, thyme, bay leaves, and sage are excellent choices. You can use a combination of 2-3 of your favorites. For dried herbs, a teaspoon or slightly more per herb is usually sufficient. If you prefer using fresh herbs, which offer a more vibrant aroma, increase the quantity to about 1 tablespoon per herb, as fresh herbs are less potent than their dried counterparts. Finely chopping or processing them with the salt will help them release their oils and distribute evenly. - Butter: For Golden Perfection and Flavor
Butter serves two key purposes in roasting your dry-brined turkey: it aids in achieving that coveted crispy, golden-brown skin and adds another layer of rich flavor. While salted butter can be used, unsalted butter works just as well, especially since the turkey is already seasoned by the brine. You’ll melt the butter for basting, helping to create a beautifully caramelized exterior.
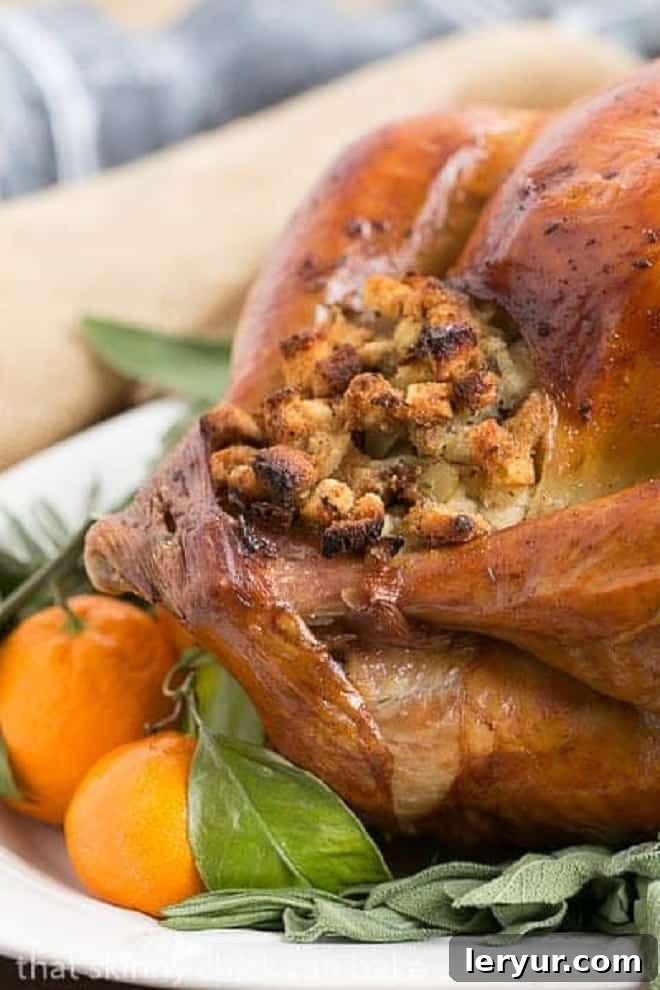
Mastering the Dry Brine Method: Expert Tips for Success
Achieving a truly spectacular dry-brined turkey isn’t complicated, but following a few expert tips will elevate your results from great to truly exceptional. This method minimizes effort while maximizing flavor and texture.
Timely Preparation and Thawing
Last year, a closed meat market meant I missed a full three days of brining, yet the turkey was still a showstopper—a testament to the power of dry brining! However, for optimal results, being well-prepared is key. My turkey still boasted crispy skin and moist, lightly salted meat, and a 22-pound bird vanished quickly thanks to two hungry sons in their twenties. This year, I’m planning ahead, and you should too!
PRO-Tip: Purchase your turkey early enough to allow ample time for it to fully thaw in the refrigerator. A general rule is 24 hours of thawing time for every 4-5 pounds of turkey. Aim to have your turkey completely defrosted and ready to begin the dry brining process by the Monday before Thanksgiving.
The Dry Brine Advantage: Less Mess, More Flavor
The process of dry brining is a true “piece of cake” compared to its wet counterpart. Imagine avoiding the arduous task of filling a huge brining bag with a sloshing solution of water, salt, sugar, and spices, then wrestling a slippery turkey into its bath and trying to fit it all into a cooler. And if you have a partner worried about nocturnal wildlife raiding the patio cooler, you can skip the elaborate critter-proofing setup entirely!
PRO-Tip: The fundamental principle of dry brining is allowing sufficient time for osmosis to occur. This means your turkey absolutely needs to be completely defrosted and ready to brine at least three days prior to when you plan to roast it.
Crafting the Perfect Herb and Salt Rub
Beyond kosher salt, the choice of herbs is crucial for imparting aromatic depth. Traditional favorites like sage, rosemary, bay leaves, and thyme are ideal. A good quality poultry seasoning blend can also be an excellent addition. Don’t feel pressured to use all of them; even a combination of 2 or 3 will yield fantastic results.
To ensure the herbs and salt are thoroughly combined and evenly distributed, I recommend pulsing them together in a food processor. This creates a fine, consistent rub that adheres well to the turkey’s skin, ensuring every part of the bird gets seasoned perfectly.
The Brining Process: Simple Steps for Deep Flavor
- Pat Dry Thoroughly: Before applying the rub, ensure your turkey is as dry as possible. Pat the skin generously with paper towels. This crucial step helps the salt adhere better and promotes incredibly crispy skin during roasting.
- Generous Application: Liberally coat your dried turkey with the salt and herb mixture. Pay attention to all surfaces – the breast, thighs, legs, and even lightly inside the cavity. Don’t be shy; the turkey will absorb only what it needs.
- Secure and Refrigerate: Place the seasoned turkey into a large, food-safe plastic brining bag (or a large roasting bag). Remove as much air as possible from the bag before sealing it with a twist tie. This creates a close contact environment for the brine to work efficiently. Position the bagged turkey on a rimmed baking sheet to catch any potential drips and place it in your refrigerator.
- Daily Rub and Flip: For the next three days, ensure the turkey gets its full brining treatment. Each day, gently rub the turkey through the bag to redistribute the salt and herb mixture. On the third day, flip the turkey so it rests breast-side down for the final hours.
- Food Safety First: When handling raw poultry, always prioritize food safety. Wash your hands thoroughly with soap and warm water before and after touching the turkey, and sanitize all surfaces that come into contact with it. Poultry is known to harbor bacteria like salmonella, so diligence is key.
The Critical Air Dry for Crispy Skin
After the three-day brining period, remove the turkey from the bag. The next crucial step for achieving ultra-crispy skin is to allow the turkey to air dry, uncovered, in the refrigerator for approximately 8-12 hours, or ideally overnight. This process further dehydrates the skin, ensuring it will render beautifully and become shatteringly crisp when roasted.
Roasting to Perfection
About an hour before you plan to roast, remove the turkey from the refrigerator and let it sit at room temperature. This helps the turkey cook more evenly. Place the turkey on a rack in a large roasting pan. Brush it generously with melted butter before placing it in the preheated oven.
Roast your dry-brined turkey until its internal temperature reaches 165°F (74°C) in both the thickest part of the breast and the inner thigh. Baste periodically with more melted butter, or a mixture of butter and white wine/chicken broth, as needed to maintain moisture and develop a rich color. If the skin is browning too quickly, loosely tent it with foil.
I’m genuinely exhausted just recounting the previous exploits of messy wet brining. If you haven’t yet discovered the magic of using a dry brine for your Thanksgiving Turkey Recipe, I assure you, you will be absolutely delighted with the exceptional results if you give this method a try.
P.S. For those who enjoy experimenting with different brining techniques, I also have a delicious Holiday Honey Brined Turkey Recipe that utilizes a wet brine method!
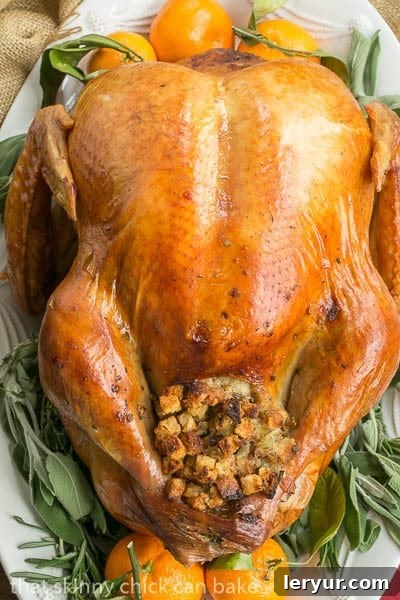
Creative Recipes for Turkey Leftovers: Don’t Let a Bite Go to Waste!
After enjoying your perfectly dry-brined turkey, you might find yourself with delicious leftovers. Here are some fantastic recipes to transform your holiday turkey into exciting new meals:
- 21 Easy Recipes for Turkey Leftovers from Foodie Crush
- Leftover Turkey Monte Cristo from Wishes and Dishes
- Turkey Nachos from The View from Great Island
- Turkey Tetrazzini
- Turkey Enchilada Casserole
- Turkey Soup Recipe
- Curried Turkey Salad
Frequently Asked Questions About Dry Brined Turkey
For years, I relied on wet brining, and while the mess and hassle felt justified by the results, discovering dry brining was a game-changer. Dry brining a turkey, though it requires a longer overall duration (mostly hands-off time), offers an easier, cleaner, and ultimately, a more flavorful alternative. It consistently produces incredibly moist turkey with remarkably crispy skin, often surpassing the results of a wet brine.
No, regular table salt is not suitable for dry brining. Its fine texture means it’s much denser by volume and dissolves very quickly, leading to an overpowering salty flavor that can ruin your turkey. For dry brining, it is essential to use coarse-grained Kosher Salt. The larger crystals of kosher salt allow for better control over the salting process and more even penetration into the meat, ensuring a perfectly seasoned and not excessively salty result.
To successfully dry brine a turkey, you’ll need a few key items. First and foremost, an unbrined turkey is crucial – avoid brands that are pre-injected or enhanced with solutions, like Butterball. You’ll also need a good quantity of coarse kosher salt, a selection of dry herbs such as sage, rosemary, thyme, or a quality poultry seasoning blend. Finally, a large, food-safe turkey brining bag is indispensable for keeping the turkey properly sealed and contained during the brining period.
The optimal timeline for dry brining a turkey is a total of three days. The general rule of thumb is to brine the turkey covered in a bag for the first two days, allowing the salt and herbs to deeply penetrate the meat. For the final day, remove the turkey from the bag and leave it uncovered in the refrigerator to air dry. This air-drying phase is vital for achieving that coveted crispy skin during roasting. Always ensure you allocate enough time for this entire three-day process.
Yes, you can absolutely stuff a dry-brined turkey! Despite some advice to the contrary, stuffing is a wonderful addition. Unlike wet-brined turkeys which might require thorough rinsing to prevent overly salty stuffing, dry-brined turkeys present less risk. However, it’s still a good practice to give the turkey’s cavity a quick, light rinse before stuffing to remove any residual salt from the inner surfaces, ensuring your stuffing maintains its intended flavor profile.
There is no need to rinse your dry-brined turkey before roasting, and in fact, it’s generally advised against. Rinsing can wash away some of the flavorful brining mixture from the skin, and more importantly, it will prevent the skin from achieving its desired crispiness. The skin will be flavorful and slightly salty, but typically not overly so. Additionally, rinsing poultry significantly increases the risk of cross-contaminating your sink and kitchen counters with harmful bacteria like salmonella, so it’s best to avoid this step.
Roasting a dry-brined turkey follows a similar process to roasting any other turkey, with the added benefit of its already enhanced flavor and moisture. Place your unrinsed, air-dried turkey on a rack within a large roasting pan. Begin roasting in a preheated oven, often starting at a higher temperature for a short period to achieve browning, then reducing it to a moderate temperature. Baste periodically with melted butter (or a mix of butter and wine/broth) as needed to promote golden-brown skin. Continue roasting until the turkey reaches the USDA’s recommended internal temperature for doneness.
The most accurate way to determine if your turkey is fully cooked is by using a reliable meat thermometer. According to experts like Butterball, the ideal internal temperatures are 180°F (82°C) in the thickest part of the thigh, 170°F (77°C) in the thickest part of the breast, and if you’ve stuffed your turkey, 165°F (74°C) in the center of the stuffing. Ensure the thermometer doesn’t touch any bones, as bones heat up faster than meat. While less accurate, you can also observe the turkey juices; they should run clear, not pink or reddish, when you pierce the thickest part of the thigh. As a general guide, consult your turkey’s packaging or online resources for recommended cooking times based on its weight, but always rely on temperature readings for safety and doneness. Begin checking about 30 minutes before the estimated cooking time to avoid overcooking.
Resting your roasted turkey is a critical step that should never be skipped. Once the turkey is removed from the oven, immediately cover it loosely with aluminum foil and let it rest for at least 30 minutes, or even up to an hour for larger birds. This resting period allows the muscle fibers, which contract and tighten during cooking, to relax. As they relax, they reabsorb the flavorful internal juices that have migrated to the center of the bird, ensuring that your turkey meat remains incredibly juicy and tender when carved. Carving too soon will result in much of that precious moisture running out onto your cutting board.
Complement Your Meal: Favorite Thanksgiving Side Dishes & Desserts
Round out your holiday feast with these delectable side dishes and desserts that pair perfectly with your magnificent dry-brined turkey:
- Ciabatta Stuffing Recipe
- Cranberry Fluff
- Spinach Souffle
- The Best Sweet Potato Casserole
- Best Thanksgiving Dessert Recipes
- 25+ Thanksgiving Recipes
Stay in touch through social media @ Instagram, Facebook, and Pinterest. Don’t forget to tag me when you try one of my recipes! And if you love the results, please give it a 5-star rating in the recipe card.
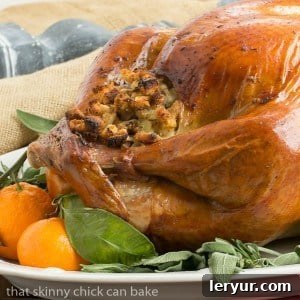
Dry-Brined Turkey Recipe
10 minutes
3 hours
3 hours 10 minutes
12
This winning recipe from the L.A. Times will make for a juicy and crisp turkey without the mess of traditional brining.
Ingredients
- 16 pound turkey, defrosted, giblets removed (just adjust salt if using a different weight turkey)
- 3 tablespoons kosher salt (1 tablespoon for each 5 pounds of turkey)
- Herbs, optional (I used rosemary, thyme and bay leaves)
- 6 tablespoons melted butter, to baste
Instructions
- Rinse and dry turkey. In a food processor, process salt plus about a tablespoon of any herbs you’d like to use (rosemary, thyme, bay).
- Lightly salt the inside of the turkey, then sprinkle the breast side with a bit more than a tablespoon of the herbed salt, and each side with a bit less than a tablespoon of salt. Place the turkey in an oven bag and remove the air before closing it with a twist tie. Place on rimmed baking sheet.
- Refrigerate for 3 days, starting breast side up, rubbing the skin through the bag once a day. Flip on day 3, then remove from bag to let skin dry 8 hours before roasting.
- Let sit at room temperature for one hour before roasting. Place on rack in roasting pan.
- Preheat oven to 425º, brush with melted butter and roast for 30 minutes. Decrease oven temperature to 325º, cover top with foil if browning too fast and cook till turkey reaches desired temperature, basting as needed. May add some wine and chicken broth to bottom of roaster as needed.
Cook time varies depending on size of turkey.
Notes
Do not use a turkey that has already been brined or injected (like a Butterball) or your results will be too salty.
Recommended Products
As an Amazon Associate and member of other affiliate programs, I earn from qualifying purchases.
- Turkey Baster
- Turkey Brining Bags
- Roasting Pan
Nutrition Information:
Yield:
12
Serving Size:
1
Amount Per Serving:
Calories: 423Total Fat: 20gSaturated Fat: 6gTrans Fat: 1gUnsaturated Fat: 31gCholesterol: 196mgSodium: 722mgCarbohydrates: 0gFiber: 0gSugar: 0gProtein: 58g
Data from the LA Times recipe
HOW MUCH DID YOU LOVE THIS RECIPE?
Please leave a comment on the blog or share a photo on Pinterest