
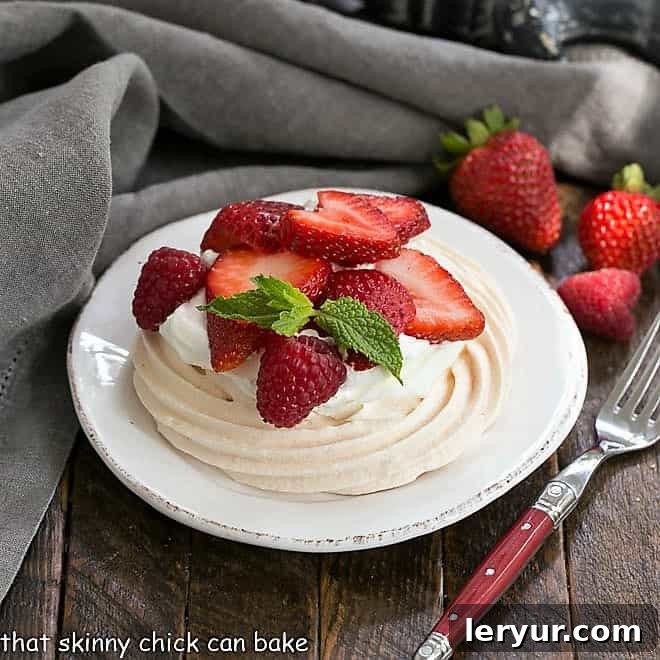
Welcome to the enchanting world of Mini Pavlovas, where elegance meets effortless baking in a delightful symphony of textures and flavors. If you’re searching for a dessert that’s as impressive to behold as it is to savor, these individual meringue creations, generously topped with sweetened whipped cream and an abundance of fresh fruit, are an absolute revelation. Each dainty pavlova offers a perfect portion of pure bliss, promising a melt-in-your-mouth experience that leaves a lasting impression. What’s more, these ethereal delights are naturally gluten-free, making them an inclusive choice for almost any gathering.
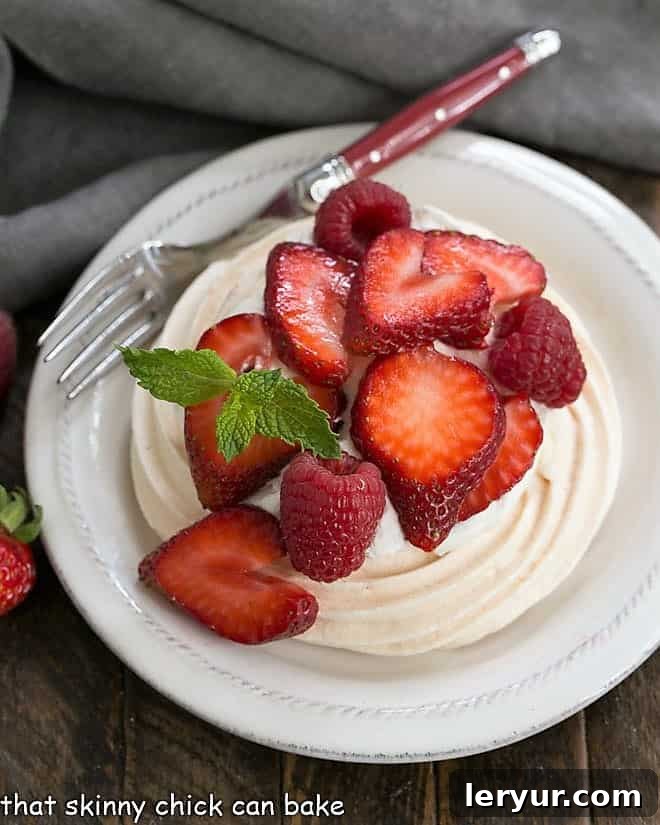
Why These Mini Pavlovas Are an Absolute Must-Make
There’s something inherently charming about a dessert tailored for individuals, and these mini pavlovas perfectly capture that sentiment. I recall one summer afternoon, friends expressed an interest in learning the art of pavlova making. Opting for smaller, individual portions transformed the demonstration into a personalized culinary adventure, ensuring everyone had their own pristine dessert to enjoy. While a simple Ziploc bag with a snipped corner worked perfectly for piping back then, using an open star tip for this batch elevated the appearance to a professional standard. Regardless of the piping method, the exquisite taste remains consistently divine!
- Effortless Elegance for Every Guest: Guests and family alike adore having their own elegant, individual dessert. It adds a touch of sophistication to any meal, making each person feel special without the fuss of cutting and serving a large cake. The individual presentation is simply unmatched.
- A Feast for the Eyes and Palate: Beyond their undeniable beauty, these mini pavlovas are an absolute delight for the taste buds. The contrast between the crisp, delicate meringue shell and the soft, marshmallow-like interior, coupled with creamy whipped topping and vibrant fruit, creates a harmonious texture and flavor profile that’s truly irresistible.
- Infinitely Customizable for Any Season or Craving: One of the greatest joys of making mini pavlovas is their incredible adaptability. The base of sweetened whipped cream can be transformed with an array of toppings to suit any season, occasion, or personal preference. Imagine them adorned with zesty lemon curd for a tangy kick, a rich fudge sauce for chocolate lovers, a medley of other luscious berries, tender fresh peach slices, delicately sautéed apples, or truly, anything your heart desires! This versatility ensures your pavlovas are always fresh and exciting.
- Naturally Gluten-Free: For those with dietary considerations, particularly gluten intolerance, pavlova offers a wonderful, naturally gluten-free dessert option. Made primarily from egg whites and sugar, it bypasses the need for flour, making it a safe and delicious choice for everyone at the table.
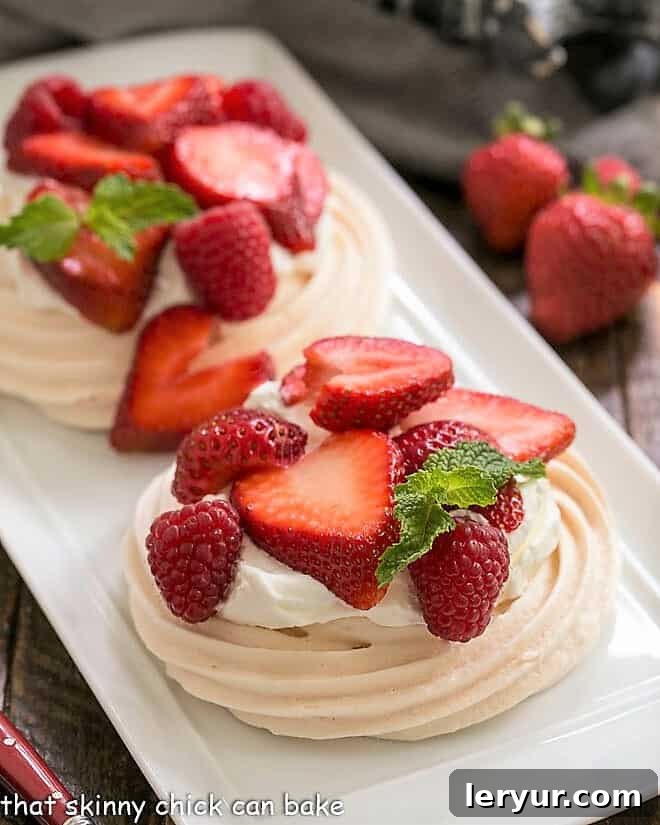
Mastering the Art of Mini Pavlovas: A Step-by-Step Guide
Crafting these exquisite mini pavlovas is a rewarding experience, leading to a dessert that looks and tastes like it came from a gourmet patisserie. While the process may seem delicate, with a few key steps and a little patience, you’ll achieve perfect results every time. Let’s walk through the essential stages of bringing these beauties to life.
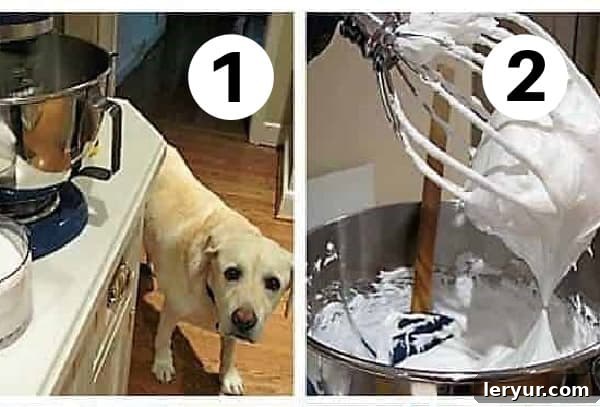
- Preparation is Key: Begin by gathering all your ingredients. Ensure your egg whites are separated from the yolks (aim for no yolk residue!), and bring them to room temperature for optimal whipping. Prepare your stand mixer or hand mixer with clean beaters, and line your baking sheets with parchment paper. This initial setup ensures a smooth baking process.
- Whip Egg Whites to Perfection: In your meticulously clean mixing bowl, begin beating the egg whites. Once they start to foam, gradually add the sugar, a little at a time. Continue to beat until the mixture transforms into a glossy, billowy meringue, forming stiff, shiny peaks that hold their shape beautifully. The meringue should be smooth and the sugar fully dissolved.
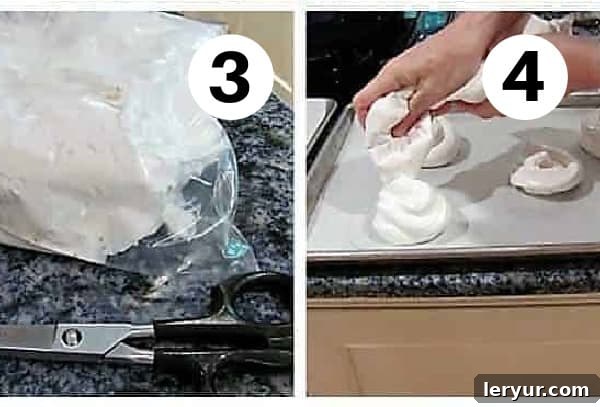
- Pipe Your Meringue Bases: Carefully scrape the fluffy meringue batter into a piping bag fitted with an M1 star tip (or a similar open star tip) for an elegant fluted edge. If you don’t have a piping bag, a large Ziploc bag with one corner snipped off will work just as well, though the finish will be simpler. Pipe uniform rounds of batter onto your prepared baking sheet, leaving some space between each for even baking.
- Create the Perfect Well: Once your meringue rounds are piped, gently use the back of a spoon to create a slight indentation or “well” in the centers of each pavlova. This hollow will serve as the perfect cup for holding all your delicious toppings once baked and cooled, ensuring a generous filling with every bite.
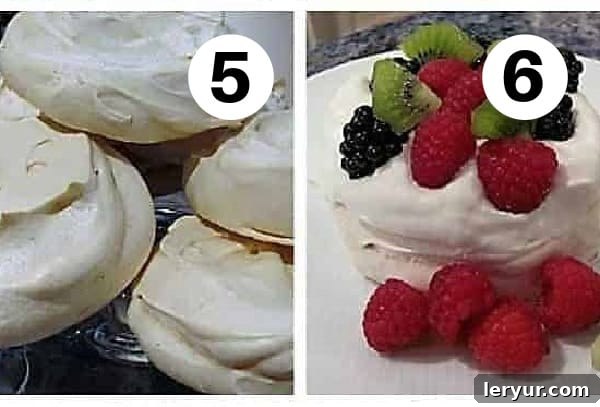
- Bake and Cool Slowly: Bake the pavlovas at the specified low temperature for the directed time. The key to a perfect pavlova is a slow bake followed by a gentle cool-down inside the turned-off oven. This gradual process prevents cracking and ensures the desired crisp exterior and soft, chewy interior. Do not open the oven door during baking or cooling!
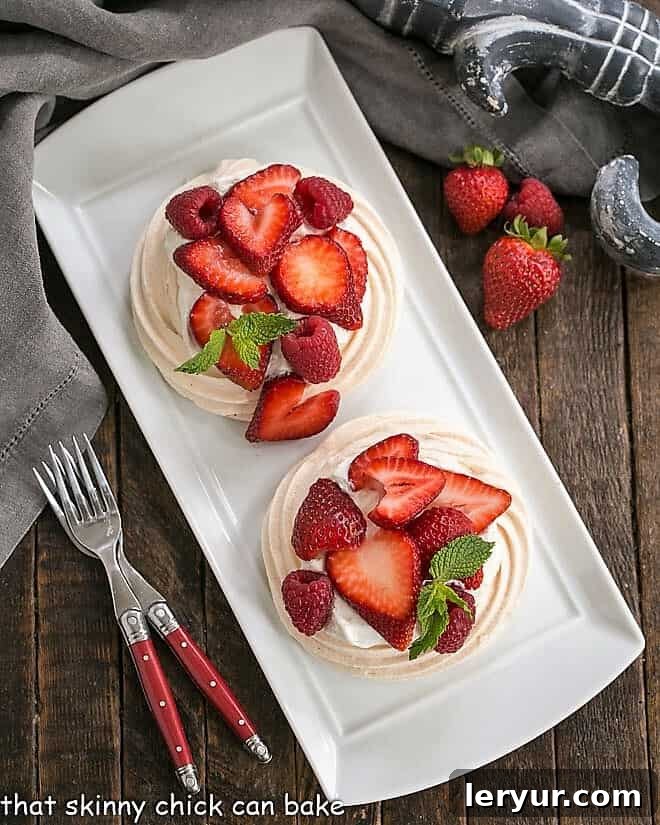
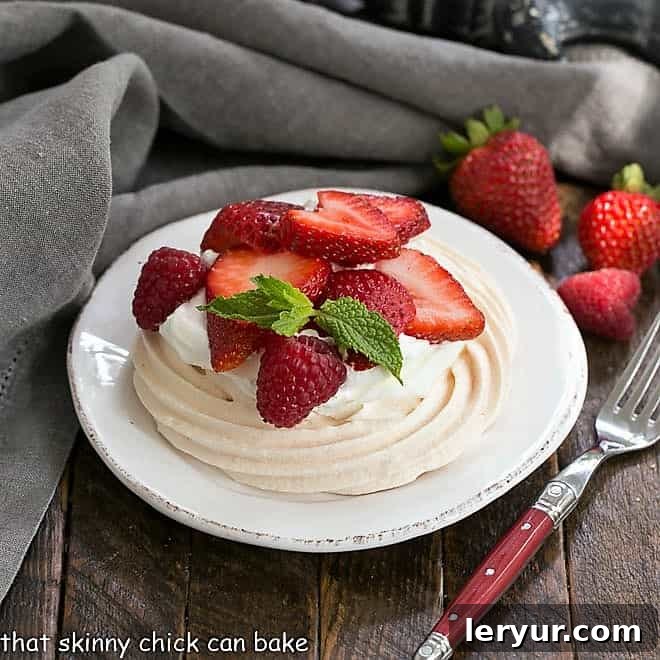
- Top and Serve: Once completely cooled, the pavlova bases are ready for their grand finale. Generously top each with freshly made, sweetened whipped cream. Then, crown them with an abundance of fresh, vibrant berries or your chosen fruit medley. For an extra touch, a drizzle of fruit syrup or a sprinkle of zest can elevate the flavors even further. Serve immediately for the best experience.
Expert Tips for Pavlova Perfection
Creating show-stopping mini pavlovas is an art that benefits from a few seasoned tricks of the trade. Follow these expert tips to ensure your meringue bases are flawlessly crisp on the outside, delightfully soft on the inside, and ready to be crowned with your favorite toppings.
- The Art of Egg Separation: For the cleanest separation, always separate your egg whites while the eggs are still cold. The yolks are firmer and less likely to break into the whites. If even a tiny speck of yolk gets into the whites, it can prevent them from whipping properly, as fat is the enemy of meringue.
- PRO-Tip: Room Temperature is Key: While separating cold, allow your egg whites to come to room temperature before whipping. Warmer egg whites have less surface tension, allowing the proteins to denature and unfold more easily. This results in greater volume and a more stable, airy meringue, whipping up into peaks faster and with less effort.
- Choose the Freshest Eggs: The quality of your eggs significantly impacts the success of your pavlova. Fresher eggs tend to have thicker whites, which create a more stable foam and greater volume when whipped.
- Scrupulous Cleanliness is Non-Negotiable: Your mixing bowl and beaters must be immaculately clean and completely grease-free. Even the slightest residue of grease, oil, or a touch of egg yolk will act as a deflator, preventing your egg whites from whipping up to their full potential. For this very reason, I always ensure my stand mixer bowl and beaters go through the dishwasher.
- Superfine Sugar for Superior Meringue: Superfine sugar (also known as caster sugar) is highly recommended for meringues and pavlovas. Its finer granules dissolve much more readily into the egg whites compared to regular granulated sugar, yielding a smoother, more stable, and less grainy meringue. Domino brand makes excellent superfine sugar, but if unavailable, you can pulse regular granulated sugar in a food processor for a few seconds (be careful not to turn it into powdered sugar).
- Parchment Paper is Your Best Friend: To prevent sticking and ensure easy release, always line your baking sheets with parchment paper. This also makes for a significantly easier cleanup process. Avoid using wax paper, as it can stick to the meringue during baking.
- Stabilize Your Whipped Cream: If you plan to make your pavlovas ahead of time or anticipate they won’t be eaten immediately, consider using a whipped cream stabilizer like Dr. Oetker’s Whip-It. This product prevents the cream from weeping or breaking down, maintaining its light and fluffy texture for days. It’s often found in specialty food stores or the baking aisle of larger grocery stores.
- PRO-Tip: The Power of Acid: Adding an acidic component, such as white wine vinegar, lemon juice, or cream of tartar, makes a more stable meringue. The acid helps to strengthen the egg white proteins, creating a stronger foam that is less likely to collapse during baking or cooling.
- Gradual Sugar Addition for Structure: Always add your sugar gradually, a tablespoon at a time, while continuously beating the egg whites. This slow incorporation allows the sugar to dissolve properly and build a strong, stable meringue structure, preventing it from becoming grainy or collapsing.
- Bake Low and Slow for Perfect Texture: The baking process for pavlova is crucial. A low oven temperature and a long, slow bake will result in a crisp, dry exterior. For a pavlova with a delightfully chewy, or “squidgy” (as Nigella Lawson charmingly calls it) center, a slightly shorter baking time at a controlled temperature is preferred. We personally love a pavlova with a slight chewiness in the middle, offering a wonderful textural contrast to the crisp shell. Remember to leave the pavlovas in the oven after turning it off to cool completely – this helps prevent cracking.
- Embrace Seasonal Toppings: Top your pavlova with the freshest, highest quality fruit available. While strawberries, passion fruit, and bananas are traditional choices, mini pavlovas are equally irresistible with raspberries, sliced kiwis, ripe peaches, luscious mangoes, or any combination of the season’s yummiest offerings. Get creative with your fruit choices!
- Naturally Gluten-Free Dessert: Reiterate the fact that with no flour in a classic pavlova recipe, it stands as an elegant and delicious naturally gluten-free dessert, perfect for accommodating various dietary needs without compromising on taste.
- Make-Ahead Mastery: The meringue bases can be baked and stored in an airtight container at room temperature for up to two days. This allows you to prepare them in advance and assemble them just before serving, making entertaining a breeze.
Frequently Asked Questions About Mini Pavlovas
Even seasoned bakers can encounter questions when striving for pavlova perfection. Here are some common queries and their comprehensive answers to help you navigate your baking journey with confidence.
This is one of the most common issues in meringue making, and it almost always boils down to contamination or temperature. Most likely, there was a tiny speck of egg yolk mixed in with your whites, or your mixing bowl or beaters had some residual grease or oil on them. Even an invisible film of fat can interfere with the egg proteins’ ability to aerate and form a stable foam. Additionally, very cold egg whites are harder to whip to stiff peaks than those at room temperature. Ensure all equipment is impeccably clean, and your egg whites are free of yolk and at the correct temperature.
Yes, it is definitely possible to overbeat egg whites, and it can significantly impact the texture of your pavlova. If you overbeat, the egg whites will eventually lose their glossy sheen and become dry, lumpy, and crumbly, resembling cottage cheese. You’ll notice them start to droop or fall off the whisk rather than holding stiff peaks. If this happens, the protein structure has been broken down too much, and the meringue won’t be as stable or fluffy. For the best results, it’s often necessary to start over. Stop beating as soon as stiff, glossy peaks are formed.
Cracking is a common concern with pavlovas, often caused by sudden temperature changes. To minimize cracking, ensure your oven temperature is consistently low, and crucially, allow the pavlovas to cool very slowly. After the baking time is complete, turn off the oven but leave the pavlovas inside with the door ajar (or fully closed, depending on your recipe’s instructions and oven’s heat retention) for at least 1.5 to 2 hours, or even overnight. This gradual cooling prevents the meringue from shrinking too rapidly, which leads to cracks. Avoid opening the oven door during baking or cooling.
Absolutely! The meringue bases can be prepared 1-2 days in advance. Once fully baked and cooled (following the slow cooling method), store them in an airtight container at room temperature. Humidity is the enemy of crisp meringue, so ensure they are kept in a dry environment. The whipped cream can be made a few hours ahead and stored in the refrigerator, and the fruit can be prepped shortly before assembly. Assemble the pavlovas just before serving to prevent the meringue from becoming soggy from the moisture of the cream and fruit.
Explore More Meringue Delights
The techniques and tips for creating these perfect mini pavlovas are fundamental to baking any meringue-based dessert. If you’ve fallen in love with the ethereal charm of pavlova, you’ll be thrilled to explore more of my favorite meringue recipes. Each offers a unique take on this versatile ingredient, promising equally delightful results.
- Peppermint Snowcap Meringues from Belly Full
- Fresh Strawberry Meringue Cake
- Classic Strawberry Pavlova
- Indulgent Chocolate Meringue Cake
- Strawberry Meringue Roll
- Decadent Chocolate Raspberry Pavlova
- Discover more of the Best Dessert Recipes for every occasion!

Connect with me and share your culinary creations on social media! Find me @ Instagram, Facebook, and Pinterest. Don’t forget to tag me when you whip up one of my recipes! If you adore the results, please consider leaving a 5-star rating in the recipe card below – your feedback means the world.
Mini Pavlovas
30 minutes
30 minutes
1 hour
8 servings
Individual pavlovas topped with sweetened whipped cream and fresh fruit
Ingredients
- 4 egg whites
- Pinch of salt
- 1 ¼ cups superfine sugar, if available
- 2 teaspoons corn starch
- 1 teaspoon white wine vinegar
- ½ teaspoon vanilla
To serve:
- 1 cup heavy cream
- ¼ cup powdered sugar
- 2 cups sliced strawberries or mixed fruit
Instructions
- Preheat the oven to 350º.
- Line 2 baking trays with parchment paper.
- Beat the egg whites and salt until the mixture forms satiny peaks.
- Keep beating while slowly adding the sugar. Continue beating till the meringue is stiff and shiny.
- Sprinkle meringue with cornstarch, vinegar, and vanilla. Mix in gently.
- Form meringues on the parchment paper about 4 inches in diameter (I traced 4-inch circles on the backside of parchment paper for a guide to size).
- I use a piping bag with a star tip, but you can also use a gallon-sized Ziploc bag. Cut the corner off the bag to pipe the meringue onto the parchment.
- Make an indentation in the middle of each pavlova with the back of a spoon.
- Put into the oven and immediately reduce the heat to 300º.
- Bake for 30 minutes. Turn off the oven and leave pavlovas inside for 1 ½ to 2 hours.
- Serve with sweetened whipped cream (Whip cream and powdered sugar until soft peaks form), fresh fruit and, if you’d like, a fruit syrup.
Notes
Adapted from Nigella Lawson, How to be a Domestic Goddess.
Total time does not reflect cooling time.
Recommended Products
As an Amazon Associate and member of other affiliate programs, I earn from qualifying purchases.
- 1M Piping Tip
- Superfine Sugar
- KitchenAid KSM150PSER Artisan Tilt-Head Stand Mixer with Pouring Shield, 5-Quart, Empire Red
Nutrition Information:
Yield:
8
Serving Size:
1 pavlova
Amount Per Serving:
Calories: 273Total Fat: 11gSaturated Fat: 7gTrans Fat: 0gUnsaturated Fat: 3gCholesterol: 34mgSodium: 53mgCarbohydrates: 43gFiber: 1gSugar: 40gProtein: 3g
HOW MUCH DID YOU LOVE THIS RECIPE?
Please leave a comment on the blog or share a photo on Pinterest