
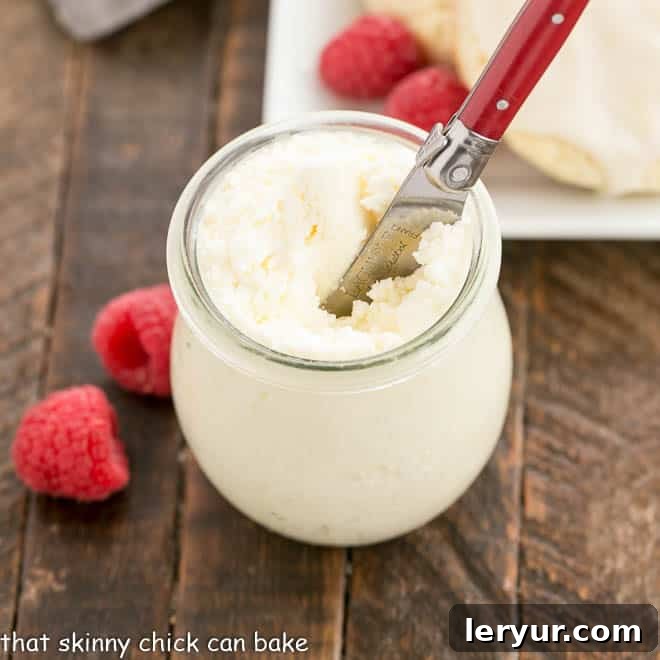
Instant Pot Clotted Cream: Experience the true taste of British tea time with this incredibly simple, hands-off recipe for authentic clotted cream. Perfect for serving with freshly baked scones during an early morning royal event viewing, or to elevate any upscale breakfast or brunch. Indulge your inner Anglophile with this classic British treat, renowned for its rich flavor and velvety texture.
The anticipation of a royal wedding always brings out a desire for classic British traditions. When my friend Sally planned another pre-dawn gathering to watch Prince Harry and Meghan Markle tie the knot, it meant one thing: scones! And what are scones without the luscious companion of clotted cream? Instead of the lengthy oven method I’d previously attempted, I turned to my reliable Instant Pot, seeking an alternative and more efficient way to create this beloved homemade clotted cream, also known as Devonshire cream.
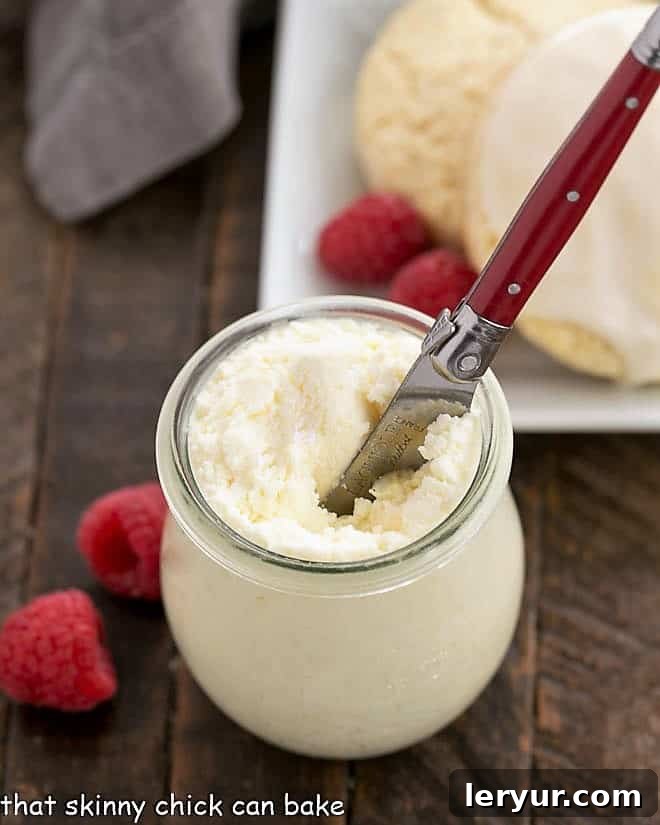
Why You Must Make Instant Pot Clotted Cream
If you’ve ever dreamt of experiencing an authentic British cream tea, making your own clotted cream at home is an absolute must. And doing so with an Instant Pot makes the process surprisingly simple and incredibly rewarding. Here’s why this recipe deserves a spot in your kitchen:
- Effortless Elegance: This recipe requires just one core ingredient and minimal hands-on time. The Instant Pot does most of the work, allowing you to achieve a gourmet result with ease.
- Significantly Faster Process: Traditional oven methods for making clotted cream can take upwards of 12-16 hours for the tell-tale “clots” to form. The Instant Pot significantly reduces this cooking time while maintaining the gentle, consistent heat necessary for perfection.
- Authentic British Flavor: The controlled low heat of the Instant Pot yields clotted cream with a rich, subtly nutty flavor and a thick, creamy texture that truly rivals what you’d find in the UK. Many who have tried it attest to its spot-on authenticity.
- A Unique Culinary Experience: Impress your guests, elevate your brunches, or simply treat yourself to a luxurious spread that transforms everyday baked goods into something extraordinary.
Reader Testimonial
Testimonial from Becca: “I truly wanted to express my gratitude. Since returning from Scotland, I’ve been searching for clotted cream without any luck, and my stove is notoriously unreliable. This recipe turned out absolutely perfect, and it genuinely made my weekend.”
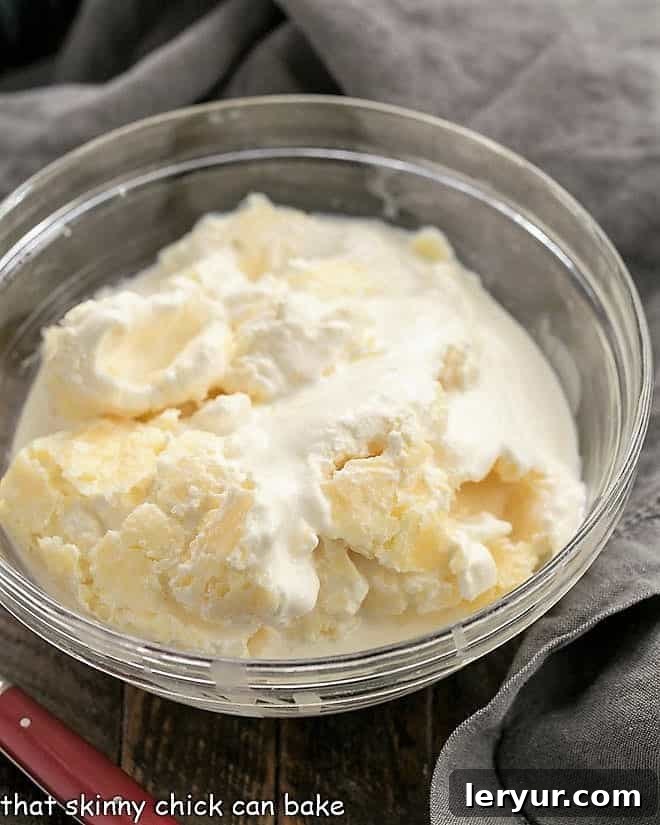
My first foray into making clotted cream involved a lengthy stint in the oven. Having only ever encountered this classic British spread from a jar, I was unsure what to expect. After hours of patient waiting, a thick, yellow-coated cream emerged on top of my baking dish, leaving behind a clear liquid whey. This unique separation was, indeed, the clotted cream! While its appearance might not initially be the most appetizing, Sally, my resident Anglophile and expert on all things British tea, confirmed that the taste was unequivocally authentic.
I had always harbored a slight suspicion about those small, imported jars of clotted cream found in specialty grocery stores. Could they truly capture the rich, authentic quality that the British lovingly spread on their teatime scones, alongside a dollop of fruit jam? My personal experience with genuine clotted cream was limited, but the desire to create my own, truly authentic version, was strong.
How to Make The Best Clotted Cream at Home
The fundamental principle behind making clotted cream is surprisingly simple: gently cook heavy cream at a low, consistent temperature for an extended period. Online recipes largely follow this method. While I’ve had success using a wide, shallow baking pan in the oven, the Instant Pot presented an intriguing alternative for a less hands-on approach.
This is a rare and delightful one-ingredient recipe, demanding only one key component: high-quality heavy cream. However, it’s crucial to seek out pasteurized heavy cream, rather than the more commonly found ultra-pasteurized variety. This distinction is perhaps the most significant factor in achieving perfect clotted cream. Ultra-pasteurized cream has been heated to a much higher temperature, which alters its protein structure and can prevent it from clotting correctly. Therefore, calling around to local dairies or specialty grocery stores before embarking on a long drive is highly recommended.
Aim for the highest milkfat percentage you can find. In the UK, “double cream” boasts a luxurious 48% milkfat, whereas in the United States, heavy cream typically contains 36%, and whipping cream around 30%. While US heavy cream works well, a higher fat content will yield a richer, thicker clotted cream.
The Core Process for Homemade Clotted Cream
- Locate the Right Cream: As emphasized, prioritize pasteurized (not ultra-pasteurized) heavy cream. This is paramount for success.
- Gentle Heating: The cream needs to be held at a steady temperature between 170-180ºF (77-82ºC) for 10-12 hours. During this long, slow cook, a thickened layer, often referred to as “skin” or “clots,” will gradually form over the liquid whey. The goal is to remove the cream from the heat source just as this layer develops, before it begins to brown excessively. A very slight golden hue is acceptable and even desirable for some.
- Chill and Skim: After the cooking period, allow the cream to cool completely, ideally for at least 8 hours in the refrigerator. Once thoroughly chilled, use a slotted spoon to carefully lift the thick, clotted cream from the surface, leaving the liquid whey behind. If using the oven method, covering your baking dish with foil during cooking can help achieve a paler yellow or cream-colored clotted cream, if preferred.
Expert Tips for Perfect Clotted Cream
Achieving clotted cream perfection is simple with these expert insights:
- PRO-Tip for Thickness: If your clotted cream appears thinner than desired after skimming, don’t despair! Line a fine-mesh strainer with cheesecloth, add the clotted cream, and gently wrap the cheesecloth over the top. Place the strainer over a bowl in the refrigerator and allow it to drain for an hour or two. This will help remove excess whey and result in a firmer product.
- PRO-Tip for Texture: The “skin” that forms on top is a hallmark of clotted cream. Some Brits adore this rich, flavorful yellow layer and actively seek to mix it in. If you prefer a smoother, more uniform texture, simply whisk the clotted cream gently after skimming. If it becomes too thick, you can add a small amount of the reserved liquid whey back in to reach your desired consistency. Remember, a slightly grainy texture is perfectly normal and authentic for clotted cream.
- Cream Selection is Key: Always read your heavy cream labels meticulously. Look specifically for “pasteurized” heavy cream and avoid “ultra-pasteurized” products. Ultra-pasteurization involves heating cream to a much higher temperature for a shorter duration, which extends shelf life but significantly alters the milk proteins, making it difficult for the cream to “clot” properly. In the US, Whole Foods and Trader Joe’s are often reliable sources for pasteurized heavy cream.
- Patience is a Virtue: While the Instant Pot speeds things up, the process still requires time. Don’t rush the heating or cooling stages; patience ensures the best texture and flavor.
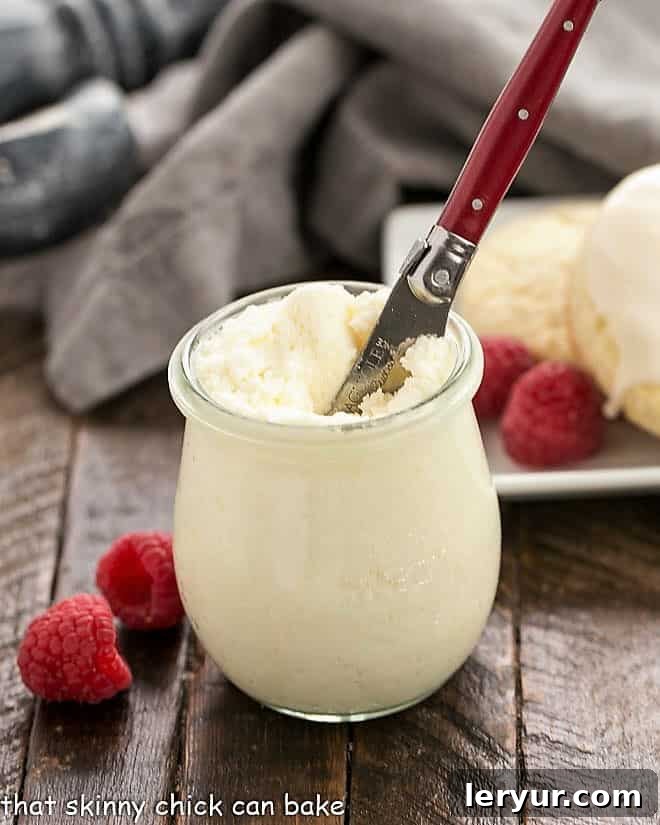
How to Make Clotted Cream in the Oven (Traditional Method)
Before discovering the Instant Pot’s magic, my first successful batch of clotted cream was made in the oven. This method is equally effective, provided your oven can maintain a very low, consistent temperature.
- Prepare the Cream: Pour your pasteurized heavy cream into a shallow baking dish, ensuring the cream depth is between 1-2 inches. This shallow depth allows for maximum surface area and efficient clotting.
- Slow Cook: Preheat your oven to a very low setting, ideally between 170-180ºF (77-82ºC). If your oven has a “warm” setting, this is often perfect. Place the dish of cream into the oven and let it cook for a long duration, typically 12 hours. Starting this process overnight is an excellent strategy, allowing the cream to cook undisturbed while you sleep.
- Cool Down: Once the cooking period is complete, remove the dish from the oven. Allow it to cool at room temperature for about an hour, then cover it loosely with plastic wrap and chill thoroughly in the refrigerator for at least 8 hours, or preferably overnight.
- Skim and Enjoy: After chilling, use a slotted spoon to carefully remove the thick layer of clotted cream, including the flavorful “skin,” from the top of the liquid whey. Transfer it to a clean container, and it’s ready to be served!
How to Make Clotted Cream in an Instant Pot (Modern Method)
The Instant Pot truly shines when it comes to maintaining a gentle, consistent warmth for an extended period, making it an ideal appliance for preparing clotted cream. The steamy environment of the Instant Pot helps create the perfect conditions for the cream to clot beautifully.
- Pour the Cream: Pour your pasteurized heavy cream directly into the inner pot of your Instant Pot.
- Initial Heating: Seal the lid and turn the vent to the SEALING position. Select the “YOGURT” setting, then adjust it to the “BOIL” function. This will bring the cream up to temperature.
- Slow Warming: Once the Instant Pot signals that the cream has reached boiling temperature (which will actually be a very gentle simmer, not a vigorous boil), reset the Instant Pot. Use the “YOGURT” setting again, but this time, adjust the duration to 10-12 hours. This setting will maintain a consistent, low temperature (around 100-105°F or 38-40°C) perfect for clotting.
- Cooling & Chilling: After the low and slow cooking period is complete, carefully release any remaining pressure (if applicable to your Instant Pot model, though the yogurt setting typically doesn’t build much pressure). Let the Instant Pot cool down to room temperature for at least 30 minutes, then cover the pot with plastic wrap and transfer it to the refrigerator. Chill for a minimum of 8-12 hours, or overnight.
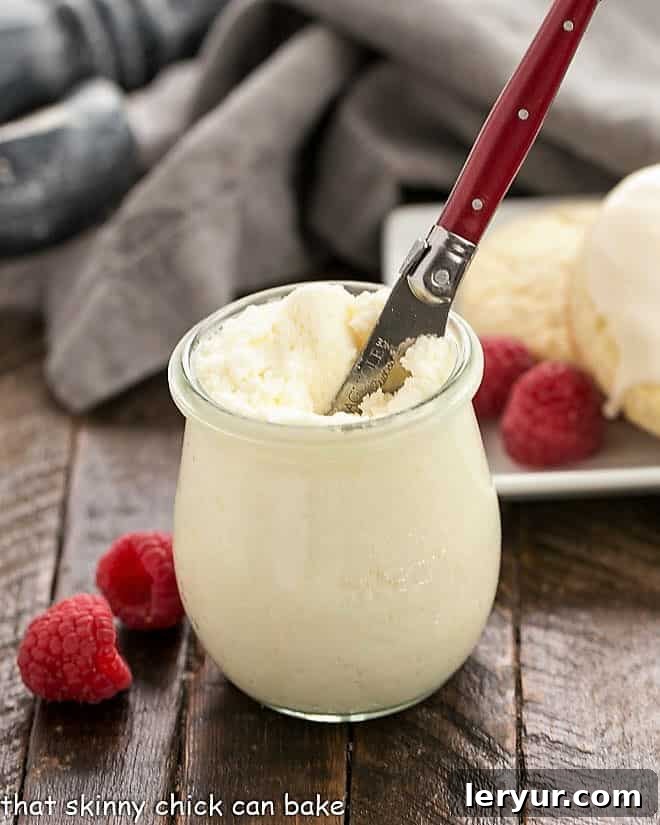
- Skim the Cream: Once thoroughly chilled, remove the lid. You will observe a distinct yellow, thick layer of clotted cream on the surface. Use a slotted spoon to gently skim this delicious topping off the liquid whey and transfer it to an airtight container. Your homemade Instant Pot clotted cream is now ready to enjoy!
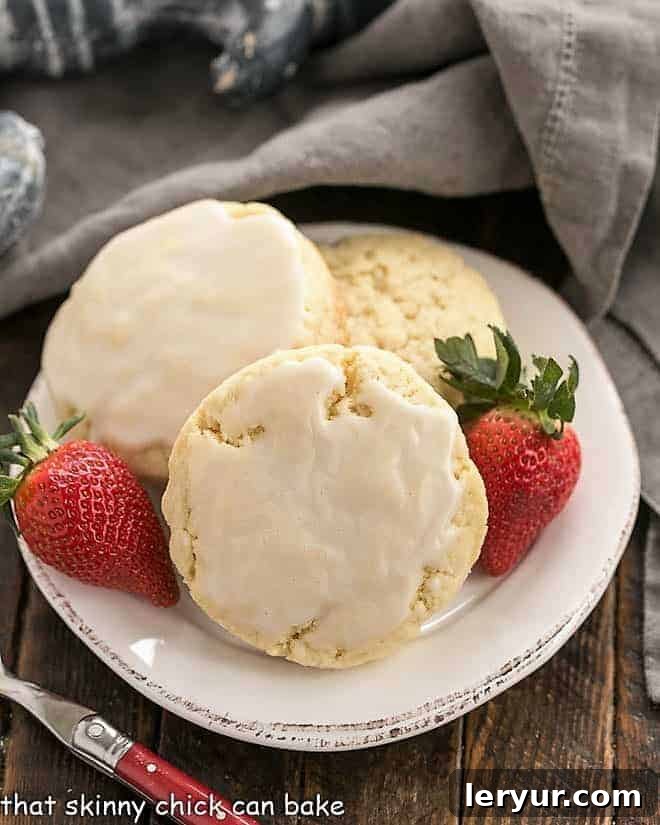
This homemade clotted cream was an absolutely perfect addition to our royal wedding viewing party menu, complementing an array of other delights such as homemade scones, fresh strawberries, elderflower cake, and a hearty egg casserole. What an unforgettable feast!
How to Serve Clotted Cream: Delicious Pairings
Clotted cream is incredibly versatile and can elevate a wide range of dishes beyond the traditional scone. Here are some delightful ways to serve your homemade delicacy:
- The Classic Cream Tea: The most iconic pairing is, of course, with freshly baked scones and your favorite jam. For the ultimate experience, serve scones warm from the oven. Remember, for tender scones, avoid overworking the dough and ensure tiny pieces of cold butter are dispersed throughout.
- Breakfast and Brunch Delights: Beyond scones, clotted cream is a fantastic addition to muffins, quick breads like banana bread or Irish soda bread, tea cakes, and even croissants. Spread it generously on pancakes, waffles, or French toast for an extra touch of richness.
- With Fresh Fruit: A dollop of clotted cream alongside fresh berries (strawberries, raspberries, blueberries) creates a simple yet elegant dessert or light snack.
- Dessert Enhancer: Get creative by incorporating clotted cream into your desserts. Use it in place of some heavy cream in homemade ice cream or truffles for a unique depth of flavor and velvety texture.
- Savory Applications: Don’t limit clotted cream to sweet dishes! Stir a spoonful into mashed potatoes for an unbelievably creamy side, or swirl it into risotto for added richness. Even scrambled eggs can be transformed into a luxurious dish with a small dollop of clotted cream stirred in at the end.
Frequently Asked Questions About Clotted Cream
Clotted Cream is a distinct English specialty, famously associated with the picturesque counties of Devon and Cornwall. It is also widely known as Devonshire cream, Devon cream, or Cornish cream, named after these regions. Across the Atlantic, it serves as an indispensable topping for scones, traditionally served alongside a fruit jam for a classic cream tea experience. It’s a thick, lusciously creamy dairy spread with a subtle sweetness and a unique nutty undertone, making it a wonderful accompaniment not just for scones, but also for biscuits, muffins, English muffins, croissants, and various other baked goods.
Clotted cream has a flavor profile that can be described as a rich blend of unsweetened heavy cream and unsalted butter. However, it boasts a distinct subtle sweetness derived from the natural sugars present in the dairy, which undergoes a gentle caramelization through the Maillard reaction during its long, slow cooking process. This reaction imparts delicate caramel undertones. The texture is wonderfully unique; it’s not quite butter, nor is it whipped cream. Instead, it’s a thick, spreadable cream, often compared to the luxurious consistency of mascarpone cheese, yet with its own characteristic graininess that is completely normal and part of its charm.
While both are dairy-based creams, clotted cream and whipped cream are quite different. Whipped cream is made by aerating cold heavy cream until it becomes light and fluffy, often sweetened. Clotted cream, on the other hand, is made by slowly heating heavy cream until a thick, yellow ‘clot’ forms on the surface. It has a much denser, richer, and less airy texture, with a subtly caramelized, nutty flavor that whipped cream lacks. Clotted cream is meant for spreading, while whipped cream is typically spooned or piped.
Yes, absolutely! While fresh clotted cream, including this Instant Pot Clotted Cream, has a refrigerator shelf life of approximately 3-4 days when stored in an airtight container, it freezes exceptionally well for longer preservation. To freeze, transfer the clotted cream to a freezer-safe container, ensuring there’s minimal headspace. It can be frozen for up to 2-3 months. Thaw it slowly in the refrigerator overnight before use. You might notice a slight change in texture upon thawing, but a gentle whisk can often restore its original creaminess.
The history of clotted cream dates back centuries, with its origins deeply rooted in the dairy farming traditions of England’s West Country, particularly Devon and Cornwall. Legend has it that Phoenician traders brought the technique of making clotted cream to Cornwall around 500 BC. The method likely evolved as a way to preserve milk in areas rich with dairy cows. Over time, it became a staple of rural life and a cherished part of the region’s culinary identity, eventually becoming synonymous with the quintessential British cream tea. The geographical indications “Cornish Clotted Cream” and “Devon Clotted Cream” even have protected designation of origin (PDO) status in Europe, highlighting their historical and cultural significance.
You May Also Like: Related Recipes
- Lemon Blueberry Scones from Mom on Timeout
- Glazed Lemon Tea Scones
- Vanilla Bean Scones
- Easy Scones Recipe with Strawberries
- Best Scones Recipe with Blackberries
- Fresh Peach Soda Bread or any quick bread would be delicious served with clotted cream.
- More Easy Breakfast Recipes
- More Brunch Food Ideas
Stay connected and share your culinary adventures! Follow on Instagram, Facebook, and Pinterest. Don’t forget to tag me when you try one of my recipes! If you love the results, please consider leaving a 5-star rating in the recipe card below.
Instant Pot Clotted Cream Recipe
5 minutes
10 hours
10 minutes
10 hours 15 minutes
1 1/2 cups
A homemade version of the classic clotted cream used to top British scones, made effortlessly in the Instant Pot.
Ingredients
- 2 pints heavy whipping cream, pasteurized (not ultra-pasteurized, which is typically found in most stores)
Instructions
- Pour the heavy cream into the Instant Pot.
- Seal the lid and turn the vent to the SEALING position. Press the YOGURT button and then ADJUST to BOIL.
- When the Instant Pot signals that it has reached the “boil” temperature, set your IP to WARM for 10-12 hours. Alternatively, reset with the YOGURT button to a 12-hour cycle; this setting maintains a gentle warmth (around 100-105 degrees Fahrenheit) for the desired duration.
- Allow the Instant Pot to cool at room temperature for about 30 minutes. Then, cover the inner pot with plastic wrap, place it in the refrigerator, and chill overnight (8-12 hours).
- Remove the lid. You will observe a distinct yellow, thick layer on top of the liquid whey. Carefully skim this thickened topping off the surface and transfer it into an airtight container. Top with a lid and store in the refrigerator until ready to use.
Notes
- It’s very important that your Instant Pot reaches and maintains approximately 180 degrees Fahrenheit during the “boil” phase. If your Instant Pot is smaller than 8 quarts or if you live at a high altitude, you may need to cook for an extra cycle or adjust timing slightly.
- If you prefer to try the oven version, preheat your oven to 180ºF (82ºC). Pour the cream into a shallow baking dish to a depth of 1-2 inches. Let it cook for 12 hours. Then, follow the same skimming and chilling procedure as in the Instant Pot recipe.
- If you desire a smoother consistency, a whisk can be helpful after skimming. You may mix in some of the leftover liquid whey to thin it slightly if necessary.
- For a thicker clotted cream, drain your skimmed cream in a strainer lined with cheesecloth over a bowl in the refrigerator for an hour or two.
- Store homemade clotted cream in a covered, airtight container in the refrigerator and consume within 3-4 days.
Recommended Products
As an Amazon Associate, I earn from qualifying purchases.
- Cuisinart Fine Mesh Strainers
- Cotton Cheesecloth
- 8 quart Instant Pot
Nutrition Information:
Yield:
24 servings
Serving Size:
1 tablespoon
Amount Per Serving:
Calories: 135
Total Fat: 14g
Saturated Fat: 9g
Trans Fat: 0g
Unsaturated Fat: 4g
Cholesterol: 45mg
Sodium: 11mg
Carbohydrates: 1g
Fiber: 0g
Sugar: 1g
Protein: 1g
How much did you love this recipe?
Please leave a comment on the blog or share a photo on Pinterest