
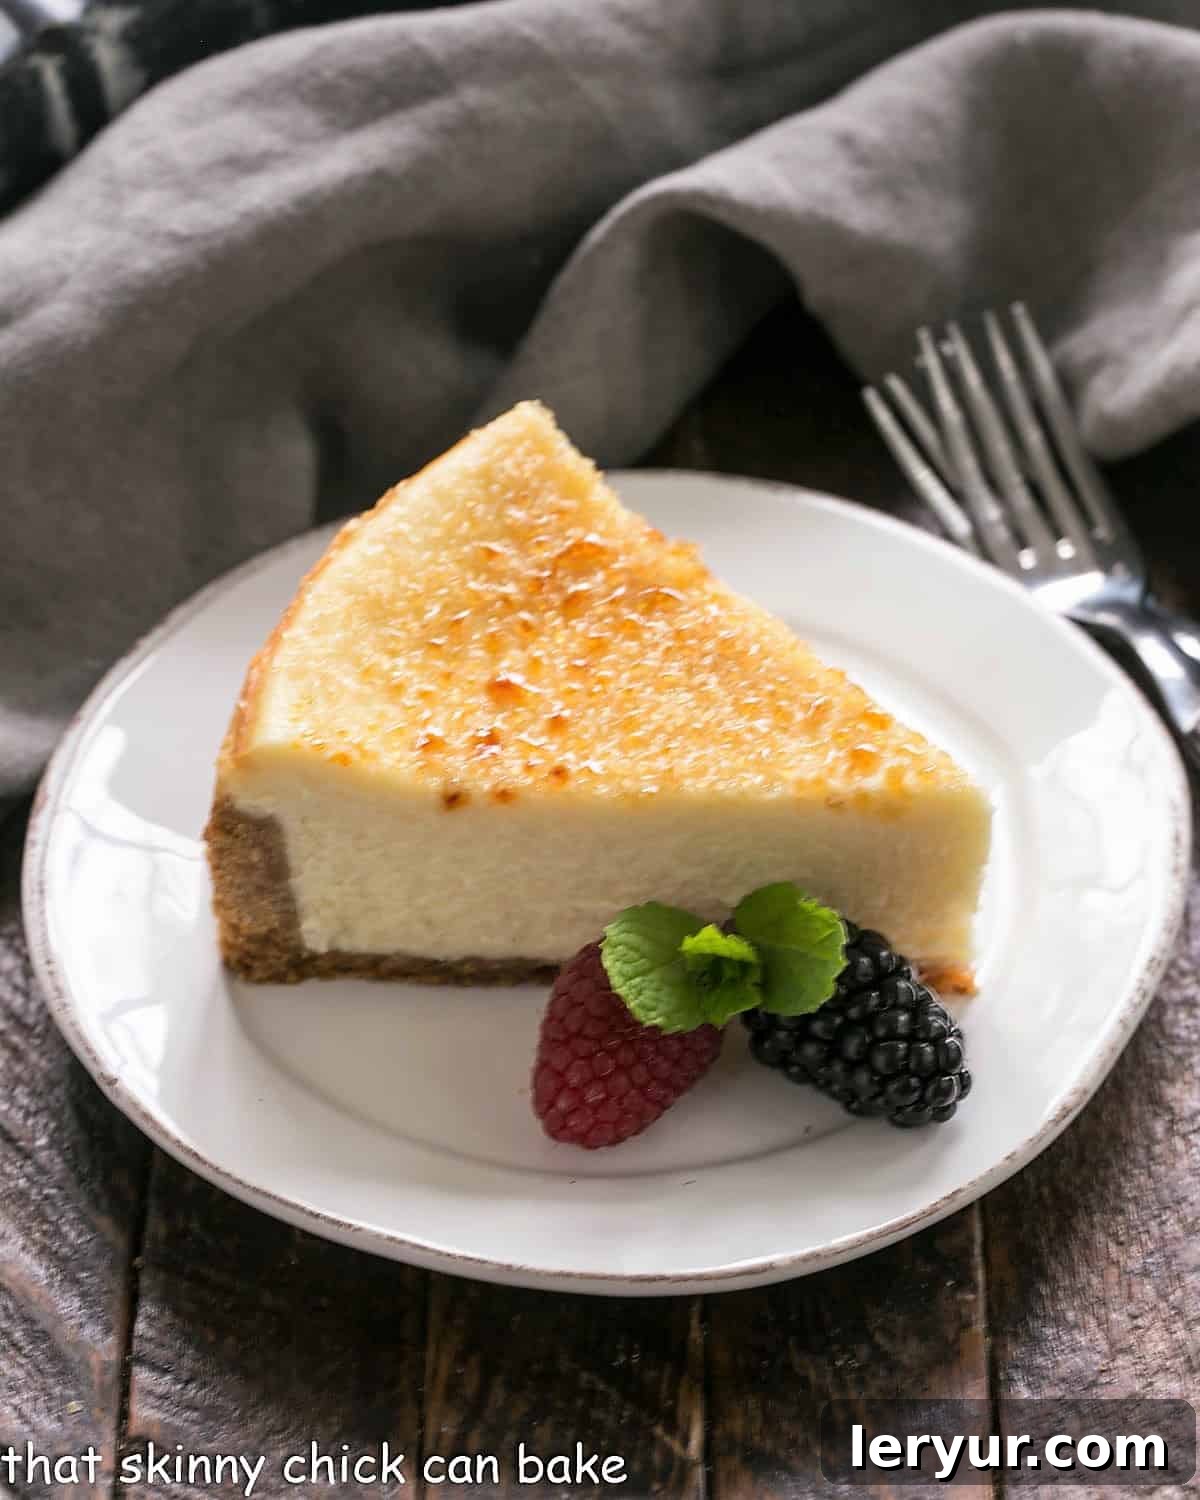
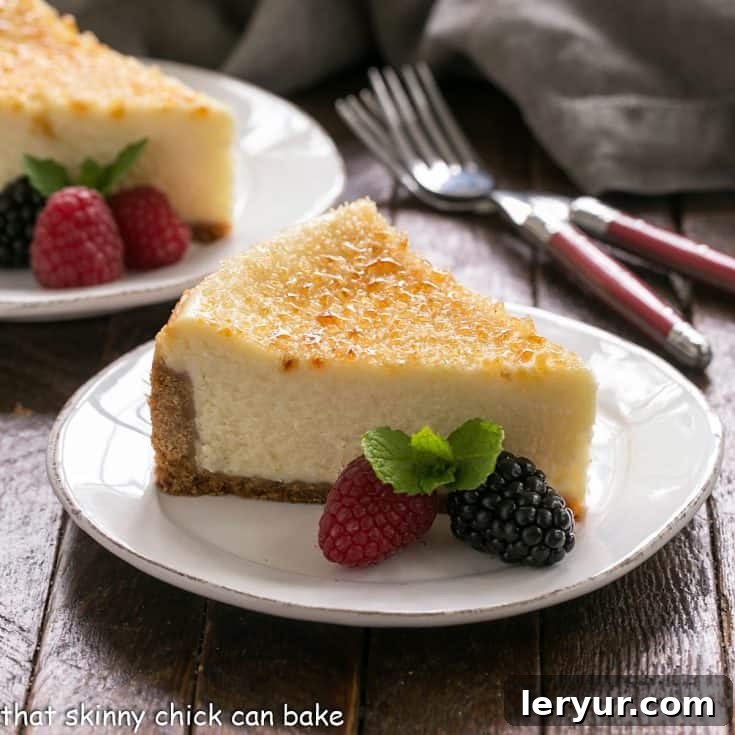
Indulge in the ultimate dessert experience with this exquisite Crème Brûlée Cheesecake, a harmonious blend of two beloved classics. This recipe masterfully combines the rich, creamy decadence of a mascarpone cheesecake with the elegant, sugary crunch of a traditional crème brûlée. It’s not just a dessert; it’s a culinary masterpiece that promises to impress and delight with every spoonful.
There’s nothing quite like the comforting joy of a homemade cheesecake, and this particular creation elevates the experience to new heights. While often associated with the rustic charm of a “burnt cheesecake” or Basque cheesecake due to its beautifully caramelized top, this recipe distinguishes itself with a refined, sugar-crusted finish. It was an instant hit with my family, proving that some combinations are simply meant to be.
Why This Crème Brûlée Cheesecake Is a Must-Try
Preparing a dessert that truly stands out can transform any meal into a special occasion. This Crème Brûlée Cheesecake isn’t just a recipe; it’s an invitation to create something extraordinary. Here are compelling reasons why this decadent dessert belongs on your must-bake list:
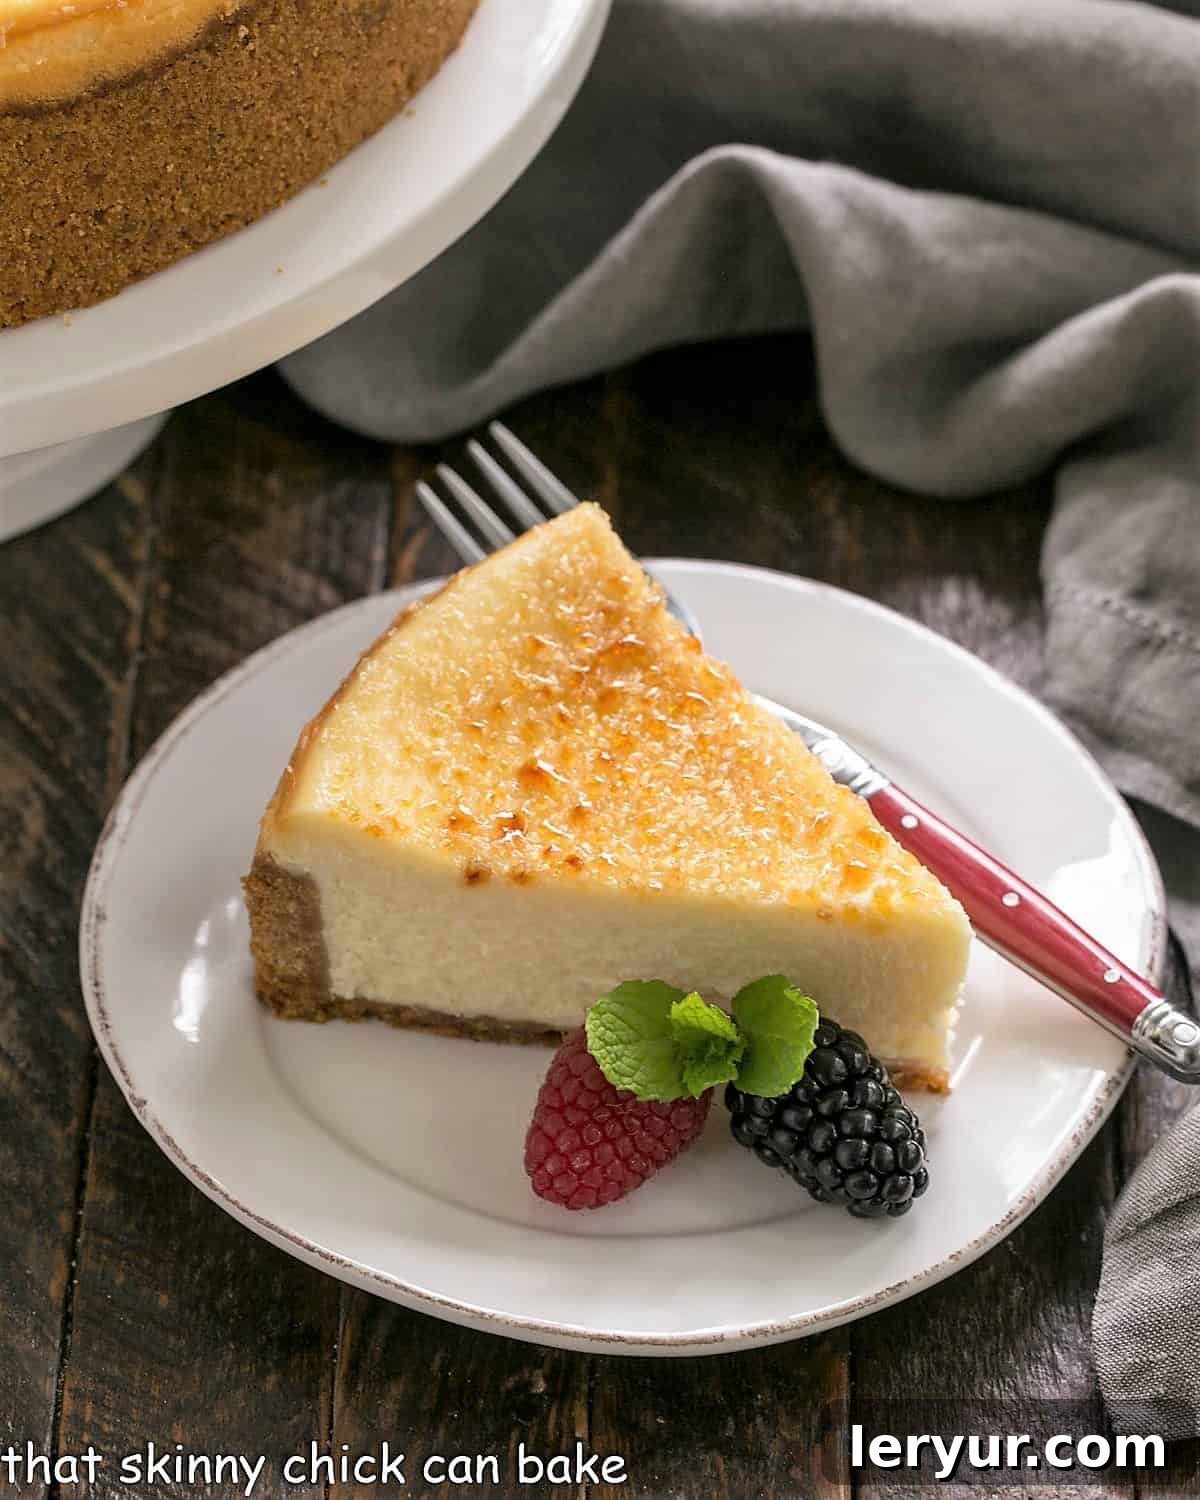
- An Unforgettable Flavor Fusion: This cheesecake brilliantly marries two of the most luxurious desserts imaginable: the smooth, tangy richness of cheesecake and the iconic, deeply caramelized notes of crème brûlée. Each bite offers a symphony of textures and tastes, making it a truly unique culinary experience.
- Guaranteed Crowd-Pleaser: Designed to serve up to 12 guests, this impressive dessert is perfect for dinner parties, holiday gatherings, or any celebration. Its stunning appearance and incredible taste are sure to draw rave reviews and leave a lasting impression on everyone who tries it.
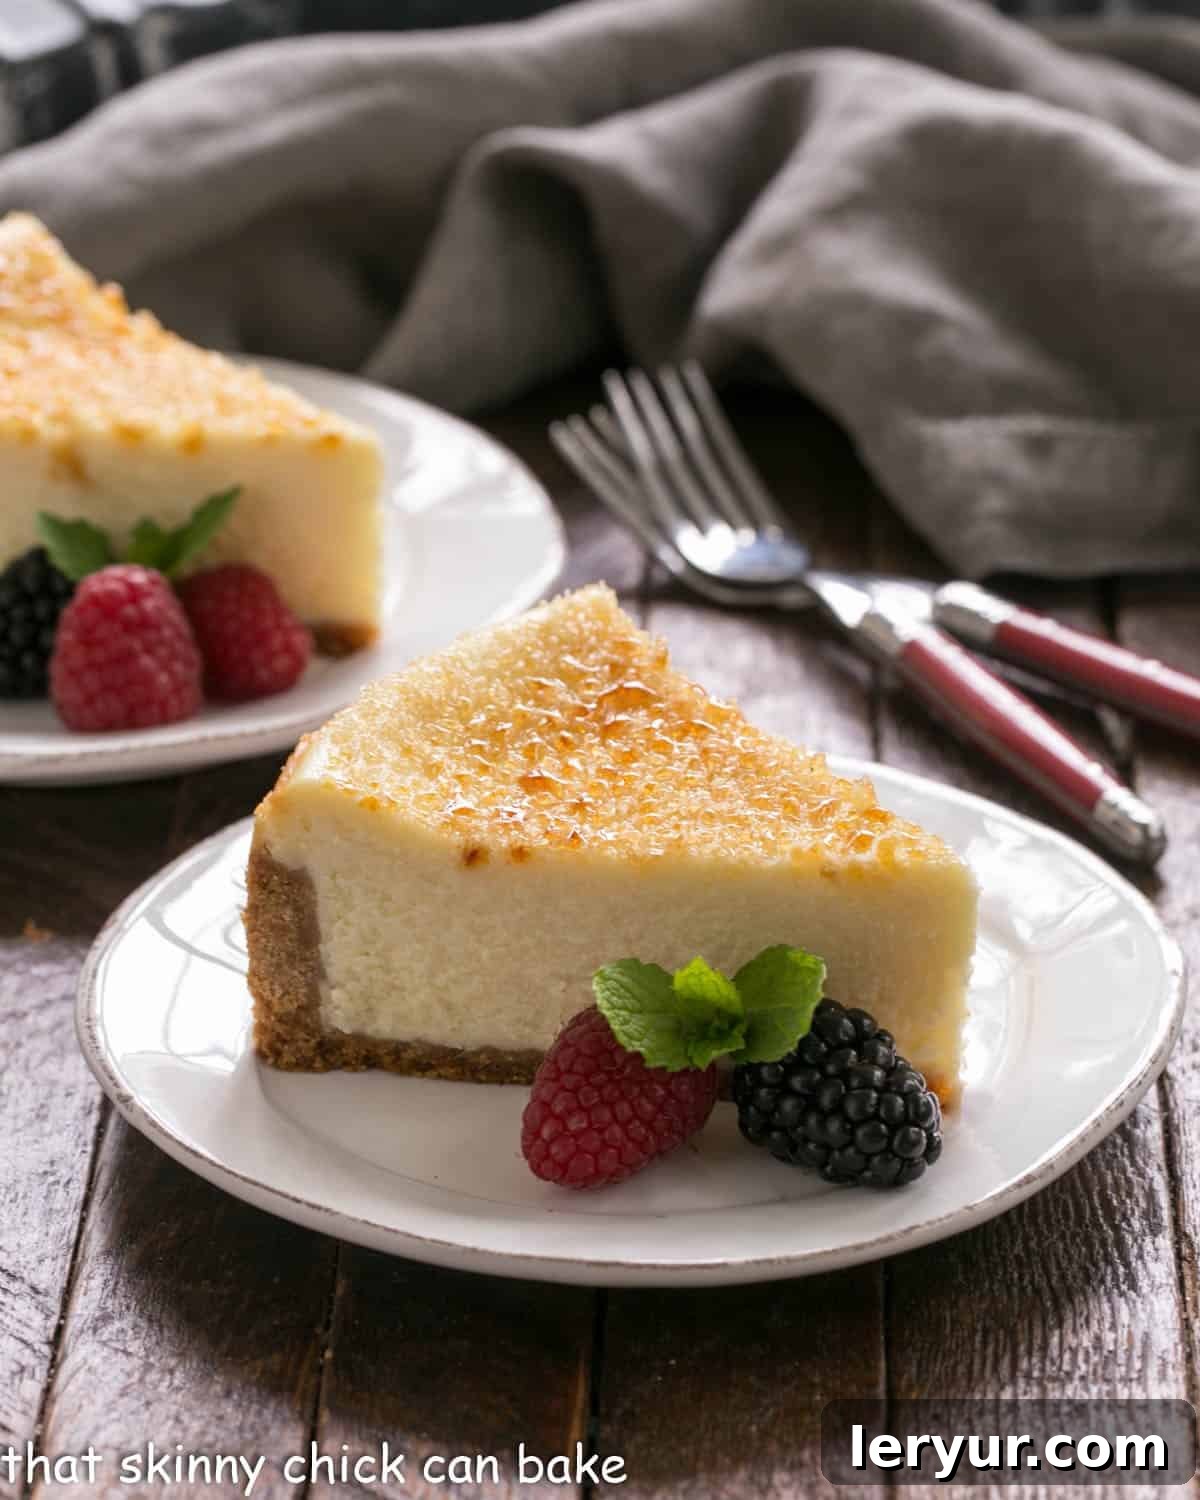
- Elegance in Every Slice: The star of this show is undoubtedly the caramelized sugar topping. Achieved with a kitchen torch, this brittle, golden layer provides a dramatic visual appeal and an irresistible textural contrast to the creamy cheesecake beneath. It’s both elegant and impressively delicious.
- A Celebration of Indulgence: Whether you’re a seasoned baker or new to the world of cheesecakes, the process of creating this dessert is incredibly rewarding. The anticipation of cracking through that caramelized sugar crust to reveal the silky interior is part of the joy.
For years, I’d dreamed of combining cheesecake and crème brûlée, two favorites in our household, especially for my daughter, Katie. With my youngest starting college and my oldest having moved out, Katie was delighted that her dessert requests would now take center stage. This recipe was born from that desire, a dedication to her love for these classic sweets, resulting in a dessert that captures the best of both worlds.
Mastering Your Crème Brûlée Cheesecake: Expert Baking Tips
Creating the perfect Crème Brûlée Cheesecake is a rewarding process, and following these expert tips will ensure a flawless, creamy, and crack-free dessert every time:
- Room Temperature Ingredients are Non-Negotiable: Just like with all cheesecakes, it is absolutely crucial to have your cream cheese and eggs at room temperature. For this particular recipe, also ensure your mascarpone cheese reaches room temperature. This isn’t just a recommendation; it’s essential for achieving a silky-smooth, lump-free batter and a truly creamy, even-textured cheesecake. Cold ingredients can lead to overmixing and a dense final product.
- PRO-Tip: Prevent Overmixing with the Right Tool: When using a stand mixer, always opt for the paddle attachment instead of the whisk. The paddle gently combines ingredients, preventing excess air from being incorporated into the batter. Too much air can cause the cheesecake to puff up dramatically during baking and then collapse, leading to cracks.
- Handle Eggs with Care: Eggs act as a binder and add richness. Add them one at a time to the batter, mixing only until each egg is just incorporated. Overbeating the eggs can introduce too much air, which can contribute to cracking and an undesirable texture.
- The Power of a Water Bath (Bain-Marie): Baking your cheesecake in a water bath is a game-changer. This technique provides even, gentle heat around the cheesecake, preventing the edges from baking faster than the center. It also creates a steamy baking environment, which helps prevent the cheesecake from drying out and cracking on the surface. Ensure your springform pan is well-wrapped in heavy-duty foil to prevent water from seeping in.
- Knowing When It’s Perfectly Set: Resist the urge to overbake! Remove the cheesecake from the oven when the outer few inches appear set, but the very middle is still slightly jiggly when the pan is gently tapped. It will continue to cook and set as it cools. Baking times vary depending on your oven’s calibration and the size of your pan, so use visual cues and touch as your guide.
- PRO-Tip: The Importance of Post-Bake Temperature: For an unbelievably creamy texture, bring your chilled cheesecake to room temperature before serving. This allows the cheesecake to soften slightly, enhancing its luscious mouthfeel and flavor.
- Mascarpone Cheese Alternatives: If mascarpone cheese is difficult to find in your local stores, don’t despair! A quick online search will provide various homemade mascarpone recipes, often requiring just heavy whipping cream, cream cheese, and a touch of sour cream. Alternatively, you can plan ahead and make Homemade Mascarpone Cheese using just two simple ingredients for an authentic touch.
- Sugar for That Signature Crust: While turbinado sugar (often labeled “sugar in the raw”) creates the most authentic and beautiful caramelized topping, regular granulated sugar can be used as a substitute if turbinado isn’t available. The key is to apply an even layer and torch it quickly until it browns and melts into a crisp, glassy crust.
Hubby Bill, our resident chocoholic, surprised even himself by declaring this Crème Brûlée Cheesecake a new favorite. He particularly adored its perfectly smooth and incredibly creamy texture, finding the crisp, caramelized sugar topping to be the ideal crunchy contrast that completed the experience.
Crafting Smaller Crème Brûlée Cheesecakes
Sometimes, a full-sized cheesecake is more than you need, or perhaps you want to offer individual portions or a smaller gift. While my geometry skills (or lack thereof) might lead me to calculate volumes with π, I found it much simpler to measure the capacity of my two deep 5-inch springform pans directly. They comfortably held about 5 cups of batter, making them perfect for smaller batches.
If you prefer to make two smaller Crème Brûlée Cheesecakes, simply halve this recipe. Bake the crust in two 5 x 2 1/2-inch springform pans for approximately 5-7 minutes. Then, bake the cheesecakes themselves for about 40 minutes, or until they meet the “slight jiggly center” doneness test. This adaptation is fantastic for smaller gatherings or when you want the joy of a homemade cheesecake without the commitment of a large one.
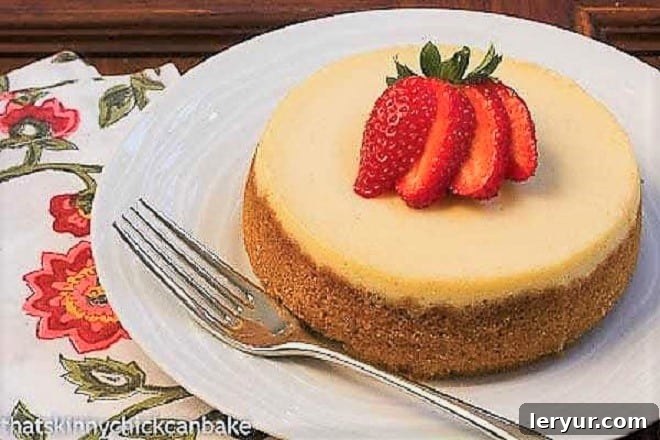
Photo of a 5-inch cheesecake. Circa 2012.
Frequently Asked Questions About Crème Brûlée Cheesecake
Have questions about this unique dessert? Here are some common queries to help you master your Crème Brûlée Cheesecake.
Crème Brûlée, pronounced “Krehm-broo-LAY,” is a French term that literally translates to “burnt cream.” This classic French dessert consists of a rich custard base topped with a layer of hardened caramelized sugar. While often associated with France, similar desserts exist in other European cuisines, with some culinary historians tracing its origins to Spain (as “crema catalana”) or England (as “burnt cream” or “Trinity cream”). Regardless of its exact birthplace, its allure lies in the captivating contrast between the smooth, cool custard and the crisp, warm caramel layer.
Creating that iconic brittle caramelized topping is simpler than it sounds, and it’s what truly transforms this into a Crème Brûlée Cheesecake. After your cheesecake has fully chilled, generously sprinkle the top with an even layer of turbinado sugar (or granulated sugar if preferred). Then, you have a few options: you can quickly place it under a preheated broiler (watching it carefully!), use a specialized salamander, or, most commonly and conveniently, use a kitchen torch. The torch allows for precise caramelization. Apply the flame evenly until the sugar melts, bubbles, and turns a rich, amber brown. As it cools, the melted sugar will harden into a delightful, glassy crust, offering a spectacular textural contrast to the creamy dessert below. Be sure to do this right before serving for the best crunch!
Absolutely! This cheesecake is an excellent make-ahead dessert, which makes it perfect for entertaining. You can bake the cheesecake, cool it, and chill it in the refrigerator for up to 2-3 days before serving. This allows the flavors to meld beautifully and the cheesecake to set perfectly. The crucial step is to add and caramelize the sugar topping just before serving to ensure the signature crisp crack, as the sugar will soften over time if applied too early.
Leftover Crème Brûlée Cheesecake should be stored in an airtight container in the refrigerator. If the caramelized topping is still intact, it may soften slightly over time, but the cheesecake will remain delicious for up to 3-4 days. For optimal texture, allow individual slices to come to room temperature for about 15-20 minutes before enjoying.
You May Also Enjoy These Related Desserts:
- Creme Brulee Cupcakes from Life, Love and Sugar: A delightful mini version of the classic.
- White Chocolate Creme Brulee: A decadent twist on the traditional custard.
- Creme Brulee French Toast: A breakfast or brunch indulgence with that familiar caramelized crust.
- Classic Creme Brulee: The traditional recipe for purists.
- Raspberry Creme Brulee: A fruity variation for a touch of tartness.
- Plus, explore more of my Best Dessert Recipes and discover invaluable Tips for Making the Best Cheesecakes to perfect your baking skills!
Stay connected and share your culinary creations with me through social media on Instagram, Facebook, and Pinterest. Don’t forget to tag me when you try one of my recipes! If you love the results, please consider leaving a 5-star rating in the recipe card below to help others discover this magnificent dessert.
Crème Brûlée Cheesecake
30 minutes
47 minutes
1 hour 17 minutes
10 servings
A lovely cheesecake made to mimic the terrific flavors of creme brulee! Recipe adapted from Fine Cooking.
Ingredients
For Crust:
- 2 cups graham cracker crumbs
- 2 tablespoons sugar
- ½ cup butter, melted
For Cheesecake:
- 24 ounces cream cheese (3 packages), at room temperature
- 8 ounces mascarpone cheese, at room temperature
- 2 tablespoons flour
- Pinch of salt
- 1 ¼ cups sugar
- 1 tablespoon pure vanilla bean paste (may substitute vanilla extract)
- 4 eggs, at room temperature
- 3-4 tablespoons turbinado sugar (sugar in the raw)
Instructions
- Preheat the oven to 375ºF (190ºC).
- In a bowl, mix the graham cracker crumbs, sugar, and melted butter until well combined and the crumbs are evenly moistened.
- Press the crumb mixture firmly onto the bottom and about halfway up the sides of a 9-inch springform pan.
- Bake for 10-12 minutes, or just until the crust slightly darkens and becomes fragrant. Remove the pan to a wire rack and allow the crust to cool completely.
- Reduce the oven temperature to 300ºF (150ºC).
- Using the paddle attachment of your stand mixer, beat the room-temperature cream cheese, mascarpone, flour, and salt together until the mixture is completely smooth and appears fluffy, usually about 5 minutes. Scrape down the sides of the bowl as needed.
- Gradually add the sugar to the cream cheese mixture and continue mixing on low speed until it is fully incorporated and smooth. Then, mix in the vanilla extract or paste until just combined.
- Add the eggs one at a time, mixing on low speed only until each egg is just incorporated into the batter. Be careful not to overmix at this stage to prevent excess air from entering the batter.
- Pour the cheesecake batter evenly into your cooled springform pan with the prepared crust.
- Prepare a water bath: Place the springform pan (wrapped securely in foil) into a larger roasting pan. Pour hot water into the roasting pan until it comes halfway up the sides of the springform pan. Carefully transfer to the preheated oven.
- Bake for approximately 55-65 minutes, or until the edges of the cheesecake are set and only the very center is slightly jiggly when the pan is gently tapped.
- Turn off the oven, crack open the door slightly, and let the cheesecake cool in the water bath for about an hour. Then, remove the cheesecake from the water bath and transfer it to a wire rack to cool completely at room temperature.
- Once cooled, place the cheesecake in the refrigerator and chill for at least 8 hours, or preferably overnight, to allow it to set fully and develop its rich flavors.
- To serve, carefully remove the sides of the springform pan. Use a large, thin spatula to gently release the cheesecake from the bottom of the pan and transfer it to a serving plate. Sprinkle the top evenly with 3-4 tablespoons of turbinado sugar. Using a kitchen torch, melt the sugar until it caramelizes into a golden, brittle crust. Serve immediately for the best contrast of textures.
Notes
For the absolute best results and the creamiest texture, always ensure your cream cheese, mascarpone, and eggs are at room temperature before you begin mixing the cheesecake batter. This simple step makes a significant difference in the smoothness and consistency of your finished dessert.
Recommended Products
As an Amazon Associate and member of other affiliate programs, I earn from qualifying purchases.
- Silicone Spatula
- KitchenAid KSM150PSER Artisan Tilt-Head Stand Mixer with Pouring Shield, 5-Quart, Empire Red
- 9-inch springform pan
Nutrition Information:
Yield:
12
Serving Size:
1
Amount Per Serving:
Calories: 465Total Fat: 37gSaturated Fat: 21gTrans Fat: 0gUnsaturated Fat: 12gCholesterol: 160mgSodium: 416mgCarbohydrates: 26gFiber: 1gSugar: 17gProtein: 8g
HOW MUCH DID YOU LOVE THIS RECIPE?
Please leave a comment on the blog or share a photo on Pinterest