
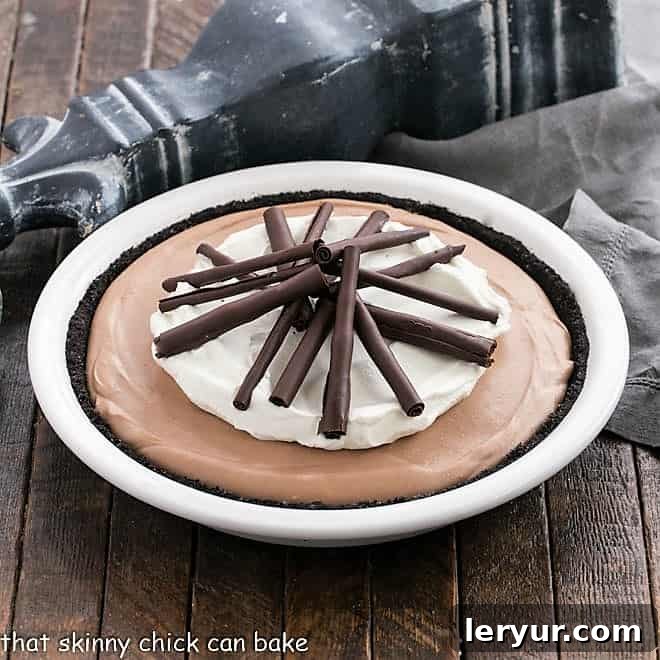
Prepare to be enchanted by this divine, no-bake Chocolate Candy Bar Pie. Whether you’re planning for the festive holidays, celebrating a special milestone, or simply succumbing to an irresistible chocolate craving, this pie is your ultimate answer. Its filling is not merely smooth; it’s an incredibly silky, rich, and utterly phenomenal experience that will have you reaching for just “one more slice” again and again. It quickly became the reigning champion among the chocoholics in my family, and I have no doubt it will capture your heart—and taste buds—too.
This exquisite Marshmallow Chocolate Pie Recipe truly stands out, offering a decadent yet remarkably simple dessert that promises rave reviews with every single bite.
Unveiling the Timeless Charm of Our Candy Bar Pie
This cherished recipe carries a beautiful legacy, originating from Bill’s Aunt Alice, a culinary artist whose skills in the kitchen were nothing short of spectacular. Visiting her home was always a treat, a journey through gourmet, multi-course meals that left an indelible mark. I am fortunate to possess a treasure trove of her recipes, meticulously penned in her elegant penmanship on quaint recipe cards. It was almost a ritual: I never left her house without requesting at least one, often more, of her incredible culinary creations. Among her many specialties were her pie crusts, legendary for their exquisite flakiness – a true testament to her baking prowess.
Aunt Alice had several chocolate pie recipes that became staples in my kitchen during my newlywed years. One featured a delicate meringue crust, while another, the inspiration for this very dessert, boasted a delightful cookie crust. It felt like the perfect time to resurrect these long-forgotten favorites, allowing their magic to once again grace our tables. In those early days, I recall using classic Hershey bars, which undoubtedly gave this dessert its memorable “Candy Bar Pie” moniker. Today, my pantry is consistently stocked with premium Ghirardelli chocolate bars, offering an even richer depth of flavor. The allure of recreating this beloved candy bar pie, enhancing it with superior ingredients, was simply irresistible.
Crafting Your Own Marshmallow Chocolate Pie: A Simple Guide
One of the most appealing aspects of this dessert is its no-bake nature, making it ideal for any occasion, especially when oven space is precious. The process is straightforward, ensuring a delightful experience from start to finish. Let’s walk through how to assemble this incredible pie.
- The Perfect Crust Foundation: Begin by creating your chocolate cookie crust. While a pre-made Oreo cookie crust offers a convenient shortcut, I highly recommend making your own from scratch using real butter. It results in a slightly crumbly, wonderfully rich texture that truly elevates the pie. Once pressed into your pie plate, freeze it to ensure it sets perfectly, providing a sturdy base for our silky filling.
- Melting the Marshmallow Magic: In a medium saucepan, combine the marshmallows and milk. Cook this mixture over low heat, stirring occasionally, until the marshmallows have completely melted into a smooth, luscious liquid. The gentle heat is key here to prevent scorching.
- Infusing with Chocolate Decadence: Once the marshmallows are melted, remove the saucepan from the heat and immediately add your chopped chocolate. Let the residual heat from the marshmallow mixture work its magic, melting the chocolate into a glossy, uniform blend. Stir until it’s perfectly smooth and free of any lumps.
- The Art of Folding in Whipped Cream: Allow the chocolate mixture to chill for about 10 minutes. This crucial step helps it cool slightly, preventing the whipped cream from deflating. While it chills, whip your heavy cream to soft peaks. Gently fold the cooled chocolate mixture into the whipped cream until just combined, creating a light, airy, yet incredibly rich filling.
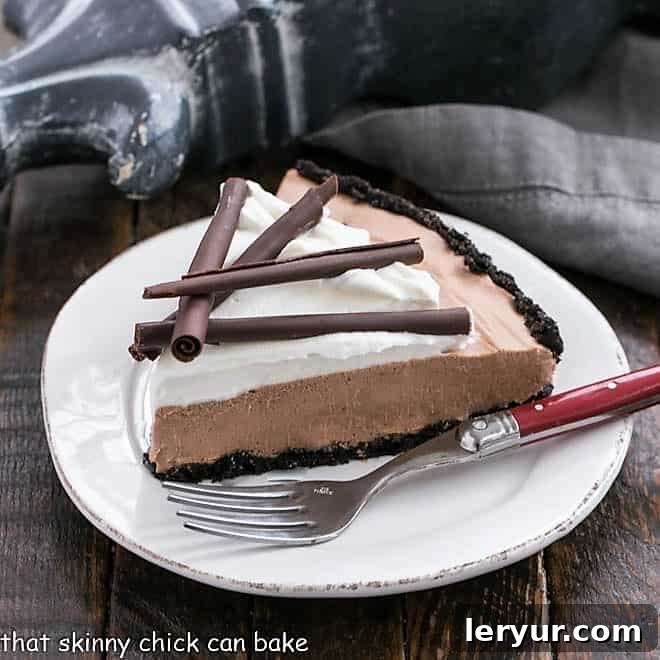
- Assembling and Chilling Your Masterpiece: Pour this heavenly filling into your prepared and frozen pie crust. Smooth the top with a spatula and then chill the entire pie for at least 3 hours, or preferably overnight, to allow it to set firm.
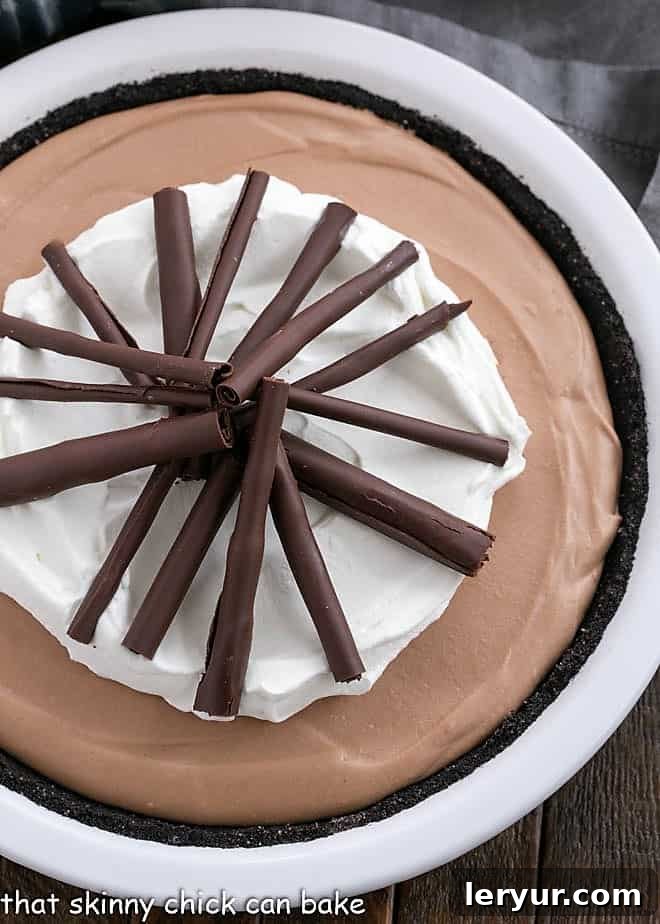
- The Finishing Touches: Just before serving, unleash your creativity with garnishes. A classic choice is grated chocolate or elegant chocolate curls. If you’re feeling adventurous, check out my tutorial on How to Make Chocolate Curls – they add a professional and visually stunning touch to this already impressive candy bar pie. A dollop of fresh whipped cream is also an absolute must!
Achieving Perfection: Your Guide to Fluffy Whipped Cream
Whipped cream isn’t just a topping; it’s an integral component that can elevate any dessert, especially our rich Candy Bar Pie. Mastering the perfect consistency takes a little practice, but once you get it, you’ll wonder how you ever lived without it. The goal is a light, airy, and stable cloud of cream that holds its shape beautifully. Not beating it long enough will result in a sad, slumping mound, while overbeating can cause it to deflate and become lumpy, bordering on butter. Thankfully, both scenarios can often be remedied (just beat longer for under-beating, or add a splash more cream and re-whip for over-beating), but getting it right the first time is incredibly satisfying!
- The Cold Start is Key: Begin by chilling your mixing bowl and whisk attachment (or hand mixer beaters) in the freezer for about 15 minutes before you plan to whip the cream. This cold environment significantly helps to stabilize the cream, making it less prone to separating and ensuring a quicker, more consistent whip.
- Essential Ingredients: You only need three high-quality ingredients for stellar whipped cream: heavy cream (ensure it has at least 36% fat content for best results), powdered sugar, and a good quality vanilla extract. PRO-Tip: The cornstarch naturally present in powdered sugar acts as a stabilizer, helping the whipped cream hold its shape longer. This is why I always recommend it over granulated sugar for whipped cream. However, feel free to use your preferred sweetener if you have a different preference.
- Whip to Soft Peaks: Pour the chilled heavy cream, powdered sugar, and vanilla extract into your pre-chilled bowl. Using a hand mixer or a stand mixer fitted with the whisk attachment, begin beating on medium-high speed. Watch carefully as the cream transforms. You’re aiming for “soft peaks” – these are peaks that barely hold their shape and flop over gently when you lift the beaters. This stage is crucial for a light and airy texture.
- Beware of Over-Whipping: This is where patience pays off. Over-whipping can quickly turn your beautiful cream grainy as the butterfat starts to separate from the buttermilk. As Fine Cooking aptly describes, “Soft peaks barely hold their shape. The peaks flop over immediately when the beaters are lifted.” Stop just at this point for the ideal texture.
- Flavor Explorations: While vanilla is a classic and beloved choice, don’t hesitate to experiment with other flavorings to complement your dessert. A touch of citrus zest (orange or lemon), a hint of cocoa powder for a chocolatey twist, a splash of your favorite liqueur, or other extracts like almond or peppermint can transform your whipped cream into something uniquely delicious.
The addition of freshly whipped cream to this Candy Bar Pie not only adds a beautiful visual appeal but also provides a creamy, contrasting texture that perfectly balances the rich chocolate filling. It’s an easy step that makes a world of difference!
More Chocolate Desserts to Satisfy Your Sweet Tooth
If this Chocolate Candy Bar Pie has sparked your love for all things chocolate, you’re in for a treat! Here are a few more delectable chocolate dessert recipes that are sure to become new favorites:
- Flourless Belgian Chocolate Cake from The View from Great Island: A rich, dense, and naturally gluten-free chocolate masterpiece.
- Chocolate Cream Pie: Another classic pie featuring a velvety smooth chocolate filling.
- Best Chocolate Cake Recipe: A truly moist and utterly irresistible chocolate cake crowned with a luscious chocolate buttercream frosting.
- Double Chocolate Cheesecake: For the ultimate chocolate indulgence, this cheesecake combines creamy texture with intense chocolate flavor.
- Explore more of our Homemade Chocolate Recipes for endless inspiration.
Join our community and stay connected through social media! Follow us on Instagram, Facebook, and Pinterest. We absolutely love seeing your culinary creations, so don’t forget to tag us when you try one of our recipes! And if this Chocolate Candy Bar Pie delivers the exceptional results we know it will, please consider giving it a 5-star rating in the recipe card below. Your feedback and support mean the world to us!
This delightful Candy Bar Pie recipe was originally shared in October 2012. The text and photos were lovingly updated in 2020 to bring you the best possible experience.
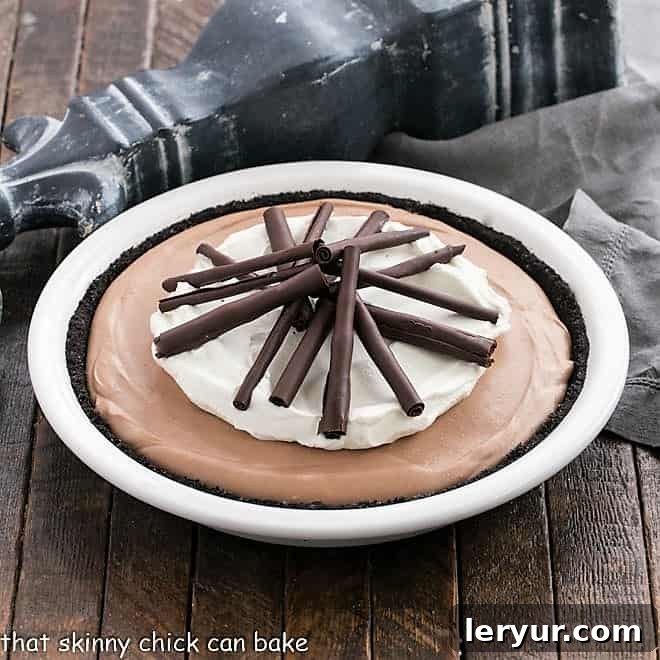
Candy Bar Pie
20 minutes
5 minutes
25 minutes
8 servings
Recipe from Bill’s Aunt Alice
Rated 5 out of 5 stars by 6 reviewers.
Ingredients
Crust:
- 25 Nabisco Famous Wafers, crushed
- 1 tablespoon sugar
- 4 tablespoons butter, melted
Filling:
- 20 regular marshmallows
- ½ cup milk
- 1 ½ cups heavy cream, divided
- 2 tablespoons powdered sugar
- 8 ounces semisweet chocolate, chopped
- Grated chocolate or chocolate curls, to garnish, optional
Instructions
- Combine crushed cookie crumbs, sugar, and butter. Pat into a 9-inch pie plate and freeze.
- In a medium saucepan, combine marshmallows and milk. Cook over low heat, stirring occasionally, till melted.
- Add chocolate chunks and remove from heat. Stir until melted. Refrigerate for 10 minutes.
- Whip the 1 cup cream and fold it into chocolate. Pour into shell and refrigerate for at least 3 hours.
- To serve, whip ½ cup whipped cream with powdered sugar and either top the pie with cream or garnish each slice with a dollop of whipped cream and grated chocolate.
Notes
Can use a premade Oreo crust if desired.
Recommended Products
As an Amazon Associate and member of other affiliate programs, I earn from qualifying purchases.
- KitchenAid 9-Speed Digital Hand Mixer
- 4 Quart All Clad Sauce Pan
- Ceramic pie plate
Nutrition Information:
Yield:
8
Serving Size:
1
Amount Per Serving:
Calories: 344Total Fat: 25gSaturated Fat: 15gTrans Fat: 1gUnsaturated Fat: 8gCholesterol: 67mgSodium: 128mgCarbohydrates: 30gFiber: 0gSugar: 20gProtein: 3g
Thatskinnychickcanbake.com occasionally offers nutritional information for recipes contained on this site. This information is provided as a courtesy and is an estimate only. This information comes from online calculators. Although thatskinnychickcanbake.com attempts to provide accurate nutritional information, these figures are only estimates.
Varying factors such as product types or brands purchased can change the nutritional information in any given recipe. Also, many recipes on thatskinnychickcanbake.com recommend toppings, which may or may not be listed as optional and nutritional information for these added toppings is not listed. Other factors may change the nutritional information such as when the salt amount is listed “to taste,” it is not calculated into the recipe as the amount will vary. Also, different online calculators can provide different results.
To obtain the most accurate representation of the nutritional information in any given recipe, you should calculate the nutritional information with the actual ingredients used in your recipe. You are solely responsible for ensuring that any nutritional information obtained is accurate.
HOW MUCH DID YOU LOVE THIS RECIPE?
Please leave a comment on the blog or share a photo on Pinterest