
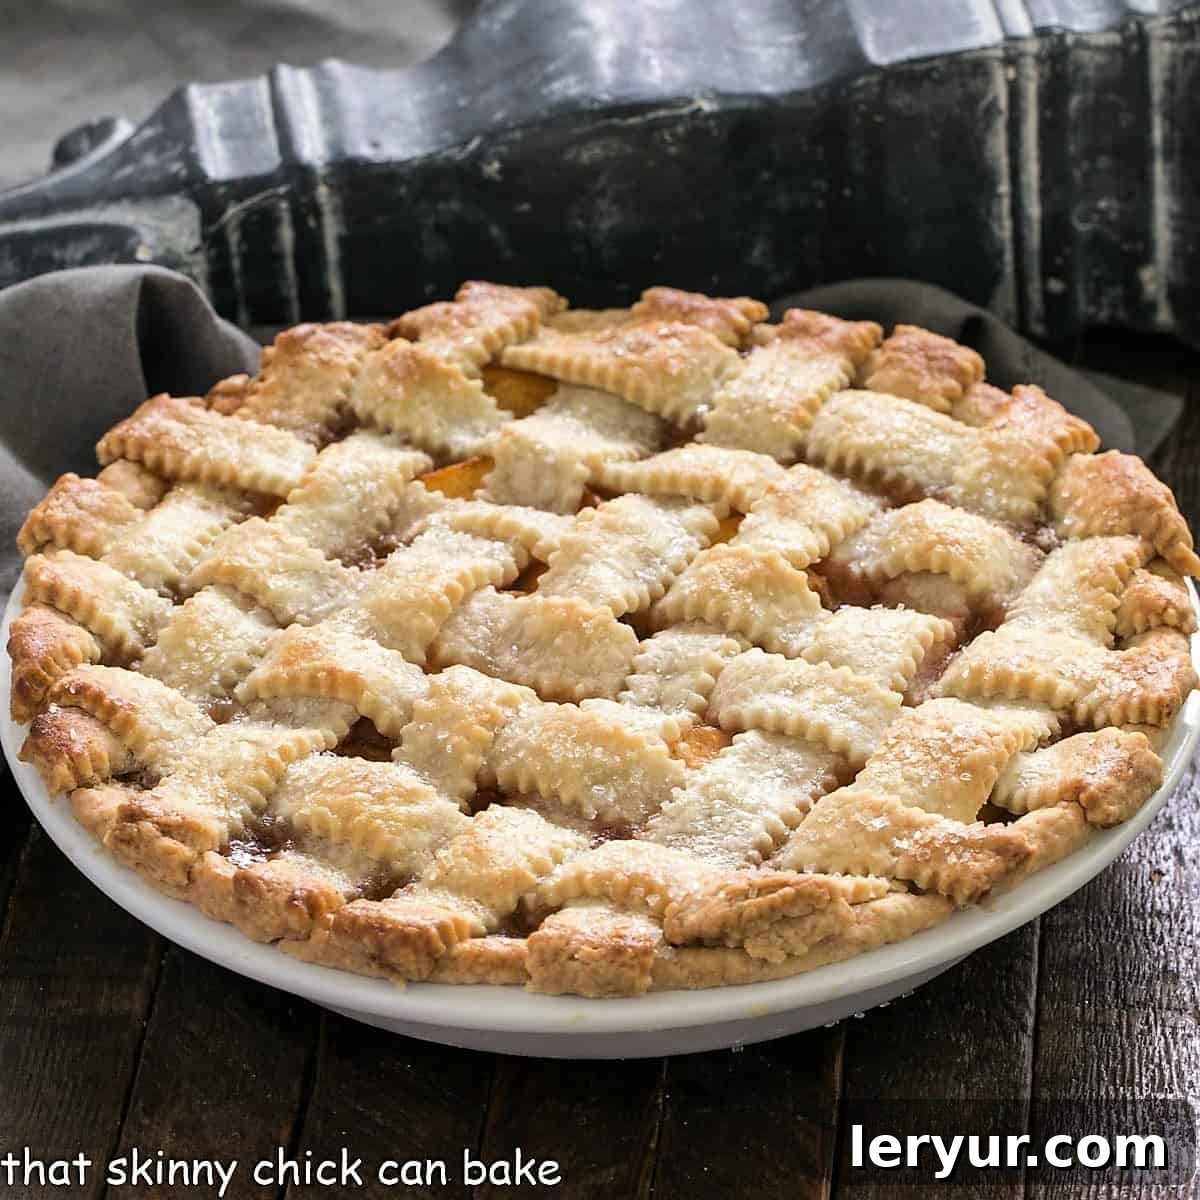
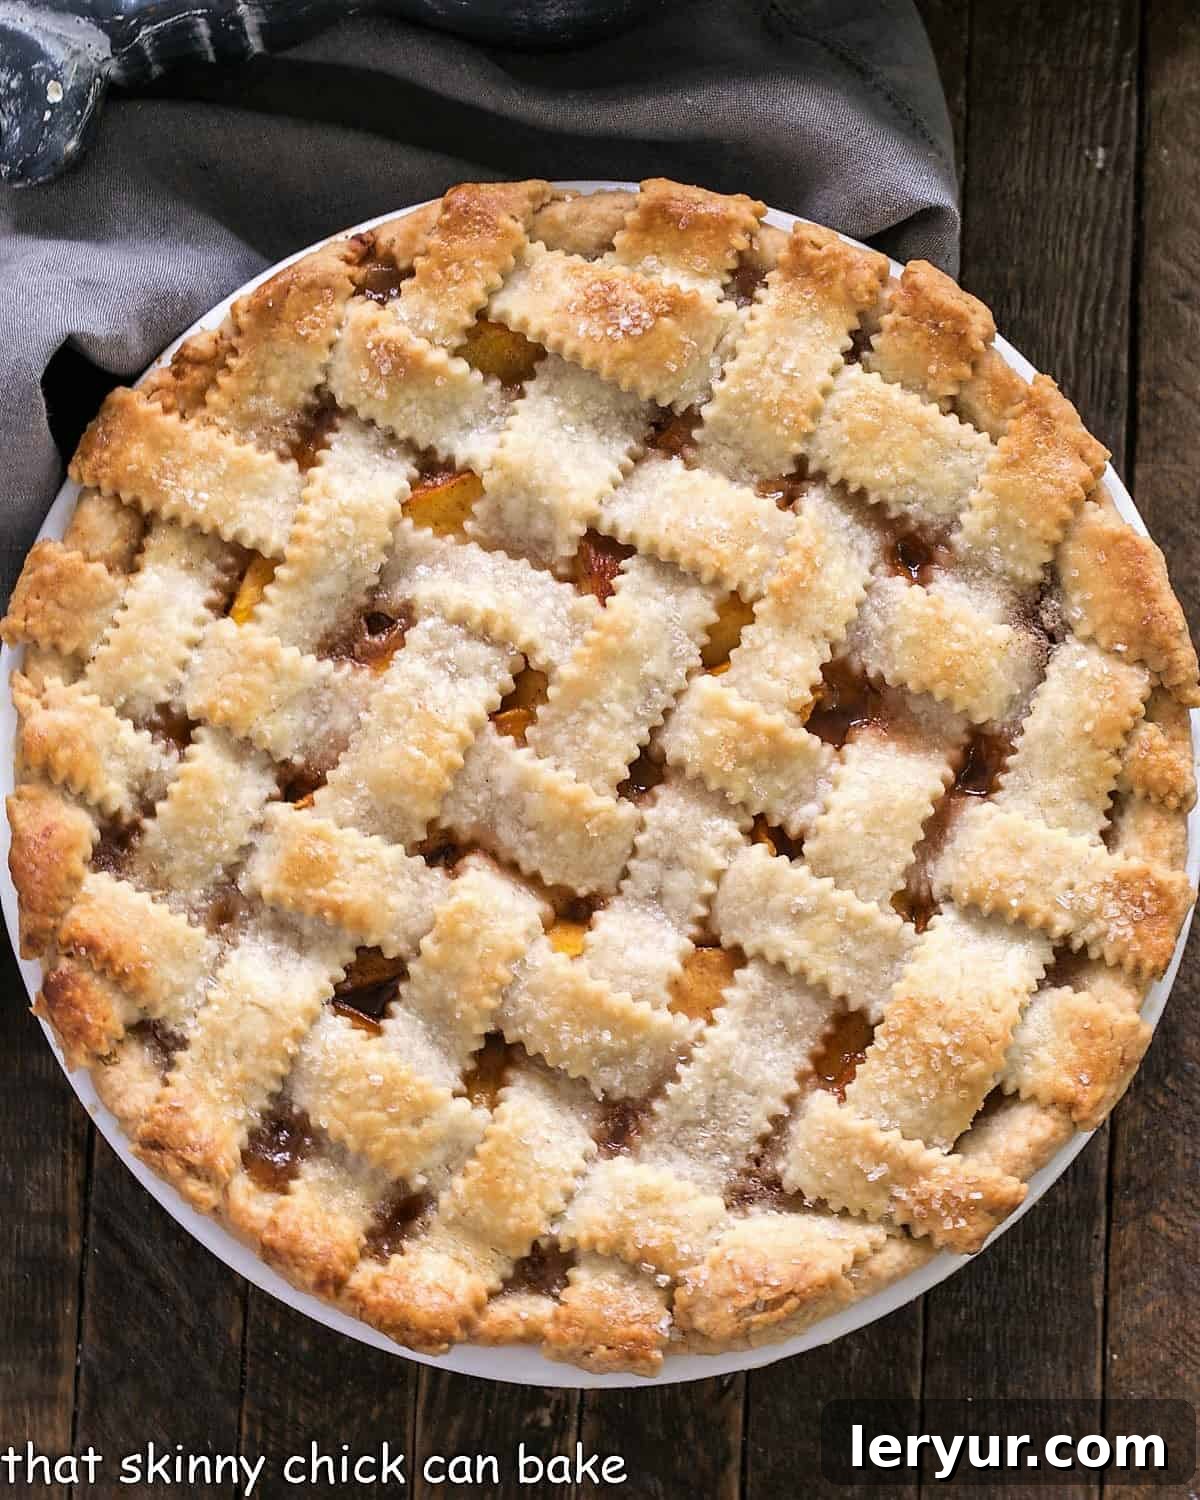
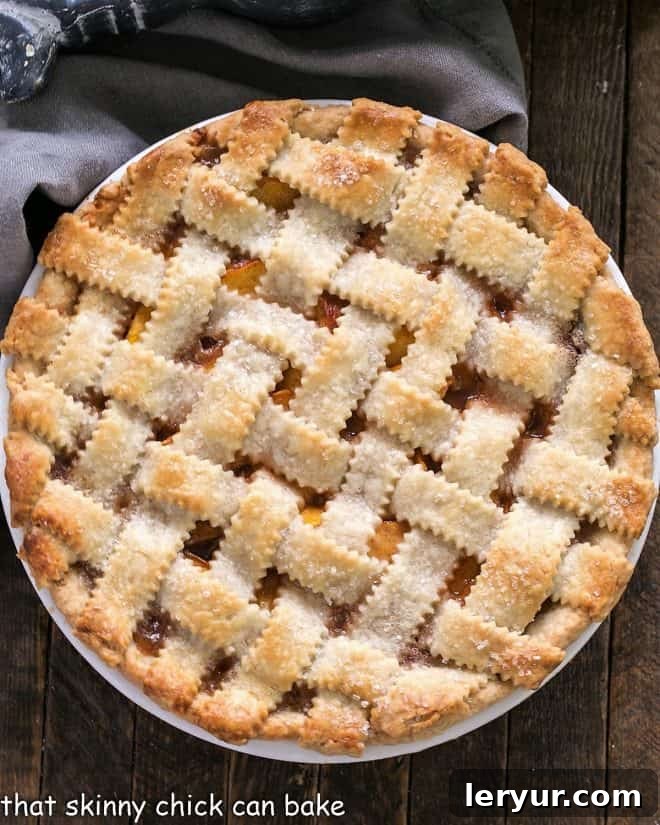
There’s nothing quite like the sweet, sun-kissed flavor of a perfectly ripe peach to signal the peak of summer. And when those luscious Georgia peaches finally arrive at your local produce stand, there’s only one thing to do: bake a truly spectacular **Fresh Peach Pie**. This isn’t just any peach pie; it’s a showstopper, boasting a golden, buttery **Lattice Pie Crust** that’s as beautiful as it is delicious. It’s the quintessential summer dessert, celebrating the season’s bounty in every tender, juicy bite.
Why This Classic Peach Pie is a Must-Bake
When the aroma of warm, spiced peaches baking in a flaky crust fills your home, you’ll understand why this recipe is a cherished classic. This isn’t just a dessert; it’s an experience, a taste of pure summer nostalgia that brings smiles to every face at the table. Here’s why this fresh peach pie deserves a spot in your baking repertoire:
- Unbeatable Flavor with Peak Season Peaches: The heart of any great peach pie is, naturally, the peaches themselves. Using sweet, ripe local or Southern peaches that are at the peak of their season guarantees an explosion of natural sweetness and a vibrant, authentic flavor that simply cannot be replicated with off-season fruit. This recipe allows the natural goodness of the peaches to truly shine.
- A Recipe That Earns Rave Reviews: While it might require a little more love and effort than whipping up a batch of cookies, the reward is immeasurable. This isn’t just a good peach pie; many consider it the best peach pie recipe. Prepare for compliments and requests for seconds – and the recipe! The balance of sweet, juicy filling with warm spices nestled in a perfectly flaky crust is simply irresistible.
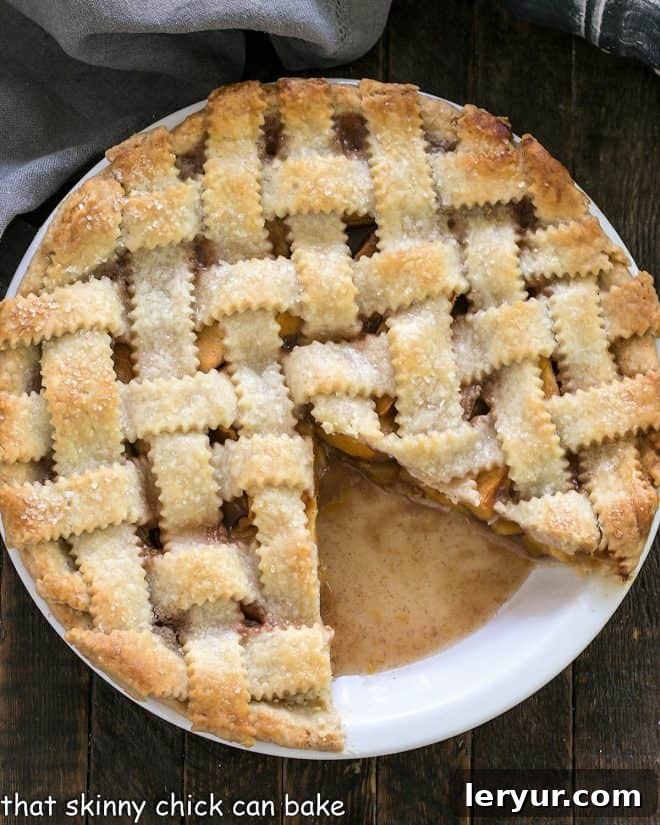
- The Stunning Visual Appeal of a Lattice Crust: Beyond its incredible taste, this peach pie is a feast for the eyes. The intricate lattice pie crust transforms a simple dessert into an elegant masterpiece. It’s a technique I began perfecting as a teenager, and while it might take a bit of practice, the impressive presentation it creates is well worth the effort. Each carefully woven strip reveals glimpses of the bubbling, golden peach filling beneath, promising a delightful treat before the first slice is even cut.
- Celebration of Summer’s Bounty: Baking this pie is a wonderful way to celebrate the abundance of summer. It’s a dessert that speaks of warm evenings, family gatherings, and the simple joy of fresh, seasonal ingredients.
Essential Ingredient Insights for the Perfect Peach Pie
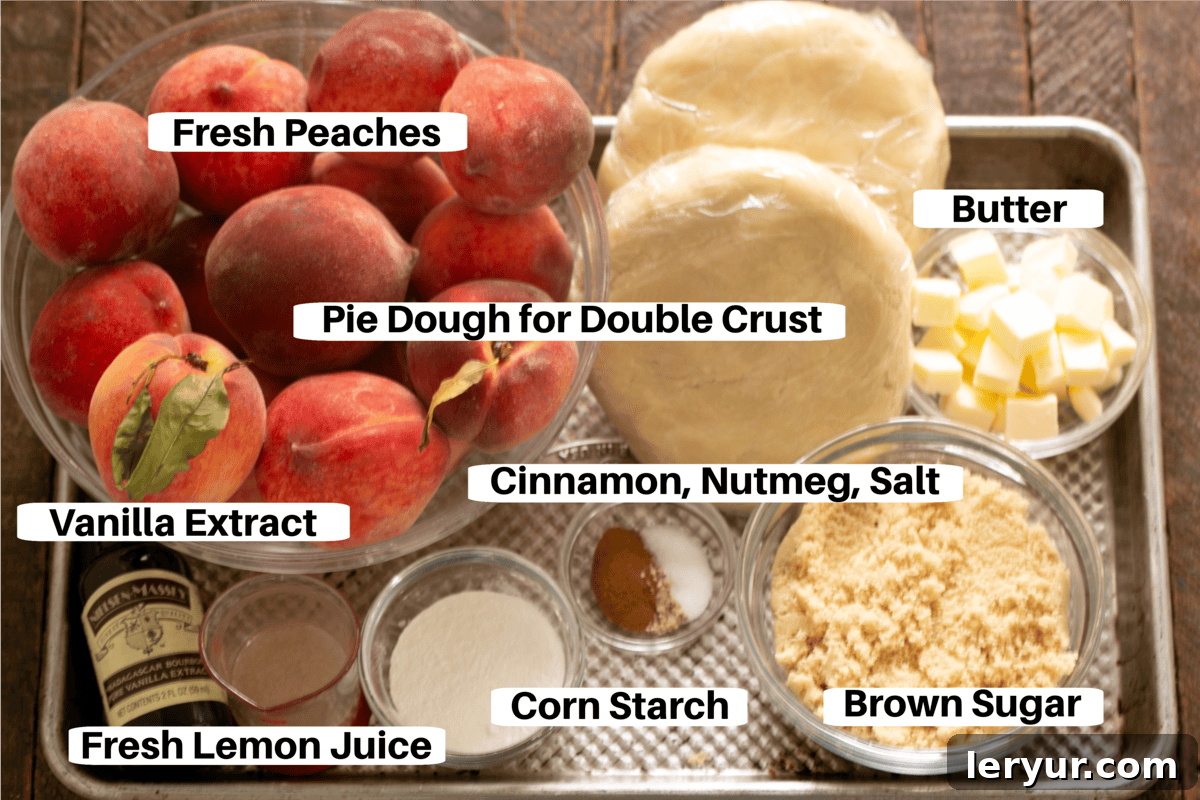
Crafting the perfect peach pie starts with selecting the right ingredients. Each component plays a vital role in achieving that coveted balance of flavor, texture, and aroma. Here’s a closer look at what you’ll need and why each choice matters for the best homemade peach pie:
- Kitchen Staples: Don’t underestimate the power of pantry essentials.
- Table Salt: A pinch of salt doesn’t just add flavor; it balances the sweetness of the peaches and other ingredients, enhancing the overall taste profile.
- Butter: Essential for dotting the filling, butter adds richness and a beautiful, caramelized flavor as the pie bakes. It contributes to the luxurious mouthfeel of the filling.
- Brown Sugar: Unlike white sugar, brown sugar offers a deeper, molasses-rich sweetness that complements the peaches beautifully, adding a subtle warmth and complexity to the filling.
- Ground Cinnamon & Ground Nutmeg: These warm spices are the perfect partners for peaches, enhancing their natural sweetness and adding a cozy, inviting aroma. Freshly grated nutmeg, even in a small amount, provides a more potent and nuanced flavor.
- Peaches: The Star of the Show: This is where quality truly matters. Always opt for peak-of-the-season fruit for the most delicious results.
- Selection: Choose peaches that are sweet and fragrant, with no green tinge to the skin (which indicates they were picked too early and won’t ripen properly). They should feel heavy for their size and yield slightly to gentle pressure.
- Preparation: Peeling and slicing the peaches ensures a smooth, tender filling without tough skin bits. The simple blanching method described in the FAQ section is ideal for easy peeling.
- Lemon Juice: A Bright Counterpoint: Always use freshly squeezed lemon juice.
- Flavor & Balance: Fresh lemon juice provides a crucial bright acidity that cuts through the sweetness of the peaches and sugar, preventing the pie from tasting cloyingly sweet. It enhances the peach flavor and adds a fresh zest.
- Preservation: It also helps prevent the sliced peaches from browning.
- Cornstarch (or Quick-Cooking Tapioca): The Thickening Secret: A common concern with fruit pies is a watery filling.
- Perfect Consistency: Cornstarch is key to thickening the delicious peach juices that release during baking, ensuring a perfectly set, not runny, filling.
- Alternative: Quick-cooking tapioca is an excellent substitute, providing a similar thickening power and a glossy finish to the juices.
- Vanilla Extract: Aromatic Depth: Invest in real vanilla extract, such as the Nielsen-Massey brand.
- Enhanced Aroma: Real vanilla adds a layer of warm, sweet aroma and flavor that subtly enhances the other ingredients, tying the entire filling together. Avoid artificial vanilla, which can taste flat.
- Pie Dough: The Foundation of Flakiness: You’ll need enough pastry for a double crust.
- Homemade Advantage: While my homemade pie crust recipe is highly recommended for its unmatched flakiness and flavor, a high-quality store-bought pie crust can be a convenient option. Just ensure it’s suitable for a double crust.
Step-by-Step Guide to Crafting Your Perfect Peach Pie
Baking a homemade peach pie is a delightful process, and with these clear steps, you’ll achieve a delicious result every time. Follow along to bring this classic dessert to life:
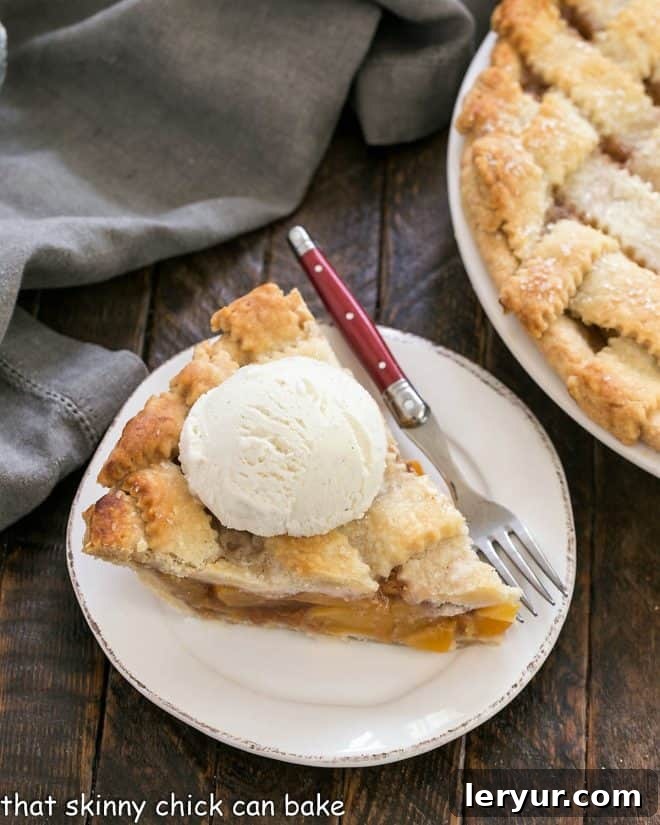
Mastering the Art of the Lattice Pie Crust
A lattice crust isn’t just a decorative flourish; it’s a testament to homemade goodness and a truly delightful way to top a fruit pie. I’ve always found the process immensely satisfying. Each little gap in the woven crust acts as a perfect window, revealing the glistening, bubbled-up fruit and its delicious juices beneath. Surprisingly, I find weaving a lattice crust easier and less prone to tearing than trying to create perfect, unattractive steam vents in a solid top crust. This recipe for a lattice-topped peach pie offers the perfect opportunity to hone your pie-making skills and add an elegant touch to your baking.
Don’t be intimidated by the intricate appearance; practice truly makes perfect. And, let’s be honest, at my house, a dessert’s taste always trumps its looks! While some bakers might opt for a simpler criss-cross pattern without actual weaving, I personally adore the sophisticated presentation created by the classic “over and under” plaiting process. This beautiful crust truly elevates your peach pie into a special dessert.
- Prepare Your Dough: Begin by rolling out one round of your pastry dough as if you were going to create a traditional, solid top crust. Aim for a thickness of about ⅛-inch and a diameter large enough to cover your pie plate with a slight overhang.
- Cut Your Strips: Using a sharp knife or a pastry wheel, cut the rolled-out dough into even strips. For a standard pie, I recommend strips about ½-¾-inch wide. You can experiment with different widths for varying effects.
- Lay the Foundation (First Direction): Carefully place half of your dough strips across the top of your pie filling in one direction. Start with shorter strips near the edges of the pie and use longer strips towards the middle to ensure good coverage. Leave a consistent space (about ½-inch) between each strip.
- Initiate the Weave (Fold Back Every Other): This is where the weaving truly begins. Gently fold back every other strip of dough over itself, so they are roughly half their original length, exposing parts of the peach filling.
- Place the Perpendicular Strip: Take one of your longest remaining strips and carefully lay it perpendicular to the folded-back strips, directly down the middle of the pie. Ensure it sits snugly against the folded edges.
- Unfold and Continue: Now, gently fold back the strips you initially folded (those that were tucked under the new perpendicular strip) to lie over the new strip.
- Repeat on One Side: Next, focus on just one half of the pie. Fold back the strips that were *not* folded back in the previous round (the alternating strips).
- Add the Next Weave: Place another strip of crust next to the one you just wove, ensuring it’s parallel to the central perpendicular strip. Maintain the same consistent spacing between all strips.
- Complete One Half: Continue this alternating fold-back and placing new strips process until one half of your pie is completely covered with a beautiful woven lattice crust.
- Mirror on the Other Side: Repeat the entire weaving process (steps 7-9) on the other half of the pie, working from the center outwards. Be mindful of how many strips you have left and adjust your spacing accordingly to ensure a uniform look.
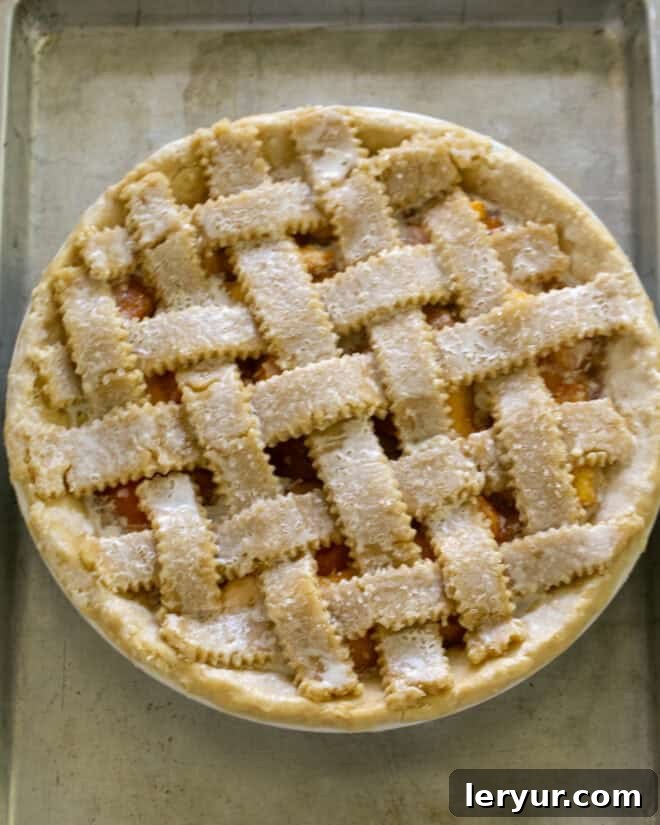
- Trim and Crimp: Once your lattice is complete, trim any excess dough from the edges, leaving about a one-inch overhang. Then, crimp or flute the edges of the top and bottom crusts together to create a decorative seal, preventing the filling from bubbling out too much.
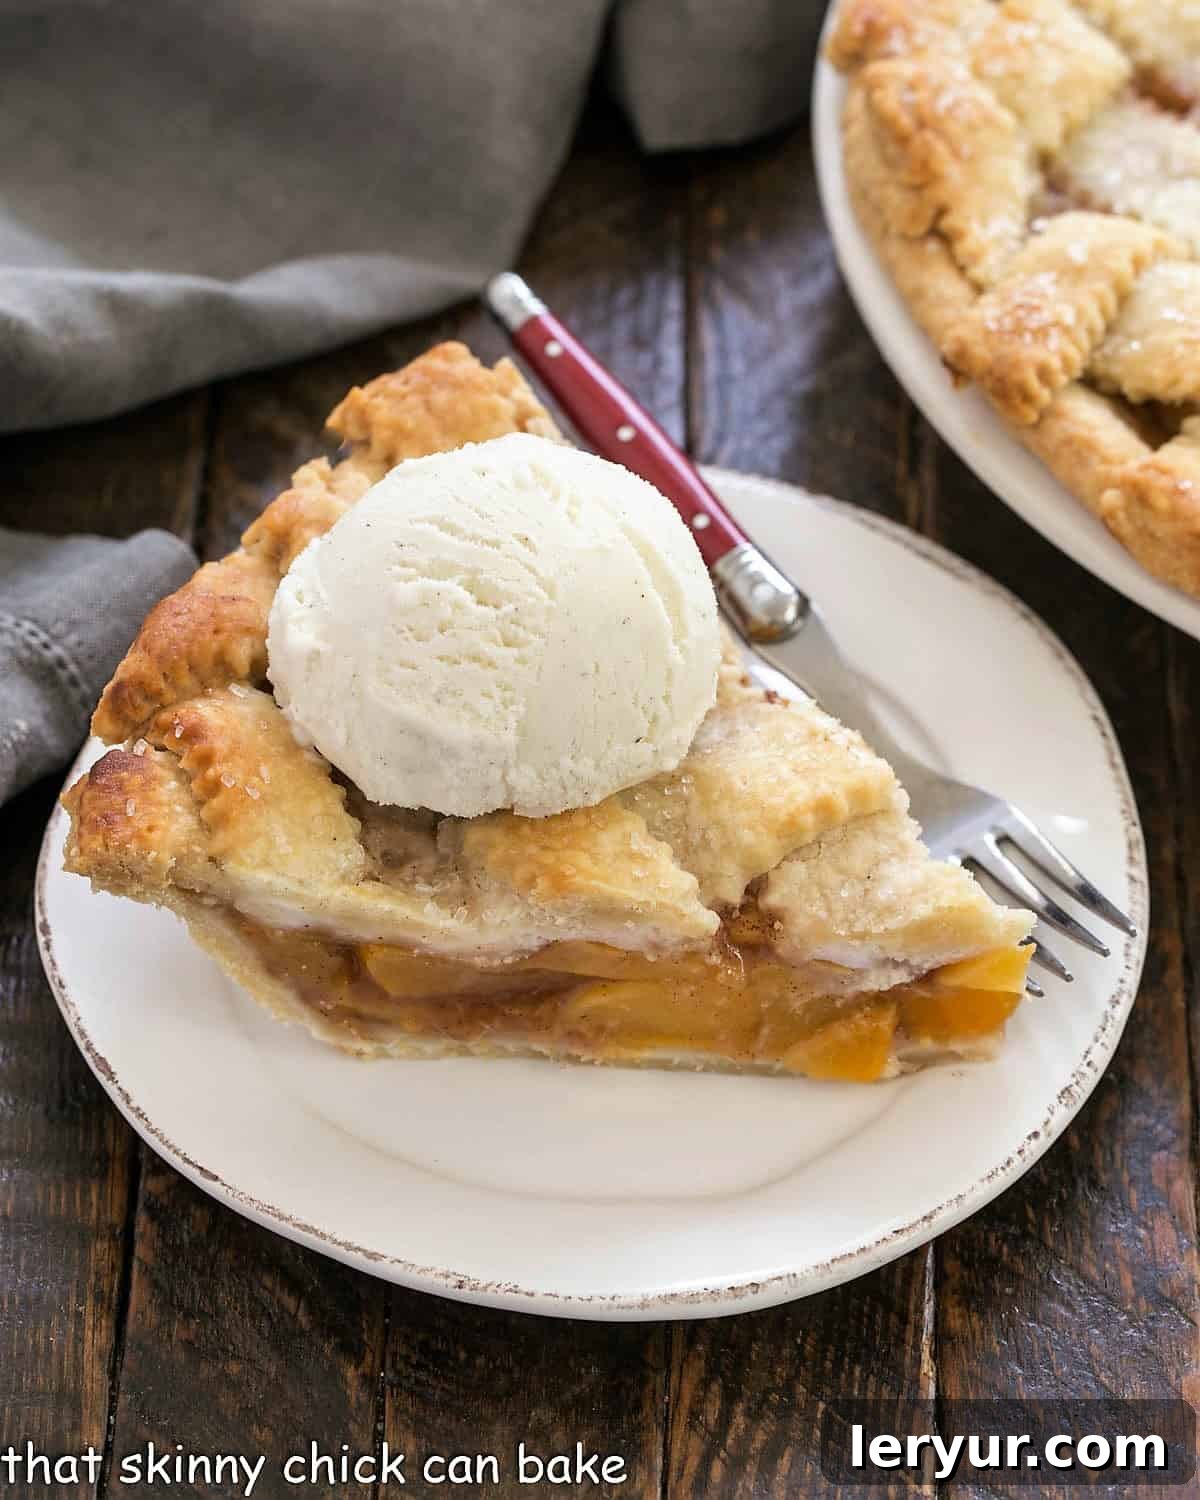
For those who prefer a visual guide, I’ve often referenced Elise Bauer’s excellent tutorial on Simply Recipes. Her detailed photos can be incredibly helpful if you’re attempting a lattice for the first time.
Of course, if weaving feels like too much of a challenge, you are always welcome to use a traditional solid pastry top, cutting a few slits for steam vents. And for convenience, a good quality store-bought crust is a perfectly acceptable alternative. My main hope is that you seize the opportunity of glorious fresh peaches and treat someone you love to the heartwarming, tasty experience of a classic homemade peach pie.
Frequently Asked Questions About Baking Peach Pie
Selecting ripe, flavorful peaches is paramount for an exceptional pie. First, use your eyes. Look for peaches without any green tinge to the skin, wrinkles, or noticeable bruises. Green peaches that were picked prematurely will not ripen properly and will lack flavor, so avoid them. The darker, reddish skin on a peach is the “blush” where it’s been sun-kissed. The lighter areas should be a vibrant yellow or white, depending on the peach variety. Crucially, these lighter areas, especially around the stem end, should show no hint of green.
Next, engage your sense of touch. Pick up a few peaches; they should feel surprisingly heavy for their size. Gently cup a peach in the palm of your hand and apply very light pressure. A ripe peach should feel slightly soft and have some “give” without being mushy. Avoid pressing with your fingertips, as this can easily bruise the delicate fruit. Most importantly, a truly ripe peach should have a distinct, sweet, and intoxicating peach aroma – exactly how you want it to taste. If a peach has no smell at all, it likely means it was picked too soon and may never develop its full flavor.
Peeling peaches can seem daunting, but a simple blanching method makes it incredibly easy. Bring a large pot of water to a rolling boil. While the water heats, use a small, sharp knife to cut a very shallow “X” through the peel on the bottom of each peach, opposite the stem end. Carefully lower a few peaches into the boiling water (don’t overcrowd the pot) and boil for just 30-45 seconds. This short blanching helps loosen the skin. Immediately remove the peaches with a slotted spoon and plunge them into a bowl of ice water to stop the cooking process. Once cooled for a minute or two, the peels should slide right off with a knife or your fingers. A note of caution: if your peaches are still quite hard and unripe, this method may not work as effectively, as the skin won’t separate easily.
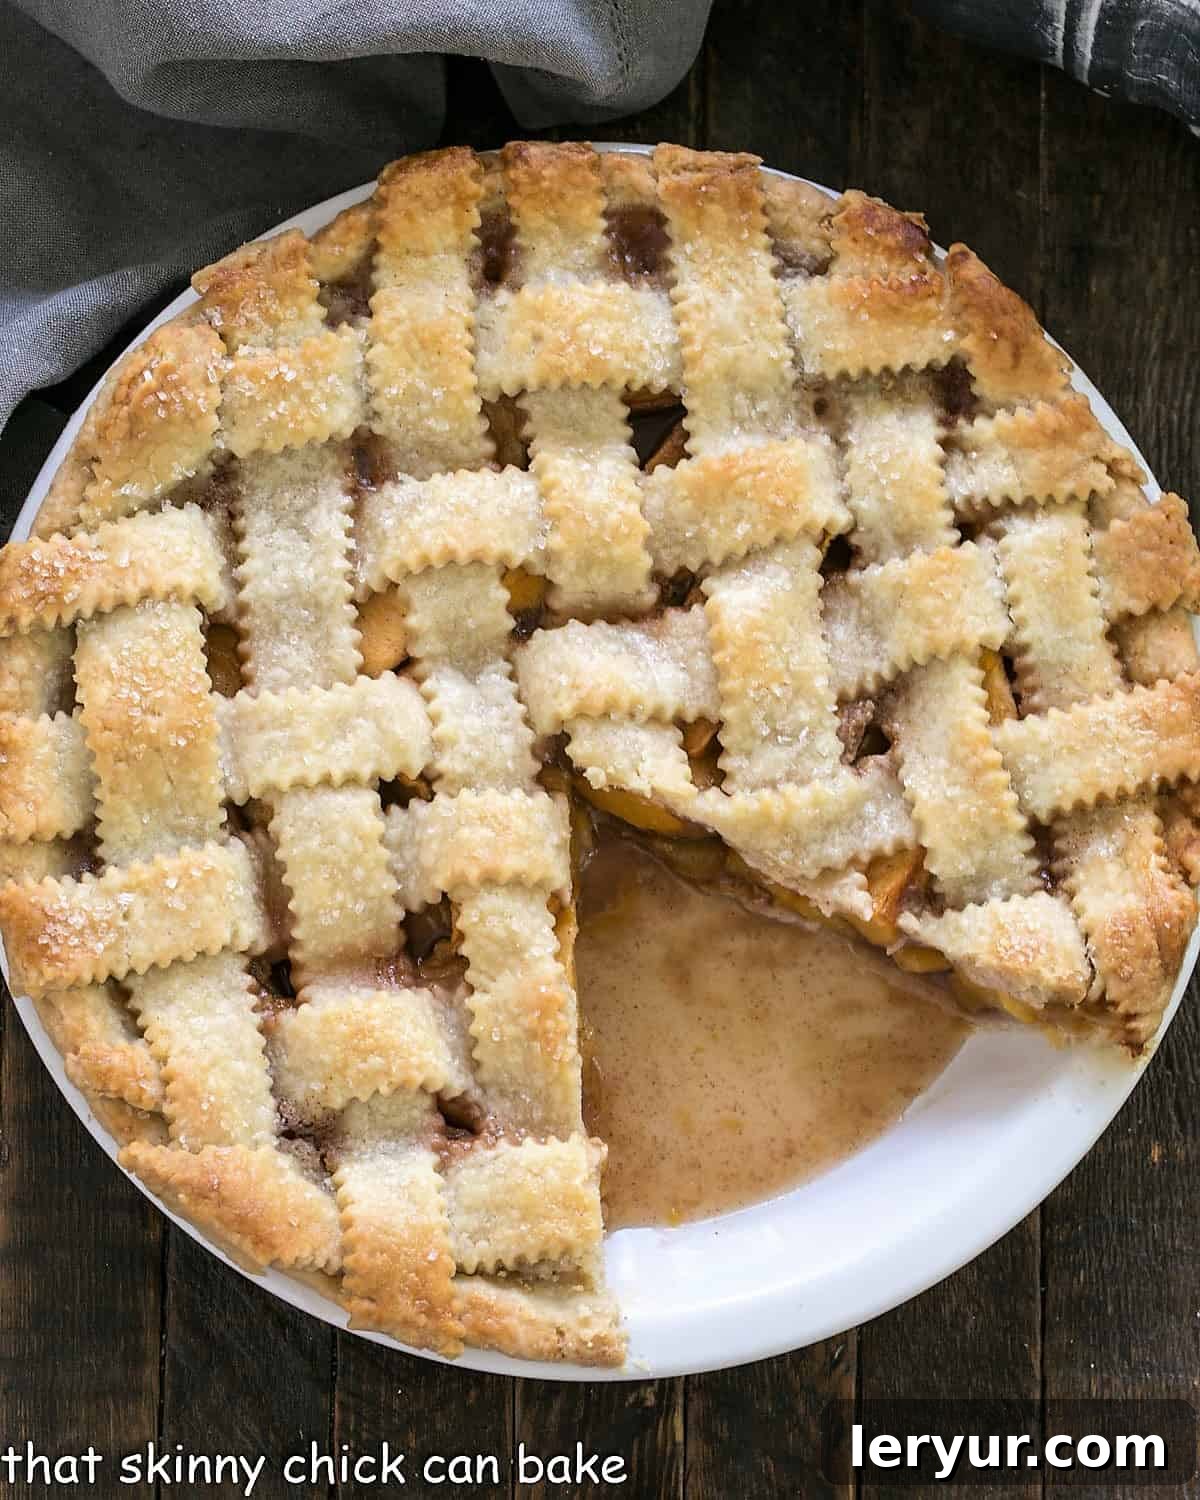
Baking times are always a guide, but the true indicator of a perfectly baked peach pie is in the filling. You’re looking for the very center of the pie to start bubbling actively. This is precisely where having a lattice crust becomes incredibly helpful, as those open spaces allow you to see the magic happening! The fruit filling must reach a high enough temperature to bubble or boil gently for a sufficient amount of time; this process activates the cornstarch or tapioca, allowing the juices to thicken properly and set. So, even if your timer goes off, it’s absolutely imperative that you peek through the lattice vents or any steam slits to confirm that the filling is indeed bubbling consistently. If it’s not, continue baking for another 5-10 minutes until you see those bubbles, then remove it from the oven to cool.
Achieving the perfect, flaky pie crust can be a lifelong quest for many bakers. While I continue to refine my technique, my go-to recipe, particularly for fruit pies, comes darned close to perfection. It incorporates both cold butter and leaf lard. Leaf lard, which undergoes a special rendering process, is renowned for creating an exceptionally flaky and incredibly tender crust that simply melts in your mouth. For this peach pie, I often successfully use shortening as a substitute for leaf lard, and it still yields wonderful results. The key is to keep all your ingredients, especially the fat, as cold as possible and to avoid overworking the dough. For a detailed recipe that truly delivers, check out my Pumpkin Pie Recipe, which uses this same fantastic crust base.
Explore More Delicious Dessert Recipes
If you’ve enjoyed this classic peach pie, you’re in for a treat with these other delightful recipes. Perfect for any occasion, these desserts are sure to satisfy your sweet cravings:
- Best Summer Dessert Recipes: A collection of light, refreshing, and seasonal treats perfect for warmer weather.
- Blueberry Peach Custard Pie: A creamy, fruity pie combining two beloved summer fruits with a silky custard.
- Lattice Topped Raspberry Pie: If you loved the lattice technique, try it with vibrant, tart raspberries for another impressive dessert.
- More Dessert Recipes: Dive into a wider selection of sweet treats for every taste and season.
*A special note for those in the Indianapolis area: you can often find high-quality leaf lard at local artisan butcher shops like Moody’s Butcher Shops. It’s a significantly different product from the more processed lard found in most grocery stores and truly helps achieve that old-fashioned, flaky crust your grandmother might have made.
Stay in touch through social media @ Instagram, Facebook, and Pinterest. Don’t forget to tag me when you try one of my recipes! And if you love the results, please give it a 5-star rating in the recipe card.
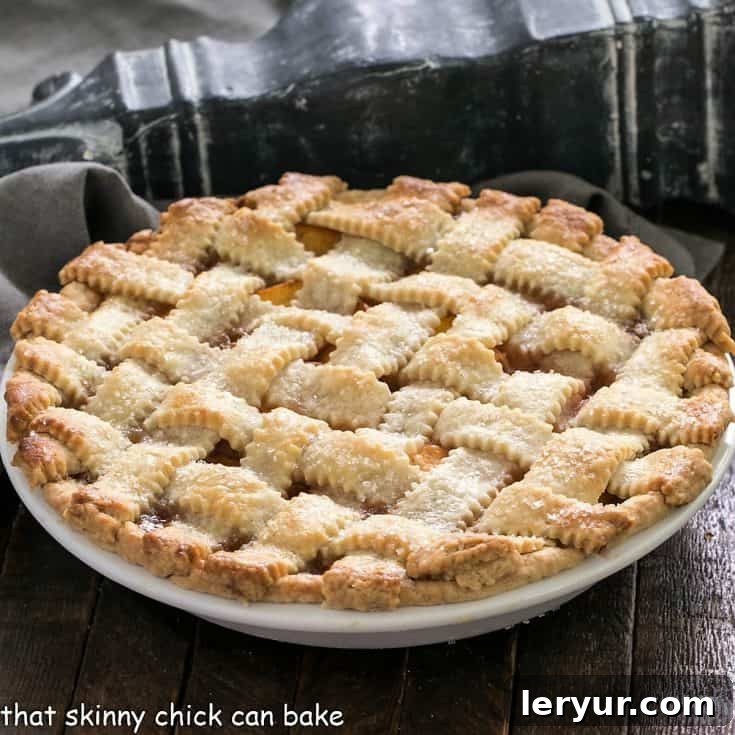
Classic Peach Pie with a Lattice Crust Recipe
30 minutes
1 hour
1 hour 30 minutes
8 servings
A classic peach pie recipe with fresh peaches and a touch of warm spices! The lattice crust adds an elegant touch.
Ingredients
- Pastry for a double crust pie
- 2 ½ pounds peaches, peeled and sliced
- ¾-1 cup light brown sugar (depending on sweetness of your peaches)
- Juice of ½ lemon
- 2 tablespoons cornstarch (or quick-cooking tapioca)
- ½ teaspoon vanilla extract
- ½ teaspoon cinnamon
- A few grates of fresh nutmeg or ⅛ teaspoon ground nutmeg
- ¼ teaspoon salt
- 4 tablespoons butter (I forget the butter half the time and consider it optional)
- Cream
- Sugar
Instructions
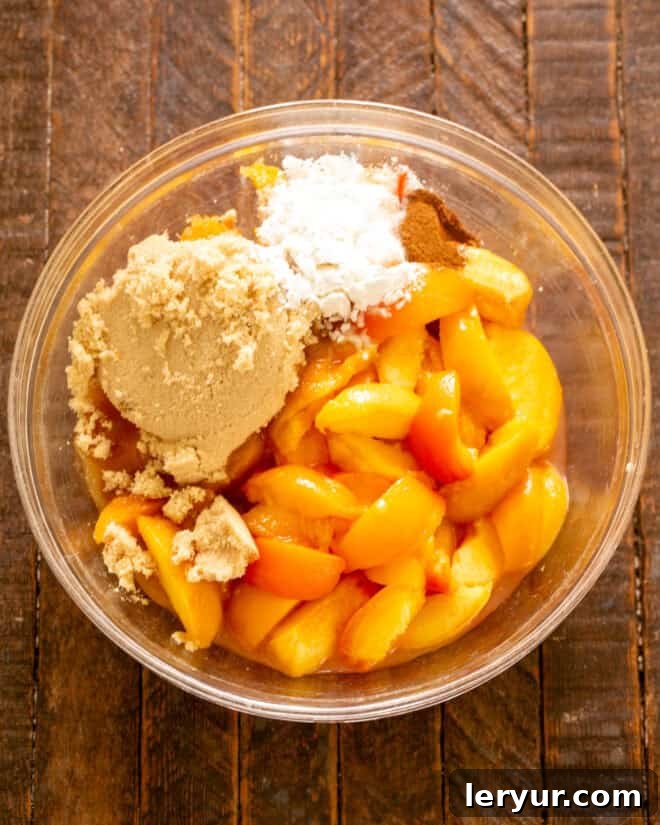
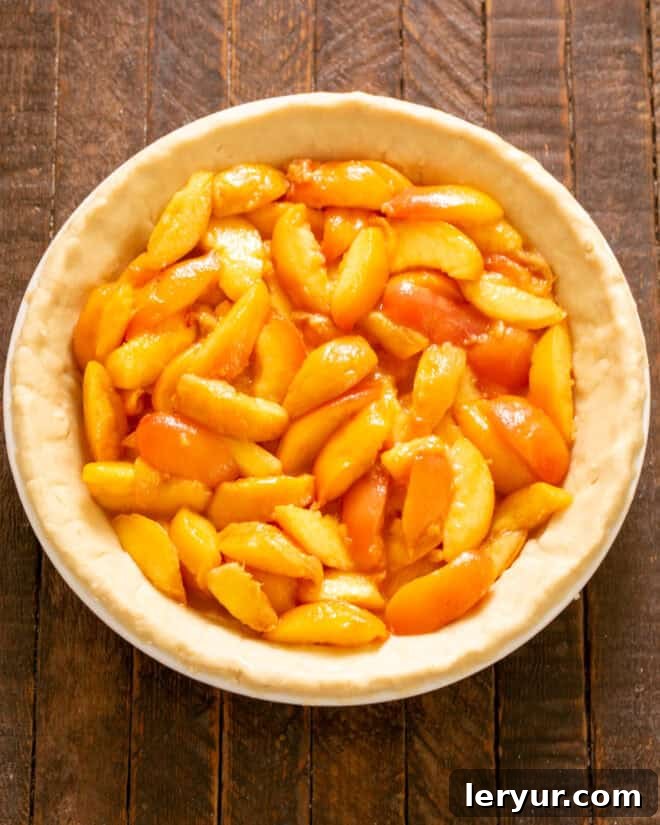
- Mix sliced peaches with sugar, lemon juice, tapioca, vanilla, cinnamon, nutmeg, and salt. Set aside.
- Roll one piece of pastry crust into a 12-inch ⅛-inch thick circle on a lightly floured surface (refrigerate the other disk).
- Fit dough into a 9-inch pie plate, letting it hang over the edge. Fill with peach mixture and dot with butter.
- Roll out the other piece of dough and place over the filling (or cut into strips and weave a lattice crust); press the crust edges together and trim, leaving a one-inch overhang.
- Flute edges to seal. Using a knife make a few air vents in the top crust.
- Chill for 30 minutes. Preheat oven to 450º.
- Reduce the oven to 375º. Place the pie on a foil-lined baking sheet. Bake the pie for 30 minutes.
- Brush the crust with heavy cream and sprinkle with sugar. Bake another 30 minutes or till the filling in the center looks bubbly.
- Cool pie on rack. Serve with vanilla ice cream, if desired.
Notes
Recipe adapted from Food Network Magazine.
If your dough gets too soft when rolling, chill it longer. It may also need a little more flour.
Use the pie crust for my Pumpkin Pie Recipe and feel free to substitute shortening for the leaf lard.
Recommended Products
As an Amazon Associate and member of other affiliate programs, I earn from qualifying purchases.
- French Rolling Pin
- Ceramic pie plate
- Roul’Pat silicone counter sized silcone mat
Nutrition Information:
Yield:
8
Serving Size:
1 slice
Amount Per Serving:
Calories: 289Total Fat: 11gSaturated Fat: 6gTrans Fat: 0gUnsaturated Fat: 4gCholesterol: 25mgSodium: 203mgCarbohydrates: 47gFiber: 3gSugar: 37gProtein: 3g
HOW MUCH DID YOU LOVE THIS RECIPE?
Please leave a comment on the blog or share a photo on Pinterest
In our household, I learned Mr. Pickypants’ food preferences intimately over decades of marriage. I always kept a container of high-quality leaf lard* in the freezer, knowing that when combined with butter, it creates the flakiest, most exquisite pie crust imaginable. So, when those luscious, ripe Georgia peaches finally became available at my disposal, it was a clear sign: it was time to bake the first peach dessert of the season. The local farmstands overflowing with peaches mean that crisps and cobblers will surely follow. But let me tell you, after his very first bite of this classic peach pie, my husband, Bill, was absolutely thrilled. There’s truly nothing quite like the joy of a homemade pie made with fresh, seasonal ingredients.