
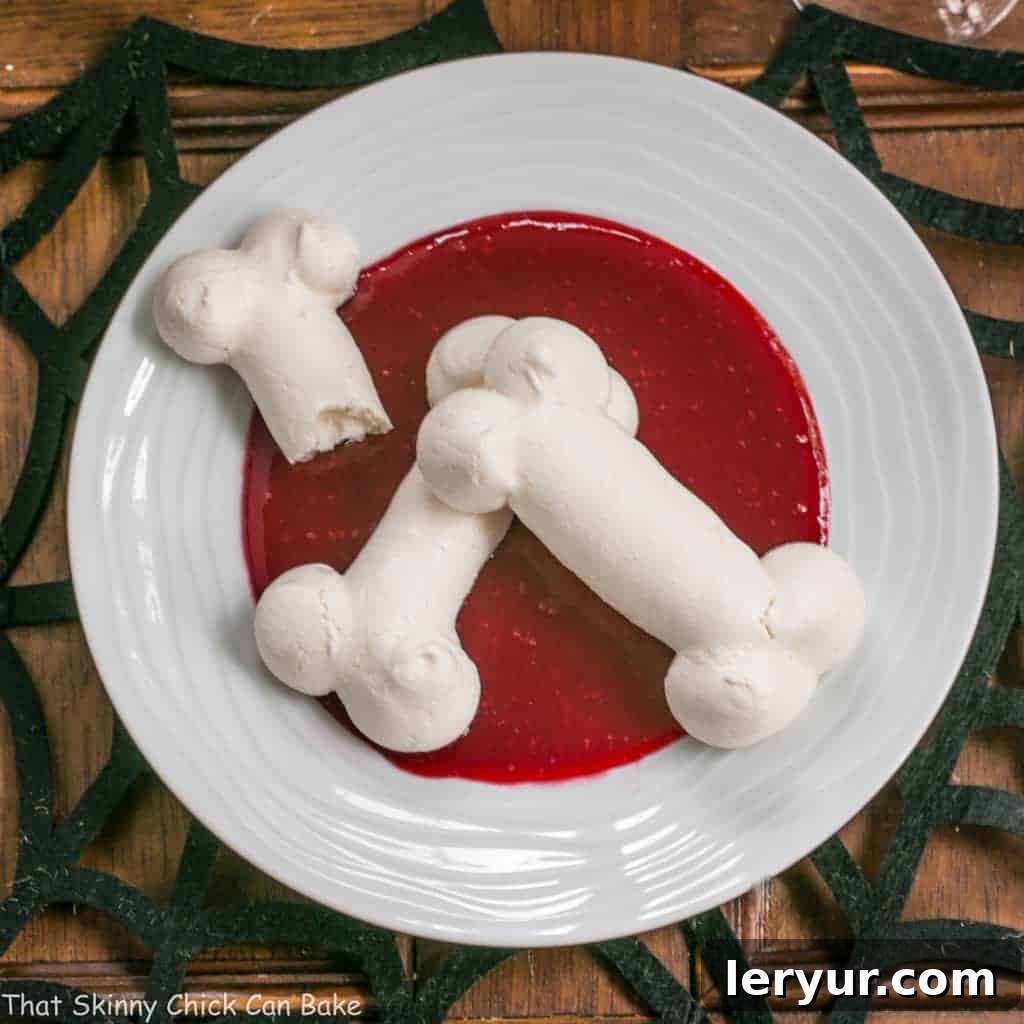
Ghoulishly Delightful: Spooky Meringue Bones with Raspberry Blood Sauce for Halloween
Unleash your inner mad scientist this Halloween with these incredibly sweet and eerie Meringue Bones. Delicately crisp and melt-in-your-mouth, these ghostly treats are served dramatically over a vibrant pool of homemade raspberry blood sauce, creating a truly ghoulish spectacle that’s as delicious as it is haunting. Perfect for adding a touch of macabre elegance to any spooky celebration, this Halloween dessert promises to be a memorable hit!
This recipe isn’t just about the fright factor; it’s about crafting an unbelievably tasty Halloween treat that will disappear faster than ghosts on Halloween morning. The light, airy meringue offers a delightful contrast to the rich, fruity raspberry sauce, making for a sophisticated pairing that appeals to both adults and trick-or-treaters alike. Forget the elaborate decorations; sometimes, the most impactful statements are made through simple, yet striking, edible creations.
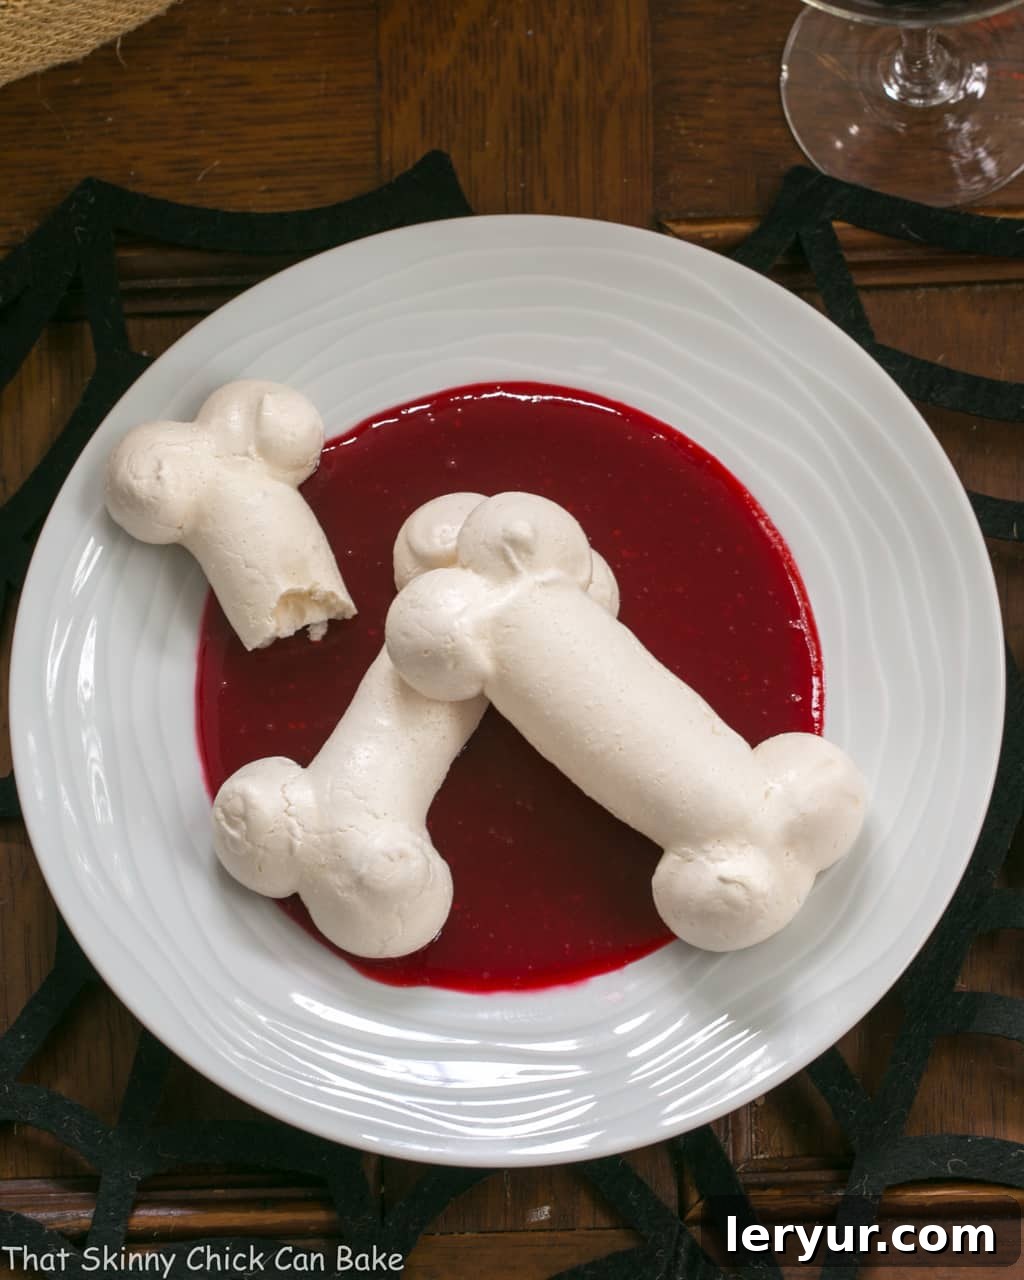
Why These Meringue Bones are a Must-Make Halloween Treat
Planning for Halloween festivities can be daunting, but some desserts are simply too good and too easy to pass up. Our Meringue Bones recipe stands out as a top contender for your spooky season baking. Here’s why you absolutely need to add this to your must-make list:
- Effortlessly Spooky Elegance: Despite their dramatic appearance, these Halloween sweets are surprisingly simple to prepare. They offer a refined touch to your dessert spread without requiring complex techniques or hours in the kitchen. The minimal ingredients and straightforward process make them accessible for bakers of all skill levels.
- No Special Equipment Needed: Don’t own a fancy piping bag? No problem! Achieving the bone shape is incredibly easy. I simply used a standard ziplock bag, snipping off one corner after filling it with the meringue mixture. This hack means you can create beautifully shaped meringue bones without investing in specialized tools, keeping your focus on the fun of baking.
- The Perfect Pairing: The addition of the luscious raspberry sauce not only enhances the ghoulish visual appeal but also elevates the entire dessert experience. The tartness of the raspberries beautifully balances the sweetness of the meringue, adding a sophisticated flavor profile that transforms a simple cookie into an elegant seasonal dessert. It’s the “blood” that ties the whole gruesome (and delicious) theme together.
- Deliciously Distinctive: Unlike many overly sweet Halloween candies, these meringue bones are light, airy, and melt-in-your-mouth. The contrast of the crisp meringue with the smooth, fruity sauce is truly delightful, making this a dessert that both children and adults will adore. It’s a treat that stands apart from the usual chocolate and candy offerings.
These Meringue Bones aren’t just a dessert; they’re a conversation starter, a centerpiece, and a testament to how simple ingredients can create something truly extraordinary for the Halloween season.
Crafting Creepy Meringue Bones Over a Pool of Raspberry Blood
Our approach to Halloween is generally pretty relaxed around here. You might find two pumpkins guarding our front door, often carved with the logos of our favorite sports teams, and a generous supply of full-sized candy bars ready for trick-or-treaters. But this year, a more festive spirit took hold, inspiring a dive into some special Halloween baking projects. After creating a delightful cookie cake adorned with an intricate icing spider web, I decided to venture into something a bit more refined, yet still perfectly themed: elegant meringue bones.
These delicate, crispy sweets were baked low and slow to achieve their signature airy texture. The real magic happened when they were served over what I affectionately call a “puddle of blood”—a rich, vibrant raspberry sauce. This combination transforms a simple meringue into a dramatic Halloween Dessert, perfect for any gathering, whether you choose to embrace the gory condiment or serve the meringues solo. The visual impact alone makes them a showstopper, while their exquisite taste ensures they’re devoured.

Meringue Bones: A sophisticated touch for your Halloween spread.
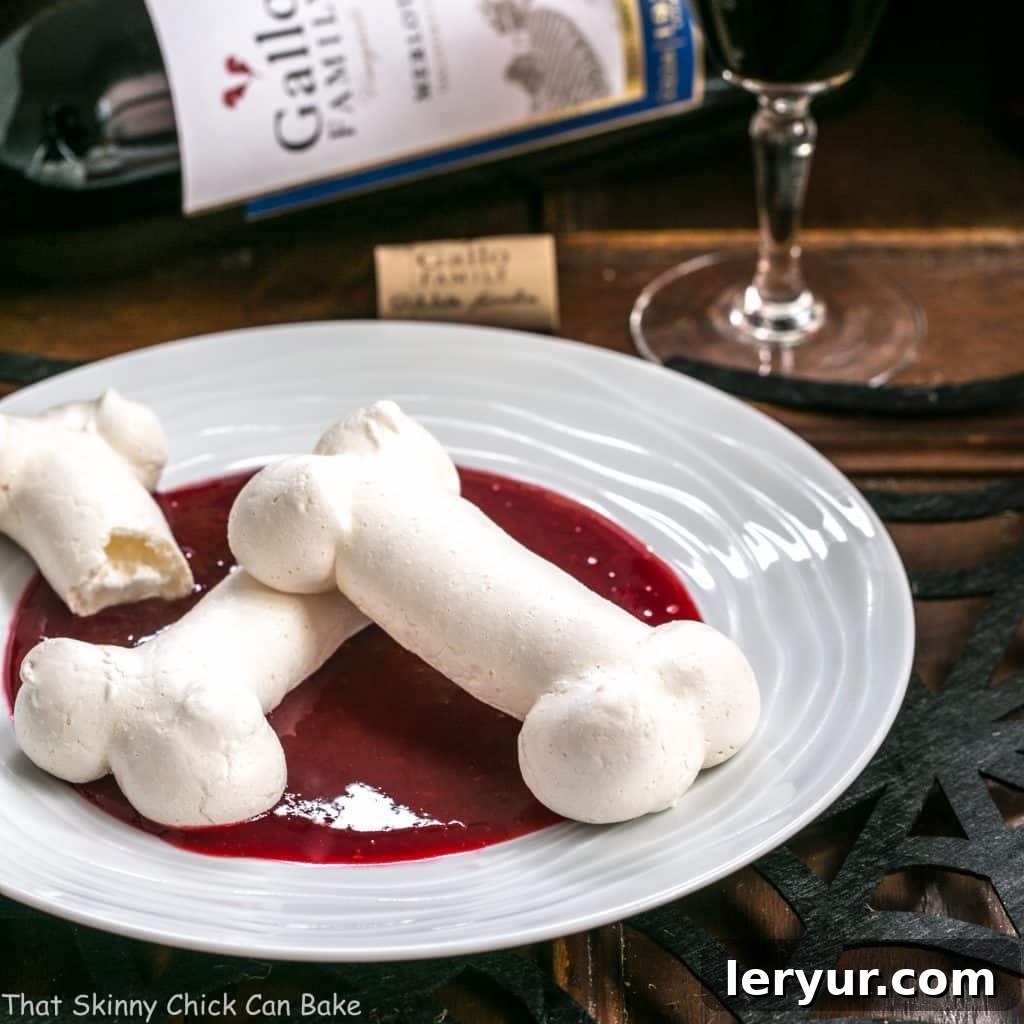
A Bone-a Fide Halloween Dessert Sensation!
You know a recipe is truly a hit when it garners more than just polite compliments. It usually starts with an enthusiastic chorus of praise from the family. A stony silence, on the other hand, typically signals indifference or, worse, a recipe destined for the reject pile. But the ultimate seal of approval, the highest compliment any home cook can receive, is when my husband takes the leftovers to work, raves about them to his colleagues, and then returns home specifically asking when the recipe will finally appear on the blog. That’s when I know I’ve struck culinary gold.
Such was the case with these Halloween meringue bones. Not only was he captivated by the crisp, sweet meringue, but he went absolutely nuts for the raspberry sauce – deeming it the perfect accompaniment. While the sauce itself is surprisingly straightforward, almost too simple to be called a “recipe” on its own, its inclusion elevated these easy meringue cookies into a dessert truly worth bragging about. It added depth, vibrancy, and that essential ghoulish flair. I have to agree; these Meringue Bones are undeniably a pretty cool, and incredibly delicious, Halloween treat that promises to impress!
Mastering Meringue: Essential Tips for a Perfect Halloween Dessert
Meringues, while appearing delicate and complex, are crafted from just a few humble ingredients: egg whites, cream of tartar, and sugar. However, achieving that perfect crisp exterior and airy interior requires a few crucial techniques. Ignore these “tricks,” and you might find your meringue falling flat, literally. Let’s dive into the secrets for flawless meringue every time:
- PRO-Tip: The Absolute Cleanliness Rule: This is non-negotiable. Egg whites will simply refuse to whip properly if they come into contact with even the tiniest speck of grease or oil. This means your mixing bowl and beaters must be impeccably clean and completely dry. I always ensure my utensils have gone through the dishwasher cycle, as this guarantees a thorough wash and eliminates any residual fats.
- Yolk-Free Zone: While often overlooked, egg yolks contain fat that is the arch-nemesis of fluffy egg whites. Even a minuscule amount of yolk can prevent your whites from reaching those glorious stiff peaks. To avoid this common pitfall, separate your eggs one at a time into a small, separate bowl before adding the whites to your main mixing bowl. This safeguards your batch; if a yolk accidentally breaks, you only contaminate one egg white, not the entire bowl, saving you from having to start over.
- Optimal Separation Temperature: Eggs are easiest to separate when they are cold, straight from the refrigerator. The yolks are firmer and less likely to break when chilled, allowing for a cleaner separation from the whites.
- Whip at Room Temperature: While cold eggs are best for separation, egg whites achieve their maximum volume and whip highest when they are at room temperature. After separating your cold eggs, cover the whites with plastic wrap and let them sit on the counter for about an hour. If you’re short on time, you can carefully place the bowl of egg whites in a shallow bath of warm (not hot!) water to gently speed up the warming process without cooking them.
- The Flat Surface Crack: For fewer shell fragments and a reduced chance of yolk breakage, try cracking your eggs on a flat surface rather than against the sharp edge of a bowl. This technique creates a cleaner break, though it’s not entirely foolproof, it significantly improves your chances of a perfect separation.
- PRO-Tip: Don’t Skip the Cream of Tartar: This often-misunderstood ingredient is vital for meringue success. Cream of tartar acts as a stabilizer, helping the egg whites hold their structure and volume, and preventing them from collapsing. It’s a common ingredient in baking (like snickerdoodle cookies) and doesn’t expire quickly, making it a valuable pantry staple. Lemon juice can also be used as an alternative stabilizer if you don’t have cream of tartar on hand.
- Sugar Matters: For the smoothest meringue, I prefer using superfine sugar (also known as caster sugar). Its finer granules dissolve more easily into the egg whites, resulting in a silkier, more stable meringue without a grainy texture. If superfine sugar isn’t readily available, you can easily make your own by pulsing regular granulated sugar in a food processor for a few seconds until it’s finer, but not powdered.
- Further Meringue Mastery: For even more in-depth guidance and additional expert tips on mastering the art of meringue, you might find our recipe for Egg White Cookies incredibly helpful. It delves deeper into the nuances of perfect meringue making.
By following these essential tips, you’ll be well on your way to creating stunning, stable meringues that are perfect for our ghoulish Meringue Bones, or any other meringue-based dessert you desire!
More Enchanting and Eerie Halloween Dessert Recipes
If you’re looking to expand your repertoire of spooky sweets beyond these delectable meringue bones, we’ve got you covered! Dive into these other hauntingly good recipes to make your Halloween celebration truly unforgettable:
- Black Cocoa Halloween Layer Cake from Barley and Sage: A dramatically dark and decadent cake that’s perfect for a sophisticated Halloween gathering.
- Witches Finger Cookies: Creepy, kooky, and surprisingly delicious shortbread cookies shaped like gnarled witch fingers.
- Rice Krispie Candy Corn Treats: A fun, colorful, and easy-to-make classic with a festive twist, shaped like iconic candy corn.
- 20+ Halloween Treats: A comprehensive collection of ideas to inspire your spooky season baking and entertaining.
- Plus, don’t forget to explore all my other fantastic Holiday Recipes for every festive occasion throughout the year!
Stay connected and share your culinary creations with us! Follow my latest adventures and recipes on social media: Instagram, Facebook, and Pinterest. Don’t forget to tag me when you try one of my delicious recipes! And if these Meringue Bones steal your heart (and your taste buds), please consider giving it a 5-star rating in the recipe card below. Your feedback helps other bakers discover these amazing treats!
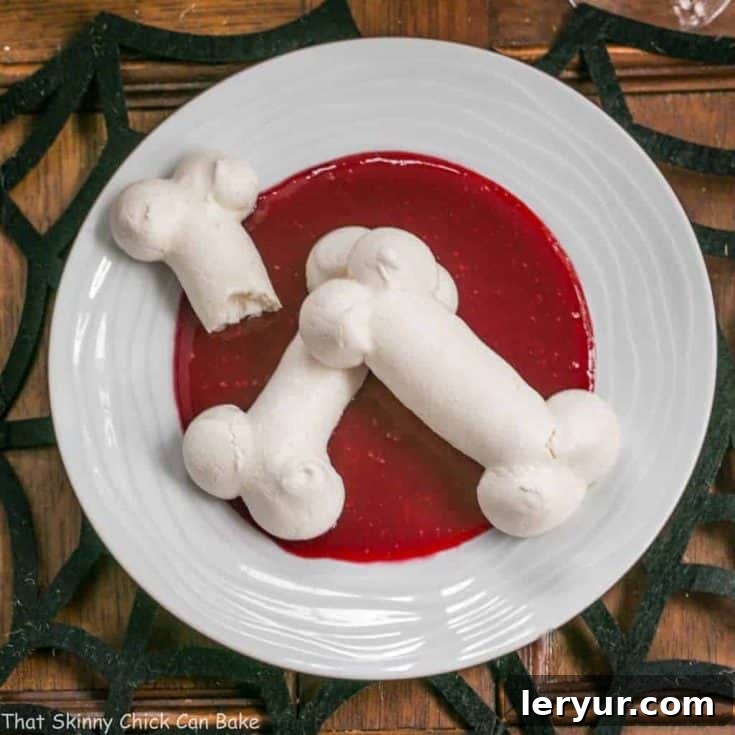
Meringue Bones
30 minutes
1 hour
1 hour 30 minutes
8 bones
A sweet, crisp, and ghoulish Halloween treat! Inspired by Martha Stewart and Taste of Home.
Ingredients
For Meringues
- 2 egg whites
- 1/8 teaspoon cream of tartar
- 1/2 cup sugar
For Raspberry Sauce
- 1 (12 ounce) bag frozen raspberries
- 1/2 cup sugar
- 1 tablespoon freshly squeezed lemon juice
- 2 teaspoons cornstarch mixed in 1 tablespoon water
Instructions
- Preheat oven to 225ºF (107ºC). Line baking sheets with parchment paper and set aside.
- In a clean, grease-free bowl, beat egg whites and cream of tartar on medium speed until the mixture becomes very frothy. Increase speed to high and gradually add sugar, one tablespoon at a time, continuing to beat until stiff, glossy peaks form and the sugar is fully dissolved.
- Carefully transfer the meringue mixture into a zip-top bag, seal it, and snip off one corner to create an opening approximately half an inch wide. Alternatively, use a piping bag fitted with a plain round tip.
- On the prepared baking sheets, pipe the meringue into 3-inch long strips to form the shafts of the bones. Then, pipe two small rounds on each end of the strip to complete the bone shape.
- Bake the meringues at 225ºF (107ºC) for one hour. After an hour, turn off the oven but leave the meringues inside for an additional 30 minutes without opening the door. This allows them to dry out and become perfectly crisp. Remove from the oven and transfer to wire racks to cool completely. Store the cooled meringue bones in an airtight container to maintain their crispness.
- To make the raspberry sauce, combine 2 cups of the frozen raspberries, lemon juice, and sugar in a saucepan. Heat over medium heat, stirring occasionally, until the mixture begins to bubble. In a small bowl, whisk together the cornstarch and water until smooth, then add this mixture to the bubbling raspberries. Bring to a boil and cook for one minute, stirring constantly, until the sauce thickens. Remove from heat and allow to cool slightly. For a smooth, seedless sauce, press the mixture through a fine-mesh wire strainer, discarding any seeds. Store the finished raspberry sauce in the refrigerator until ready to serve.
- To serve this ghoulish dessert, pour a generous pool of the raspberry sauce onto the center of a dessert plate. Artfully arrange one or two meringue bones on top of the sauce, creating a striking “bones over blood” presentation.
Inspired by Martha Stewart and Taste of Home
Notes
Make sure to refer back to the detailed tips for making meringues provided earlier in this post to ensure the best results for your crispy, delicious bones!
Recommended Products
As an Amazon Associate and member of other affiliate programs, I earn from qualifying purchases.
- USA Pan Bakeware Half Sheet Pan
- Reynolds Cookie Baking Sheets Non-Stick Parchment Paper, 25 Sheet, 4 Count
- KitchenAid 9-Speed Digital Hand Mixer
Nutrition Information:
Yield:
8
Serving Size:
1
Amount Per Serving:
Calories: 126
Total Fat: 0g
Saturated Fat: 0g
Trans Fat: 0g
Unsaturated Fat: 0g
Cholesterol: 0mg
Sodium: 15mg
Carbohydrates: 31g
Fiber: 3g
Sugar: 27g
Protein: 1g
Thatskinnychickcanbake.com occasionally offers nutritional information for recipes contained on this site. This information is provided as a courtesy and is an estimate only. This information comes from online calculators. Although thatskinnychickcanbake.com attempts to provide accurate nutritional information, these figures are only estimates. Varying factors such as product types or brands purchased can change the nutritional information in any given recipe. Also, many recipes on thatskinnychickcanbake.com recommend toppings, which may or may not be listed as optional and nutritional information for these added toppings is not listed. Other factors may change the nutritional information such as when the salt amount is listed “to taste,” it is not calculated into the recipe as the amount will vary. Also, different online calculators can provide different results. To obtain the most accurate representation of the nutritional information in any given recipe, you should calculate the nutritional information with the actual ingredients used in your recipe. You are solely responsible for ensuring that any nutritional information obtained is accurate.
HOW MUCH DID YOU LOVE THIS RECIPE?
Please leave a comment on the blog or share a photo on Pinterest.