
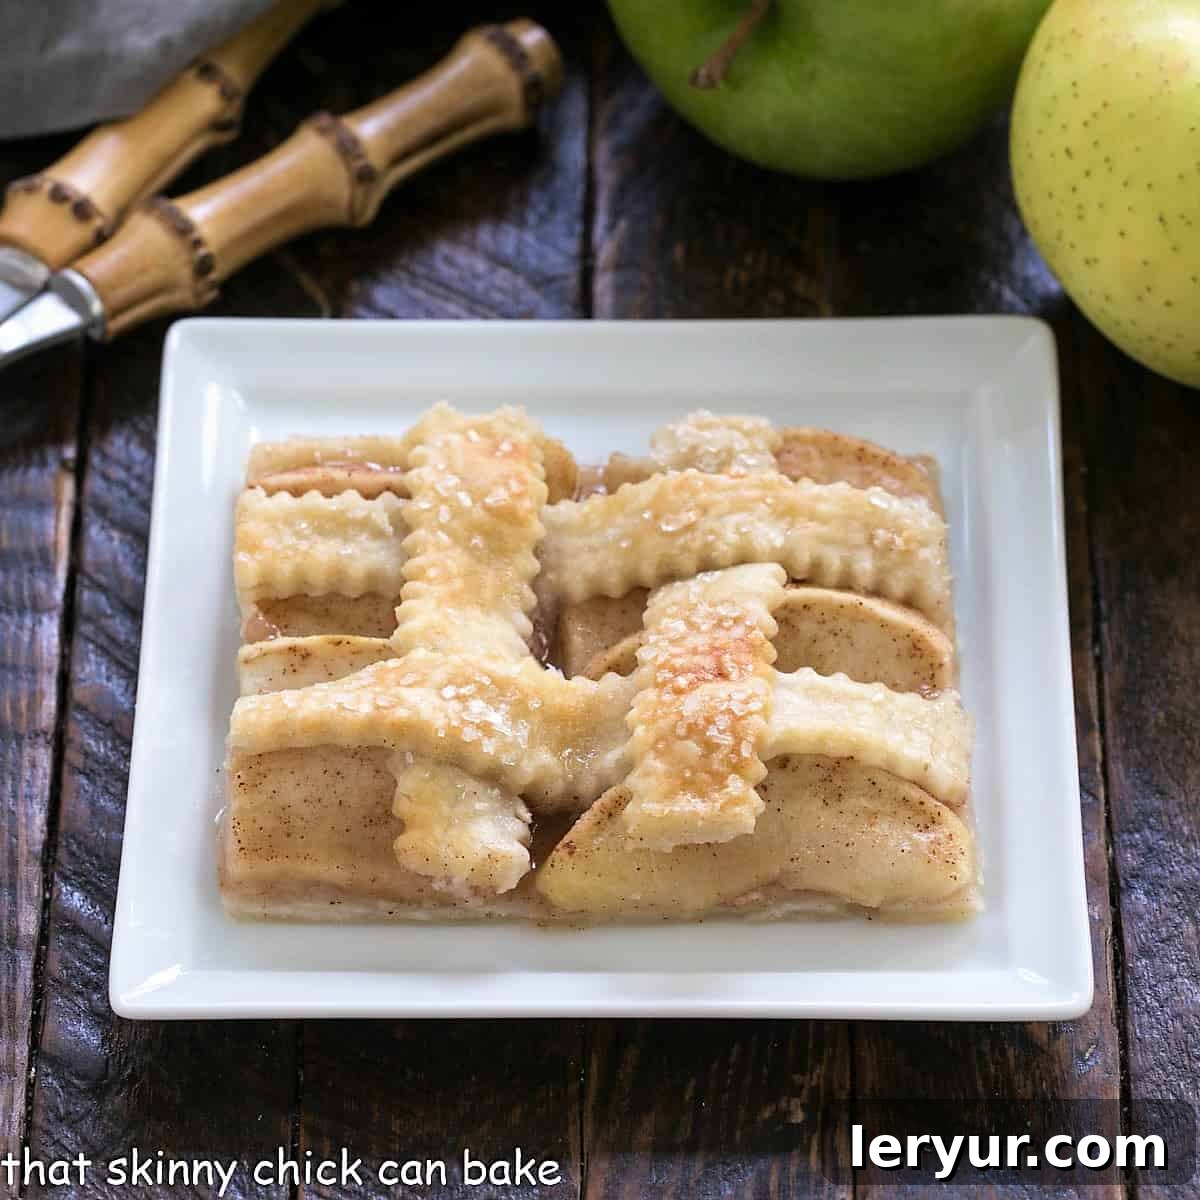
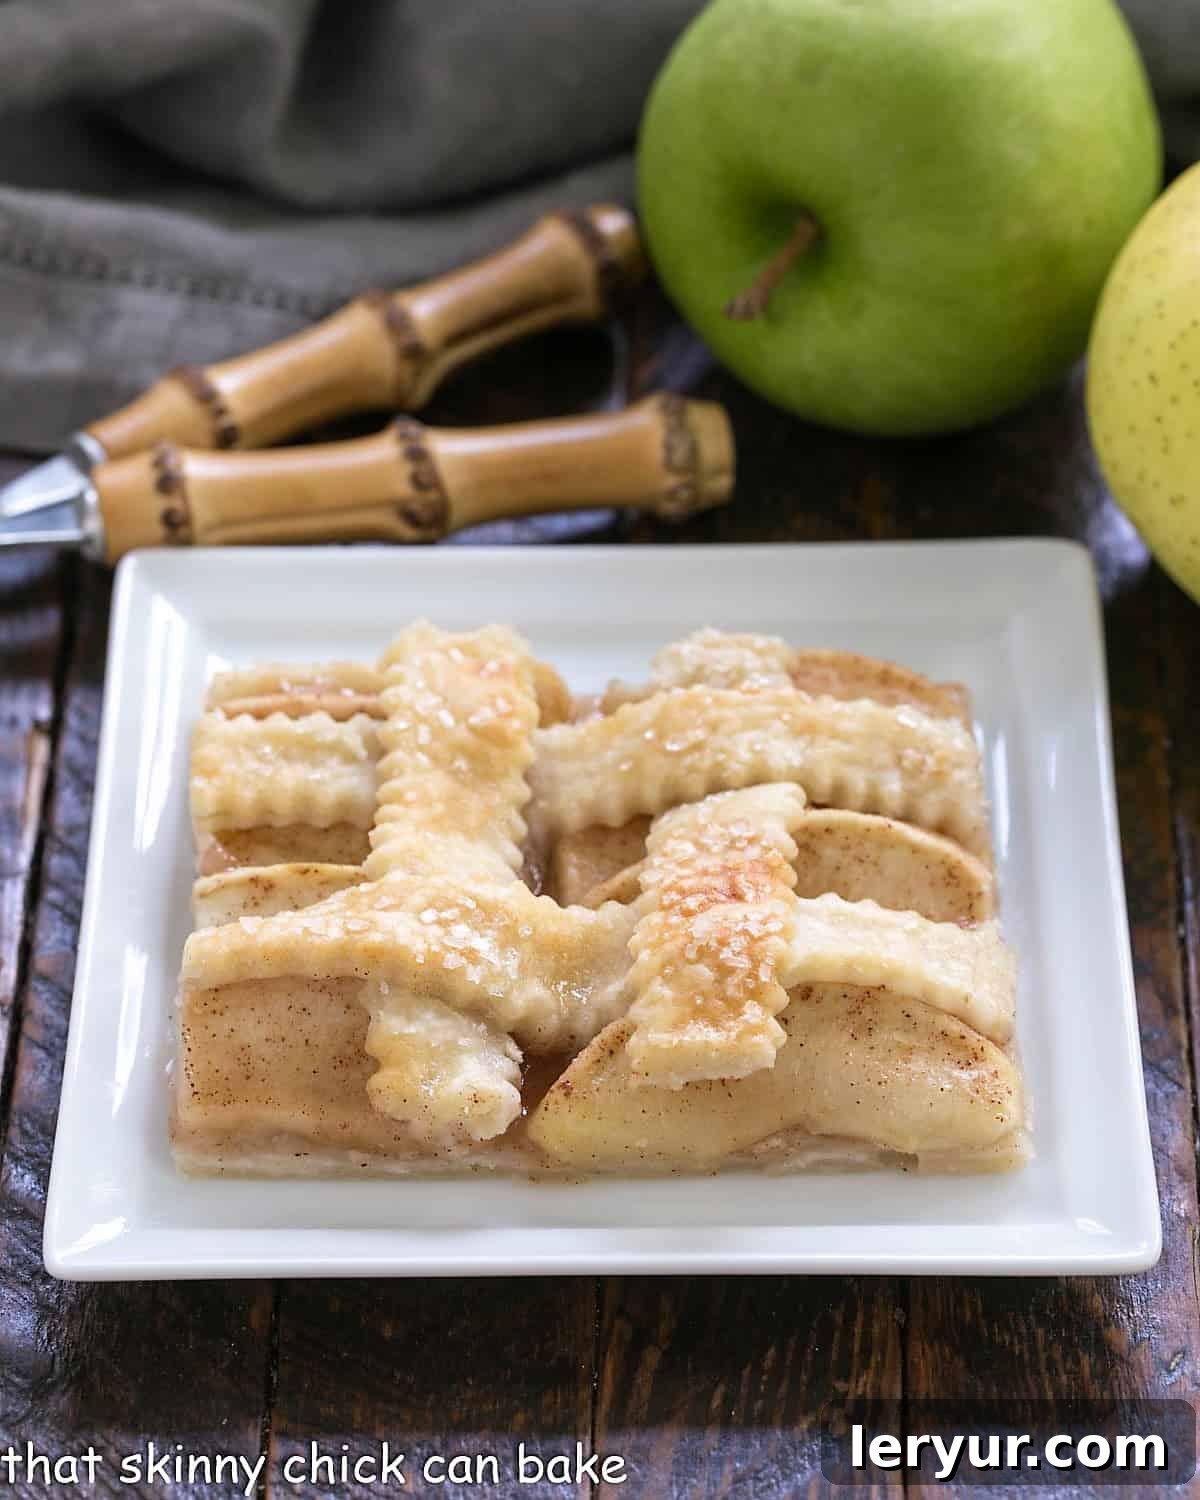
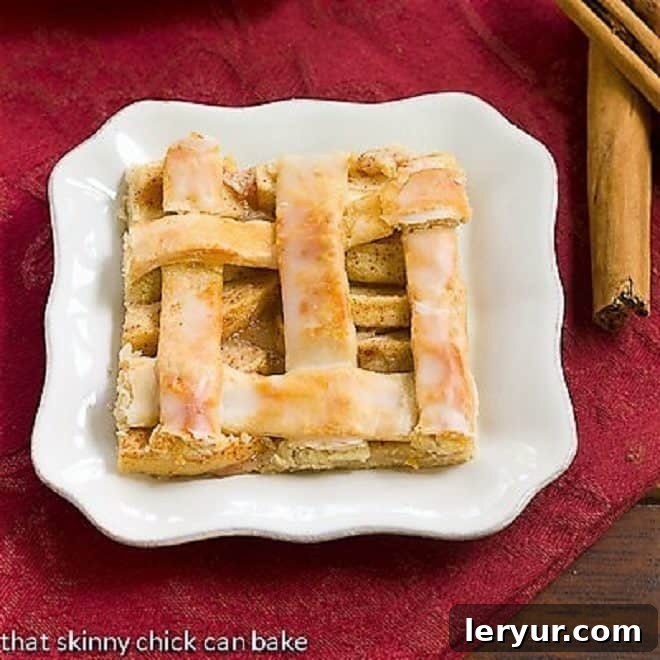
Apple Pie Bars are a delightful celebration of autumn, perfectly capturing the essence of the season in every bite. These incredible Apple Slab Pie squares boast tender, cinnamon-spiced apple slices nestled beneath a golden, buttery lattice crust, making them an irresistible treat that also impressively feeds a crowd! If you love classic apple pie but need a dessert that’s easier to serve and perfect for gatherings, these Cinnamon Apple Squares are your answer. They offer a delicious, convenient twist on the beloved double-crust apple pie, ensuring everyone gets a generous slice of fall flavor.
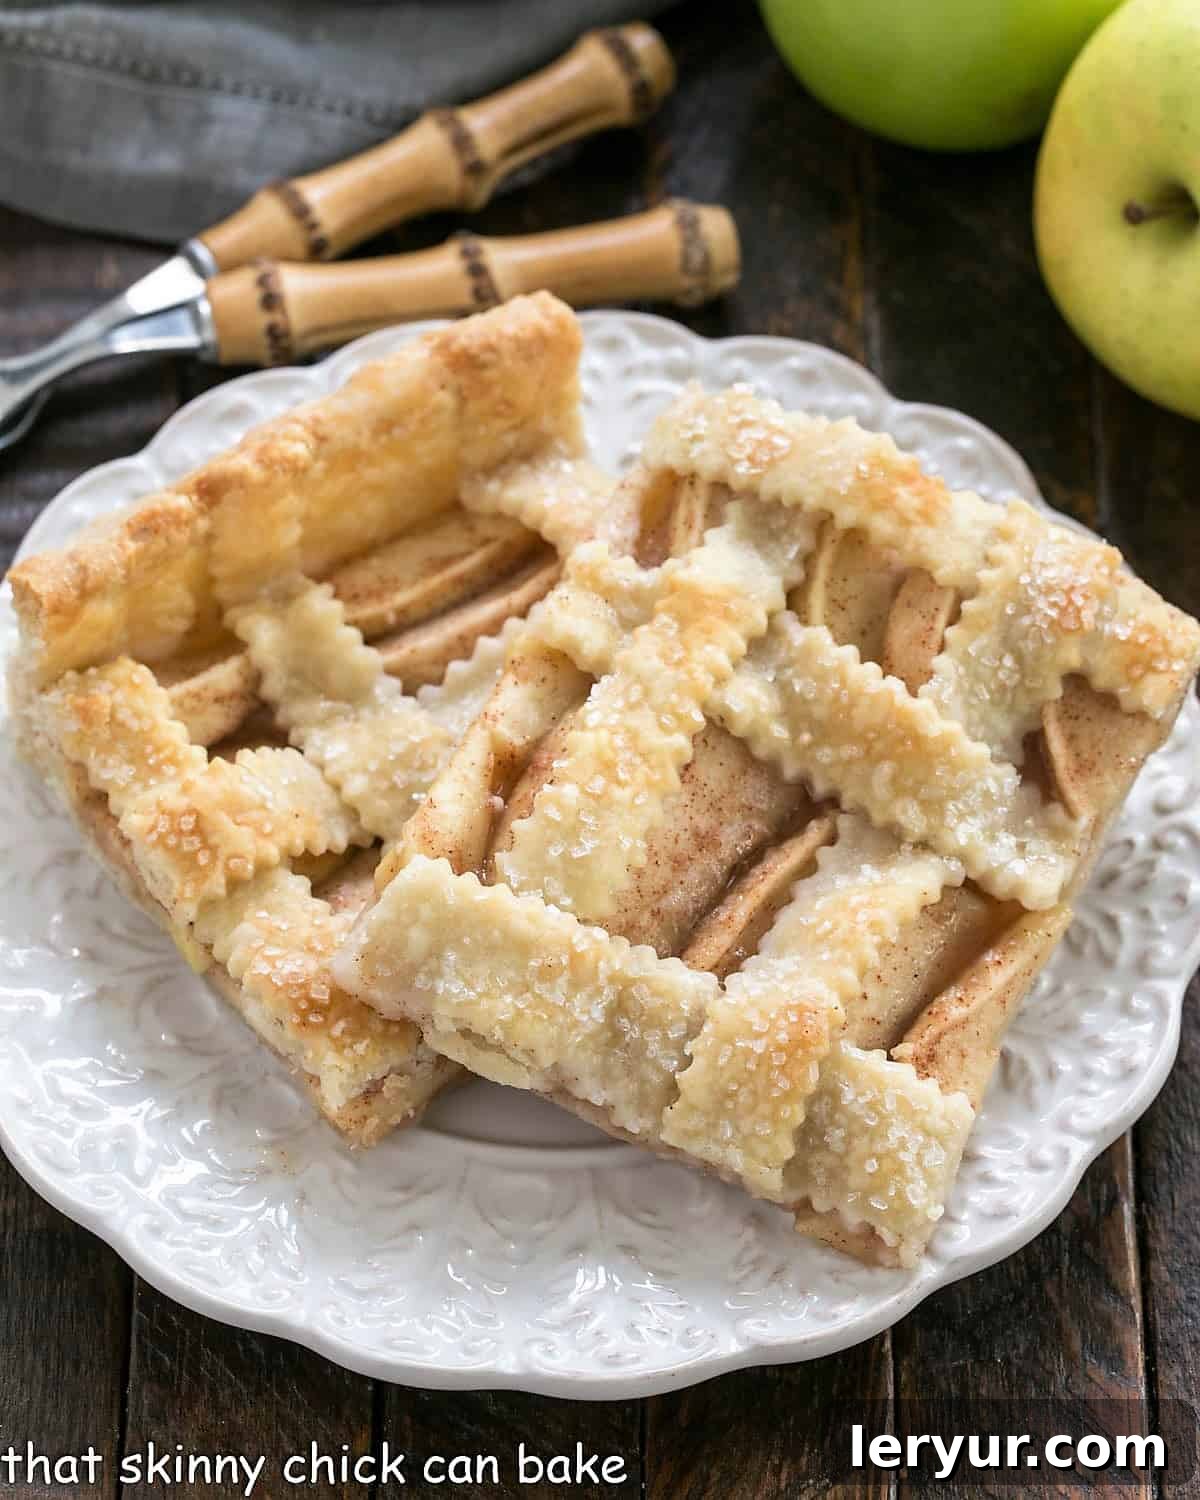
Why These Apple Pie Bars are a Must-Make Fall Dessert
As the leaves begin to turn and a crisp chill fills the air, there’s nothing quite like the comforting aroma of apples and cinnamon baking in the oven. These Apple Pie Bars are more than just a dessert; they’re an experience, encapsulating all the best parts of autumn.
- The Ultimate Fall Indulgence: Imagine the warmth of sweet, spiced apples meeting a flaky, buttery crust. This dessert truly embodies the cozy, inviting spirit of fall, making it an ideal treat for cool evenings or festive gatherings. Its seasonal appeal is undeniable, drawing everyone to the kitchen with its irresistible fragrance.
- Effortlessly Feeds a Crowd: Unlike traditional round pies that yield a limited number of wedges, this Apple Slab Pie is baked in a larger jellyroll pan, allowing you to easily cut it into neat squares or bars. This format makes it incredibly convenient for potlucks, family reunions, holiday parties, or any event where you need to serve many people without fuss. It’s a game-changer for entertaining!
- Unbeatable Homemade Flavor: While convenience is key, we never compromise on taste. These bars feature a rich, homemade pie crust that provides the perfect contrast to the vibrant, cinnamon-spiced apple filling. The combination is simply divine – a testament to the fact that some things are just better when made from scratch. You cannot beat this classic, comforting combo!
Just days ago, the air was thick with summer’s heat and humidity, making a morning yoga practice feel like a tropical workout. But a sudden shift in the weather today brought a distinct nip to the air, signaling autumn’s imminent arrival. As I stepped outside, armed only with my car keys, mat, and towel, the goose bumps rising on my bare arms sent me buzzing back inside for a much-needed jacket. The days were perceptibly growing shorter, and the golden hour light hinted at the changing season. To welcome this beautiful transition, my thoughts invariably turn to the classic flavors of apples and cinnamon. What better way to usher in the cooler weather than by whipping up a pan of these delightful Cinnamon Apple Squares? They were the perfect addition to a recent neighborhood ‘Fall Crawl,’ spreading joy and autumnal cheer with every delicious bite.
Crafting Your Perfect Apple Slab Pie: Step-by-Step Instructions
This Apple Slab Pie recipe is surprisingly straightforward, delivering incredible results that will easily feed a crowd. The harmonious pairing of sweet apples and warm cinnamon is truly magical, especially as autumn graces us with its presence. Follow these detailed steps to create your own batch of these irresistible apple pie bars:
Ingredients You’ll Need:
For the Crust:
- 4 cups all-purpose flour
- 1 teaspoon salt
- 1 tablespoon granulated sugar
- ¾ cup cold shortening, cut into small pieces
- 1 cup cold unsalted butter, cut into small pieces
- ¾ cup very cold water (or as needed)
For the Apple Filling:
- 6-8 cups baking apples, peeled, cored, and uniformly sliced (Jonagold, Granny Smith, Honeycrisp, or a blend recommended)
- 1 scant cup granulated sugar (adjust based on apple sweetness)
- ½ teaspoon ground cinnamon, or to taste (can add a pinch of nutmeg or allspice for complexity)
- 1 tablespoon all-purpose flour (helps thicken the filling)
Optional Toppings:
- 1 cup powdered sugar
- 1 teaspoon vanilla extract
- Hot water (for glaze)
- OR
- 2 egg whites, lightly whisked
- Coarse or Sanding Sugar (for sprinkling)
Preparation Steps:
- Prepare the Pie Crust: In a food processor (or a large bowl by hand), combine the flour, salt, and 1 tablespoon sugar. Add the cold shortening and butter. Pulse (or cut in with a pastry blender) until the mixture resembles coarse cornmeal with some pea-sized butter chunks remaining. Gradually add the very cold water, pulsing just until the dough comes together. Be careful not to overmix. Divide the dough into two equal balls, flatten slightly, wrap tightly in plastic, and chill in the refrigerator for at least 2 hours (or overnight). This chilling step is crucial for a flaky crust.
- Preheat Oven and Prepare Pan: Preheat your oven to 400°F (200°C). Lightly grease a standard jellyroll pan (approximately 10×15 inches).
- Prepare the Apple Filling: While the dough chills, peel, core, and slice your apples. Aim for uniform slices, about ¼-inch thick, to ensure even cooking. In a large bowl, gently toss the apple slices with the scant cup of sugar, cinnamon, and 1 tablespoon flour until the apples are well coated.
- Assemble the Bottom Crust: On a lightly floured surface, roll out one chilled ball of dough into a rectangle large enough to fit the bottom and slightly up the sides of your prepared jellyroll pan. Carefully transfer the dough to the pan, pressing it gently into the corners and up the edges.
- Add the Apple Filling: Evenly spread the cinnamon-spiced apple mixture over the bottom crust. Try to keep the apple layer as level as possible for consistent baking and ease of topping.
- Create the Top Crust: Roll out the second ball of dough. You have two delicious options:
- Solid Top Crust: Place the entire rolled-out dough over the apples. Trim the edges and crimp or pinch them together with the bottom crust to seal. Make sure to cut several vents (slits) in the top crust to allow steam to escape during baking.
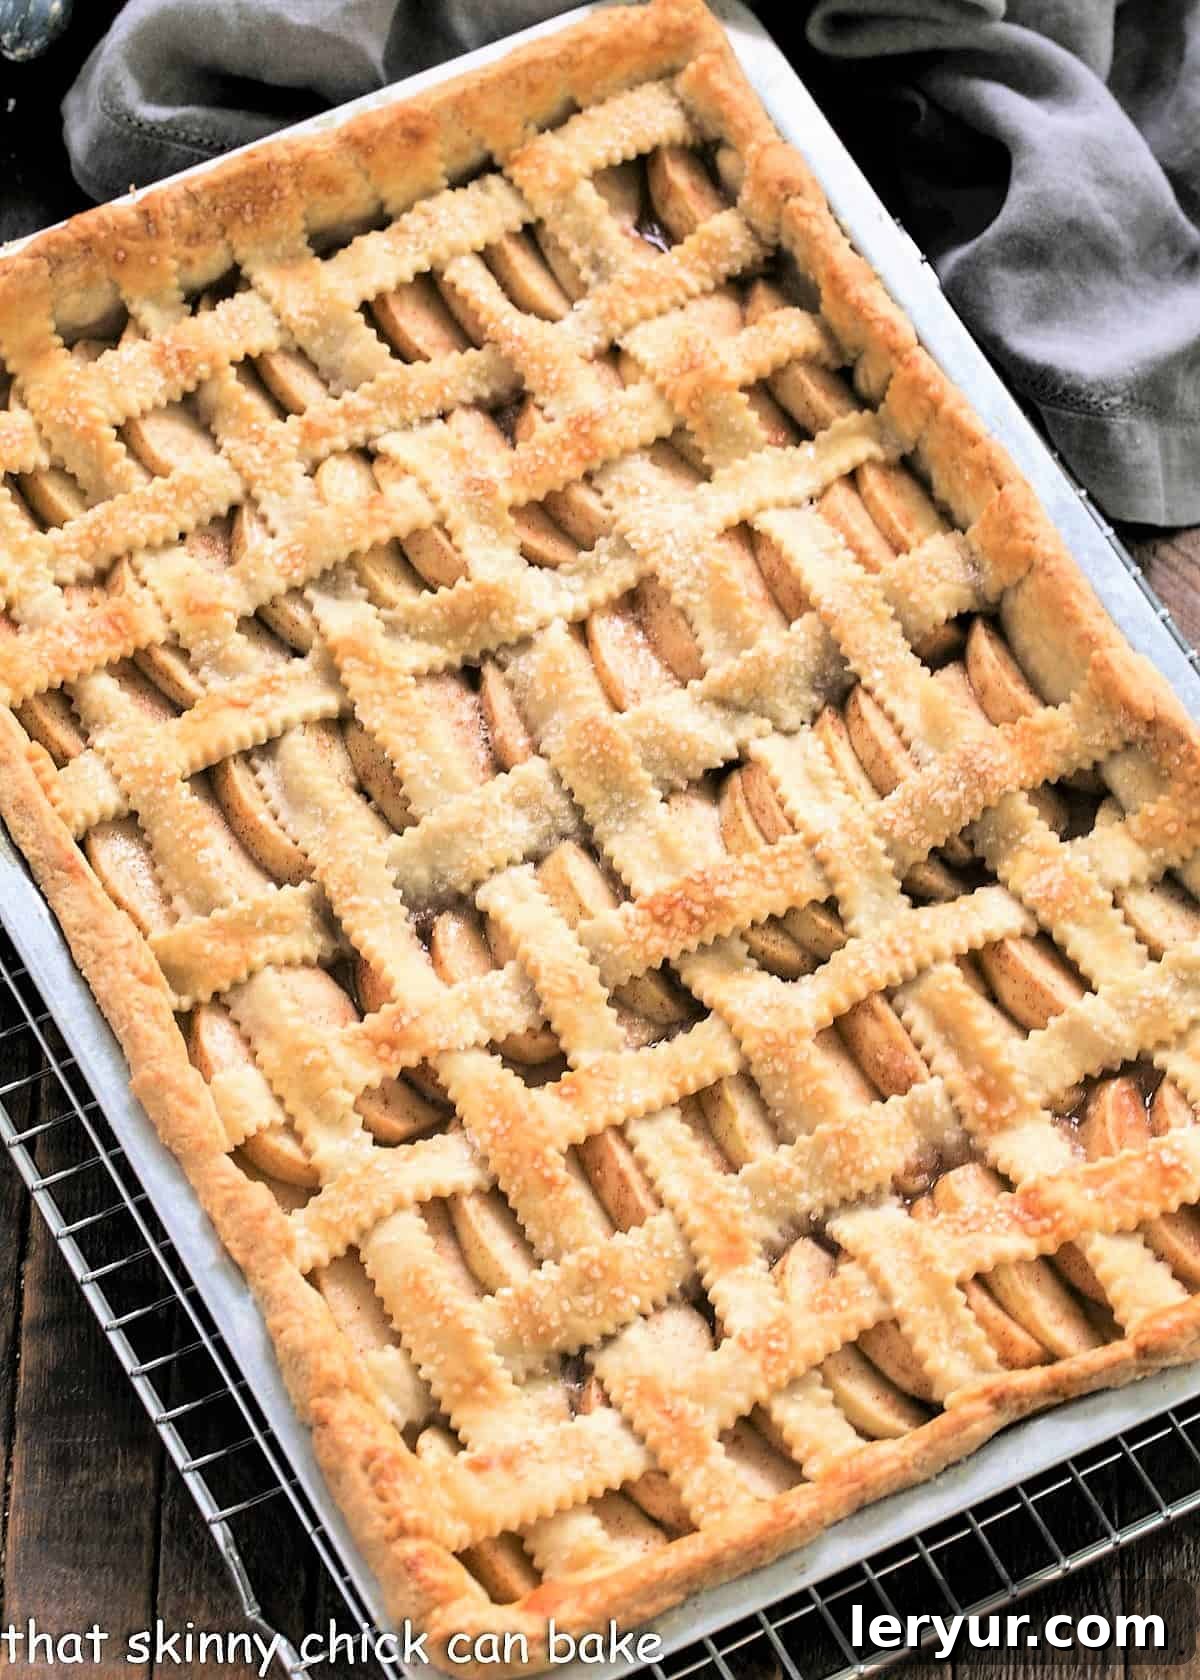
- Lattice Crust: Cut the rolled dough into strips (about 1-inch wide). Arrange these strips in a classic lattice pattern over the apples. Pinch the ends of the lattice strips to the bottom crust edges to seal. This option inherently provides plenty of vents!
- Optional Egg Wash & Sugar: For a golden-brown finish and a slight crunch, whisk the 2 egg whites until lightly frothy. Brush this egg wash over the top crust (if you don’t plan to use a powdered sugar glaze later). For an extra touch, sprinkle coarse or sanding sugar generously over the egg-washed crust.
- Bake to Perfection: Place the jellyroll pan in the preheated oven and bake for 35-45 minutes, or until the crust is beautifully golden brown and the apples are tender when pierced with a knife. The exact baking time may vary based on your oven and apple variety.
- Prepare the Glaze (Optional): If you opted against the egg wash and coarse sugar, you can prepare a simple powdered sugar glaze while the bars cool slightly. In a small bowl, whisk together the 1 cup powdered sugar, 1 teaspoon vanilla extract, and hot water, adding it a teaspoon at a time until you reach your desired drizzling consistency.
- Serve and Enjoy: Once baked, let the apple slab pie cool slightly before drizzling with the prepared glaze (if using). These apple pie bars are delicious served warm, perhaps with a scoop of vanilla ice cream or a dollop of whipped cream, or enjoyed at room temperature. They are equally delightful cold!
Expert Tips for the Best Apple Pie Bars
Achieving the perfect apple pie bar requires a few insider tricks. Here are some expert tips to ensure your Apple Slab Pie turns out flawlessly every time:
- The Legacy of a Tried-and-True Recipe: This recipe is a cherished classic from my mom, a testament to its enduring deliciousness. While I often opt for a beautiful lattice crust for visual appeal, for many years, her original approach was to top it with a solid crust, much like a traditional large apple slab pie. Both methods yield fantastic results, so choose the one that suits your style and time constraints.
- Mastering the Perfect Pie Crust: The secret to a truly outstanding pie lies in its crust.
- Butter for Flavor: Butter imparts an unparalleled richness and flavor to the crust, creating that irresistible flaky texture.
- Shortening for Texture and Ease: Shortening makes the dough incredibly pliable and easier to work with, resulting in a tender crust with more defined edges. A combination of both butter and shortening, as used in this recipe, offers the best of both worlds: superior flavor and excellent workability. Remember, keeping your ingredients (especially butter and water) very cold is key to preventing the butter from melting prematurely, which can lead to a tough crust.
- Selecting the Ideal Apples: The choice of apples profoundly impacts the final flavor and texture of your pie bars. Always use good quality baking apples. I find that a combination of varieties offers the most complex and delicious apple flavor profile.
- PRO-Tip: I frequently combine firm, tart Granny Smith apples, which hold their shape beautifully and provide a bright counterpoint, with a few sweet, softer Golden Delicious apples for depth and sweetness. Other excellent baking apples include Honeycrisp, Jonagold (my mom’s original recommendation), Fuji, or Braeburn. Don’t hesitate to ask local orchard proprietors or grocery store produce managers about their favorite pie apples; they often have great insights!
- Using a mix of sweet and tart, firm and slightly softer apples creates a more interesting and flavorful filling that isn’t one-note.
- Organizing Your Apple Filling: I prefer to line up my apple slices in neat rows across the bottom crust. This not only creates a visually appealing internal structure but also helps to keep the filling level, which is particularly beneficial if you’re planning a delicate lattice topping. A level surface makes weaving the lattice much simpler and ensures even baking.
- Ventilation is Key: Whether you opt for a lattice or a solid top crust, ensuring proper ventilation is crucial. If you choose a solid crust, remember to cut several slits or decorative vents into the top to allow steam to escape during baking. Without these vents, the steam can build up, causing the crust to bubble unevenly or even burst. A lattice topping naturally provides ample ventilation, so no extra slits are needed there.
- The Genius of Slab Pie for Gatherings: Let’s be honest, baking two individual apple pies can be a time-consuming affair. This apple slab pie is a brilliant solution for feeding a crowd without the extra fuss. It’s significantly easier to prepare and manage than multiple round pies, yet you still get all the same delectable flavors and comforting textures that everyone loves. Plus, the square shape makes serving a breeze!
Frequently Asked Questions About Apple Slab Pie
A slab pie is a large, rectangular pie baked in an oblong pan, typically a jellyroll pan or a large baking sheet with sides. It features a bottom crust, a generous filling, and a top crust (which can be solid or a lattice). Designed to feed a large group, slab pies are conveniently cut into squares or bars instead of traditional pie wedges, making them perfect for potlucks, parties, and family gatherings.
After baking, your apple slab pie will keep well at room temperature for a day or two, covered loosely to prevent it from drying out. However, due to its fruit filling and buttery crust, the crust may eventually soften. To maintain freshness and prolong its shelf life, it’s best to store any remaining pie in the refrigerator after the first couple of days. Simply cover it tightly with plastic wrap or aluminum foil. When ready to serve chilled slices, you can gently warm them in the microwave or oven for a “freshly baked” taste.
Absolutely! These apple bars freeze exceptionally well. For best results, allow the baked slab pie to cool completely. Then, slice it into individual bars or wrap larger sections tightly in plastic wrap, followed by a layer of aluminum foil, to ensure an airtight seal. They can be stored in the freezer for up to 2-3 months. To serve, simply defrost overnight in the refrigerator and then rewarm gently in the oven until heated through.
For a truly exceptional flavor and texture, a blend of apples is highly recommended. My mom’s original recipe called for Jonagolds, which are wonderful. However, I often enjoy a combination of tart Granny Smith apples and sweeter Golden Delicious apples. Granny Smiths provide a firm texture and a bright tartness that prevents the pie from being overly sweet, while Golden Delicious apples contribute a lovely sweetness and softer consistency. Any firm baking apple will work, but using more than one variety (balancing sweet and tart, and firm with slightly softer) creates a much more interesting and flavorful filling with delightful complexity in every bite.
Explore More Delicious Apple Recipes
If you love these Cinnamon Apple Squares, you’ll surely enjoy these other fantastic apple and dessert recipes:
- Apple Nachos from Best Dessert Recipes – A fun, quick, and healthy-ish treat!
- Perfect Apple Pie – For those who adore the classic, perfectly crafted round pie.
- Glazed Cranberry Apple Bread – A moist, flavorful quick bread, ideal for breakfast or a snack.
- Best Apple Recipes – A collection of our most beloved apple-centric dishes.
- Slow Cooker Apple Crisp – An incredibly easy, hands-off dessert perfect for busy days.
- Mulled Apple Cider – The ultimate cozy beverage for chilly autumn evenings.
- More Squares and Bar Cookies – Discover other delightful bar recipes for any occasion.
We love hearing from you! Stay connected and share your culinary adventures with us through social media. You can find us @ Instagram, Facebook, and Pinterest. Don’t forget to tag us when you try one of our recipes! Your creations inspire us, and if you’re thrilled with the results of these Apple Pie Bars, please consider leaving a 5-star rating and a comment to let us know. Happy baking!