
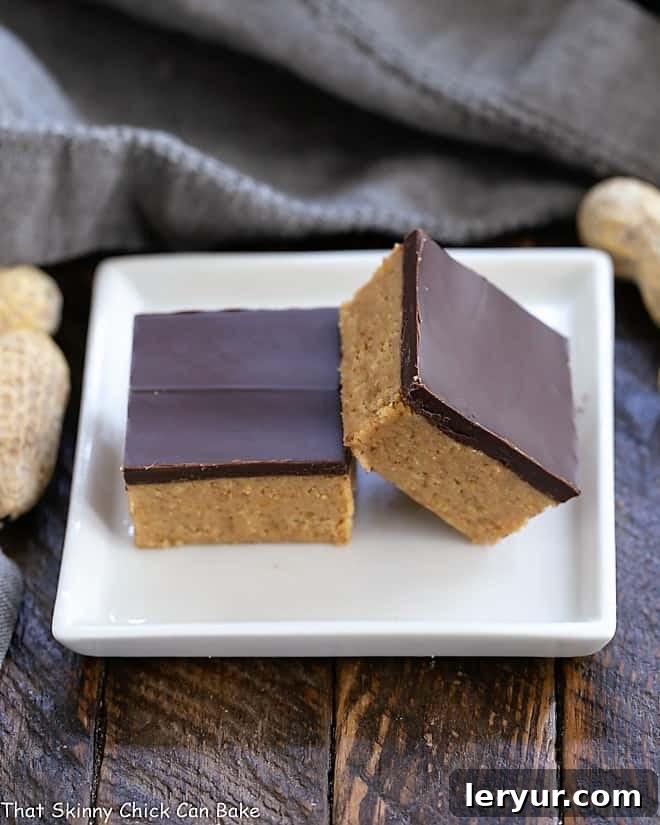
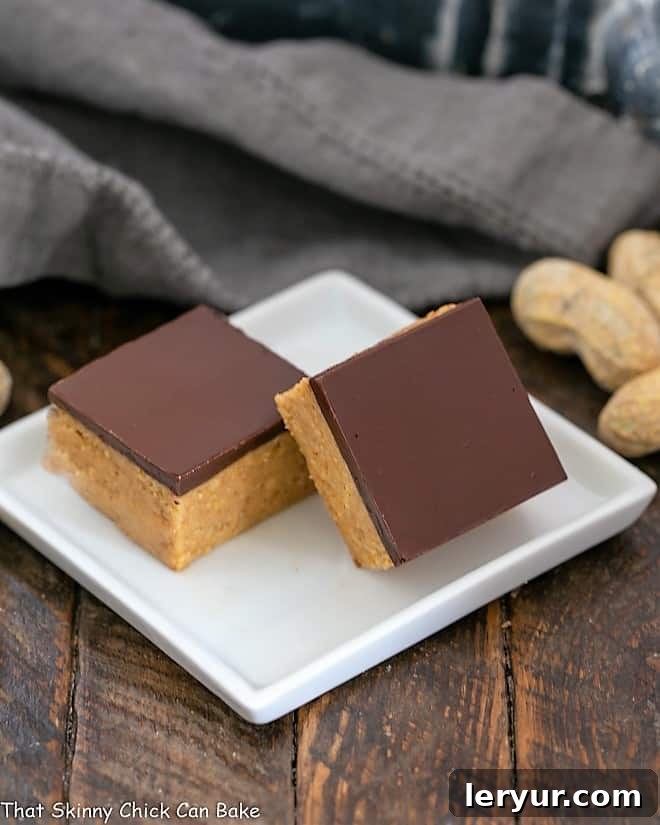
Prepare to be amazed! These Better Than Reese’s Peanut Butter Bars are an absolute dream come true for any chocolate and peanut butter enthusiast. We confidently promise that if you adore the classic Peanut Butter Cups, every single bite of these homemade bars will send you into pure bliss. Forget store-bought; these are truly irresistible!
The best part about these outrageously delicious and incredibly easy Chocolate Peanut Butter Bars? Absolutely no baking is required! This makes them the perfect go-to dessert for busy days, warm weather, or whenever you need a quick fix for your sweet tooth. Whip up a batch for all the Reese’s lovers in your life, and you’ll be showered with compliments and endless requests for this phenomenal Reese’s Bar recipe. It’s a guaranteed crowd-pleaser that delivers big on flavor with minimal effort.
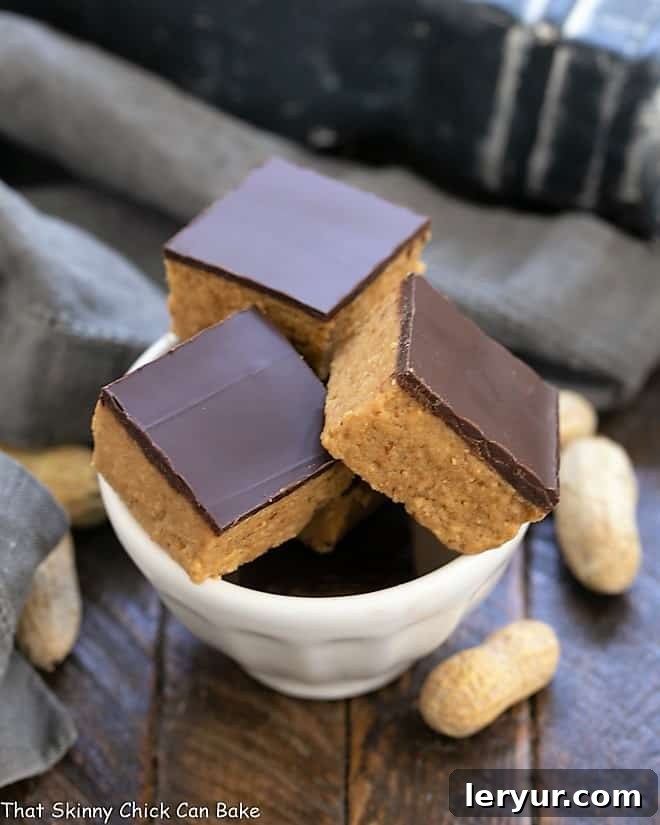
Why These No-Bake Peanut Butter Bars Are a Must-Make
There are countless reasons why these chocolate peanut butter bars will quickly become a cherished favorite in your recipe collection. Here’s why you absolutely need to try them:
- Effortless & Accessible: After I first sampled these easy peanut butter bars at a local cookie exchange, I knew instantly that I had to recreate them. Their simplicity is unmatched. This is a super straightforward, no-bake recipe, making it perfect for novice bakers, seasoned home cooks, or anyone who wants a delicious treat without turning on the oven. It’s a dessert that truly delivers maximum flavor with minimum fuss.
- The Ultimate Flavor Combination: If you are a devoted fan of the classic chocolate-peanut butter pairing, this recipe is tailor-made for you. The rich, creamy peanut butter layer perfectly complements the smooth, decadent chocolate topping, creating a harmonious balance that’s utterly addictive. It’s the quintessential treat for any chocolate-peanut butter lover, offering a depth of flavor that satisfies every craving.
- Superior to Store-Bought: For those who love Reese’s Peanut Butter Cups, prepare to be thrilled! Many agree that these homemade peanut butter bars are even better than the iconic candy. They offer a richer, more authentic peanut butter taste and a customizable chocolate coating that elevates the experience. You get to control the quality of ingredients, resulting in a fresher, more satisfying dessert that truly outshines its inspiration.
- Perfect for Any Occasion: Whether you’re hosting a party, bringing a dish to a potluck, preparing holiday treats, or simply craving a sweet snack, these bars fit the bill. Their no-bake nature means they’re great for summer gatherings when you want to avoid heating up your kitchen, but they’re equally welcome during the colder months for a comforting indulgence.
Key Ingredient Insights for Perfect Peanut Butter Bars
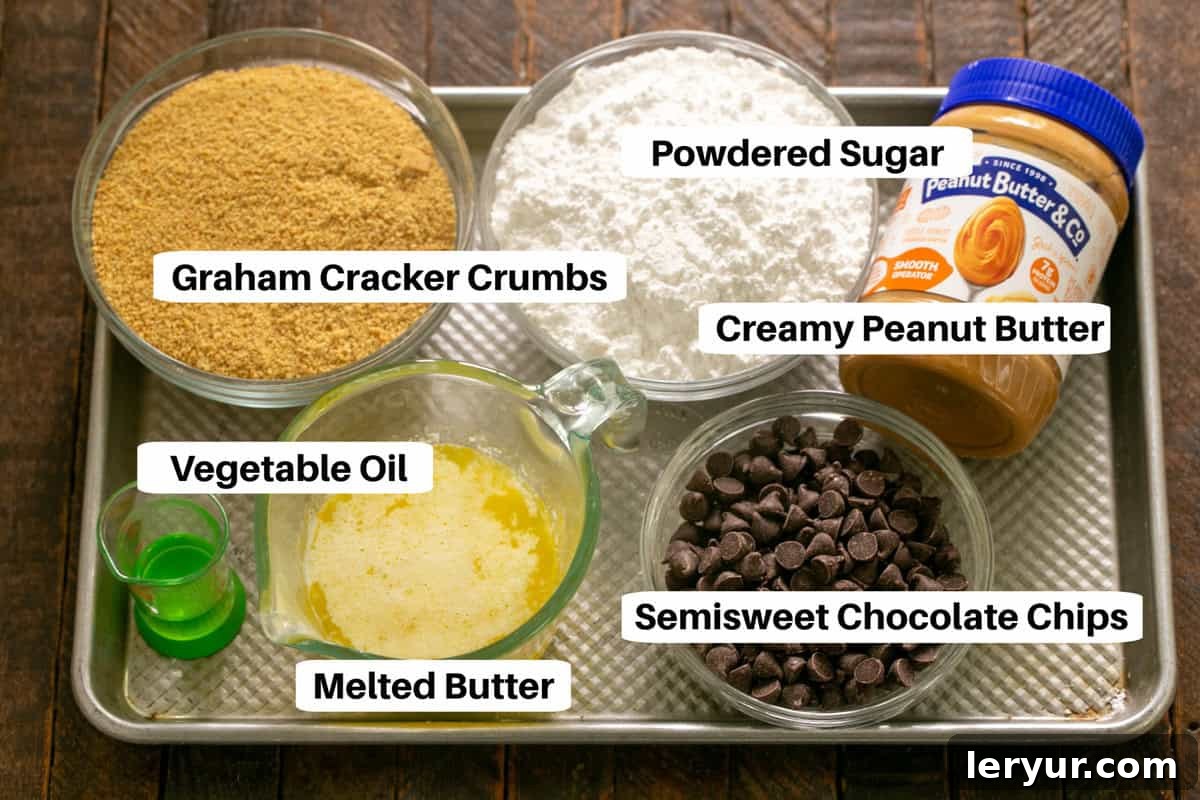
The beauty of these bars lies in their simple yet high-quality ingredients. Paying attention to a few details about each component will ensure your bars turn out absolutely perfect, with the ideal texture and flavor profile.
- Butter (Salted or Unsalted): While unsalted butter is often recommended for baking to control sodium levels, in this specific no-bake recipe, using salted butter can actually enhance the overall flavor. The slight saltiness beautifully balances the sweetness of the peanut butter and chocolate, creating a delightful sweet-and-salty dynamic that makes these bars even more addictive. If you only have unsalted, a tiny pinch of fine salt can be added to the peanut butter mixture.
- Graham Cracker Crumbs: These crumbs form the essential base of our peanut butter layer. You have two convenient options: purchase premade graham cracker crumbs, often found in a box in the baking aisle, or easily grind your own. To make your own, simply pulse whole graham cracker sheets in a food processor until fine crumbs form. Ensure they are finely ground to create a smooth, cohesive crust.
- Powdered Sugar (Confectioners’ Sugar): This ingredient is crucial for achieving the silky-smooth texture of the peanut butter layer. It dissolves effortlessly, preventing any grittiness. For the best results, we highly recommend sifting the powdered sugar before using it. This step effectively removes any small lumps, guaranteeing a perfectly smooth and consistent peanut butter mixture.
- Smooth Peanut Butter: The type of peanut butter you choose significantly impacts the outcome. We prefer creamy, conventional brands like Peanut Butter and Co. or Jif for their consistent texture and flavor. It’s vital to use smooth (creamy) peanut butter and avoid natural peanut butter varieties that require stirring. Natural peanut butter tends to be too thin, oily, and can separate, which will make your peanut butter layer much too soft and oily, preventing it from setting properly. Stick to the classic, no-stir smooth options for the best results.
- Semisweet Chocolate Bars or Chocolate Chips: The chocolate topping provides that essential contrast and rich flavor. My personal brand of choice is Ghirardelli for its superior melt and deep chocolate flavor, but high-quality Nestlé chocolate chips also work wonderfully. You can opt for either chocolate bars (finely chopped for easier melting) or standard chocolate chips. If you prefer a sweeter topping closer to a traditional Reese’s Cup, milk chocolate can be used as an alternative, though semisweet offers a more sophisticated balance.
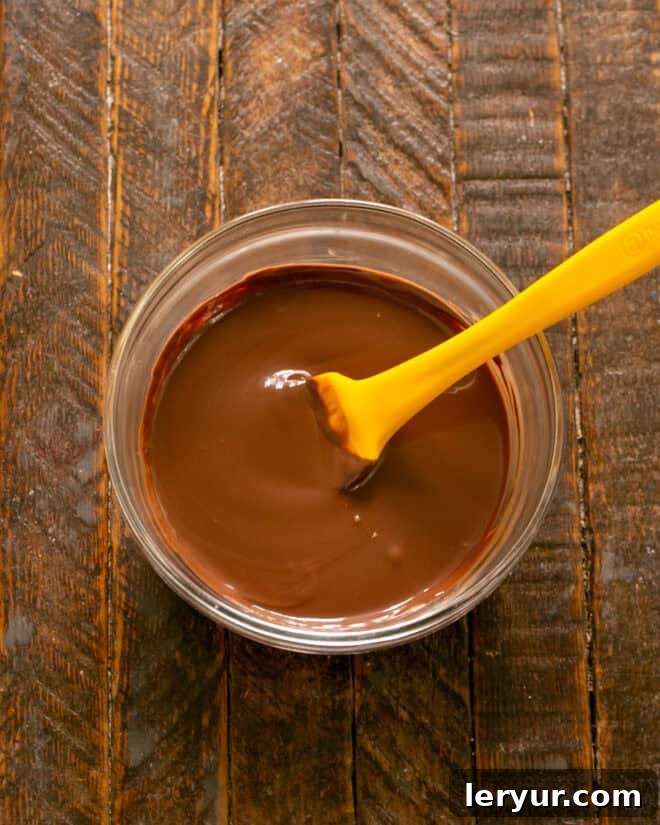
- Vegetable Oil: A small amount of neutral-flavored vegetable oil, such as canola oil, is mixed with the melted chocolate. This addition serves a dual purpose: it helps create a beautifully smooth, glossy sheen on your chocolate topping, and it contributes to a softer set, which makes slicing the bars much easier without the chocolate cracking. Absolutely avoid using strongly flavored oils like olive oil, as they will impart an undesirable taste.
Disclaimer: While I was previously provided with a variety of Peanut Butter products from Peanut Butter and Co., I want to clarify that I was not compensated for mentioning them in this post. Their smooth peanut butter, however, truly performed deliciously in this recipe, yielding fantastic results. Beyond smooth varieties, they offer an extensive range of products including chunky peanut butters, peanut butter powder, delightful peanut butter spreads infused with white and dark chocolate, convenient squeeze packs, and much more!
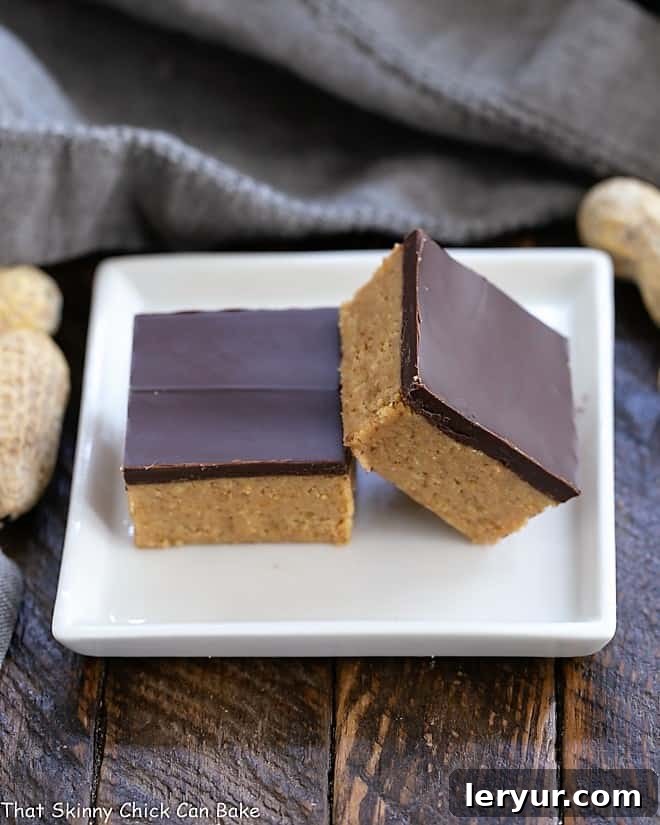
Step-by-Step Guide: How to Make These Easy No-Bake Bars
Creating these incredible chocolate peanut butter bars is surprisingly simple, especially with our detailed step-by-step instructions. Follow along to achieve perfectly layered, decadent treats every time.
Expert Tips for the Best No-Bake Peanut Butter Bars
Having perfected this recipe over time, I’ve gathered some invaluable tips to ensure your chocolate peanut butter bars are nothing short of extraordinary. When I first shared this recipe in 2010, I used about half the current amount of peanut butter layer ingredients. While delicious, I yearned for a thicker, more decadent bar cookie. After some tweaking, these new and improved thicker peanut butter bars were born, and they are truly superior! Here are my top recommendations:
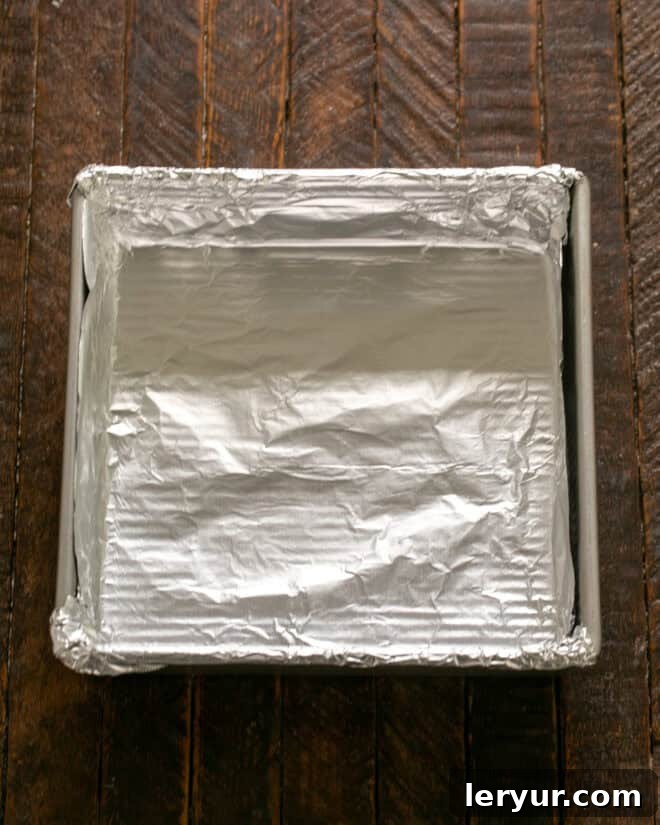
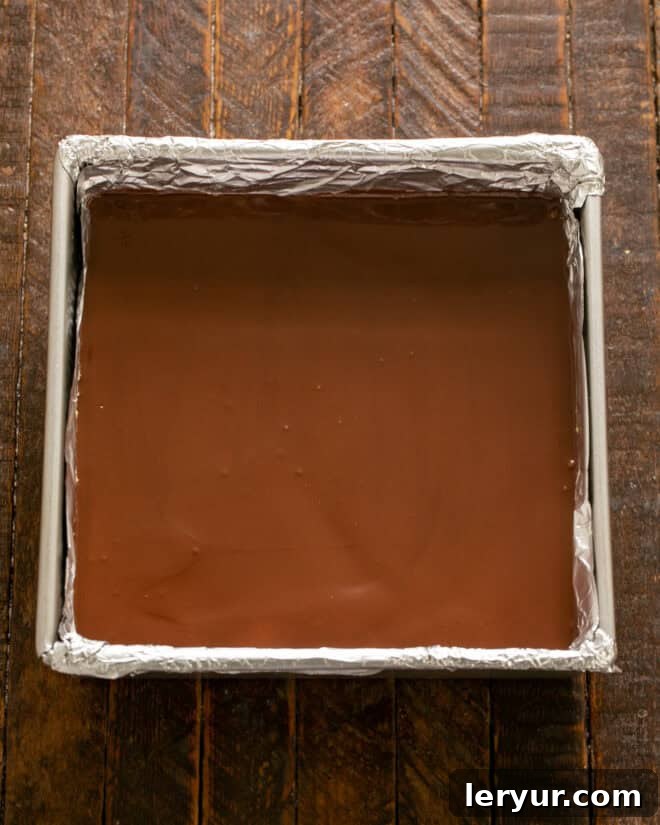
- PRO-Tip: Prepare Your Pan with Non-Stick Foil. This simple step makes a world of difference. Lining your baking pan with non-stick foil serves two crucial purposes. First, it prevents the delicious peanut butter mixture and chocolate topping from sticking to the sides of the pan, making cleanup a breeze. Second, and perhaps even more importantly, the foil creates a natural “sling.” Once the bars are chilled and firm, you can easily use these foil edges to lift the entire slab of bars out of the pan and onto a cutting board. This method is significantly easier and neater than trying to slice the bars directly in the pan.
- Embrace Salted Butter for Enhanced Flavor. Don’t shy away from using salted butter in this recipe. The subtle saltiness wonderfully balances the sweetness of the peanut butter and chocolate, creating an irresistible sweet-salty effect that elevates the overall taste. Rest assured, the bars won’t taste overly salty; they’ll simply have that “just right” complex flavor that keeps you coming back for more.
- Customize Your Chocolate Topping. While semisweet chocolate is my preference for a rich, balanced flavor, feel free to use milk chocolate if that’s what you love. Opting for milk chocolate may produce a flavor combination that’s even closer to a traditional Reese’s Cup, offering a sweeter, creamier profile. Experiment to find your perfect match!
- Don’t Skip the Vegetable Oil in the Chocolate. The small amount of neutral-flavored oil added to the melted chocolate mixture isn’t just for show. It plays a vital role in giving the topping a beautiful, glossy sheen, making your bars look as good as they taste. More importantly, it helps the chocolate set to a slightly softer consistency, which significantly reduces the chances of it cracking when you slice the chilled bars.
- Accurate Chocolate Measurement is Key. When preparing your chocolate topping, note that 1 cup of standard chocolate chips typically equates to about 6 ounces of chocolate. If you’re using chocolate bars, such as Ghirardelli semisweet chocolate, you’ll generally need about 1½ bars (which are often sold in 4 oz or 5 oz increments, so adjust accordingly to reach 6 ounces). Keep an eye out for sales on your favorite chocolate brands and stock up!
- PRO-Tip: Master the Art of Slicing Chilled Bars. This is perhaps the most critical tip for perfectly clean cuts. If your bars are truly well chilled (which is necessary for them to hold their shape), the chocolate topping can become quite firm and prone to cracking when cut with a cold knife. To avoid this, allow the chilled slab of bars to sit at room temperature for about 10-15 minutes before attempting to slice. Even better, use a hot, dry knife. Run your knife blade under very hot tap water for about 30 seconds, then wipe it completely dry before making each slice. The warmth of the blade will glide through the chocolate smoothly, creating beautiful, crack-free edges. Wipe the blade clean between slices for the tidiest results.
- Storage for Optimal Freshness: Once sliced, store your peanut butter bars in an airtight container in the refrigerator. Placing parchment or wax paper between layers will prevent them from sticking together. They will stay fresh and delicious for 4-5 days. These bars also freeze exceptionally well for up to 3 months; simply defrost them overnight in the refrigerator before serving.
Frequently Asked Questions About No-Bake Peanut Butter Bars
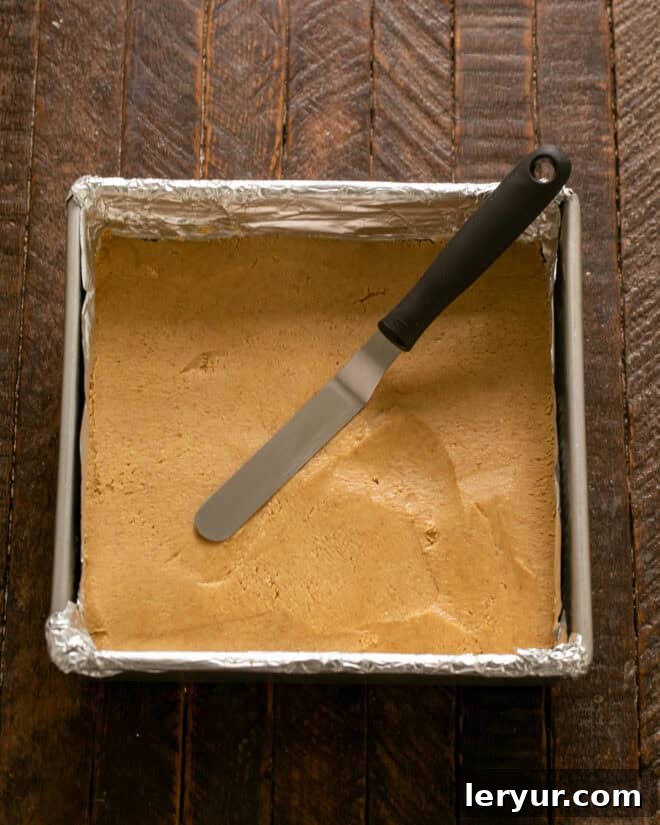
Achieving perfectly even layers is key to the visual appeal and balanced taste of these bars. For the peanut butter crust, once the mixture is in the pan, you can use the flat bottom of a sturdy measuring cup or a glass to press it down firmly and uniformly. This ensures a compact and level base. For both the peanut butter layer and the chocolate topping, an offset spatula is your best friend. Its flexible blade and angled design allow you to spread the mixtures smoothly and evenly across the entire surface with ease, gently leveling as you go.
Slicing these bars cleanly is easier than you think with the right technique! First, ensure the bars are thoroughly chilled to firm up both layers. Then, use the foil “sling” (if you lined your pan with foil) to carefully lift the entire slab of bars out of the pan and place it on a sturdy cutting board. Before cutting, let the bars sit at room temperature for about 10-15 minutes. This allows the chocolate topping to soften slightly, significantly minimizing the risk of cracking. The real secret, however, is to use a hot, dry knife. Run a sharp knife blade under very hot tap water for 30-60 seconds, then wipe it completely dry. The warmed blade will glide through the chocolate and peanut butter layers with minimal effort, creating clean, crisp edges. Wipe the blade clean and re-warm it between each slice for the most pristine results. Trying to cut them without heating the knife blade when the chocolate is ice cold will almost certainly lead to cracks.
Proper storage ensures your delicious bars stay fresh and enjoyable. After you slice them into individual portions, arrange them in an airtight container. To prevent the bars from sticking to each other, place a sheet of parchment paper or wax paper between layers. Store the container in the refrigerator; they will maintain their freshness and delightful texture for 4-5 days. For longer storage, these no-bake bars freeze exceptionally well! Wrap individual bars tightly in plastic wrap, then place them in a freezer-safe bag or container. They can be frozen for up to 3 months. When you’re ready to enjoy them, simply defrost them overnight in the refrigerator before serving.
More Irresistible Peanut Butter & Chocolate Desserts
If you’re a true connoisseur of chocolate and peanut butter, you’ll love exploring these other fantastic recipes:
- Peanut Butter Cake Roll from Crazy for Crust
- Homemade Reese’s Bars – A similar indulgence, but with a slightly thinner peanut butter layer, for those who prefer more chocolate in every bite.
- Tagalong Bars – Recreate the magic of your favorite Girl Scout cookie in an easy bar form.
- Peanut Butter Chocolate Tiger Bark – A stunning and simple swirled bark that’s perfect for gifting or quick cravings.
- Stuffed Peanut Butter Krispie Treats – An elevated version of a classic, with a delightful peanut butter surprise.
- Peanut Butter Truffle Brownies – Rich brownies topped with a luscious peanut butter truffle layer.
- Best Peanut Butter Lovers Recipes – A curated collection for true peanut butter fanatics.
- Explore more delectable Bar Cookie Recipes for every occasion.
Stay connected and share your culinary adventures with me on social media! Find me @ Instagram, Facebook, and Pinterest. Don’t forget to tag me when you try one of my delicious recipes! Your feedback means the world to me, and if you love the results, please consider leaving a 5-star rating and comment in the recipe card below.
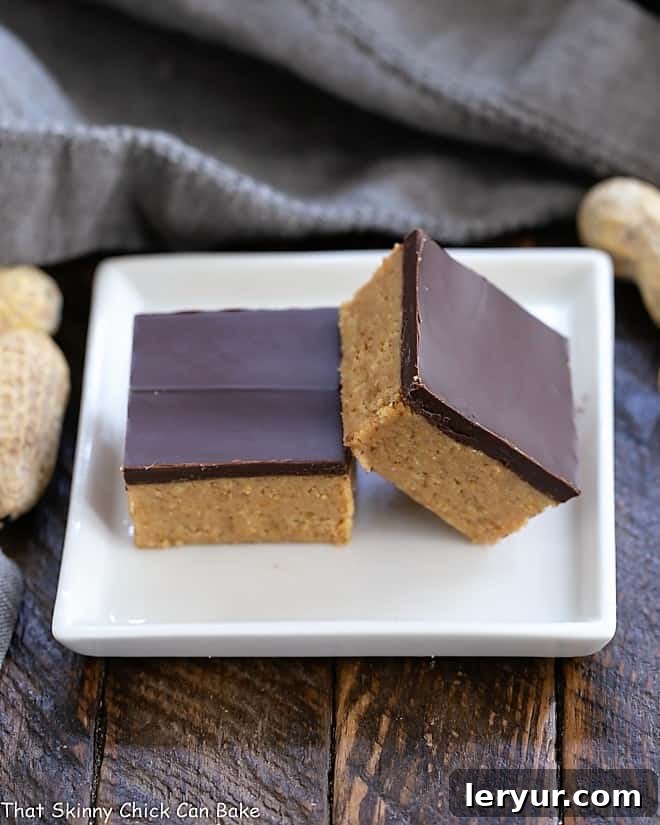
Better Than Reese’s Peanut Butter Bars
20 minutes
20 minutes
16 bars
A phenomenal no-bake chocolate and peanut butter treat that is guaranteed to satisfy your deepest Reese’s cravings and impress everyone who tries it!
Ingredients
For the Peanut Butter Layer:
- 12 tablespoons (1½ sticks) unsalted or salted butter, melted
- 2 cups graham cracker crumbs (about 1 sleeve of graham crackers, finely crushed)
- 2 cups powdered sugar (confectioners’ sugar), sifted
- 1 cup smooth peanut butter (such as Jif or Peanut Butter & Co. – avoid natural, oily varieties)
For the Chocolate Topping:
- 6 ounces (approximately 1 cup) semisweet chocolate, finely chopped or 1 cup semisweet chocolate chips
- 1 teaspoon neutral vegetable oil (e.g., canola oil)
Instructions
- Prepare the Pan: Line an 8×8-inch baking pan with nonstick foil, allowing the foil to extend over the sides to create a “sling” for easy removal.
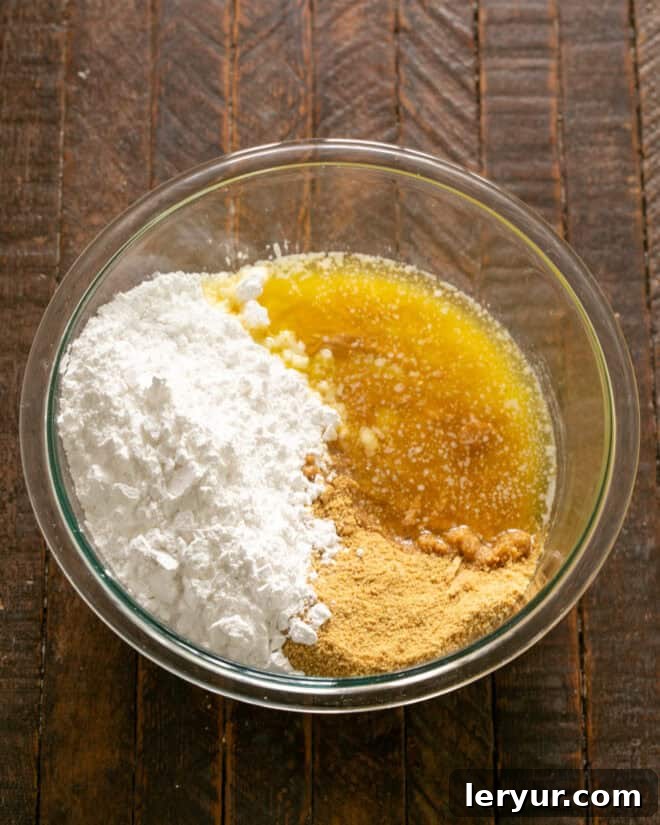
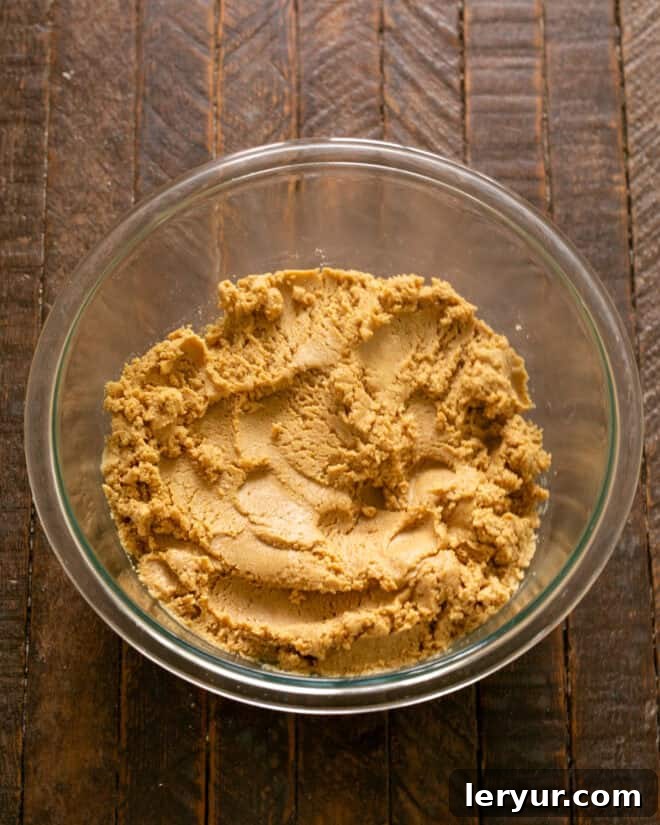
- Combine Peanut Butter Layer: In a large mixing bowl, combine the melted butter, graham cracker crumbs, sifted powdered sugar, and smooth peanut butter. Stir well with a sturdy spoon or spatula until all ingredients are thoroughly combined and a thick, moist mixture forms.
- Press into Pan: Transfer the peanut butter mixture to the prepared baking pan. Using the back of a measuring cup or an offset spatula, firmly and evenly press the mixture into the bottom of the pan to create a compact, level layer. Refrigerate the pan while you prepare the chocolate topping.
- Melt Chocolate Topping: In a microwave-safe bowl, combine the finely chopped semisweet chocolate (or chocolate chips) and vegetable oil. Microwave on high in 30-second intervals, stirring thoroughly after each interval, until the chocolate is completely melted and the mixture is smooth and glossy. Be careful not to scorch the chocolate.
- Spread Chocolate: Pour the melted chocolate mixture evenly over the chilled peanut butter layer in the pan. Use an offset spatula to gently spread it from edge to edge, ensuring a smooth and even topping.
- Chill and Set: Return the pan to the refrigerator and chill for at least 1-2 hours, or until the chocolate topping is completely set and firm.
- Slice and Serve: Once chilled, lift the bars out of the pan using the foil sling and place them on a cutting board. Allow them to sit at room temperature for 10-15 minutes to prevent the chocolate from cracking. For perfectly clean slices, use a hot, dry knife (run under hot water and wipe dry between cuts) to cut the bars into 16 squares. Serve immediately or store in the refrigerator.
Recipe Notes
This recipe is an adaptation from a combination of classic no-bake recipes, perfected for ultimate flavor and ease. Lining your baking pan with non-stick foil is a simple yet effective trick that ensures easy cleanup and makes lifting the bars out of the pan a breeze. For best results, ensure your peanut butter is smooth and not the natural, oily kind, as this affects the setting of the bars. Using a hot, dry knife for slicing will give you the cleanest cuts and prevent the chocolate from cracking.
Recommended Products for This Recipe
As an Amazon Associate and member of other affiliate programs, I may earn a small commission from qualifying purchases made through these links, at no extra cost to you. Your support helps me create more delicious content!
- Nonstick Foil
- Small Offset Spatula
- 8 x 8-inch Baking Pan
Nutrition Information:
Yield: 16 bars
Serving Size: 1 bar
Amount Per Serving (estimated):
- Calories: 325 kcal
- Total Fat: 21g
- Saturated Fat: 9g
- Trans Fat: 0g
- Unsaturated Fat: 10g
- Cholesterol: 23mg
- Sodium: 195mg
- Total Carbohydrates: 33g
- Fiber: 2g
- Sugar: 23g
- Protein: 5g
*Nutritional information is an estimate and may vary based on specific ingredients and preparation methods.