
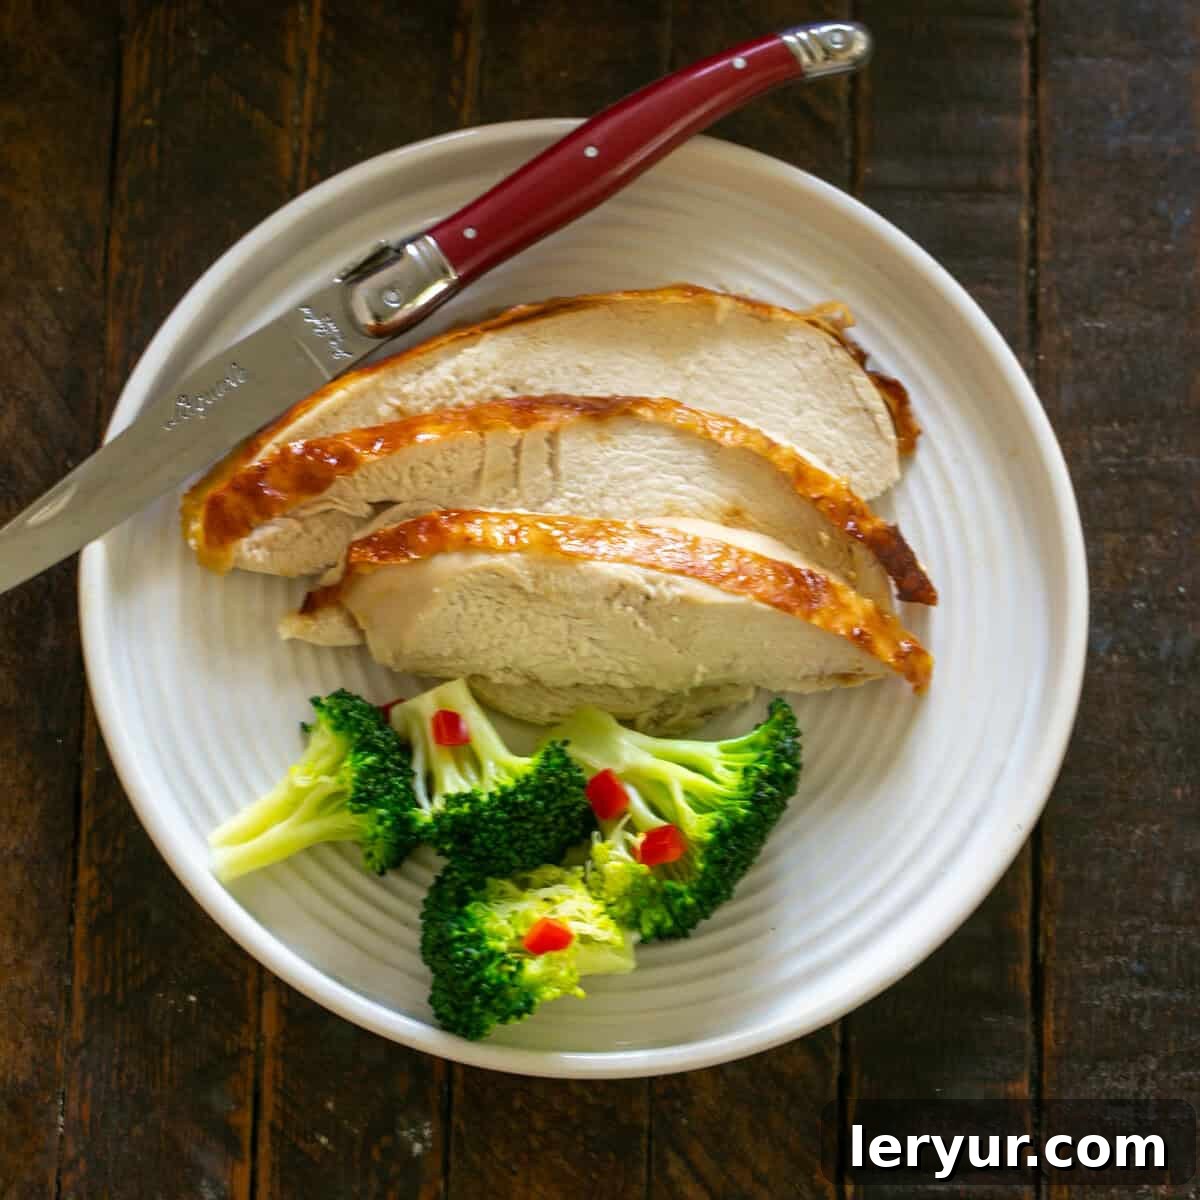
Welcome to the ultimate guide to crafting the most succulent, flavorful, and incredibly tender Buttermilk Chicken. This isn’t just another chicken recipe; it’s a testament to how simple ingredients, combined with a little patience, can yield a truly unforgettable meal. Whether you’re a seasoned chef or a home cook looking to impress, our easy-to-follow recipe promises a golden-brown, juicy whole chicken that will become a staple in your kitchen.
The secret to this culinary marvel lies in its minimalistic yet profoundly effective Buttermilk Marinade. With just two core ingredients – rich, tangy buttermilk and the essential touch of salt – we unlock a world of flavor and texture. Buttermilk, a dairy product celebrated for its delicate acidity, works wonders as a natural tenderizer. It gently breaks down the chicken’s muscle fibers, ensuring every bite is moist and tender, while also contributing to that gorgeous, caramelized bronze hue as the sugars within the milk react beautifully in the heat of the oven. Salt, often underestimated, plays a crucial role beyond mere seasoning; it’s a master flavor enhancer, drawing out the natural deliciousness of the chicken and balancing both sweet and savory notes to perfection.
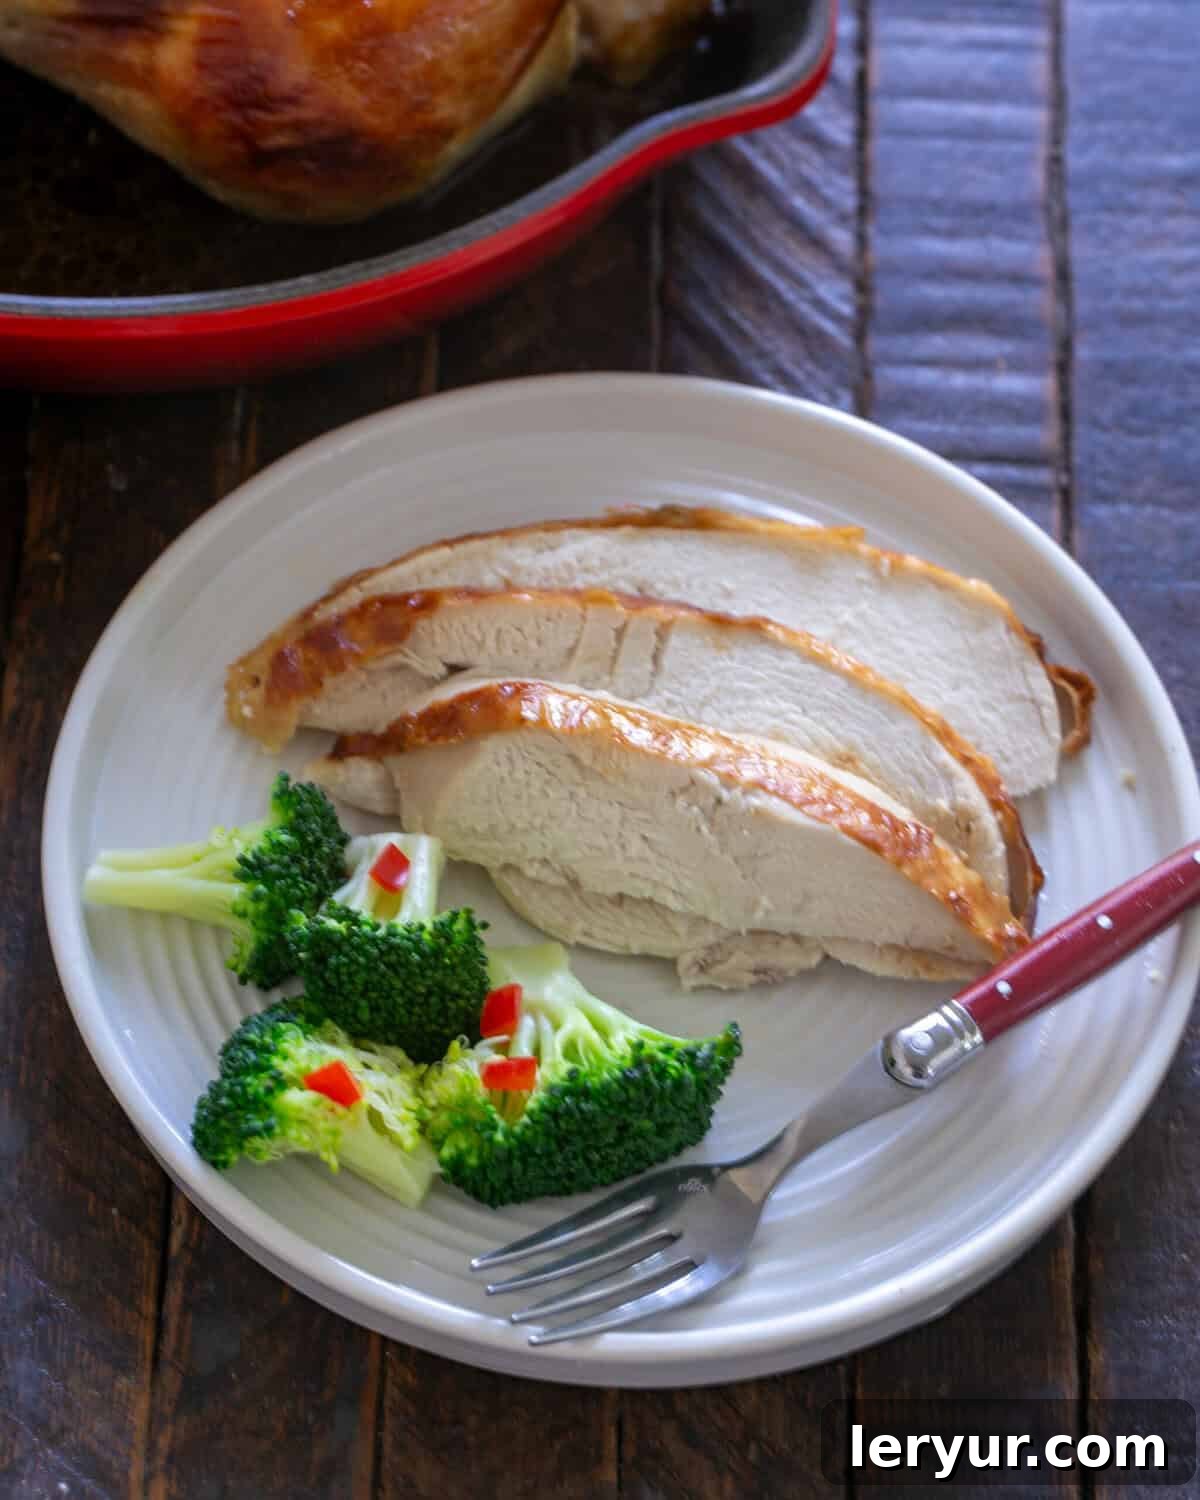
Why This Buttermilk Chicken Recipe Is a Must-Try
In a world brimming with complex recipes, sometimes the simplest ones shine brightest. Our Buttermilk Chicken stands out for several compelling reasons, making it an essential addition to your recipe repertoire:
- Effortless Elegance: You’ll be astonished by the gourmet results achieved with just three humble ingredients. This recipe proves that you don’t need a pantry full of exotic spices to create something truly extraordinary. Its simplicity makes it perfect for weeknight dinners, yet elegant enough for special occasions.
- Unrivaled Moisture and Tenderness: The secret to chicken that practically melts in your mouth lies in the overnight marination. Allowing the chicken to luxuriate in its buttermilk bath for 12-24 hours ensures maximum penetration of flavor and tenderness, resulting in a supremely moist bird that defies dryness. This extended soak is the game-changer for a perfectly juicy roast.
- Versatility for Days: Beyond serving as a show-stopping main course, the leftovers from this buttermilk chicken are incredibly versatile. Imagine succulent slices tucked into sandwiches, shredded into vibrant salads, or folded into warm wraps for quick and delicious lunches. It’s a gift that keeps on giving, making meal prep a breeze.
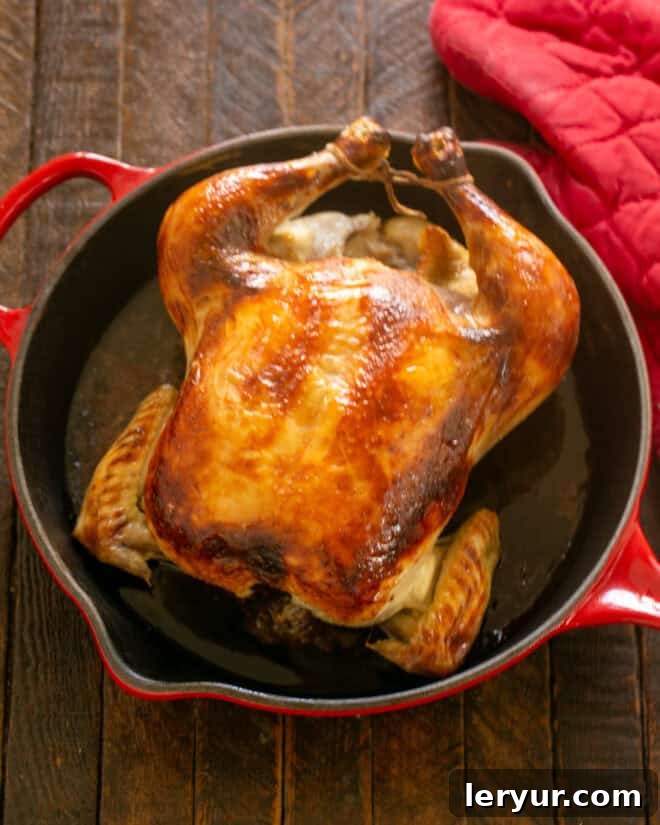
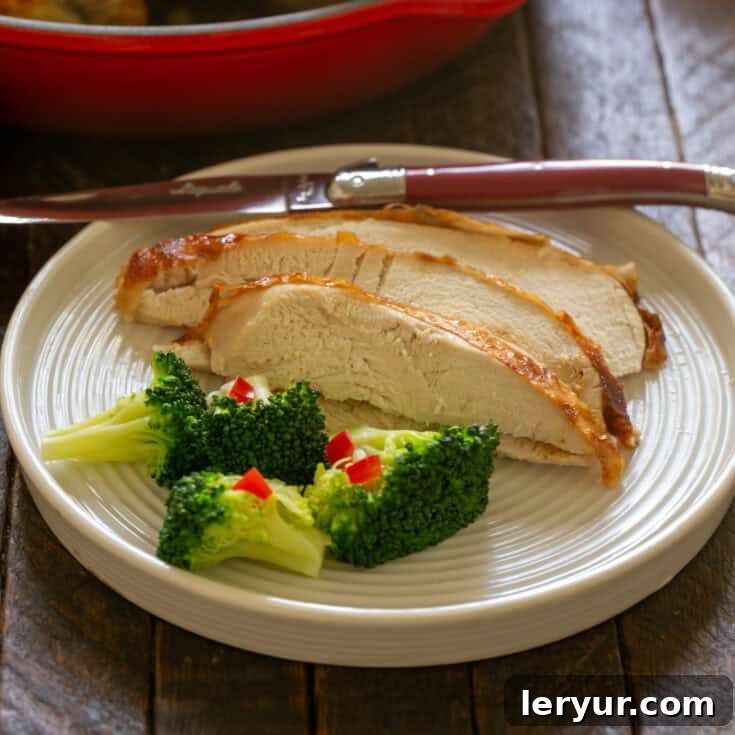
- Beautiful Presentation: The natural sugars in buttermilk contribute to a stunningly caramelized, golden-brown skin that is not only visually appealing but also bursting with flavor and crisp texture. It’s a feast for both the eyes and the palate.
Essential Ingredient Notes for Success
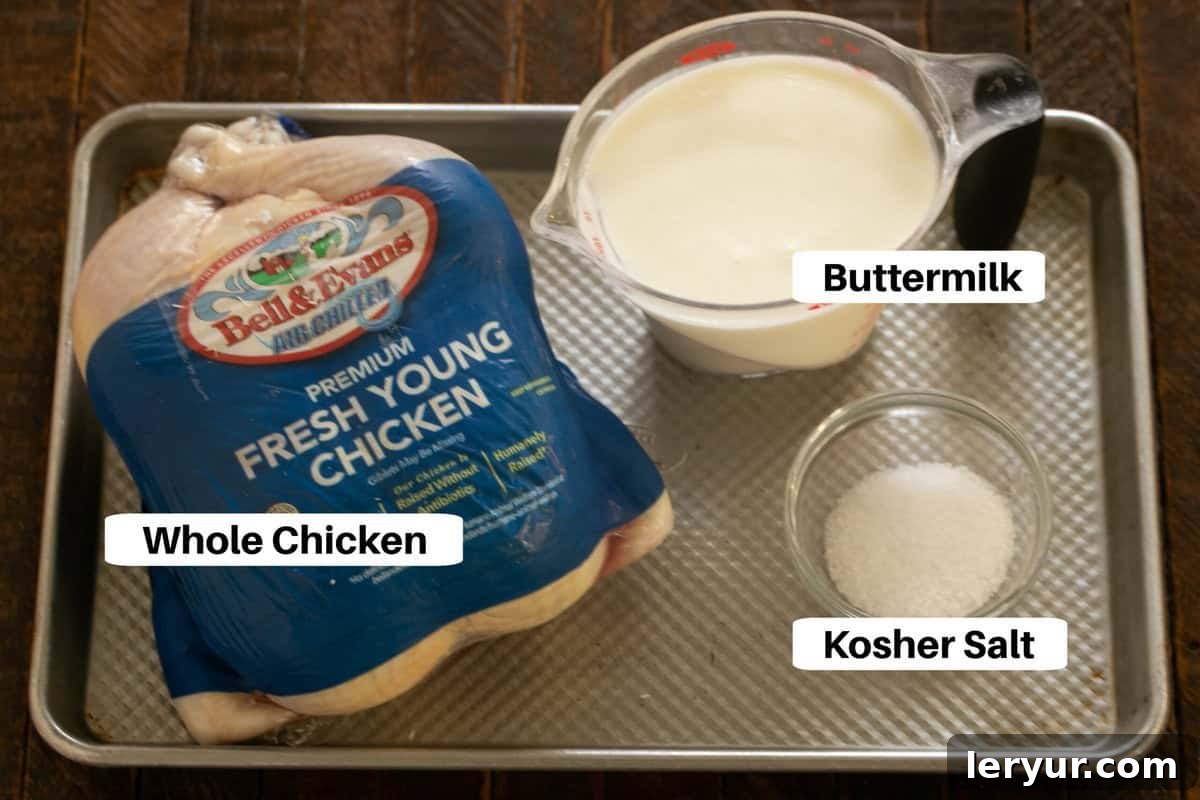
While the ingredient list is short, understanding each component and its role is key to mastering this exceptional roast chicken.
- Salt: The Flavor Multiplier
For this recipe, we highly recommend using kosher salt or fine sea salt. These salts have a coarser grain and a cleaner taste compared to regular table salt, allowing for better distribution and penetration into the chicken. Salt is more than just a seasoning; it’s a powerful flavor enhancer that awakens the natural flavors of food. Without it, dishes can taste flat and uninspired. In a brine like this, salt helps draw moisture into the chicken, contributing to its juiciness. If you have dietary restrictions, please consult your doctor for appropriate salt intake.
- Buttermilk: The Tenderizing Elixir
Buttermilk is the star of our marinade, thanks to its mild acidity (lactic acid). This acidity gently denatures the proteins in the chicken, leading to an incredibly tender texture without making the meat mushy, unlike stronger acids like lemon juice or vinegar used in high concentrations. The lactose (milk sugar) also aids in achieving that beautiful golden-brown crust through caramelization during roasting.
Buttermilk Substitute (If None is Available): Don’t let the absence of buttermilk deter you! You can easily make a substitute at home. For every cup of buttermilk required, simply pour 1 tablespoon of fresh lemon juice or white vinegar into a liquid measuring cup. Then, fill the rest of the cup with regular milk (dairy or non-dairy options work, though whole milk yields the best results) until it reaches the 1-cup line. Stir gently to combine and let it rest for 5-10 minutes. During this time, the milk will slightly curdle and thicken, mimicking the consistency and acidity of true buttermilk. Double the ingredients for 2 cups, and so on. Alternatively, plain yogurt or crème fraîche can be thinned slightly with a little water or milk and used as an effective substitute, offering a similar tangy profile and tenderizing effect.
- Roasting Chicken: The Canvas
Opt for a whole roasting chicken, ideally weighing between 3½ and 4 pounds. Before marinating, ensure you remove any neck or organ meats from the cavity, if included in your package. While optional, some cooks prefer to rinse their chicken, but if you do, it’s crucial to pat it thoroughly dry with paper towels afterward. A dry surface promotes better browning and crispier skin. Patting dry also helps the marinade adhere better to the chicken’s surface.
Expert Recipe Tips for a Perfect Roast
Achieving a perfectly roasted buttermilk chicken involves a few key techniques. Follow these tips to ensure your chicken is cooked to perfection every time:
- Monitor with a Meat Thermometer: This is your best friend in the kitchen. Insert a reliable meat thermometer into the thickest part of the thigh, avoiding the bone, to accurately monitor the internal temperature. This prevents undercooking or overcooking, ensuring perfectly juicy chicken.
- Temperature Strategy for Browning: Begin roasting your chicken in a hot oven, typically around 425°F (220°C). This initial high heat is crucial for achieving a beautiful, crispy, golden-brown exterior. About halfway through the cooking process, reduce the oven temperature (e.g., to 400°F/200°C) to allow the chicken to cook through evenly without the skin becoming too dark or burning. This two-stage temperature approach is a professional trick for perfect results.
- Target Internal Temperature: For food safety and optimal tenderness, the chicken should reach an internal temperature of 180°F (82°C) in the thigh before it’s considered fully cooked and safe to eat.
- PRO-Tip: Embrace Carryover Cooking: You can strategically pull the chicken from the oven when its internal temperature reaches 170°F (77°C). Why? Because of a phenomenon called “carryover cooking.” As the chicken rests, the residual internal heat continues to cook the meat, typically raising the temperature by an additional 5-10 degrees. This resting period is critical for juicy chicken. Make sure to immediately transfer the roasted chicken to a clean cutting board or serving platter and tent it loosely with aluminum foil. This traps the heat, allowing the juices to redistribute throughout the meat, resulting in a more succulent and flavorful bird. Skipping this step can lead to dry chicken.
- The Buttermilk’s Magic – Revisited: As mentioned, the acidic nature of buttermilk is fundamental to its tenderizing prowess. The lactic acid works subtly, ensuring tenderness without compromising the meat’s structure. Additionally, the natural sugars (lactose) in buttermilk are instrumental in achieving that coveted beautifully browned and slightly crispy exterior through caramelization. Renowned culinary expert Samin Nosrat’s cookbook, “Salt Fat Acid Heat,” reinforces the idea that plain yogurt or crème fraîche can also deliver similar tenderizing and browning benefits.
- Food Safety First: Sanitization is Key: Raw poultry can harbor harmful bacteria like Salmonella. If you choose to rinse your chicken in the kitchen sink before marinating (though many food safety experts advise against it to prevent spreading bacteria), it is absolutely essential to thoroughly sanitize your sink and any surrounding surfaces afterward. Use a strong disinfectant or run dishes and cutting boards through a hot dishwasher cycle to prevent cross-contamination. Always wash your hands meticulously with soap and warm water for at least 20 seconds after handling raw chicken.
- Optional Flavor Enhancements: While this recipe champions simplicity, feel free to add a few optional aromatics to your marinade for extra depth. A few smashed garlic cloves, a sprig of fresh rosemary or thyme, or a pinch of black pepper can subtly enhance the flavor profile without overshadowing the chicken’s natural taste. Add these directly to the buttermilk marinade.
Simple Steps to Making Perfect Buttermilk Chicken
Follow these straightforward steps to prepare a mouth-watering buttermilk roasted chicken that’s sure to impress.
Frequently Asked Questions About Buttermilk Chicken
Here are answers to some common questions that arise when preparing and enjoying this delicious buttermilk chicken:
Preventing Salmonella contamination is paramount when handling raw poultry. Salmonella bacteria are insidious because they don’t produce a detectable aroma, making them impossible to identify by smell alone. Always assume raw chicken can harbor these bacteria and take extra precautions. After handling raw chicken, thoroughly wash your hands with warm water and soap for at least 20 seconds. Ensure all surfaces, utensils, cutting boards, and dishes that came into contact with the raw chicken are immediately cleaned with a strong disinfectant or placed in a dishwasher on a hot cycle. Use separate cutting boards for raw meat and other ingredients to avoid cross-contamination. Cooking chicken to the correct internal temperature (165°F / 74°C initially, but 180°F / 82°C for thighs) will kill Salmonella.
The ideal marinating time for chicken in buttermilk ranges from 6 to 24 hours. The beauty of a buttermilk marinade lies in its gentle acidity. Unlike marinades with stronger acids (like lemon juice or vinegar in high concentrations), buttermilk’s milder lactic acid tenderizes the chicken without quickly breaking down its structure to the point of becoming mushy. This means you have a longer window for marination, allowing the flavors to penetrate deeply and ensuring maximum tenderness. Marinating for less than 6 hours might not yield the same tenderizing effect, while exceeding 24 hours could (though less likely with buttermilk) start to affect the texture negatively. For optimal results, aim for an overnight soak of 12-24 hours.
Proper storage is crucial for enjoying your delicious leftovers safely. As long as the cooked buttermilk chicken hasn’t been left at room temperature for longer than 2 hours, it can be safely stored in the refrigerator. Transfer any leftover chicken to an airtight container and refrigerate promptly. It will maintain its quality and safety for 3-4 days. For longer storage, you can shred or cut the chicken into portions and freeze it in airtight containers or freezer bags for up to 2-3 months. Thaw frozen chicken in the refrigerator overnight before reheating.
Absolutely! While this recipe focuses on a whole roasted chicken, the buttermilk marinade works beautifully with individual cuts like boneless, skinless chicken breasts or thighs. The marinating time will be shorter, typically 2-4 hours for breasts and 4-6 hours for thighs, to prevent them from becoming too soft. Adjust cooking times accordingly; smaller pieces will cook much faster than a whole bird. This marinade is incredibly versatile for various chicken preparations!
There you have it – a comprehensive guide to making the most flavorful, tender, and beautifully roasted buttermilk chicken. This recipe, with its simple ingredients and straightforward process, delivers truly spectacular results, proving that sometimes, less is indeed more. The combination of the tangy buttermilk and the perfect amount of salt transforms a humble chicken into a culinary masterpiece, ideal for family dinners, entertaining guests, or simply enjoying delicious leftovers.
We encourage you to try this recipe and experience the magic of buttermilk firsthand. Don’t forget to share your creations and connect with us through social media! You can find us on Instagram, Facebook, and Pinterest. When you try this recipe, please tag us and, if you love the results as much as we do, consider leaving a 5-star rating and a comment below. Your feedback helps other home cooks discover and enjoy this fantastic dish!
The Recipe:
Buttermilk Chicken Recipe
10 minutes
1 hour
10 minutes (for resting)
1 hour 20 minutes (+ 12-24 hr marinating)
6 servings
An incredibly easy two-ingredient marinade that transforms a simple whole chicken into a beautifully tender, juicy, and flavorful roast!
Rated 5 out of 5 stars by 5 reviewers.
Ingredients
- 1 Roasting Chicken, approximately 4 pounds, giblets and neck removed from cavity
- 2 tablespoons kosher salt or fine sea salt
- 2 cups buttermilk
Instructions
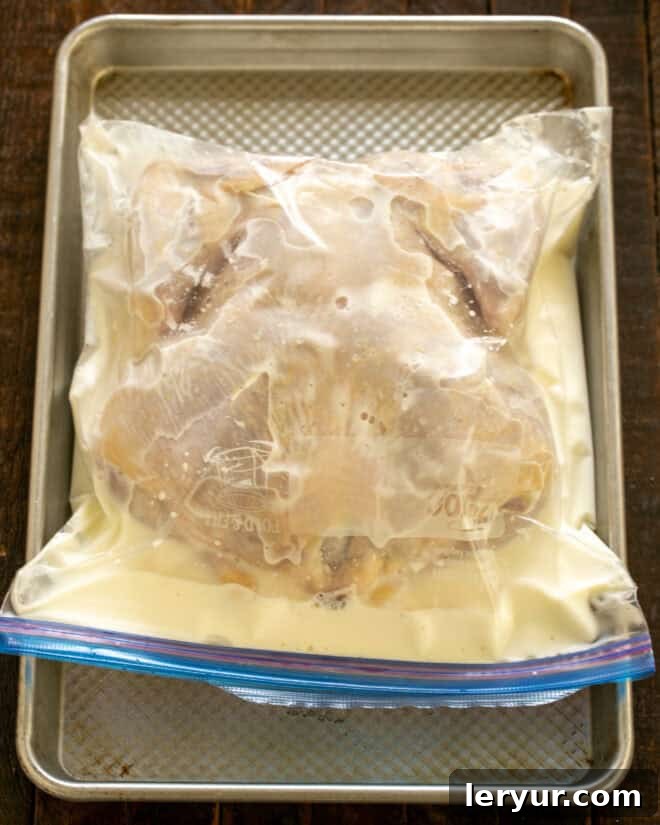
- Remove chicken from its packaging, pat it thoroughly dry with paper towels, and place it into a large, sturdy zip-top bag.
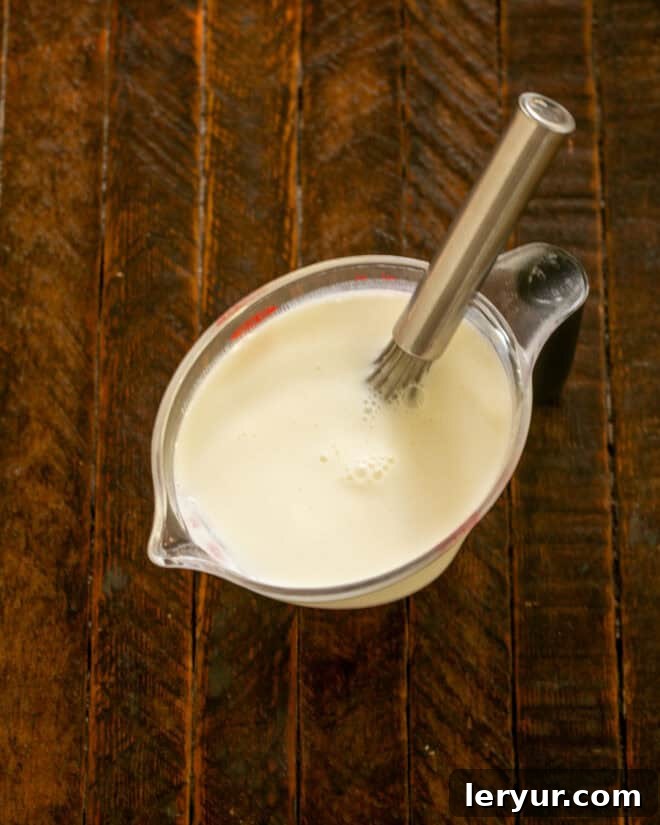
- In a separate bowl, mix the buttermilk with the salt until the salt is fully dissolved. Pour this marinade into the bag with the chicken. Seal the bag securely, ensuring most of the air is removed, and place it on a rimmed baking sheet in the refrigerator.
- Chill and marinate for 12-24 hours, flipping the bag occasionally to ensure all parts of the chicken are exposed to the marinade.
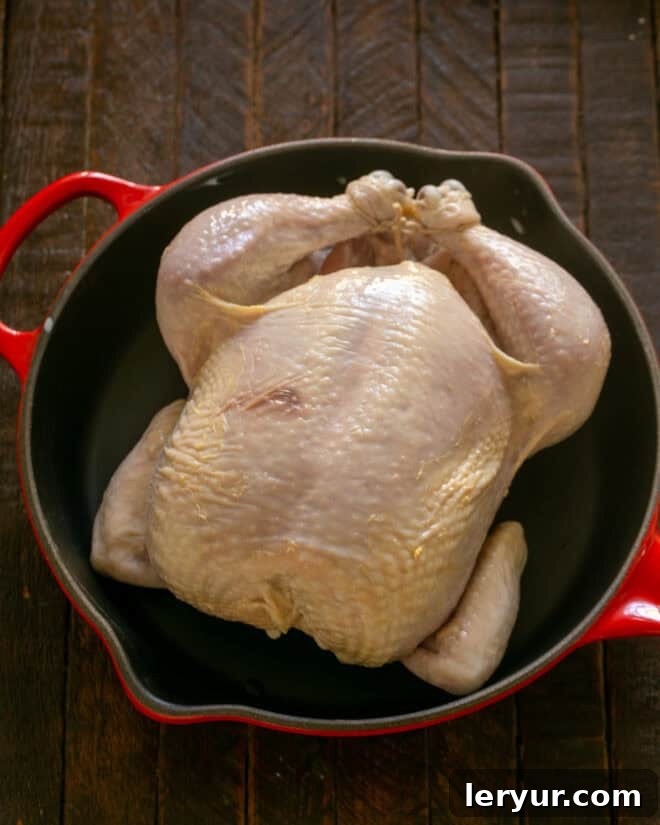
- Approximately one hour before you plan to roast, remove the chicken from the refrigerator. Take it out of the bag, discard the bag and its contents (marinade), and gently scrape off any excess buttermilk from the chicken’s surface.
- If desired, tie the legs together with butcher’s twine for a more compact roast and even cooking. Place the chicken in a roasting pan.
- Preheat your oven to 425°F (220°C). Roast the chicken for 20 minutes at this temperature.
- Reduce the oven temperature to 400°F (200°C).
- Continue roasting for an additional 30-40 minutes, or until the chicken is beautifully browned and a meat thermometer inserted into the thickest part of the thigh (avoiding the bone) registers 170°F (77°C). If one side is browning faster, rotate the pan. The juices should run clear when a knife is inserted.
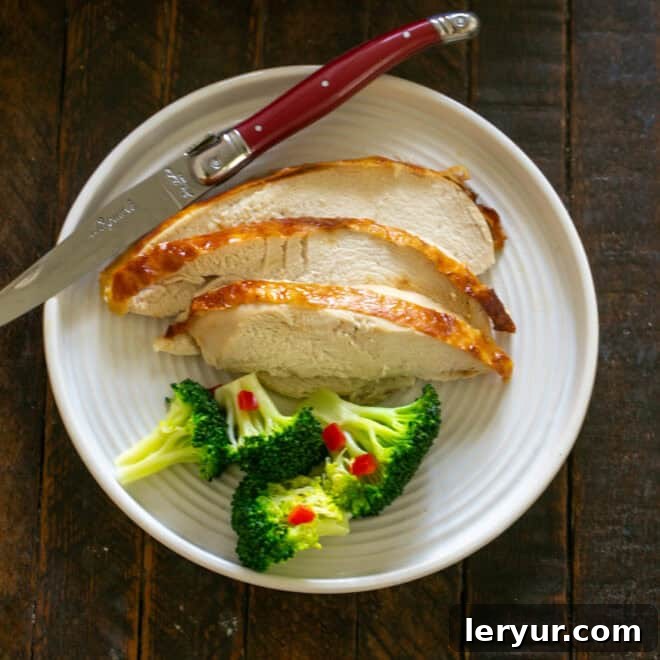
- Remove the chicken from the oven and transfer it to a cutting board. Cover it loosely with aluminum foil and let it rest for at least 10-15 minutes before carving and serving.
Notes
If you notice the chicken browning too quickly, you can tent it loosely with aluminum foil to prevent burning, though this recipe is designed for a nicely browned chicken.
This recipe is adaptable for smaller or larger roasting chickens; simply adjust roasting times accordingly, always relying on an internal temperature reading.
This recipe is inspired and adapted from the foundational principles found in “Salt Fat Acid Heat” by Samin Nosrat.
Recommended Products
As an Amazon Associate and member of other affiliate programs, I earn from qualifying purchases.
- Kosher Salt
- Pyrex Measuring Cups
- Cuisinart 7117-16UR Chef’s Classic Stainless 16-Inch Rectangular Roaster with Rack, Roaster Rack
Nutrition Information:
Yield:
6
Serving Size:
1
Amount Per Serving (Estimate):
Calories: 794
Total Fat: 34g
Saturated Fat: 9g
Trans Fat: 0g
Unsaturated Fat: 16g
Cholesterol: 1666mg
Sodium: 1946mg
Carbohydrates: 4g
Fiber: 0g
Sugar: 4g
Protein: 110g
Please note: Nutritional information provided is an estimate only and should be considered a guide. Varying factors such as product brands, specific ingredients used, and portion sizes can alter these figures. This information is derived from online calculators and is not a substitute for professional dietary advice. You are solely responsible for ensuring the accuracy of any nutritional information you rely upon.