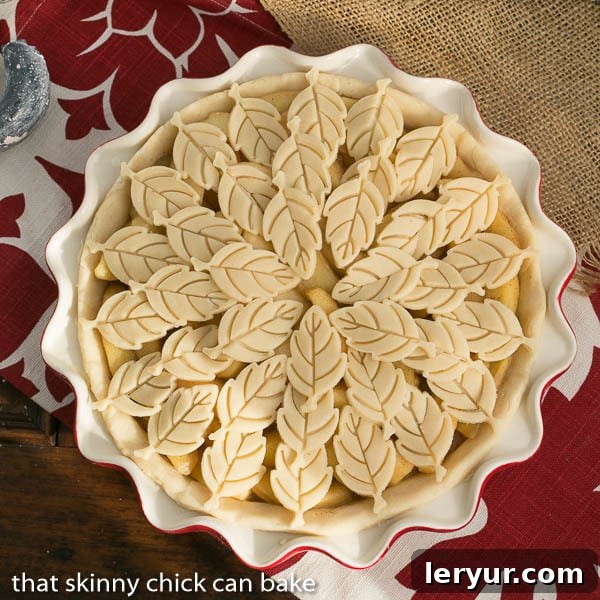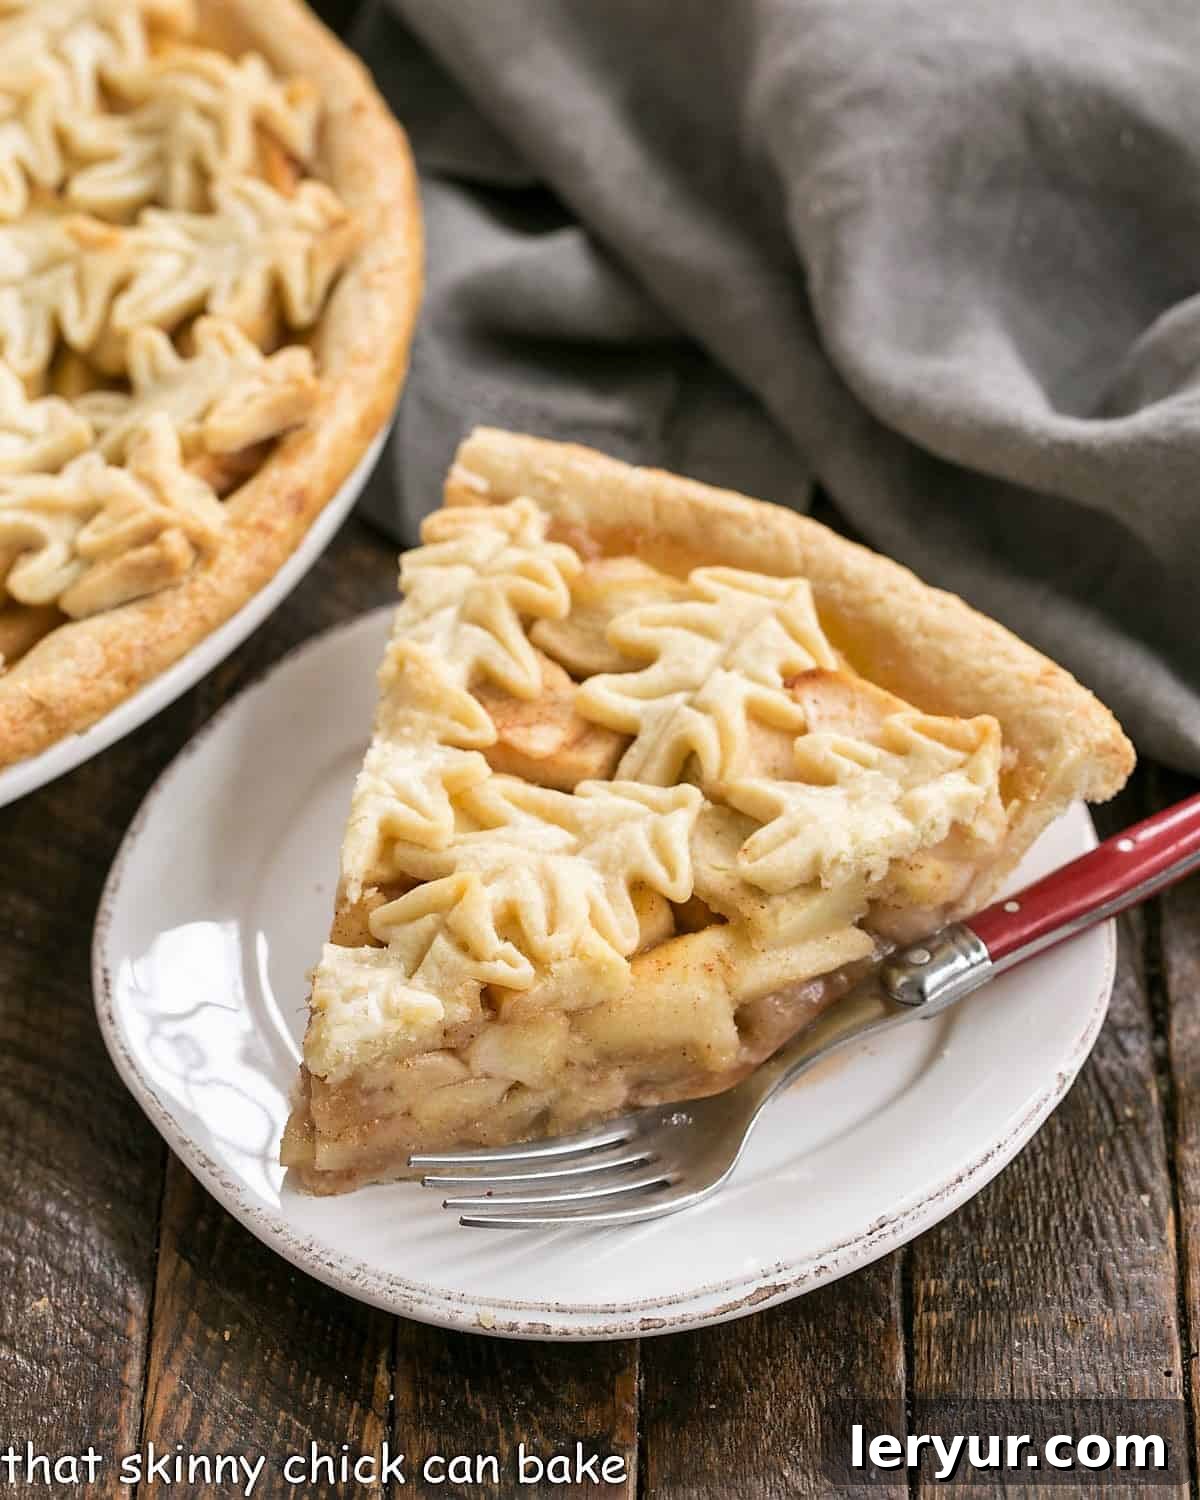
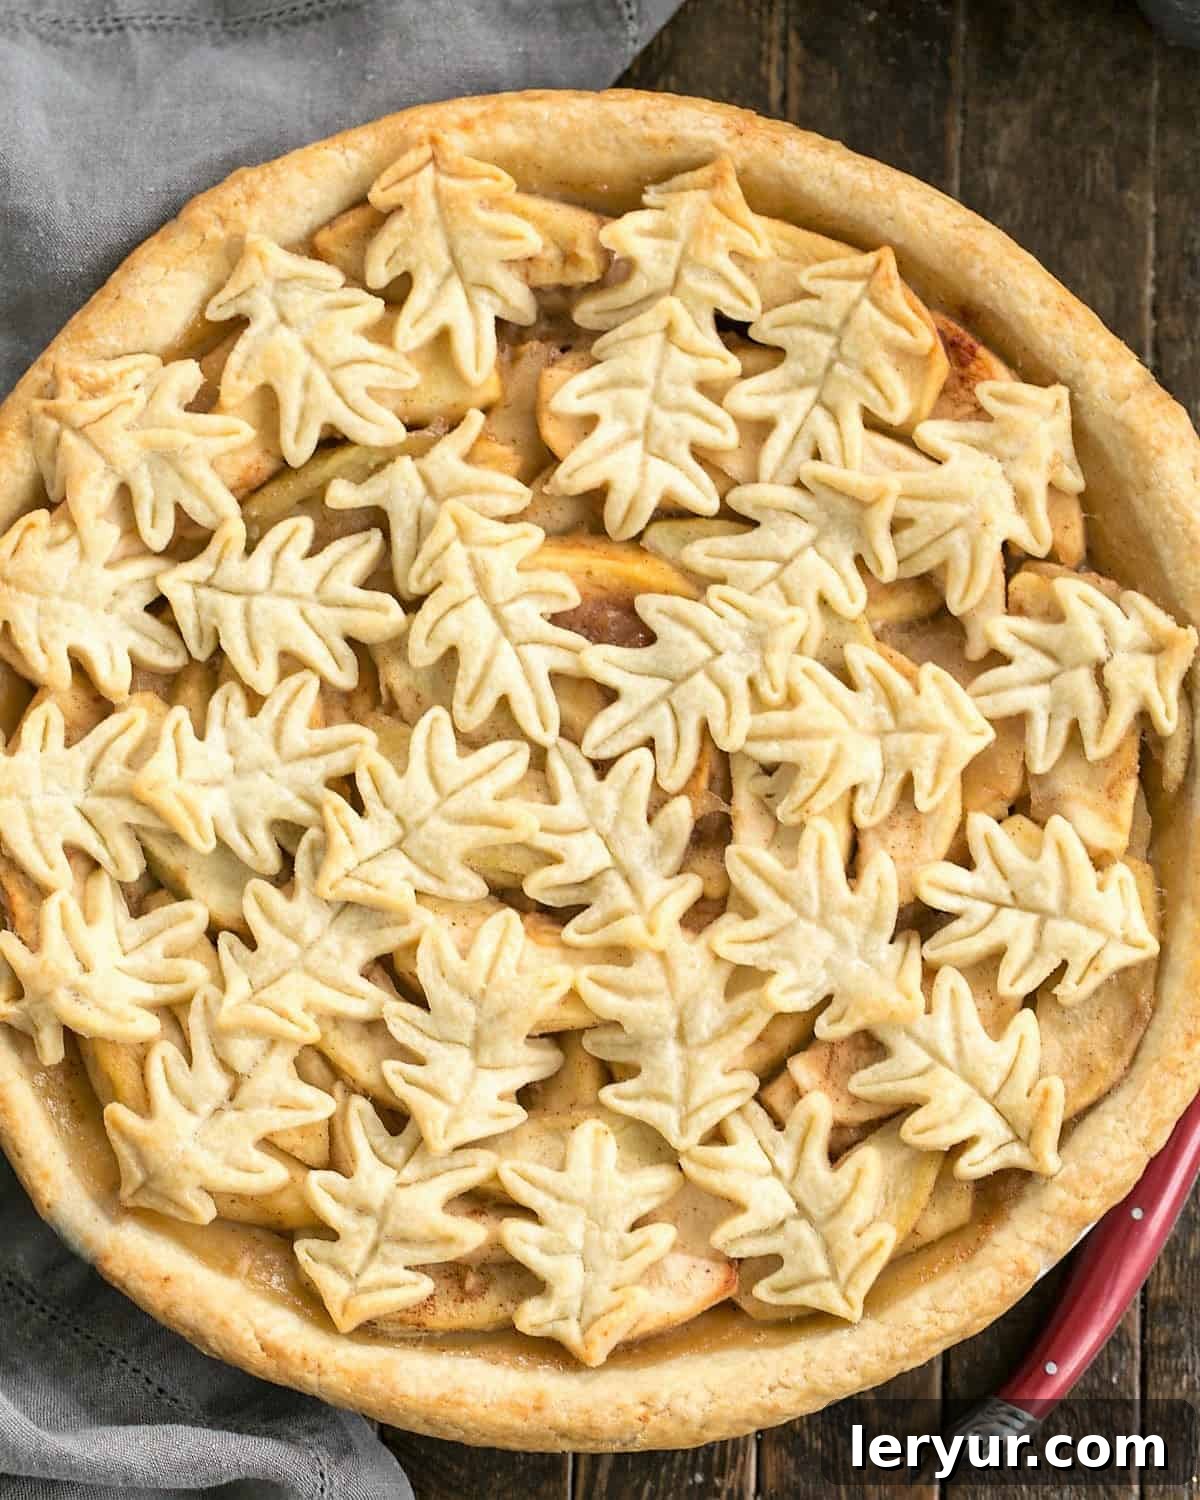
Welcome to the ultimate guide for creating a truly unforgettable dessert: our Leaf Topped Homemade Apple Pie. This isn’t just any apple pie; it’s a masterpiece that marries the nostalgic comfort of a classic, cinnamon-spiced apple filling with an exquisite, showstopping leaf-patterned crust. As it bakes, your kitchen will be filled with an aroma that promises warmth, tradition, and pure delight, making every slice an experience.
While this recipe features a beautiful decorative crust that elevates its presentation, the core of this dessert lies in what many consider to be one of the Best Apple Pie Recipes. If you’re short on time or prefer a more straightforward approach, feel free to use a classic lattice or a simple top crust to streamline the process without sacrificing any of the incredible flavor.
Why You Must Make This Extraordinary Apple Pie
There are countless reasons to bake an apple pie, but this particular recipe offers compelling advantages that make it a must-try for any home baker:
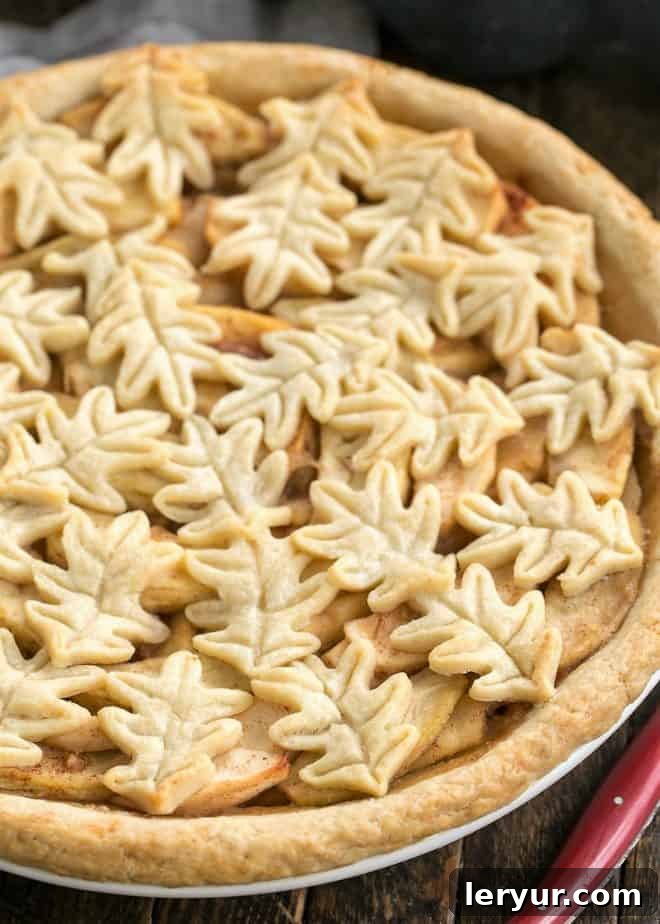
- Unforgettable Presentation: The meticulously arranged leaf topping transforms a humble apple pie into a work of edible art. It’s perfect for holiday gatherings, special occasions, or simply to impress your loved ones with a touch of culinary elegance that sets it apart from ordinary pies.
- Perfectly Level Filling: By precooking the apples, we ensure that the filling settles beautifully before baking. This crucial step prevents the common issue of the top crust sinking after the pie cools, resulting in a consistently level and aesthetically pleasing dessert, ideal for supporting a decorative crust.
- Enjoy Year-Round: While fall often brings an abundance of apple varieties, apple pie truly has no season. This recipe allows you to satisfy your apple pie cravings anytime inspiration strikes, using readily available baking apples.
The inspiration for this stunning crust came from a picture of a Shingle Leaf Apple Brandy Pie in a Martha Stewart Cookbook. While replicating her intricate shingled crust seemed daunting, my family, who are avid apple pie lovers, always prioritizes taste and flavor. This recipe strikes a perfect balance, delivering a breathtaking visual while ensuring the classic, comforting taste remains paramount.
Essential Ingredients for the Perfect Apple Pie
Crafting the perfect apple pie begins with selecting high-quality ingredients. Here’s what you’ll need to create this delectable dessert:
- Kitchen Staples: You’ll need unsalted butter, granulated sugar, and ground cinnamon. These foundational ingredients provide the rich flavor base for both the filling and the crust.
- Double Pie Crust: Whether you opt for a homemade, flaky pie crust (our favorite recipe is provided below for convenience) or a high-quality store-bought option, ensure you have enough for a double crust. A robust crust is essential for holding the generous apple filling and creating a beautiful decorative top.
- Premium Baking Apples: The key to a stellar apple pie lies in the blend of apples. We recommend a mix of varieties for balanced flavor and texture. Our preferred combination includes firm, tart Granny Smith apples, sweet Golden Delicious, and flavorful Jonagold. Ensure they are all peeled, cored, and uniformly sliced into 8 pieces to ensure even cooking.
- Fresh Lemon Juice: Always opt for freshly squeezed lemon juice. Its bright acidity is crucial for preventing the apples from browning and adds a refreshing zest that enhances the overall flavor of the filling, cutting through the sweetness.
- Heavy Cream: A brush of heavy cream applied to the crust before baking creates a beautiful golden sheen and helps the sugar adhere, adding a subtle richness to the pastry.
Mastering the Decorative Pie Crust: Tips and Techniques
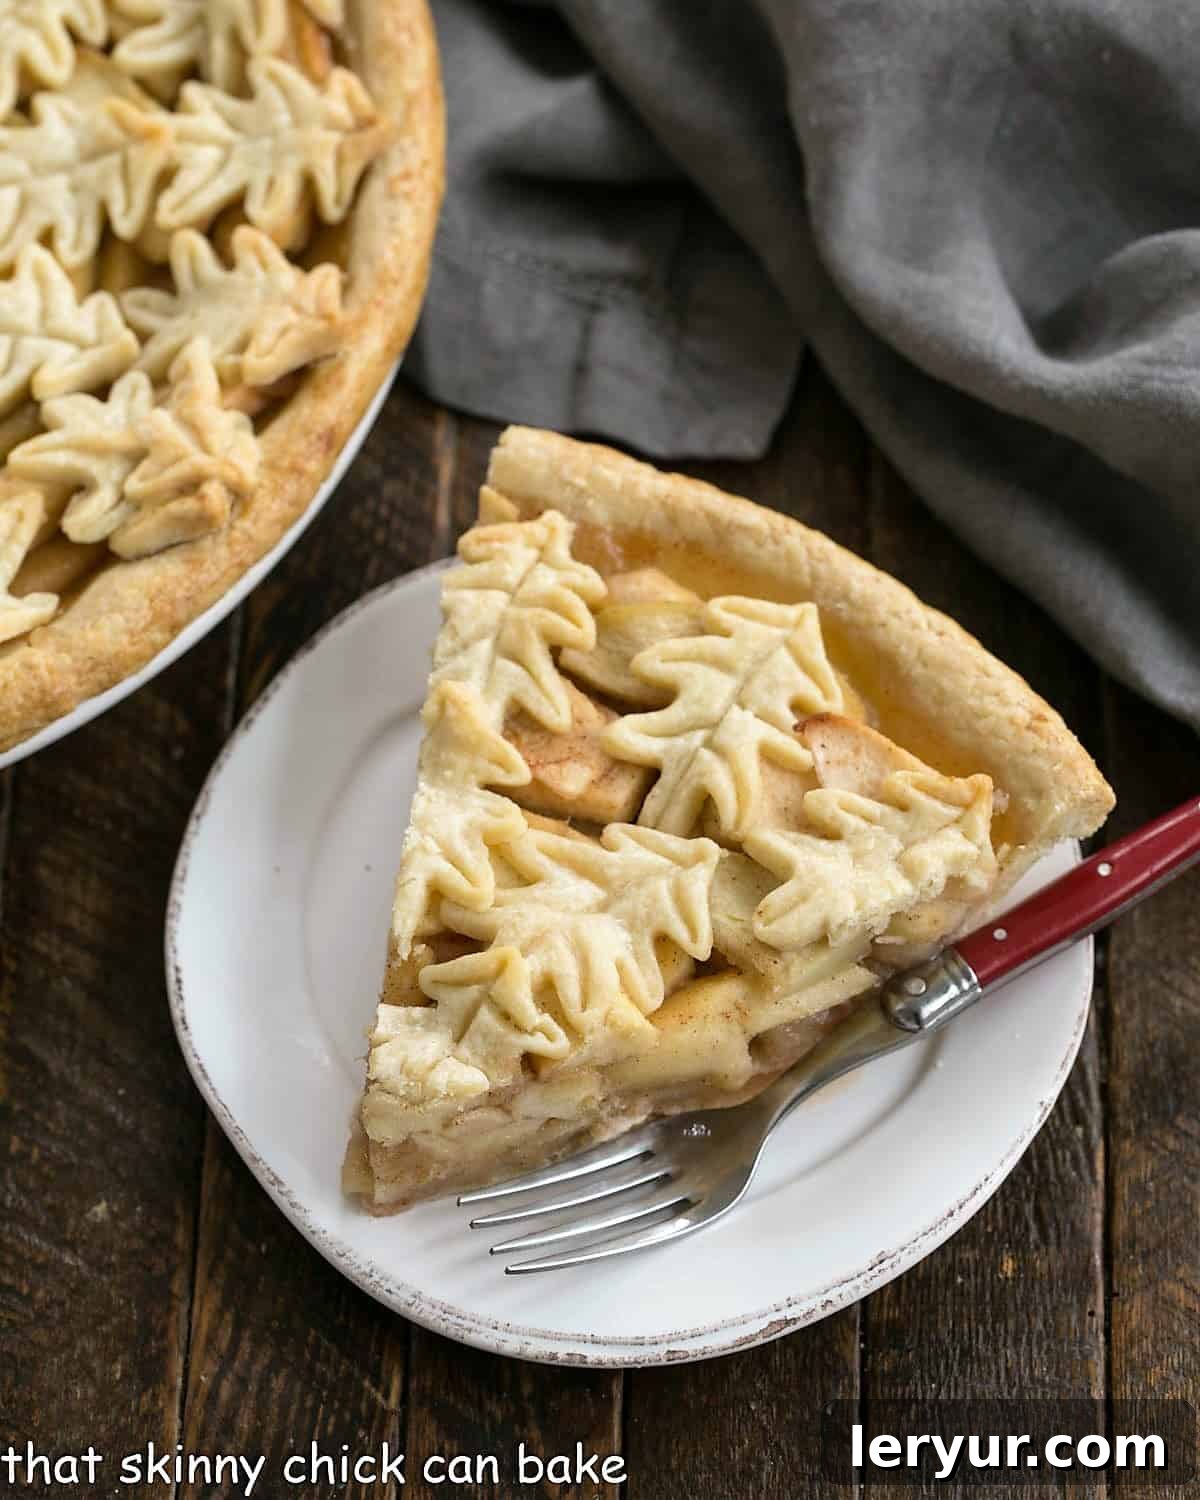
Creating a beautiful decorative crust, especially a leaf-topped one, is a rewarding process that requires a few simple techniques and a bit of patience. Follow these tips to ensure your pie looks as incredible as it tastes:
- Start with a Reliable Pie Crust: The foundation of any decorative crust is a good, tried-and-true pie dough. A flaky, tender, and pliable dough is essential. If your dough is too dry or crumbles easily, it will be challenging to cut and shape intricate designs. Our homemade pie crust recipe, detailed below, is specifically designed for ease of handling and stunning results.
- Precook Your Filling for Stability: As mentioned, precooking the apple filling is key. This step allows the apples to release their excess moisture and shrink *before* baking. This prevents the top crust from collapsing into gaps as the fruit cooks down in the oven, ensuring your decorative topping remains perfectly level and intact throughout the baking process.
- Level the Filling Meticulously: Before you even think about placing your decorative elements, take the time to carefully level the precooked apple filling in the bottom crust. A smooth, even surface provides the perfect canvas for your leaves or any other special topping you choose to add. This attention to detail ensures a polished final look.
- Invest in Quality Cutters: While you can always cut shapes by hand, plastic plunger leaf cutters are a game-changer for this recipe. They create consistent, beautifully detailed leaf shapes with minimal effort, making the assembly process much faster and more enjoyable. These tools are available at most kitchen supply stores or online.
- Optimal Rolling Surface: Roll out your pie crust on a lightly floured surface to prevent sticking. A large silicone baking mat (like a Silpat) is an excellent choice as it offers a nonstick surface and simplifies cleanup, making the rolling process much smoother.
- Chill Your Dough: Always work with cold dough. If the dough becomes too warm, the butter or shortening will melt, making it sticky and difficult to handle. If your kitchen is warm or you’re taking your time, pop the dough back into the refrigerator periodically to keep it firm.
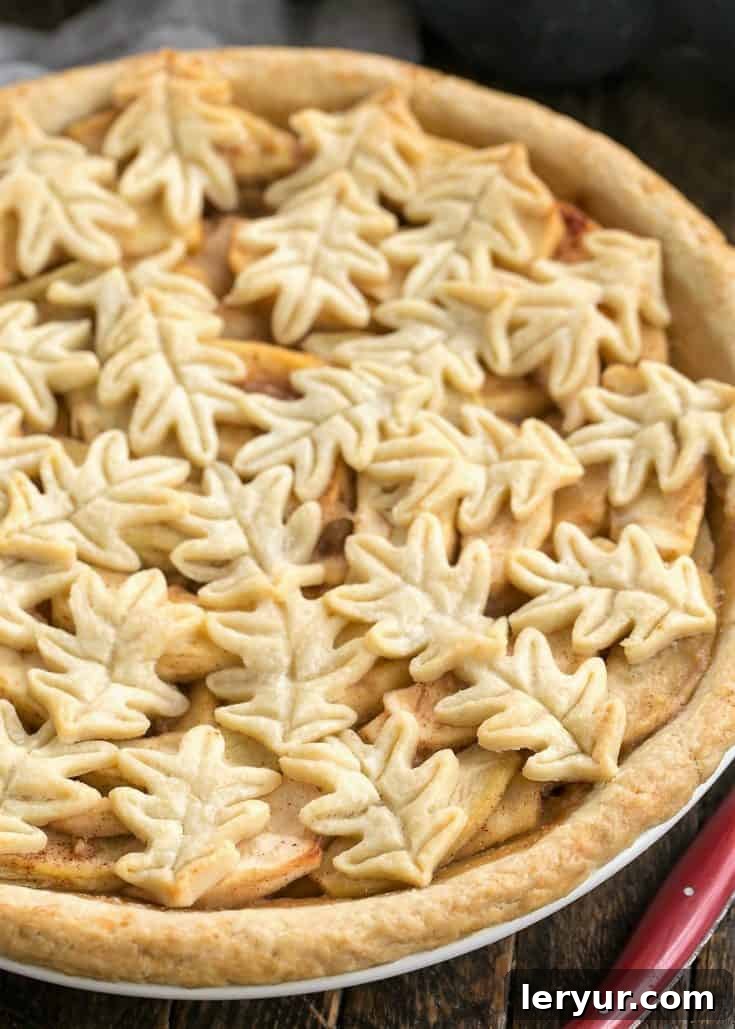
- The Art of Layering: When arranging the leaves, start from the outer edge of the pie and work your way inward. Overlap the leaves slightly, making sure they touch from side to side, to create a lush, textured, and full appearance. Think of it like shingling a roof, but with delicious pastry!
Frequently Asked Questions About Baking Apple Pie
Here are answers to some common questions that arise when baking an apple pie, especially one with a decorative crust:
For a truly exceptional apple pie, using a blend of two or three different baking apple varieties is highly recommended. This combination ensures a complex flavor profile and a desirable texture. A classic and easy-to-find pairing is the tart, firm Granny Smith with the softer, sweeter Golden Delicious. Other excellent choices include Honeycrisp for its crispness and balanced flavor, Braeburn, Fuji, or Rome Beauty. While Northern Spy apples are considered by many to be the ultimate pie apple, they can be challenging to find outside of specific regions like Minnesota and New York. Always steer clear of Red Delicious, as they become mealy when baked and lack the necessary acidity. Don’t hesitate to ask your local produce manager for their recommendations on the best baking apples available.
Precooking the apple filling is a vital step that addresses a common pie-baking dilemma: a sunken top crust. Apples, like many fruits, release a significant amount of water as they cook. If this moisture is released during the pie’s baking time, the apples will shrink considerably, creating large gaps beneath the top crust. This results in a collapsed, uneven, and less appealing pie. By precooking the filling, you allow this excess water to evaporate beforehand. The apples soften and reduce in volume outside the oven, ensuring that when they go into the pie crust, they maintain their volume and provide stable support for your beautiful decorative topping, preventing any unsightly sinking.
No special cookie cutters? No problem! Creativity is often the best tool in the kitchen. If you have an artistic touch, you can simply use a sharp knife to carefully cut out leaf shapes from your rolled-out dough and then use the back of the knife or a toothpick to gently score veins onto them for a realistic effect. Alternatively, any other small cookie or biscuit cutters you have on hand can be used to create attractive patterns. Small circles of dough, for instance, can be overlapped to create a charming, scalloped topping. Another fantastic option is to forgo a traditional top crust entirely and make a Dutch Apple Pie, which features a delightful crumb topping that’s easy to make and universally loved.
More Delicious Pie Inspiration
If you’ve enjoyed baking this apple pie, you might love exploring these other fantastic pie recipes and apple desserts:
- Classic Double Crust Apple Pie Recipe from Saving Room for Dessert
- Fresh Apple Pie Dip from Wishes and Dishes
- Apple Pie Bars
- Classic Apple Pie
- And don’t forget to check out all my 100+ Best Pie Recipes for endless baking ideas!
Stay in touch with us through social media! Follow us on Instagram, Facebook, and Pinterest. Don’t forget to tag us when you try one of our recipes! We love seeing your creations. If you adore the results, please consider leaving a 5-star rating in the recipe card below.
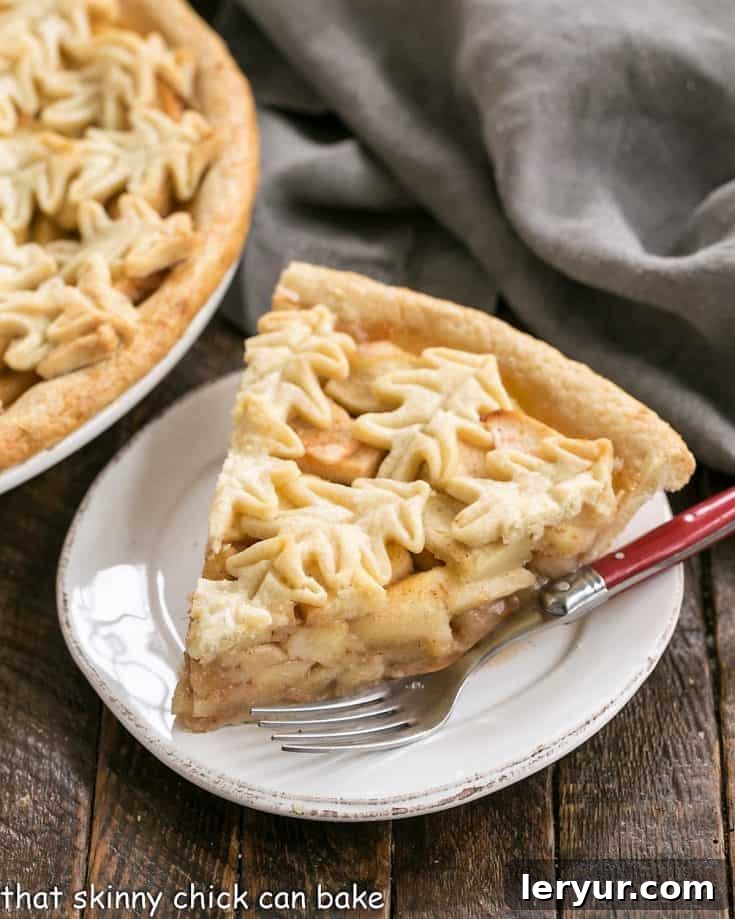
Leaf Topped Apple Pie Recipe
40 minutes
40 minutes
1 hour 20 minutes
8 servings
A classic, comforting apple pie elevated with a stunning leaf cut-out crust, perfect for any occasion.
Ingredients
- One double pie crust, homemade or store-bought
- 3 ½ pounds apples (a mix of Golden Delicious, Granny Smith, and Jonagold recommended), peeled, cored, and each cut into 8 slices
- 3 tablespoons unsalted butter
- 1 tablespoon fresh lemon juice
- ⅔ cup granulated sugar
- 1 teaspoon ground cinnamon
- Heavy cream, for glazing the pie crust
- Granulated sugar, to sprinkle over glaze (optional)
Instructions
- Melt butter in a large saucepan over medium heat. Add the sliced apples and sauté for about one minute, stirring gently to ensure the apples are lightly coated with butter.
- Stir in the fresh lemon juice and granulated sugar. Continue to cook for approximately 5 more minutes, or until the apples are just tender-crisp. Sprinkle with cinnamon, stir to combine, and remove from heat.
- Allow the apple filling to cool completely while you prepare and roll out the bottom pie crust.
- Preheat your oven to 400°F (200°C).
- Carefully place the bottom pie crust into a 9-inch pie plate. Trim the pastry, leaving an overhang of about ¾ inch. Fold the overhanging pastry under itself to create a neat, unfluted edge.
- Once the apple filling has cooled, carefully spoon it into the prepared pie crust. Gently tuck the apples into any open spaces to create an even, level surface across the top.
- Roll out the second pie crust (for the top). Using leaf cookie cutters, cut out numerous leaf shapes. Begin by placing leaves around the outer edge of the pie, then continue layering them, ensuring each leaf slightly overlaps the previous one and touches from side to side, working your way towards the center until the entire top is covered.
- Brush the entire leaf-topped crust generously with heavy cream. If desired, sprinkle a little granulated sugar over the glazed crust for extra sparkle and crunch.
- Place the pie plate on a sheet pan to catch any potential drips during baking. Immediately reduce the oven temperature to 375°F (190°C). Bake for about 40 minutes, or until the top crust is beautifully golden brown, the apples are fork-tender, and the filling is visibly bubbling. If the crust starts to brown too quickly, you may cover the edges loosely with aluminum foil.
- Once baked, transfer the pie to a wire rack and allow it to cool completely. This cooling period is crucial for the filling to set properly. Serve warm or at room temperature, ideally with a scoop of vanilla ice cream, whipped cream, or a slice of sharp cheddar cheese.
Nutrition Information:
Yield: 8
Serving Size: 1 slice
Amount Per Serving (estimated):
Calories: 386
Total Fat: 13g
Saturated Fat: 6g
Trans Fat: 0g
Unsaturated Fat: 6g
Cholesterol: 16mg
Sodium: 160mg
Carbohydrates: 68g
Fiber: 6g
Sugar: 48g
Protein: 2g
Best Flaky Pie Crust Recipe
5 minutes
1 hour
1 hour 5 minutes
2 crusts (for one double-crust pie)
This is an exceptional pie crust, ideal for decorative toppings, offering incredible flakiness and ease of handling thanks to the combination of butter, shortening, and an egg.
Ingredients
- 3 cups all-purpose flour
- 1 teaspoon salt
- 1 tablespoon granulated sugar
- 1 cup (2 sticks) cold unsalted butter, cut into ½-inch pieces
- ¼ cup cold shortening, cut into ½-inch pieces
- 1 large egg, lightly beaten
- 5 tablespoons ice-cold water
- 1 tablespoon apple cider vinegar
Instructions
- In the bowl of a food processor, combine the flour, salt, and sugar. Pulse briefly to mix.
- Add the cold butter pieces and cold shortening pieces to the flour mixture. Pulse in short bursts until the mixture resembles coarse cornmeal with some pea-sized butter bits remaining. Avoid over-processing.
- In a small bowl, whisk together the beaten egg, ice-cold water, and cider vinegar.
- With the food processor running on low, slowly pour the egg mixture through the feed tube. Pulse only until the dough just comes together and starts to pull away from the sides of the bowl. Do not overmix.
- Turn the dough out onto a lightly floured surface. Divide it into two equal discs. Flatten each disc slightly, wrap tightly in plastic wrap, and refrigerate for at least one hour (or up to two days) to allow the gluten to relax and the fats to firm up.
- When ready to use, remove one disc from the refrigerator, unwrap, and roll out on a lightly floured surface to your desired thickness for pie construction.
Notes
Keep a stick of shortening in the freezer; it’s always ready when you decide to make pie crust.
If you prefer using lard in your pie crust for an even flakier texture, you can replace the shortening with an equal amount of cold lard.
This recipe yields two pie crusts, which is the perfect amount for one double-crust pie or two single-crust pies.
Recommended Products
As an Amazon Associate and member of other affiliate programs, I earn from qualifying purchases.
- 10-Inch Wire Whisk
- Pastry Blender
- Food Processor
Nutrition Information:
Yield: 8 servings (based on 2 crusts divided into 8 portions)
Serving Size: 1 portion of crust
Amount Per Serving (estimated):
Calories: 277
Total Fat: 30g
Saturated Fat: 17g
Trans Fat: 1g
Unsaturated Fat: 11g
Cholesterol: 88mg
Sodium: 457mg
Carbohydrates: 2g
Fiber: 0g
Sugar: 2g
Protein: 1g
Thatskinnychickcanbake.com occasionally offers nutritional information for recipes contained on this site. This information is provided as a courtesy and is an estimate only. This information comes from online calculators. Although thatskinnychickcanbake.com attempts to provide accurate nutritional information, these figures are only estimates. Varying factors such as product types or brands purchased can change the nutritional information in any given recipe. Also, many recipes on thatskinnychickcanbake.com recommend toppings, which may or may not be listed as optional and nutritional information for these added toppings is not listed. Other factors may change the nutritional information such as when the salt amount is listed “to taste,” it is not calculated into the recipe as the amount will vary. Also, different online calculators can provide different results. To obtain the most accurate representation of the nutritional information in any given recipe, you should calculate the nutritional information with the actual ingredients used in your recipe. You are solely responsible for ensuring that any nutritional information obtained is accurate.