
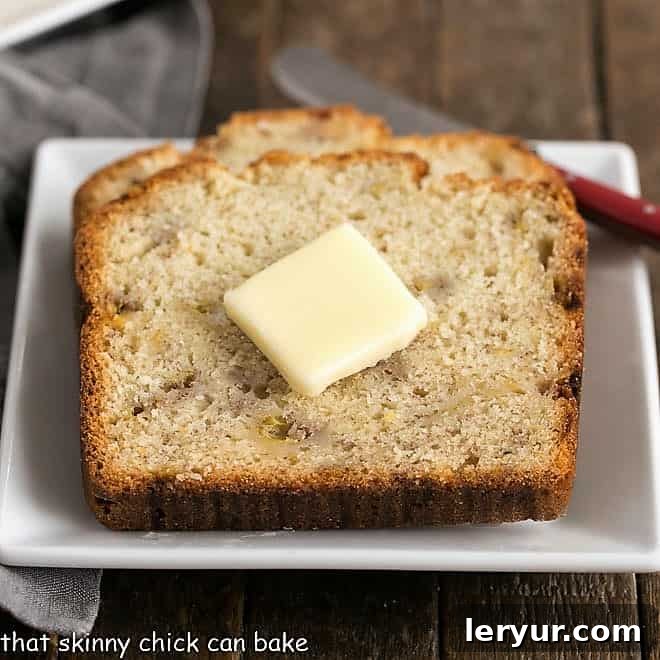
Welcome to the comforting world of homemade baking! This Buttermilk Banana Bread recipe redefines a classic, offering an exceptionally dense, tender, and moist quick bread that stands out thanks to the magical addition of buttermilk. Prepare to be delighted by its rich flavor and perfect texture.
Have you ever found yourself with an open carton of buttermilk after using just a fraction for a single recipe, then wondering how to creatively utilize the rest? You’re not alone! Many home bakers face this delicious dilemma. But worry no more! This very Banana Bread Recipe, along with my renowned corn muffins, provides two delightful solutions to help you diminish your buttermilk supply while simultaneously baking a treat that’s impossible to resist.
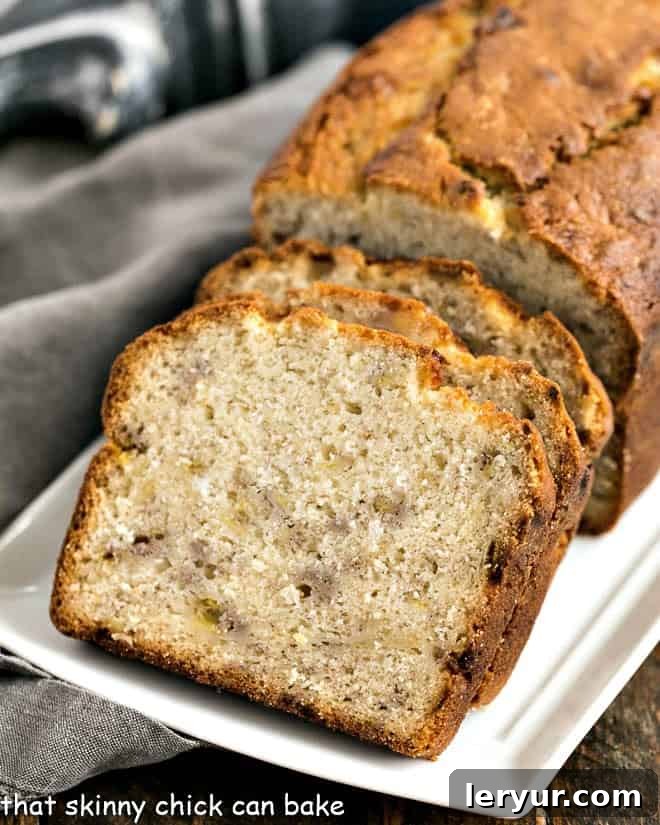
Why This Buttermilk Banana Bread is a Must-Bake
For a long time, banana bread was notably absent from my baking repertoire. While my children eagerly devoured bananas during their toddler years, this fruit eventually became a “banana non-grata” in our home. My personal aversion, however, stemmed from a rather memorable childhood experience.
My sisters and I endured countless cross-country vacations, traversing vast plains and winding over the majestic Rocky Mountains in our un-air-conditioned station wagon. To combat motion sickness, we were forced to consume banana-flavored liquid Dramamine. The combined nausea from the bumpy, winding roads and the repulsive taste of that banana medicine led to a household-wide boycott of anything banana-related for many years. It truly was a legitimate excuse!
So, imagine my surprise when my oldest child, years later, unexpectedly inquired if I could bake banana bread. “What?” I thought, genuinely puzzled by this sudden request. Where did this come from? The very next day, I procured a bunch of bananas and strategically placed them on the kitchen counter, eagerly awaiting their transformation into the perfect ripeness.
Beyond sentimental requests, there are several compelling reasons why this buttermilk banana bread recipe deserves a permanent spot in your recipe collection:
- Perfect for Leftover Buttermilk: This recipe is an ideal solution when you have excess buttermilk from other culinary endeavors. Instead of letting it go to waste, transform it into a moist and flavorful loaf.
- Unrivaled Tenderness: The natural acidity in buttermilk plays a crucial role in creating an exceptionally tender crumb. It subtly interacts with the gluten in the flour, preventing the bread from becoming tough or chewy, and ensuring a delicate texture with every bite.
- The Best Use for Overripe Bananas: This bread is a magnificent way to utilize those brown-speckled, overripe bananas that no one in your family seems keen to eat. Their increased sweetness and intense banana flavor are absolutely essential for achieving the bread’s signature taste.
- PRO-Tip for Future Cravings: Don’t throw away those overripe bananas! Peel them, pop them into a Ziploc bag, remove as much air as possible, and freeze them. They’ll be perfectly preserved and ready for your next craving for banana bread or my delightful banana cake, saving you a trip to the grocery store.
- A Versatile Treat: Whether it’s for a quick breakfast, a satisfying brunch item, an afternoon snack, or even a thoughtful homemade gift, buttermilk banana bread fits every occasion.
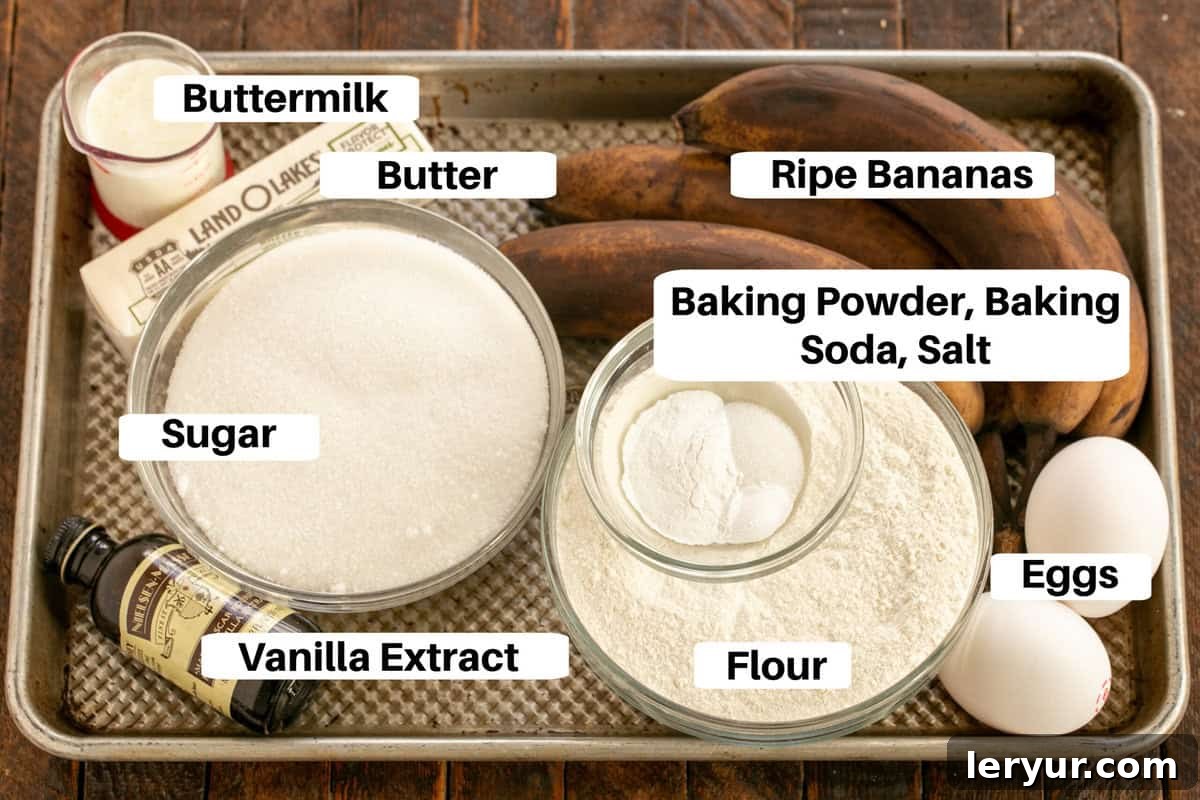
Key Ingredient Notes for Success
Crafting the perfect buttermilk banana bread begins with understanding the role each ingredient plays. Here’s a closer look at what you’ll need and why it matters:
- Kitchen Staples: You’ll need granulated sugar for sweetness, all-purpose flour for structure, baking soda and baking powder for leavening, and a pinch of salt to balance the flavors. Always opt for real vanilla extract, not artificially flavored varieties, as it makes a significant difference in the final aroma and taste of your bread.
- Butter: I prefer using salted butter at room temperature. Room temperature butter creams beautifully with sugar, creating air pockets that contribute to the bread’s tender texture. If you only have unsalted butter, simply increase the added salt by ¼ teaspoon.
- Ripe Bananas: This is non-negotiable for exceptional banana bread. The peels of your bananas should be generously speckled with brown spots, indicating a higher sugar content and more intense banana flavor. Peel and mash them thoroughly before adding to the batter.
- Eggs: Use large eggs, and ensure they are at room temperature. Room temperature eggs emulsify more easily with other ingredients, creating a smoother, more uniform batter and a better final texture.
- Buttermilk: The star ingredient! Buttermilk provides a distinctive tang and reacts with the baking soda to create lift, resulting in a wonderfully tender and moist loaf. If you find yourself without buttermilk, you can easily create a substitute: simply add 1 tablespoon of either lemon juice or white vinegar to a liquid measuring cup, then fill the rest of the cup to the 1-cup mark with regular milk (dairy or non-dairy). Let it sit for 5-10 minutes until it slightly curdles. While this recipe only calls for ¼ cup, having a full cup substitute ready ensures you have enough.
- Baking Powder: This quick bread utilizes both baking powder and baking soda for optimal lift and texture. Baking powder has a shorter shelf life than you might think. To ensure its potency, spoon about a teaspoon into a small bowl of hot water. If it bubbles vigorously, it’s active and ready to use. If not, it’s time to replace it to guarantee your bread rises properly.
- Optional Topping: For an extra layer of decadence, consider a simple glaze made with butter, dark brown sugar, and milk, often enhanced with chopped pecans. This adds a sweet, nutty crunch that elevates the bread even further.
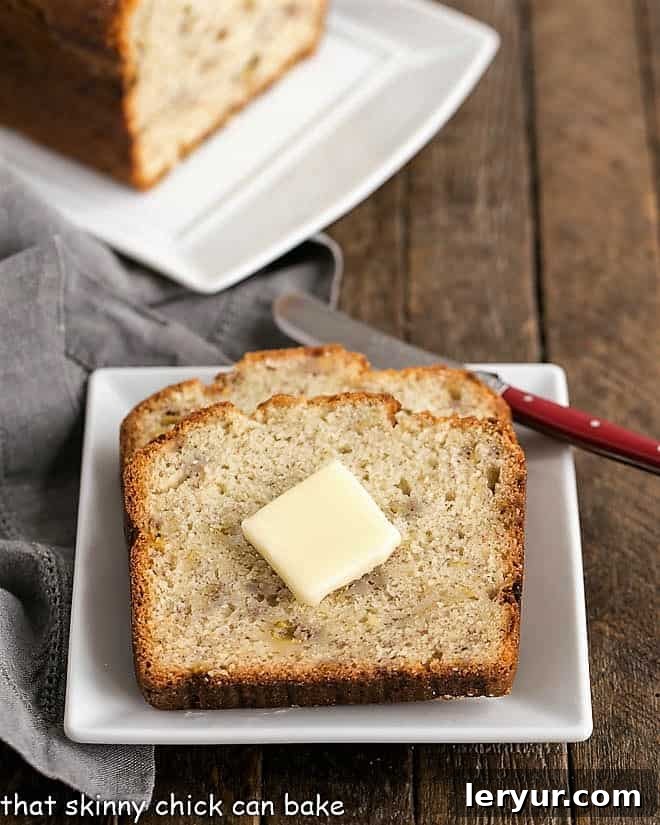
Step-by-Step Guide to Baking Perfect Buttermilk Banana Bread
Creating this delicious quick bread is straightforward, but paying attention to each step ensures a perfect outcome. Follow these instructions for a tender, moist, and flavorful loaf:
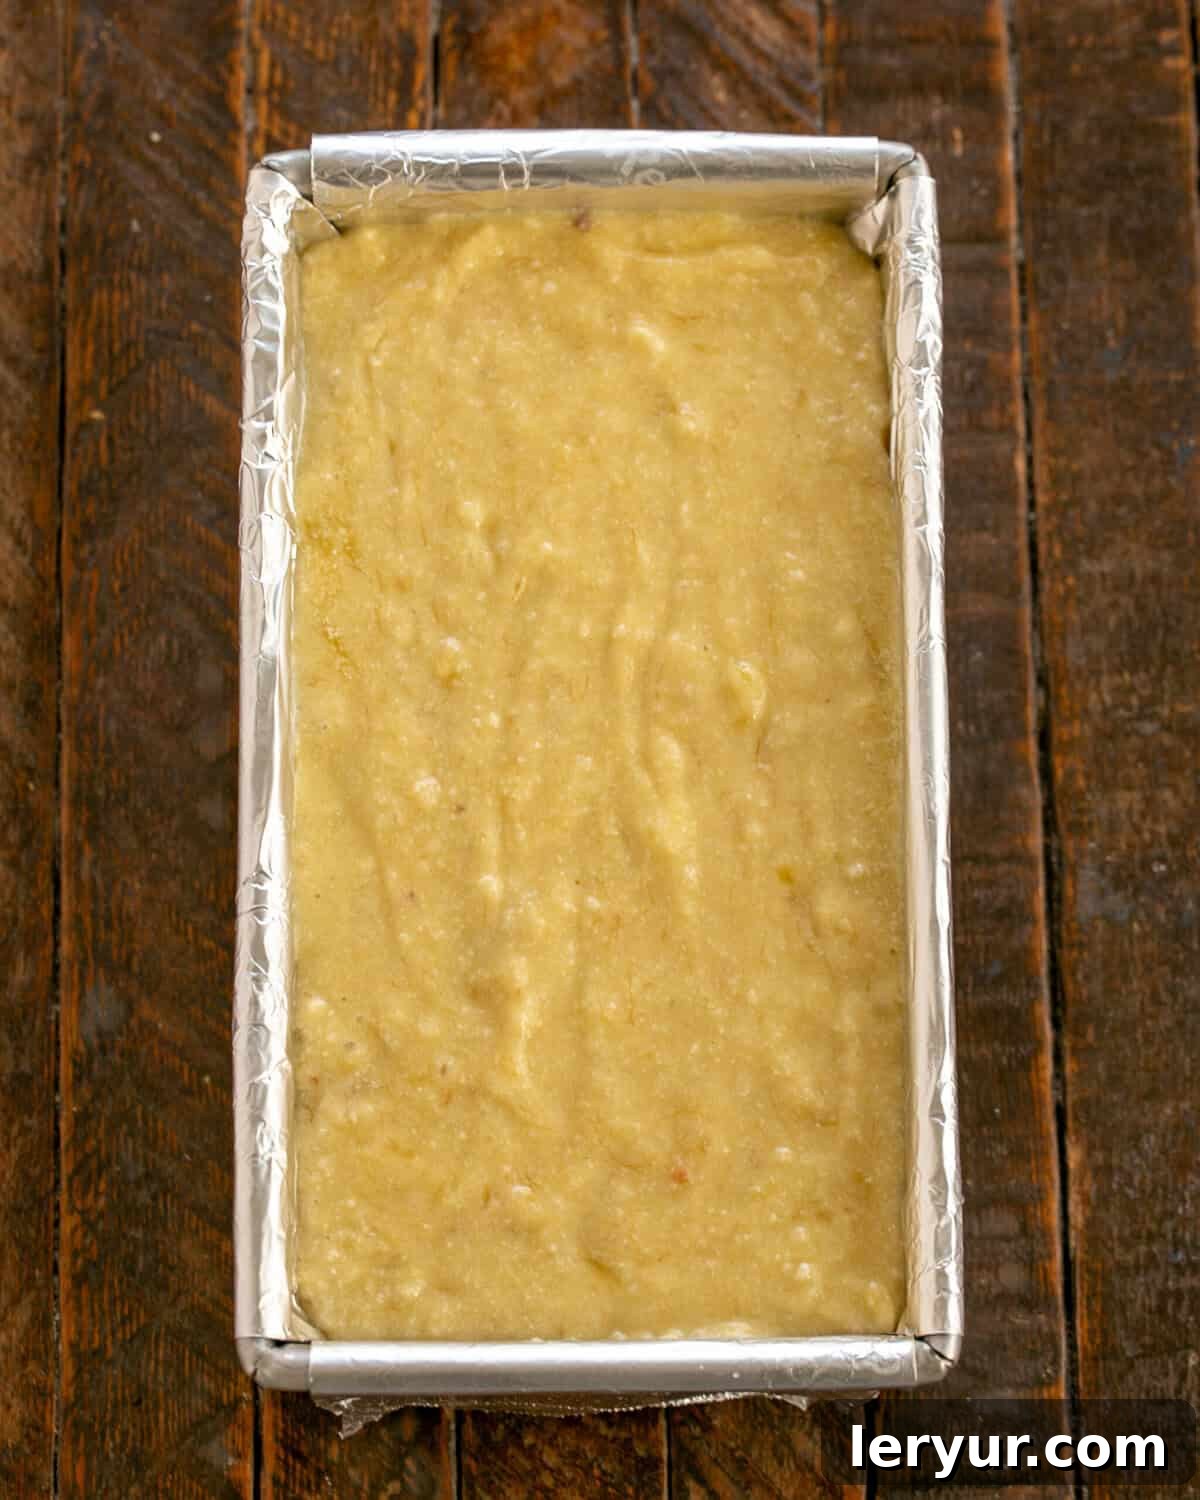
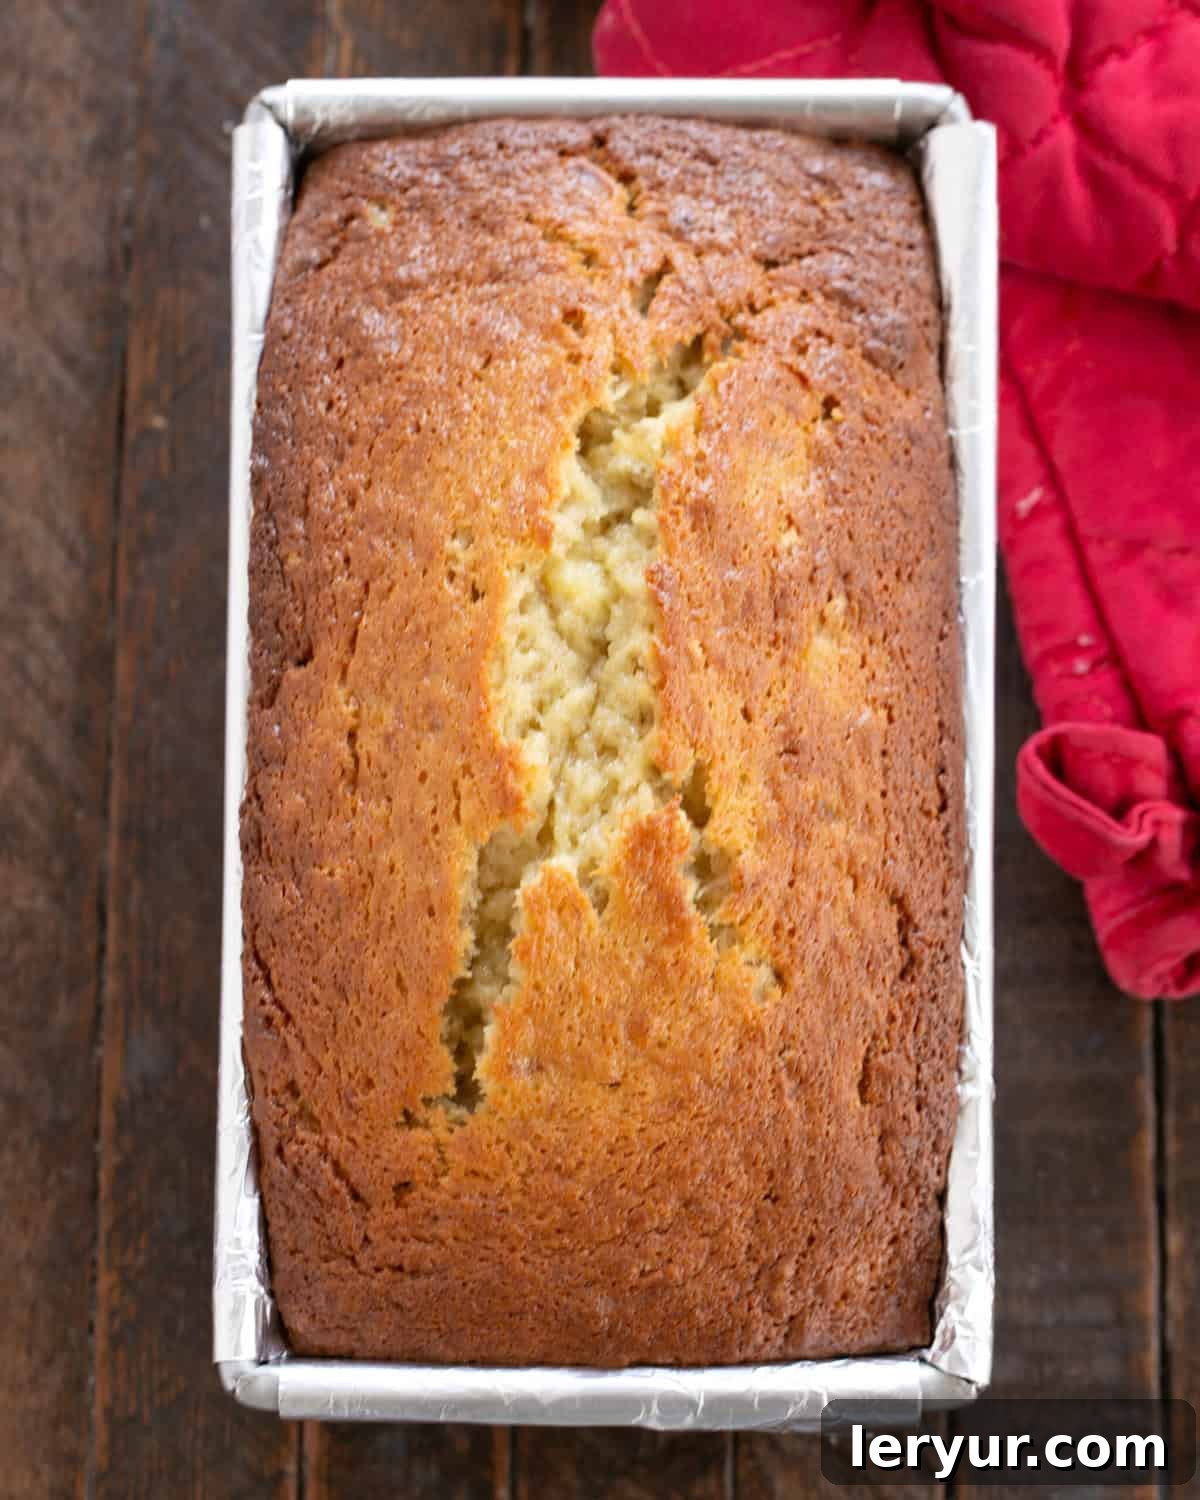
Expert Recipe Tips for Flawless Quick Breads
That unexpected request from my son truly rekindled my love for baking banana bread. This sweet, tender loaf became an instant favorite for breakfast and snacks. Here are some essential tips, not just for this buttermilk banana bread, but for mastering quick breads in general:
- Choose Very Ripe Bananas: This cannot be stressed enough. For optimal sweetness and an intense banana flavor, your bananas should have peels covered in dark brown speckles, indicating their natural sugars have fully developed. You should also be able to detect a distinct, sweet banana aroma.
- PRO-Tip: Accelerate Banana Ripening: If you’re craving banana bread but your bananas aren’t quite ripe enough, you can speed up the process by roasting them. Place unpeeled bananas on a foil-lined cookie sheet and roast in a 300°F (150°C) oven for 15-30 minutes. Their skins will turn black, and the insides will become soft and wonderfully sweet.
- Freeze Ripe Bananas for Later: Did you know you can easily freeze ripe bananas? If you only have one or two, not enough for a full recipe, simply peel them and toss them into a Ziploc freezer bag. Remove any excess air, seal, and freeze until you accumulate enough for your recipe. This prevents waste and ensures you always have bananas on hand for baking.
- Using Frozen Bananas: When ready to bake with frozen bananas, defrost them first at room temperature or in the microwave. They might look a bit watery and dark, but that’s perfectly normal. Mash them slightly if needed, and incorporate them into your batter as the recipe directs.
- PRO-Tip: Homemade Buttermilk Substitute: If you don’t have buttermilk on hand, it’s incredibly easy to make your own. Pour 1 tablespoon of either white vinegar or fresh lemon juice into a 1-cup Pyrex measuring cup. Fill the rest of the cup to the 1-cup mark with regular milk (any fat percentage will work, even non-dairy milk). Stir gently and let it sit for about 5-10 minutes. The milk will thicken and curdle slightly, signaling it’s ready to use. Remember, this recipe specifically calls for ¼ cup.
- PRO-Tip: Avoid Over-mixing Your Batter: This is a golden rule for all quick breads. The dry ingredients should be mixed into the wet components only until just combined. Over-mixing develops the gluten in the flour, leading to a tough, chewy bread with undesirable tunnels throughout. If you must use a mixer, use it on the lowest speed possible and stop as soon as the flour streaks disappear. A wooden spoon or spatula often works best for this step.
- PRO-Tip: Monitor Baking Times: Baking times can vary significantly based on your oven’s calibration, the material of your loaf pan, and even the moisture content of your bananas. To accurately check for doneness, insert a clean wooden skewer or toothpick into the center of the loaf (I often check in a few spots along the cracks on top). If it comes out clean with no wet batter attached, your loaf is done. If not, continue baking for a few more minutes and recheck.
- Proper Cooling for Structure: Allow your banana loaf to cool in its pan for approximately 10-15 minutes on a wire rack before attempting to remove it. This initial cooling period allows the bread to firm up slightly, preventing it from collapsing or crumbling when you transfer it. For even easier removal, I like to line the bottom of my loaf pans with a rectangle of parchment paper, then spray the top of the parchment and the exposed sides of the pan with non-stick cooking spray.
The Verdict: A New Favorite Banana Bread
When those bananas finally achieved their peak ripeness, I knew the time had come to fulfill that long-awaited banana bread request. I retrieved one of my trusty recipe binders, and right on top, I discovered a sheet I had printed off the Internet way back in 2006, simply titled “Indescribably Delicious Banana Bread.” With a name like that, how could I resist trying it? Plus, it featured buttermilk, an ingredient that, much like sour cream, is renowned for imparting an extraordinary tenderness and moistness to baked goods.
The original recipe also included a rich brown sugar nut glaze. While tempting, I decided to keep it simple this time, refraining from “gilding the lily.” I’ll definitely save that particular version for my girlfriends, who, unlike certain members of my family, aren’t averse to nuts in their baked treats!
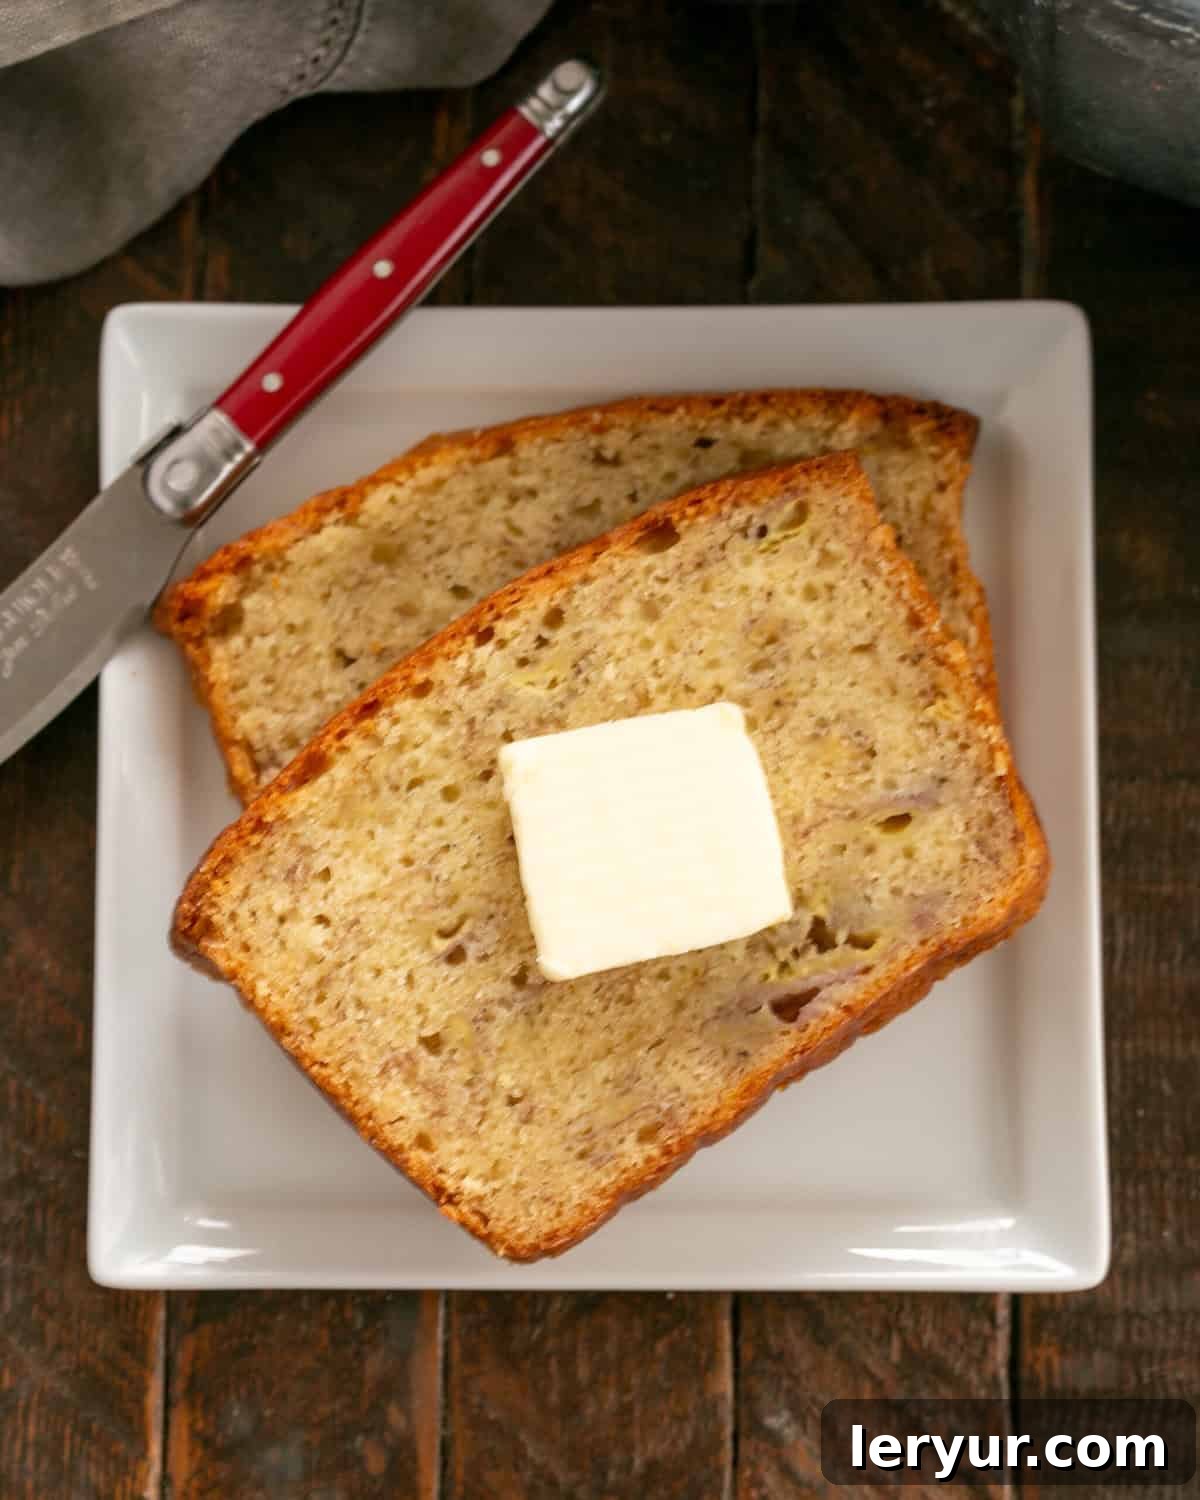
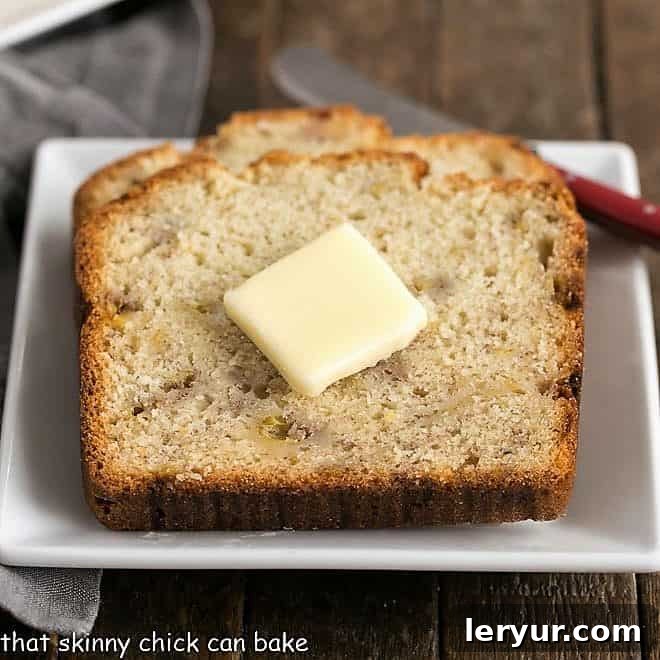
The resulting bread was nothing short of perfection: a beautiful crumb, remarkably tender without being overly dense, and incredibly moist – exactly everything a quick bread should be. After a lengthy hiatus from all things banana, I can confidently say I’ve discovered a new favorite banana bread recipe that perfectly balances flavor, texture, and ease of preparation.
If you’re a fan of nuts in your banana bread, you absolutely must try my Classic Walnut Banana Bread. For those who enjoy a hint of spice, I also offer a marvelous Cinnamon Topped Banana Bread. And for the chocolate lovers, don’t miss my decadent Chocolate Chip Toffee Banana Bread. Beyond bananas, explore other delightful quick bread recipes like these charming Mini Pumpkin Breads, the comforting Southern Peach Bread, and the ever-popular Classic Zucchini Bread.
More Banana-Inspired Recipes You’ll Love:
While my Sugar Crusted Zucchini Bread is a cherished quick bread, you’ll also adore these other banana-centric recipes, perfect for any occasion:
- Bananas Foster from That Skinny Chick Can Bake is an elegant and quick dessert, ideal for Mardi Gras or any time you desire an impressive treat.
- Banana Pudding Cheesecake Blondies from Grandbaby Cakes offer all the comfort of banana pudding in a delicious, easy-to-make bar.
- Classic Hummingbird Cake with Coconut from That Skinny Chick Can Bake is a super-rich and absolutely dreamy layer cake, perfect for Easter or any spring celebration.
- Pineapple Banana Bread from The View from Great Island provides a delightful tropical twist on the traditional banana bread.
- Seed Topped Whole Wheat Banana Bread from That Skinny Chick Can Bake is a healthier yet equally irresistible version of banana bread.
- Old-Fashioned Southern Banana Pudding from That Skinny Chick Can Bake is another fantastic banana dessert that evokes nostalgic charm.
This recipe was originally published in June 2011. The photos and text were comprehensively updated in 2019 and further refined in 2025 to provide the best possible experience for our readers.
Stay connected and share your baking adventures with us on social media! Find us on Instagram, Facebook, and Pinterest. Don’t forget to tag me when you try one of my recipes! If you love the results, please consider leaving a 5-star rating in the recipe card below – your feedback means the world to us!
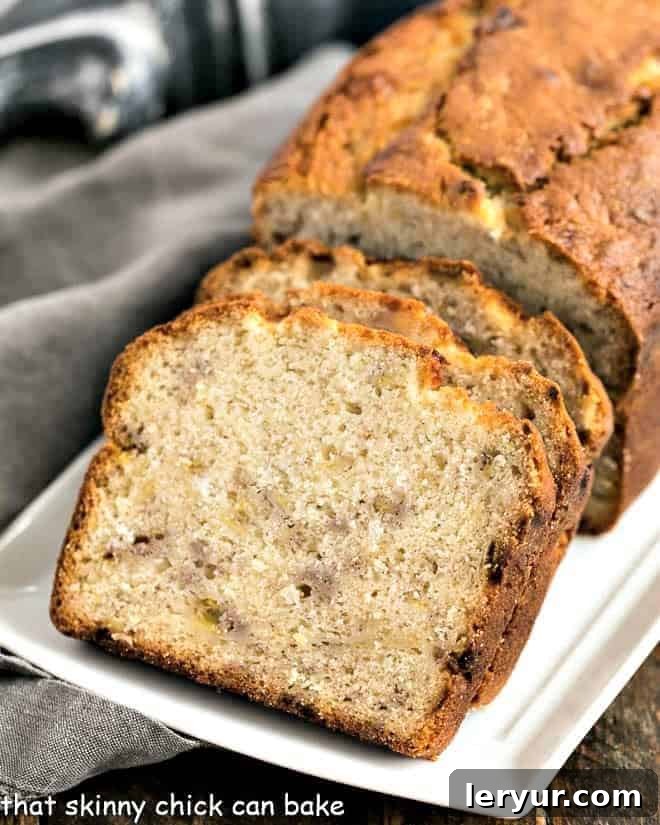
Buttermilk Banana Bread
15 minutes
1 hour 15 minutes
1 hour 30 minutes
16 servings
A classic, incredibly moist, and tender banana bread featuring a delightful buttermilk twist.
Ingredients
- ½ cup butter, at room temperature
- 1 ½ cups granulated sugar
- 4 ripe bananas, mashed (about 1 ½ cups)
- 2 large eggs, lightly beaten
- 1 teaspoon pure vanilla extract
- ¼ cup buttermilk
- 2 cups all-purpose flour
- 1 teaspoon baking powder
- ⅛ teaspoon baking soda
- ¼ teaspoon salt
Optional Topping:
- 6 tablespoons butter
- 10 tablespoons dark brown sugar
- 5 tablespoons milk
- 1 cup chopped pecans, optional
Instructions
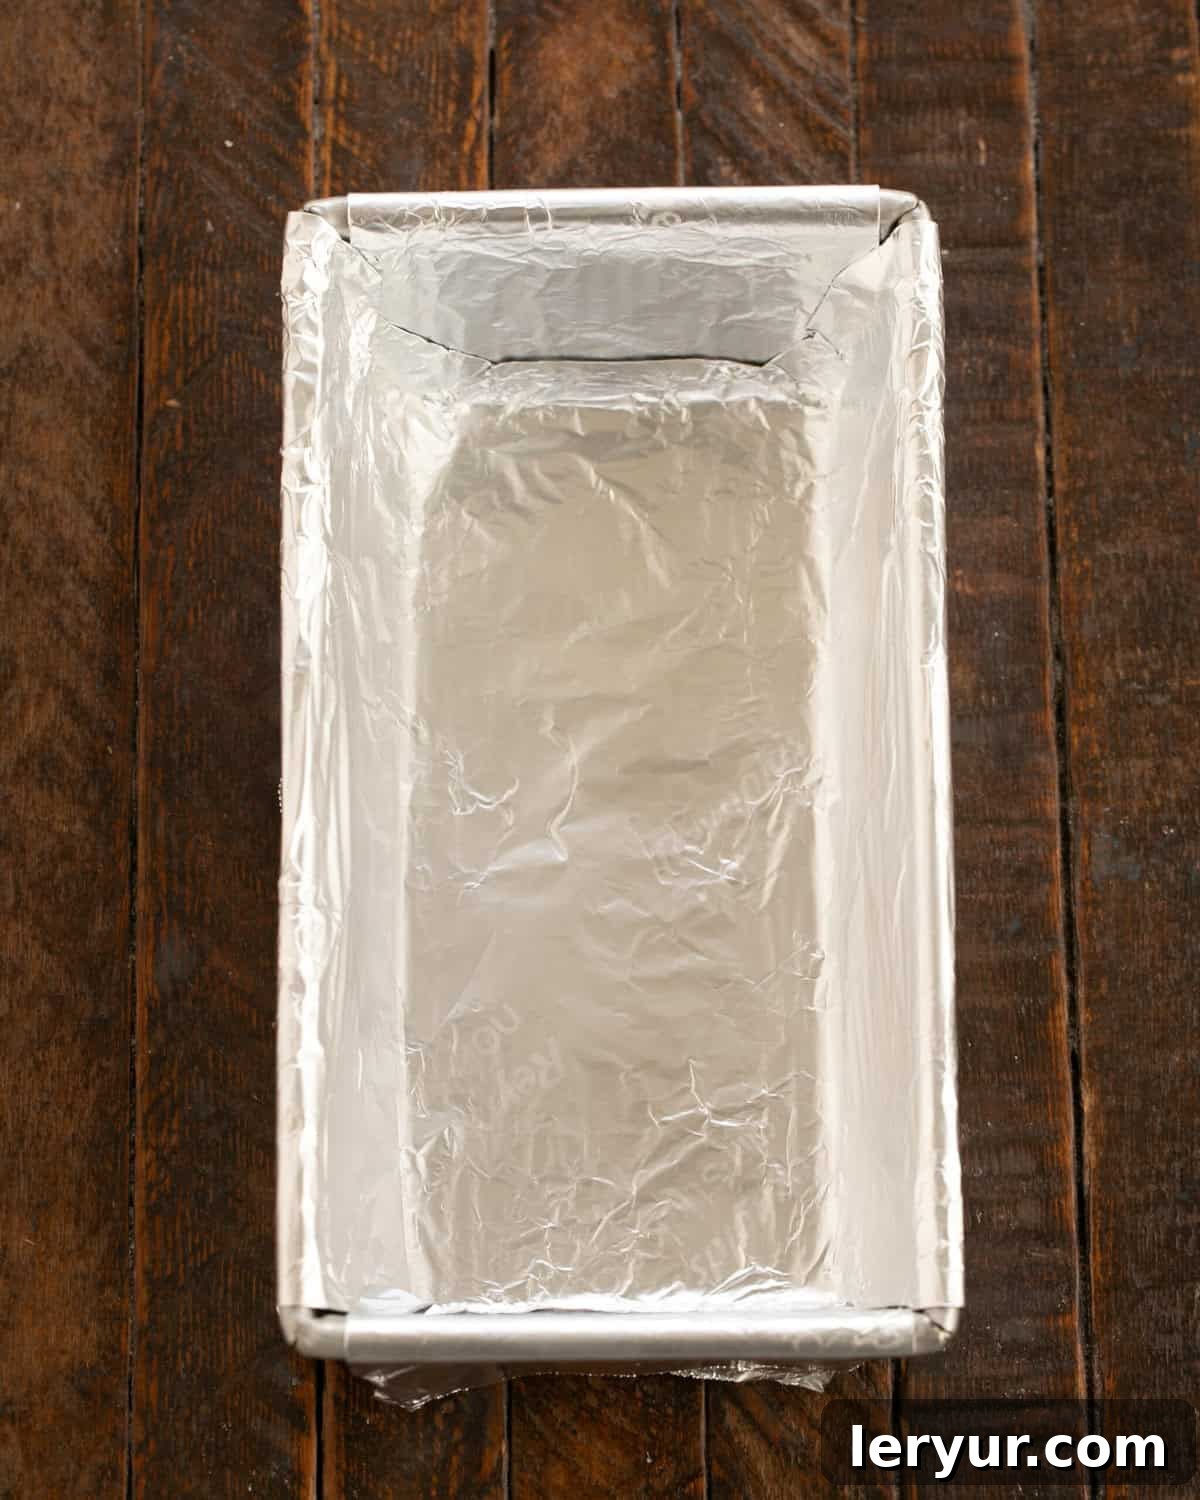
- Preheat oven to 350ºF (175°C). Grease and lightly flour one 9 x 5 inch loaf pan.
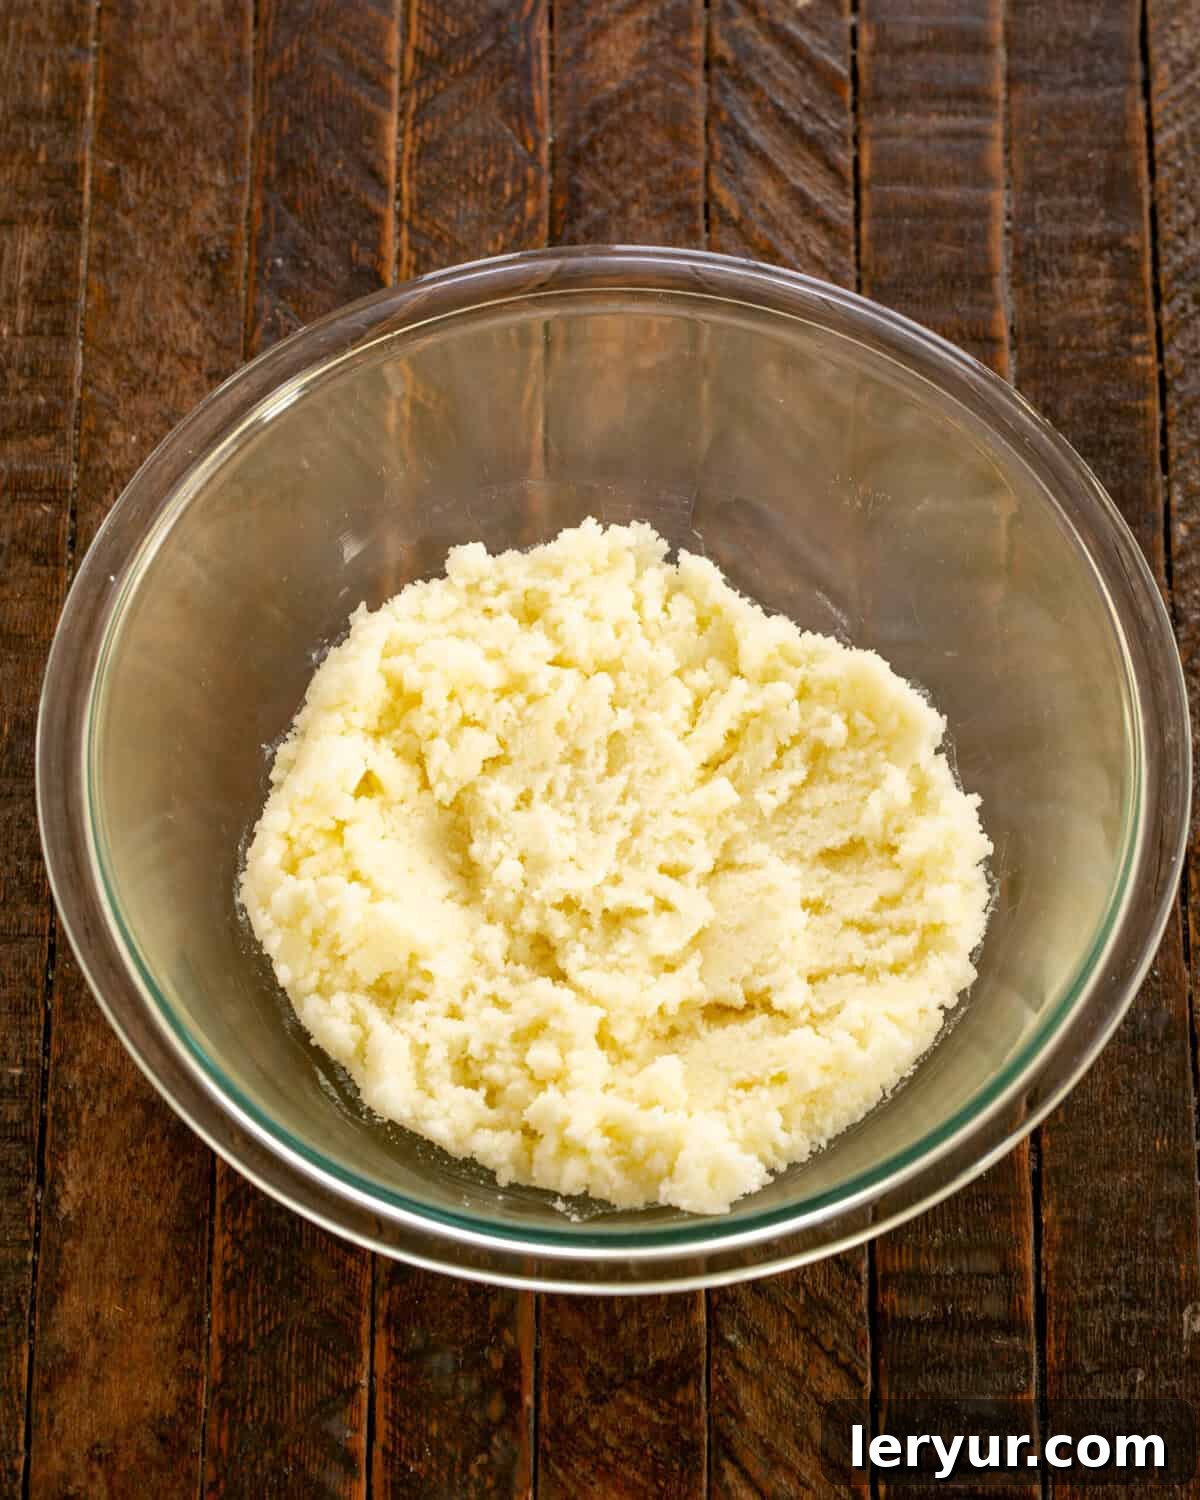
- In a large mixing bowl, cream together the softened butter and sugar with a hand mixer for 2 minutes until light and fluffy.
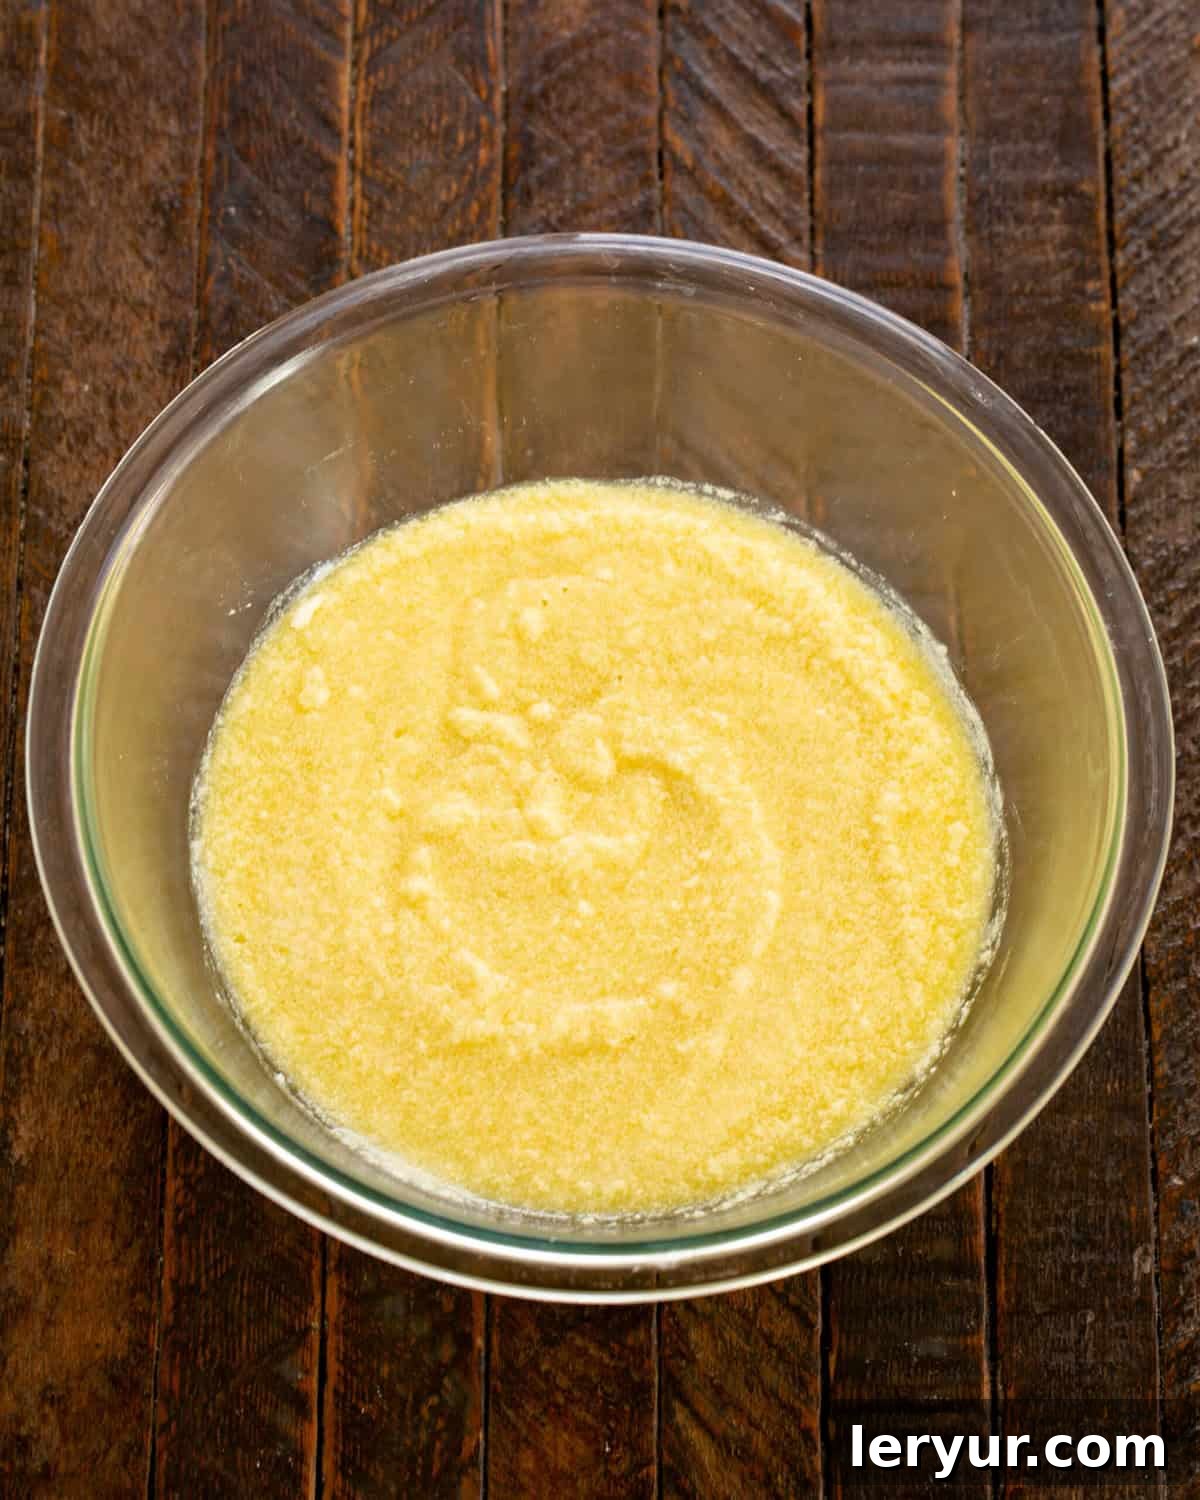
- Add the mashed bananas, beaten eggs, vanilla extract, and buttermilk to the butter mixture. Mix on low speed until just combined.
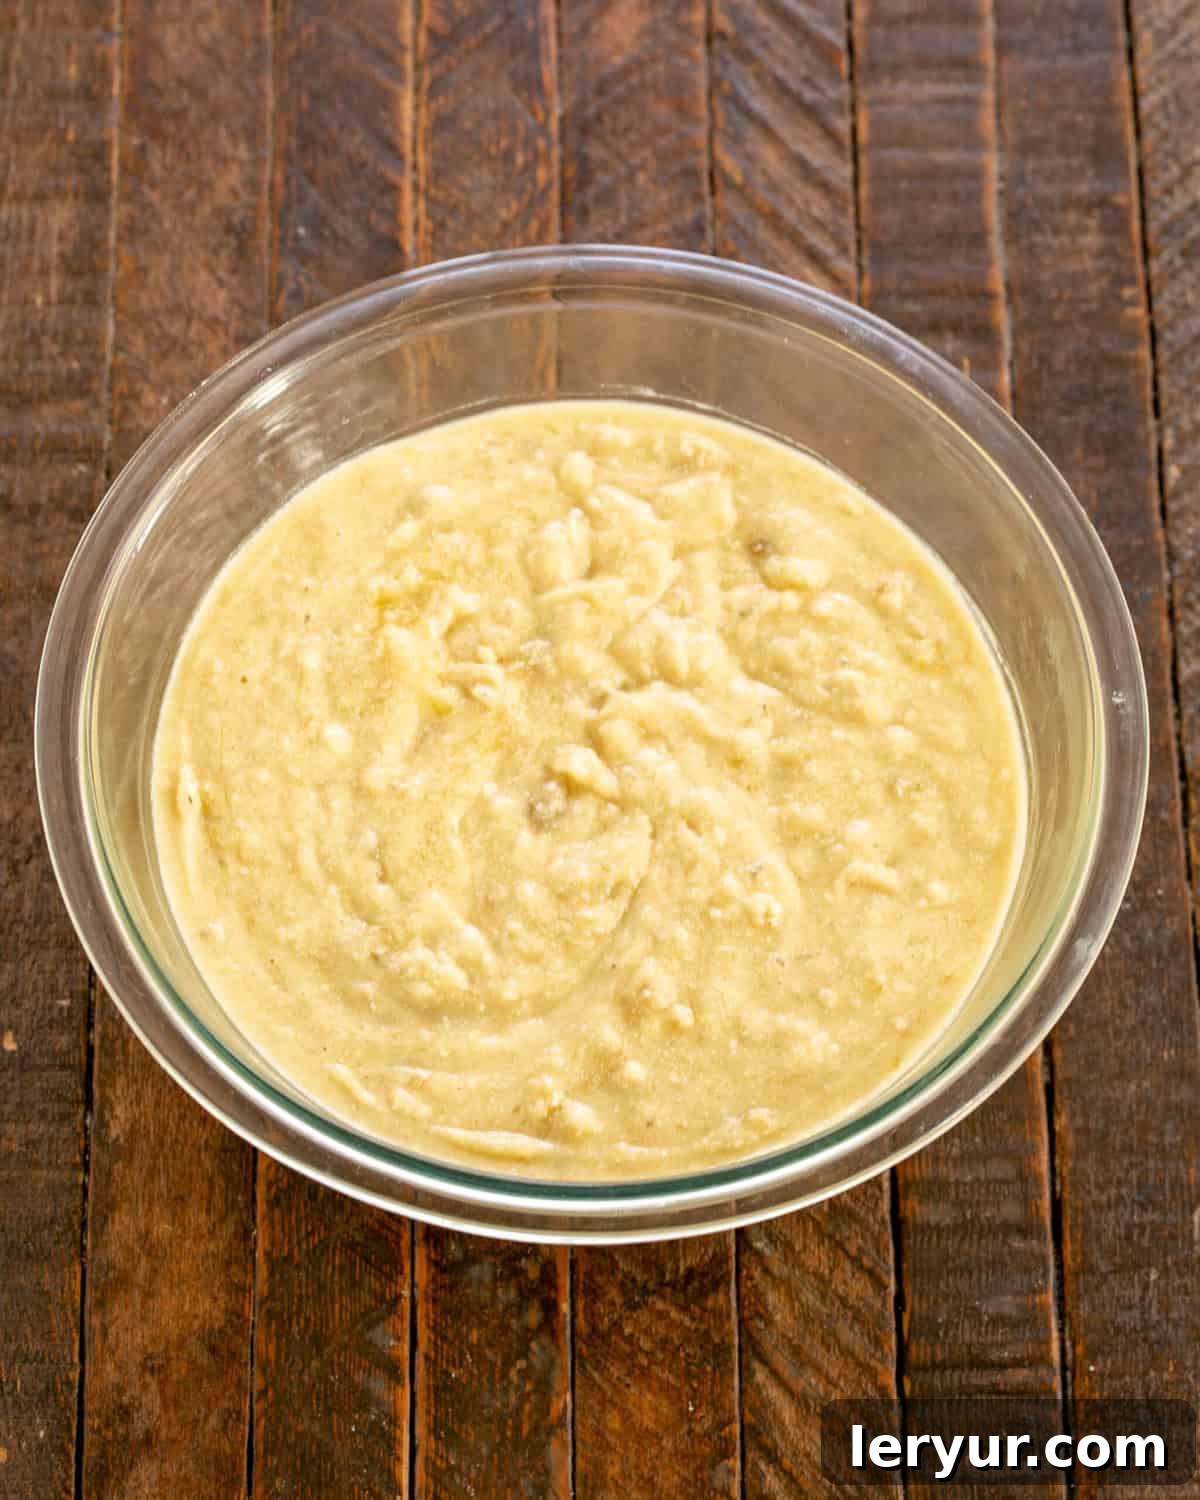
- In a separate bowl, whisk together the flour, baking powder, baking soda, and salt. Gradually add the dry ingredients to the wet ingredients, mixing until just combined. Be careful not to overmix; a few streaks of flour are acceptable to ensure a tender loaf.
- Scrape the batter into the prepared loaf pan, spreading it evenly.
- Bake for 50-55 minutes, or until the bread pulls away from the sides of the pan and a wooden skewer or toothpick inserted into the center comes out clean.
- Allow the bread to cool in the pan on a wire rack for 10-15 minutes before carefully removing it to cool completely on the rack. Slice and serve as desired.
- To make the optional topping: Melt the butter in a small saucepan over medium heat. Stir in the dark brown sugar and milk.
- Bring the mixture to a gentle boil, then reduce heat and simmer for about 10 minutes, stirring occasionally, until it thickens into a syrupy consistency.
- Remove from heat and stir in the chopped pecans (if using). Immediately pour the warm glaze over the cooled banana bread, spreading it evenly. For a caramelized crust, you can briefly place the glazed bread under a broiler for 1-2 minutes, watching very carefully to prevent burning, until bubbly and lightly browned.
Notes
Adapted from a cherished recipe by The White Oak Restaurant on Buffalo Lake.
This recipe yields one generously sized loaf.
Recommended Products
As an Amazon Associate and member of other affiliate programs, I earn from qualifying purchases.
- Wooden Mixing Spoon
- KitchenAid 9-Speed Digital Hand Mixer
- Stainless Steel Loaf Pan
Nutrition Information:
Yield: 16
Serving Size: 1
Amount Per Serving:
Calories: 332
Total Fat: 16g
Saturated Fat: 7g
Trans Fat: 0g
Unsaturated Fat: 8g
Cholesterol: 50mg
Sodium: 174mg
Carbohydrates: 46g
Fiber: 2g
Sugar: 30g
Protein: 4g
Thatskinnychickcanbake.com occasionally offers nutritional information for recipes contained on this site. This information is provided as a courtesy and is an estimate only. This information comes from online calculators. Although thatskinnychickcanbake.com attempts to provide accurate nutritional information, these figures are only estimates.
Varying factors such as product types or brands purchased can change the nutritional information in any given recipe. Also, many recipes on thatskinnychickcanbake.com recommend toppings, which may or may not be listed as optional and nutritional information for these added toppings is not listed. Other factors may change the nutritional information such as when the salt amount is listed “to taste,” it is not calculated into the recipe as the amount will vary. Also, different online calculators can provide different results.
To obtain the most accurate representation of the nutritional information in any given recipe, you should calculate the nutritional information with the actual ingredients used in your recipe. You are solely responsible for ensuring that any nutritional information obtained is accurate.