
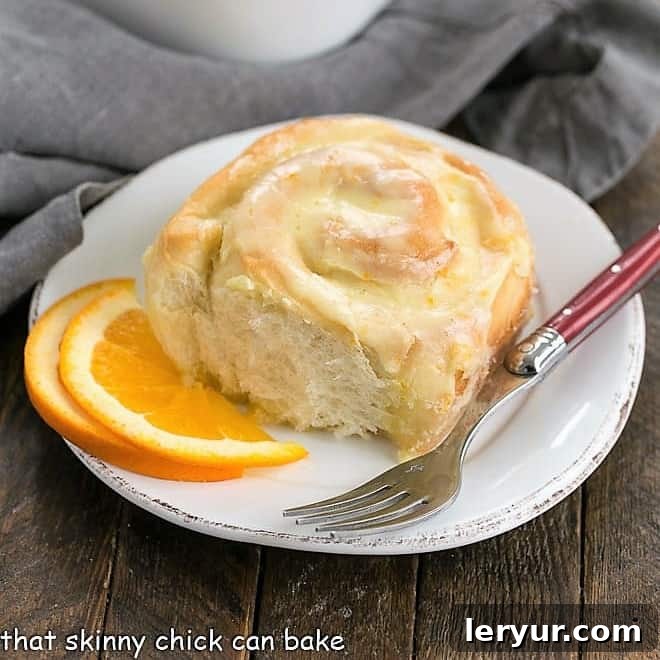
Homemade Orange Rolls: A Zesty Twist on Classic Sweet Rolls
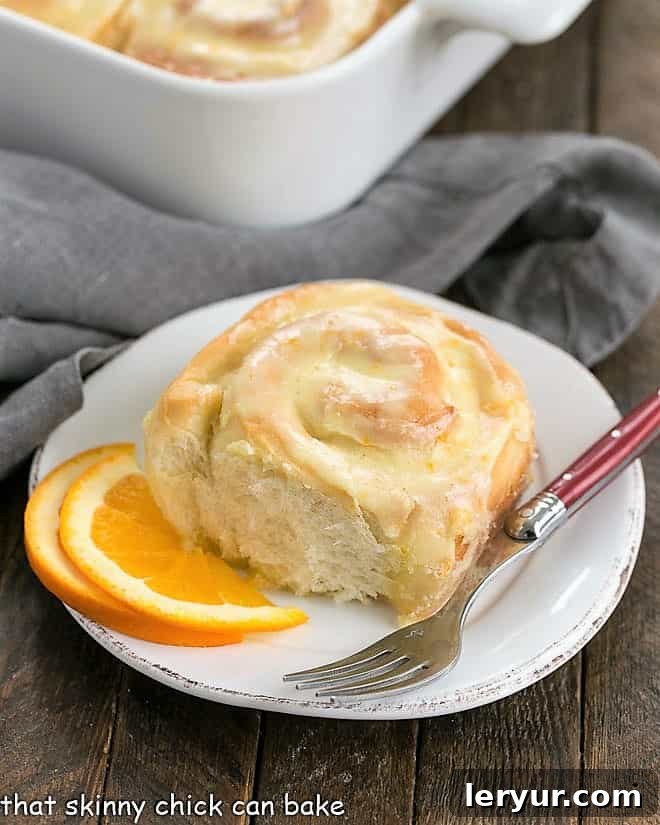
Imagine waking up to the irresistible aroma of freshly baked goods filling your kitchen. While cinnamon rolls are a timeless favorite, these Homemade Orange Rolls offer a bright, citrusy alternative that’s guaranteed to captivate your senses and delight everyone at your table. These tender, fluffy sweet rolls are generously filled with a vibrant orange zest mixture and crowned with a luscious, tangy orange-infused frosting. It’s a comforting breakfast treat that stands out.
This cherished recipe is an adaptation from Betty Crocker’s Baking Classics, echoing the warmth and tradition of her original test kitchen established in the 1920s. It’s a testament to classic American baking, offering a unique twist that’s both nostalgic and refreshingly modern. Whether you’re a seasoned baker or just beginning your journey with yeast doughs, this detailed guide will ensure your success. Get ready to bake not just one, but two pans of pure, citrusy bliss – perfect for sharing, celebrating, or simply savoring a special moment with your family.
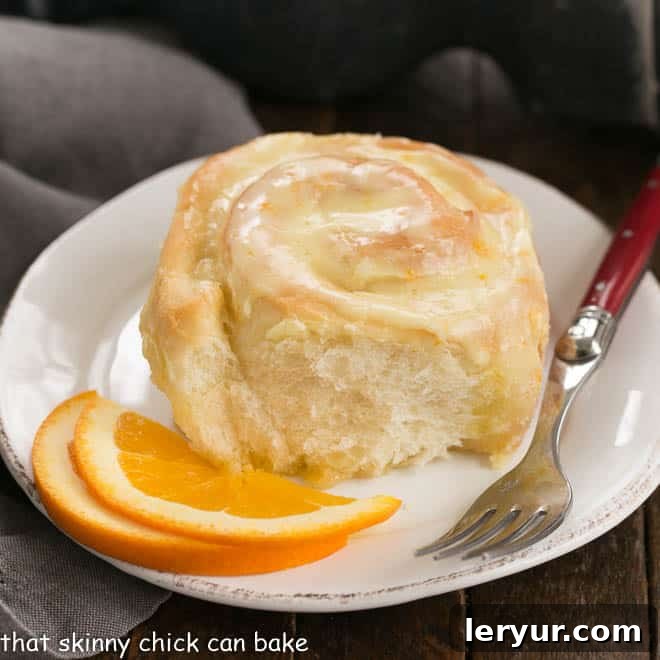
Why You’ll Absolutely Love Baking These Orange Rolls
More than just a recipe, these orange rolls are an invitation to create unforgettable moments and delicious memories. They’re a thoughtful gesture for new neighbors, a heartwarming gift for friends welcoming a new baby, or simply a delightful indulgence for your own family. Here’s a closer look at what makes them so special:
- A Refreshing Culinary Departure: If you’re looking to broaden your baking horizons beyond the familiar, these rolls offer a truly delicious change of pace from traditional cinnamon rolls. The unique burst of orange zest elevates the flavor profile, providing a lighter, brighter, and incredibly satisfying sweetness.
- Melt-in-Your-Mouth Tenderness: The secret lies in the meticulously crafted sweet dough – a perfect balance of soft, tender texture with just enough orange flavor to make every bite swoon-worthy. The rich, buttery base complements the citrus notes beautifully, creating a harmonious blend of flavors and textures.
- Generous Yield for Sharing and Saving: This thoughtful recipe yields enough dough to make two full pans of breakfast rolls. This means you can easily keep one pan to enjoy immediately and share the other with loved ones. Alternatively, bake both pans for a larger gathering or freeze one batch for a future treat. My husband, for instance, often reminisces about the exceptional rolls from Maxson Manor, and these homemade orange rolls capture that same nostalgic magic for him, making them a highly requested family favorite!
What Our Delighted Bakers Are Saying
Hearing from fellow bakers is always a joy. Here’s a wonderful endorsement that perfectly captures the essence of these rolls:
Jamie via Pinterest: “These sure were a labor of love…but worth every bit of it! So fluffy and orangetastic! Really impressive.”
Unveiling the Key Ingredients for Perfect Orange Rolls
The journey to creating truly exceptional orange rolls begins with understanding each ingredient and its vital role. We’ve broken down the components for both the tender yeast dough and the vibrant orange filling and frosting to ensure you have everything you need for success.
Roll Dough Essentials
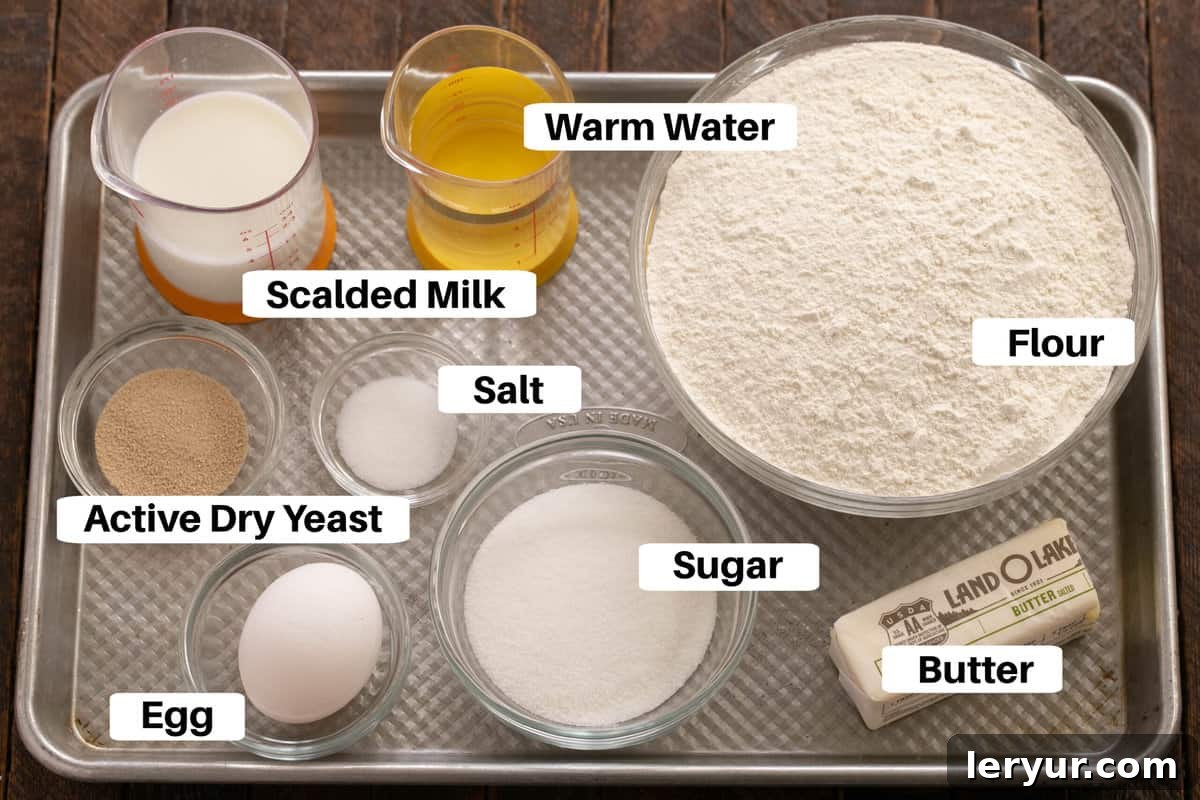
- Active Dry Yeast: One standard packet (2 ¼ teaspoons) is the magic behind the rise. For consistent results, we highly recommend using a fresh packet from a reputable brand like Red Star Yeast. Always double-check the expiration date on your packet – using old, inactive yeast is a common pitfall that can lead to flat, dense rolls.
- Warm Water: The ideal temperature for activating yeast is between 105-115ºF (40-46ºC). This warmth gently awakens the yeast without harming it. Water that’s too hot will kill the delicate yeast organisms, rendering them ineffective, while water that’s too cool won’t allow them to bloom properly. A kitchen thermometer is your best friend here!
- Scalded Milk: Heat your milk gently until it’s just below boiling, then allow it to cool to a lukewarm temperature (again, no hotter than 115ºF or 46ºC). Scalding the milk denatures certain proteins that can interfere with gluten development, resulting in a significantly softer, higher-rising dough. Don’t skip this step for maximum tenderness.
- Granulated Sugar: Beyond adding delightful sweetness to the dough, sugar also serves as essential food for the yeast, encouraging robust activation and a strong rise.
- Room Temperature Butter: Softened butter incorporates seamlessly into the dough, contributing richness, moisture, and that desirable tender, almost cake-like texture. Ensure it’s truly at room temperature for easy blending.
- Salt: A crucial flavor enhancer, salt also plays a critical role in controlling yeast activity, preventing the dough from rising too quickly and ensuring a well-balanced fermentation process.
- All-Purpose Flour: The primary structural component of our rolls. The recipe calls for 3 ½ cups, but it’s wise to have up to an additional ½ cup on hand. You might need a little extra if your dough is particularly sticky during kneading, but remember, too much flour can lead to dry, tough rolls.
- Large Egg: An egg adds richness, beautiful golden color, and acts as a binder, contributing to the dough’s overall structure and incredibly soft crumb.
Irresistible Frosting and Filling Ingredients
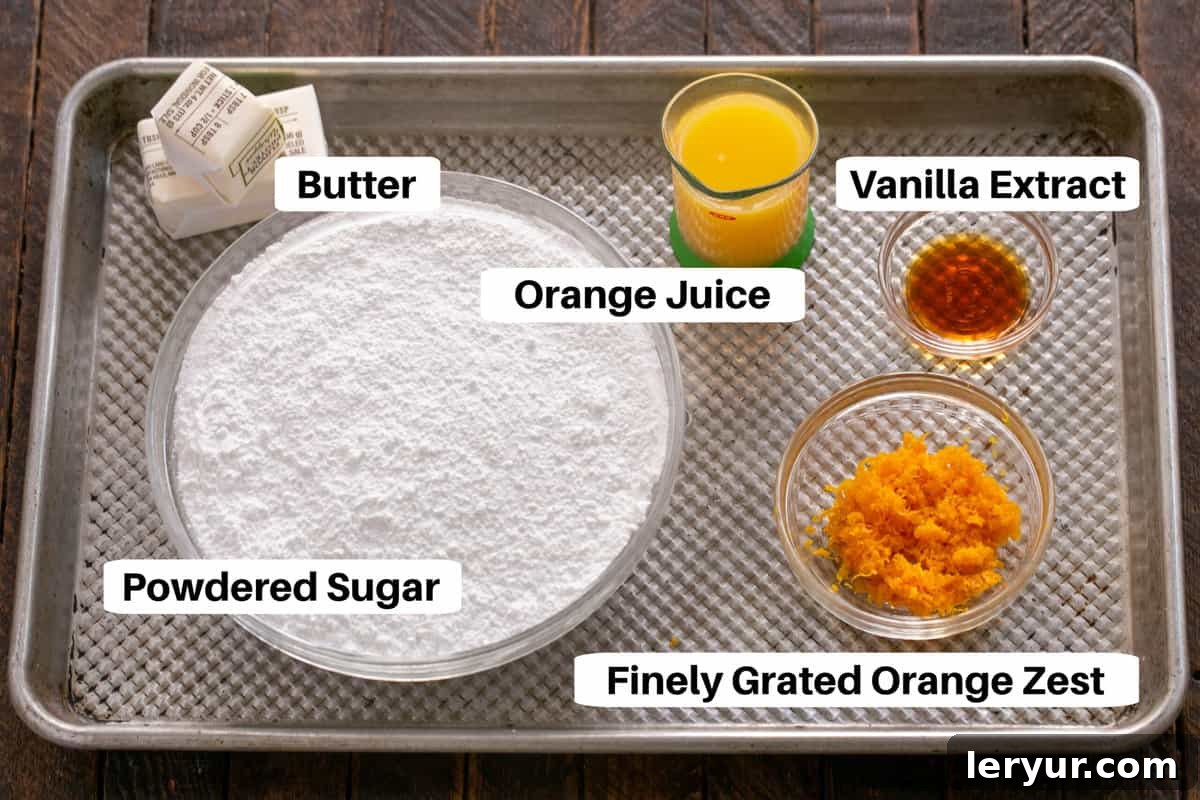
- Powdered Sugar: This fine sugar forms the silky-smooth base for our decadent frosting. If you notice any significant lumps, a quick sift will ensure a perfectly consistent, velvety texture. However, for many modern brands, sifting isn’t always necessary for good results.
- Room Temperature Butter: Just like for the dough, softened butter is essential for achieving a creamy, well-emulsified frosting that spreads effortlessly and melts into the warm rolls.
- Finely Grated Orange Zest: This is where the magic happens! Always use fresh oranges for the most potent and aromatic flavor. The zest, which contains the concentrated essential oils of the orange, infuses both the filling and the frosting with that signature bright, citrusy essence.
- Orange Juice: Freshly squeezed orange juice will provide the most vibrant and authentic flavor, but a high-quality store-bought option works perfectly fine. It adds a crucial tangy counterpoint to the sweetness and helps achieve the ideal consistency for a drizzly or spreadable frosting.
- Pure Vanilla Extract: Opt for real vanilla extract over artificial flavoring. Its warm, sweet notes beautifully complement the zesty orange, adding depth and complexity to the overall flavor profile.
- Heavy Cream (Optional): Keep a small amount of heavy cream on hand. If your frosting is too thick, a tablespoon or two of cream can help you achieve the perfect desired consistency, making it wonderfully pourable or spreadable.
Mastering Yeast Baking: Expert Tips for Fluffy Orange Rolls
Baking with yeast can seem a bit daunting at first, but with a few essential tips and a little understanding of the process, you’ll soon be confidently creating beautifully risen, tender rolls. These expert insights will help you achieve perfect results every time.
- Understanding Yeast Sensitivity: Remember that yeast is a living organism, and its activity is crucial for your dough to rise. It’s delicate and can easily be killed if not handled correctly.
- The Golden Temperature Rule: The most critical factor is liquid temperature. Never introduce yeast to liquids hotter than 120ºF (49ºC). This temperature is lethal to yeast, and your bread simply won’t rise. The optimal range for activating active dry yeast is between 105-115ºF (40-46ºC), allowing it to bloom effectively.
- Freshness Matters: Always verify the expiration date on your yeast package. Using expired yeast is a recipe for disaster, as it will likely be inactive and fail to leaven your dough. Fresh yeast is key to a successful rise!
- The Art of Kneading: Kneading is an indispensable step that develops the gluten in the flour. This gluten network provides the elasticity and structure necessary for the dough to trap the gases produced by the yeast, resulting in a light, airy texture.
- Achieving the Right Consistency: Whether you’re kneading by hand or using a stand mixer with a dough hook, aim for a dough that is smooth, elastic, and springy. Resist the temptation to add excessive amounts of flour during kneading. Over-flouring is a common mistake that can lead to dense, tough rolls. Only incorporate additional flour, one tablespoon at a time, if the dough is exceptionally sticky and unmanageable.
- Rolling for Perfect Swirls: When it comes time to roll up your dough into a log, aim for a firm but gentle roll. If you roll the dough too tightly, the inner layers can compress too much, causing the centers of your individual rolls to “pop up” or become distorted during baking. While they’ll still be delicious, a gentle snugness ensures a more attractive, even spiral.
- Creating the Ideal Proofing Environment: A warm, moist, and draft-free environment is essential for your dough to undergo its crucial rise (proofing).
- Avoid Extremes: Do not try to force your dough to rise faster by placing it in an overly hot location. Extreme heat can kill the yeast or cause it to ferment too quickly, leading to an undesirable flavor or coarse texture. An ideal temperature range for proofing is around 80-90ºF (27-32ºC), with about 75% humidity. Many modern ovens now include a “proof” setting, typically set around 85ºF (29ºC), which is perfectly suited for this purpose.
- The Ingenious Dental Floss Cutting Method: For perfectly round, evenly sliced orange rolls without squishing the delicate dough, unflavored dental floss is an absolute game-changer!
- Precision Cutting: Lightly score your rolled dough log at 1½-inch intervals to guide your cuts. Take a 12-inch strand of unflavored dental floss, slide it underneath the dough at one of your marks, bring the ends up and cross them over the top of the dough. Then, pull the ends sharply and firmly in opposite directions to cleanly slice through the dough. This method avoids the downward pressure of a knife, preserving the beautiful concentric layers of your rolls.
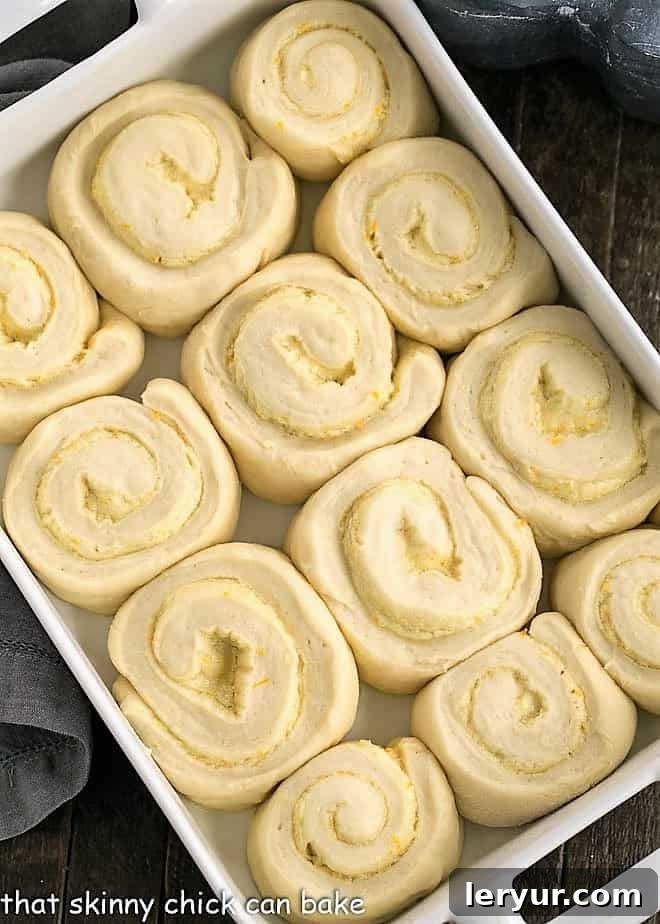
Step-by-Step Guide: Crafting Your Delicious Orange Rolls
Follow these detailed, easy-to-understand instructions to create light, zesty, and utterly irresistible orange rolls from scratch. This recipe yields approximately 12 generous rolls.
Recipe At A Glance:
- Prep time: 45 minutes
- Cook time: 25 minutes
- Total active time: 1 hour 10 minutes
- Yield: 12 rolls
Please note: The total active time does not include the essential two proofing (rising) periods for the dough.
Ingredients List:
For the Sweet Yeast Dough:
- 1 package active dry yeast (2 ¼ teaspoons)
- ½ cup warm water (105-115ºF / 40-46ºC)
- ½ cup scalded milk, cooled to lukewarm (should be no hotter than 115ºF / 46ºC)
- ⅓ cup granulated sugar
- ⅓ cup unsalted butter, at room temperature
- 1 teaspoon salt
- 1 large egg
- 3 ½ cups all-purpose flour (may add up to an additional ½ cup if needed)
For the Zesty Orange Filling and Creamy Frosting:
- 3 cups powdered sugar
- 6 tablespoons unsalted butter, at room temperature
- 2 tablespoons finely grated orange peel (zest)
- 4 tablespoons fresh orange juice
- 1 teaspoon pure vanilla extract
- Heavy cream, to thin frosting if desired
Detailed Baking Instructions:
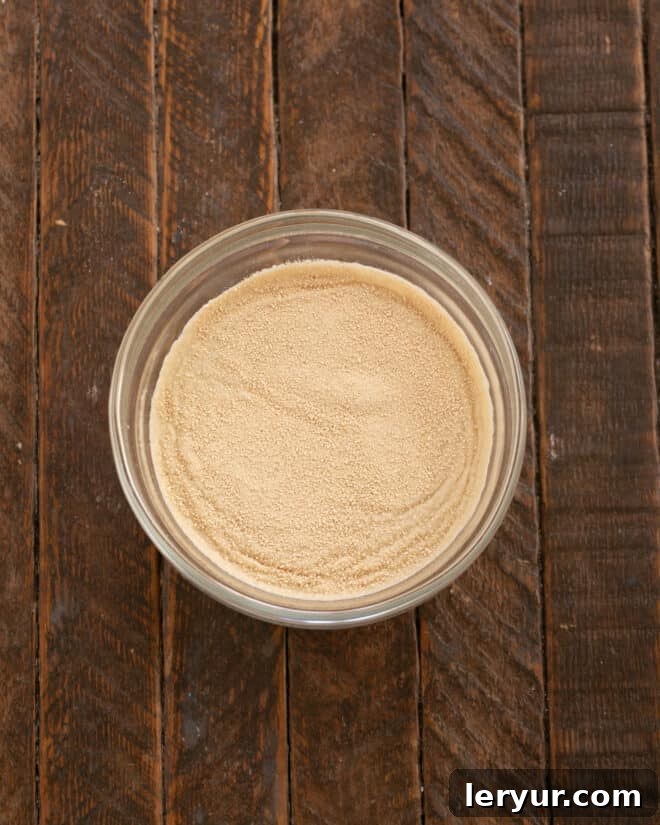
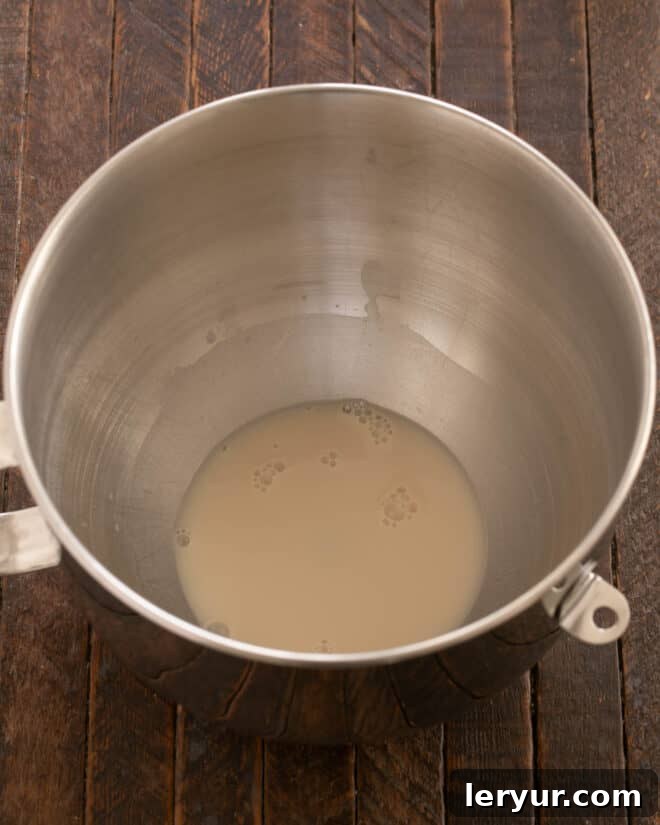
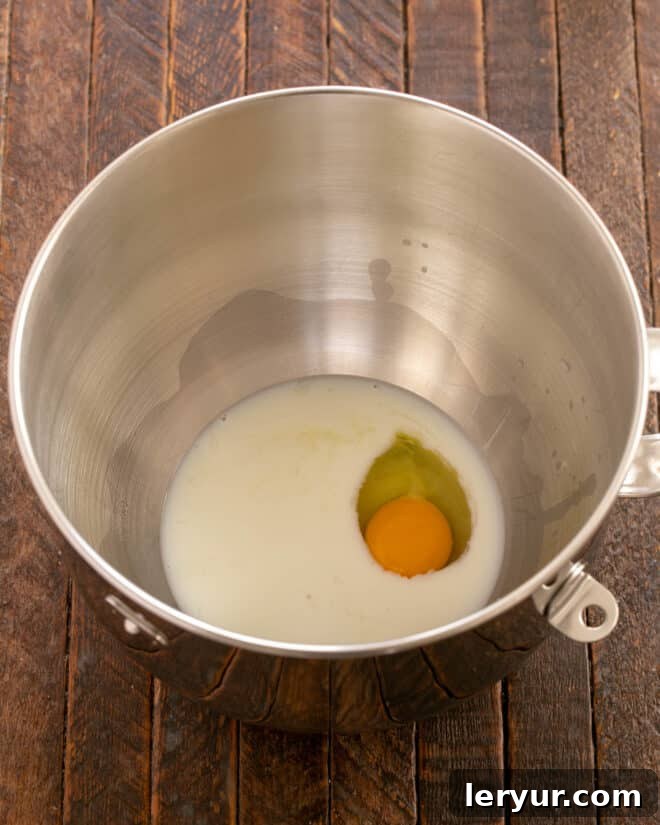
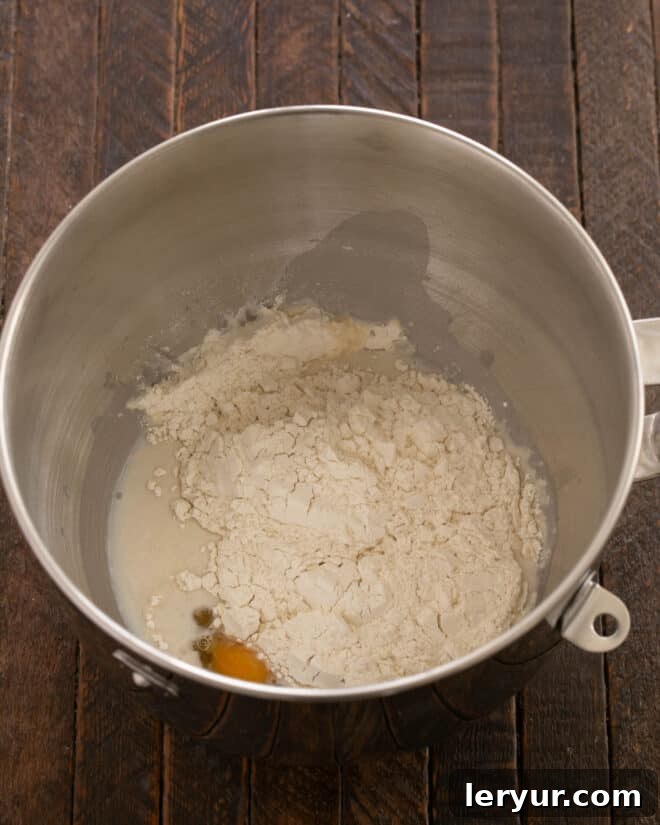
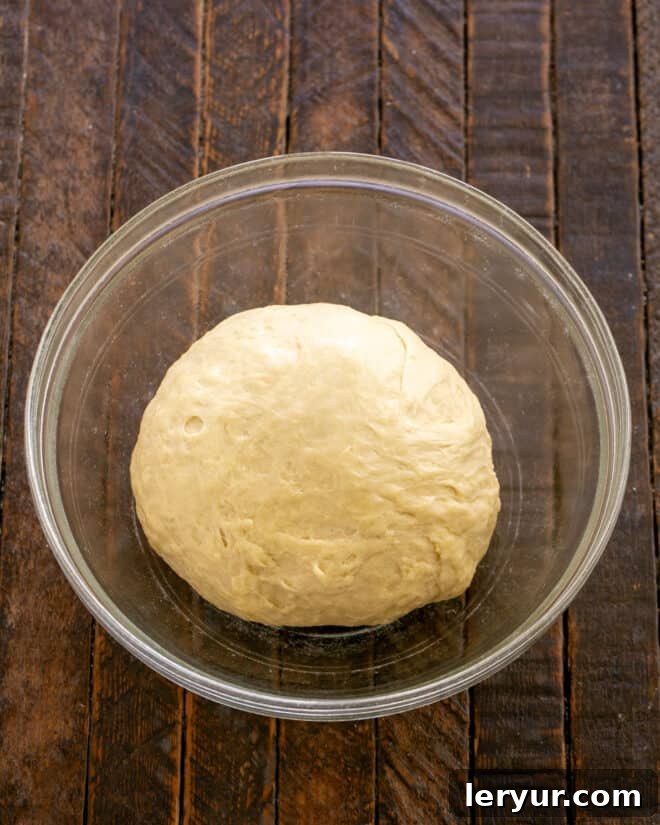
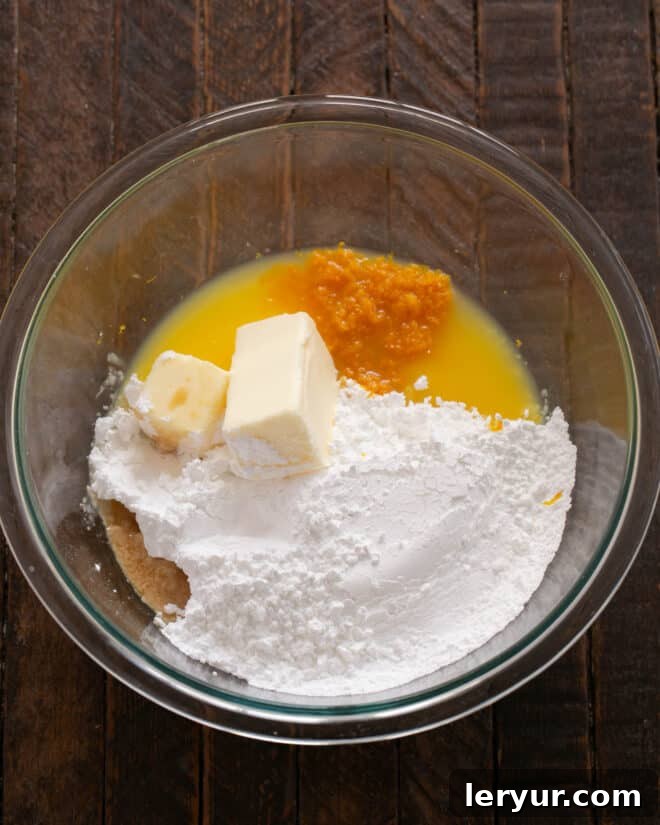
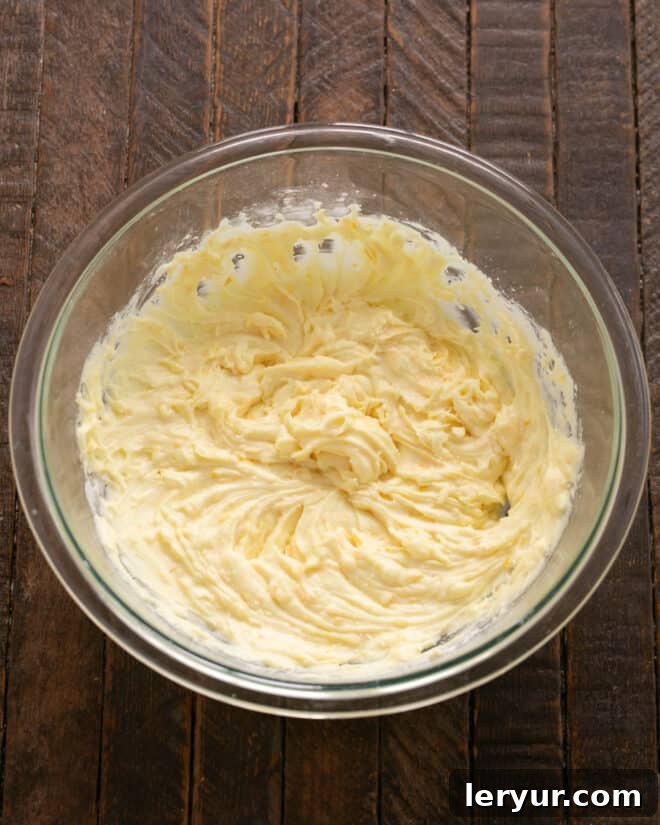
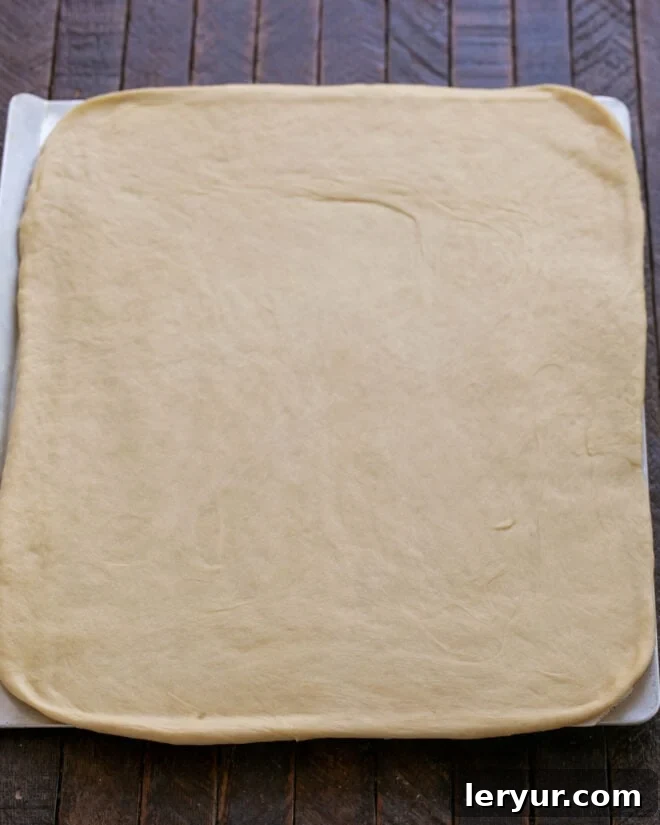
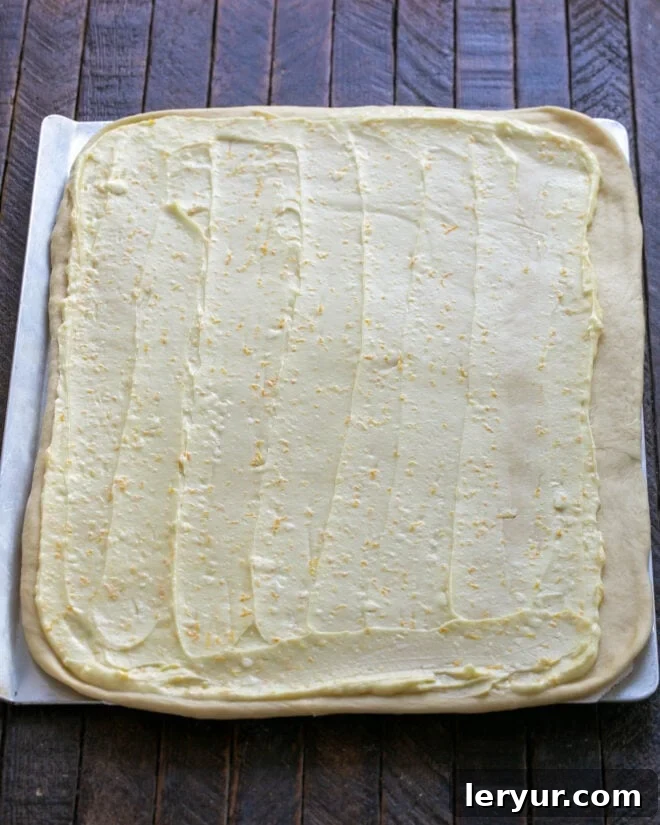
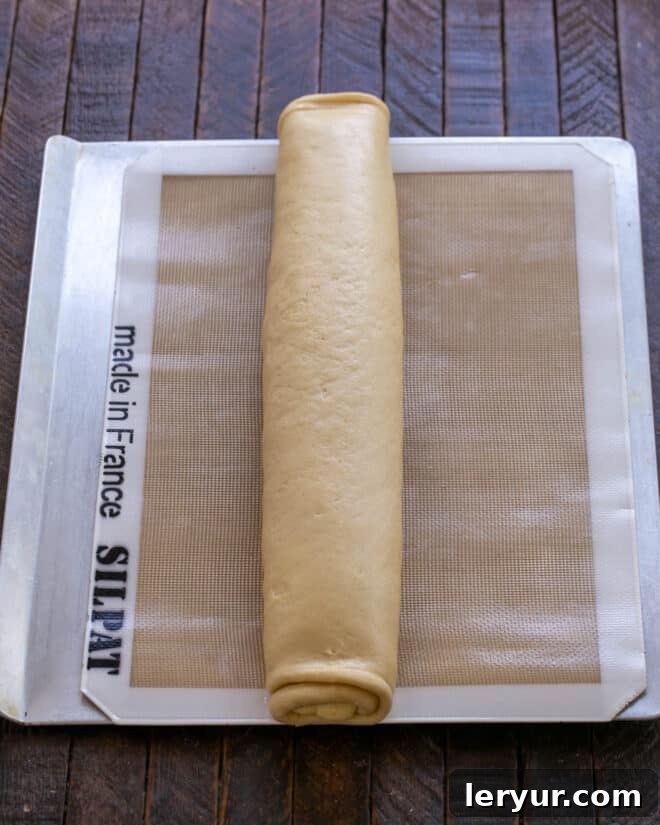
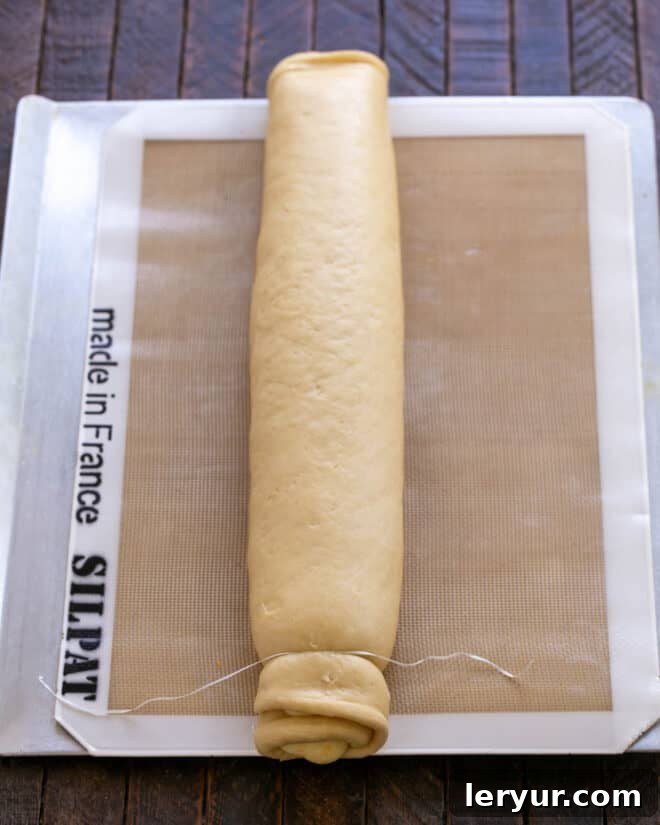
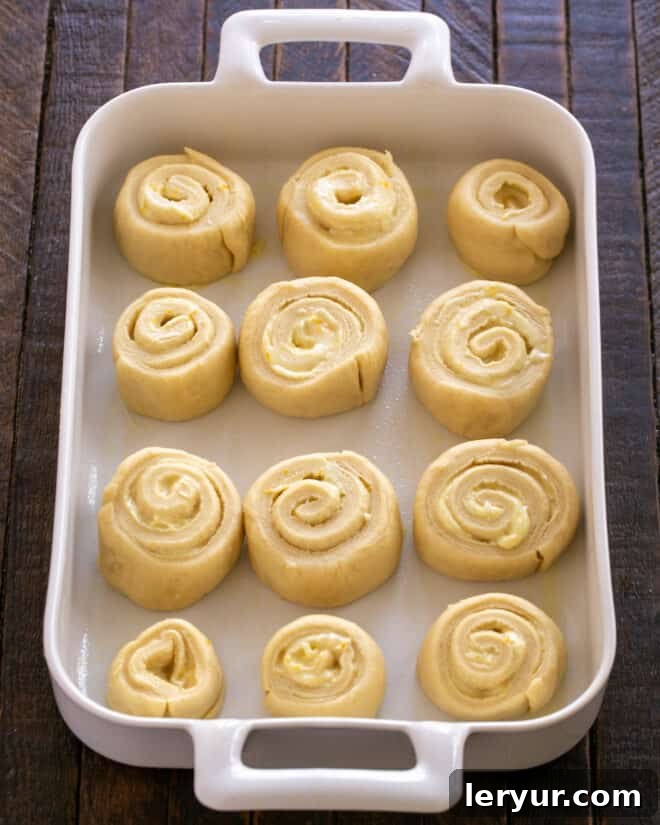
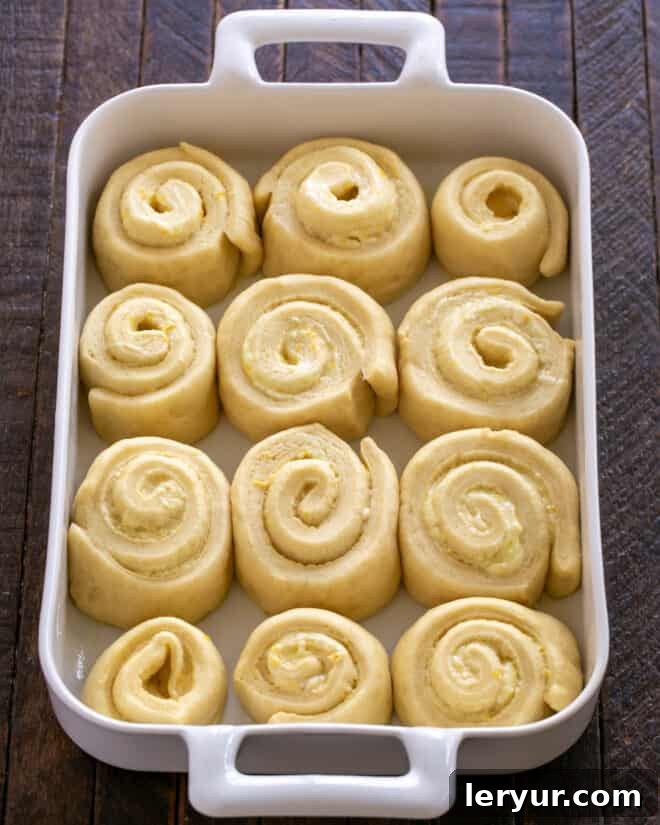
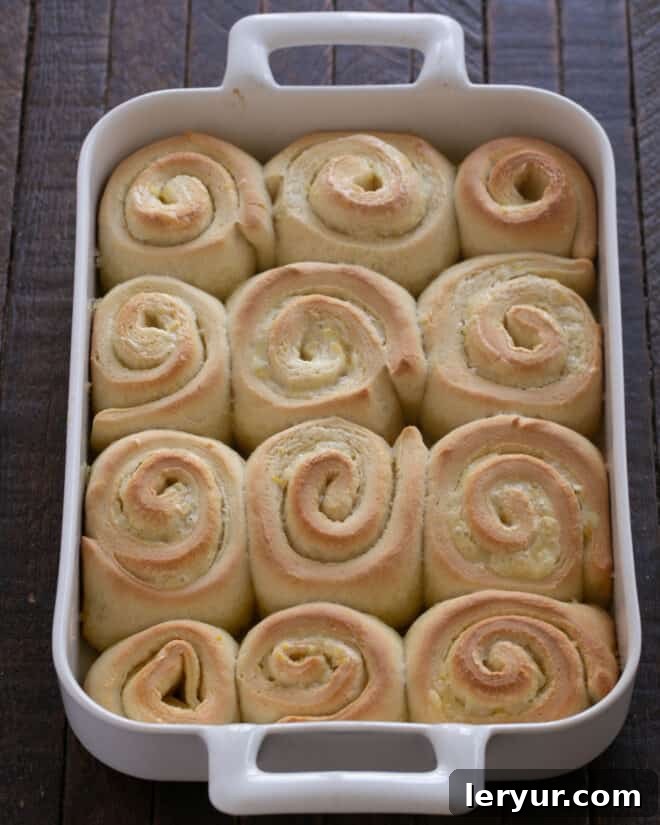
Frequently Asked Questions About Homemade Orange Rolls
Baking can sometimes bring up questions, especially when working with new recipes or techniques. Here are detailed answers to common inquiries about making these delightful orange rolls, ensuring your baking experience is as smooth as your frosting!
An orange roll is a delectable variation of a classic sweet roll, utilizing a tender, rich yeast dough similar to that of a traditional cinnamon roll. The primary distinction lies in its vibrant flavor profile: instead of a cinnamon-sugar filling, orange rolls feature a generous, sweet mixture infused with fresh orange zest and juice. They are then typically crowned with a creamy, tangy orange-flavored frosting or glaze. This substitution provides a brighter, more zesty, and uniquely refreshing taste experience compared to the warm, spicy notes of cinnamon rolls.
The low pH (acidity) of orange juice can indeed inhibit or even kill yeast if it’s mixed directly into the dough in significant quantities. However, in this specific recipe, the orange juice is primarily incorporated into the filling and frosting. These components are added *after* the dough has already completed its crucial rising stages and the yeast has performed its leavening function. The small amount of orange zest added to the dough itself is generally not acidic enough to negatively impact the yeast’s activity. So, you can confidently proceed with this recipe knowing your yeast will remain active and effective!
To maintain the optimal freshness and delightful texture of your frosted orange rolls, store them in an airtight container at room temperature for up to 2-3 days. If you find yourself with leftovers beyond that period, or if your kitchen environment is particularly warm, it’s best to transfer them to the refrigerator, where they will keep well for an additional 3 days. For longer-term storage, these orange rolls freeze exceptionally well! Place them in a freezer-safe airtight container or wrap them individually tightly in plastic wrap, then aluminum foil. They can be safely frozen for up to 3 months. When ready to enjoy, simply thaw them at room temperature and warm gently in a microwave or oven for that wonderful, just-baked taste.
Yes, these rolls are wonderful for make-ahead convenience! You have a couple of excellent options. One method is to prepare the dough all the way through the first rise. After punching it down, shape the rolls and place them into your greased baking pan(s). Instead of letting them rise for a second time immediately, cover the pan(s) tightly with plastic wrap and refrigerate overnight (for up to 12-18 hours). The next morning, simply remove them from the fridge, allow them to come to room temperature and complete their second rise (this might take 1.5-2 hours depending on your kitchen’s warmth) before baking as directed. Alternatively, you can bake the rolls fully, let them cool completely, then frost and freeze them following the storage instructions above, ready to be thawed and enjoyed later.
If your dough fails to rise, several common issues could be at play. The most frequent culprits include inactive or expired yeast (always check the date on the packet!), using water that was either too hot (which kills the yeast) or too cold (which inhibits its activation) when initially dissolving the yeast, or a proofing environment that is too cold, dry, or drafty. Ensure your water temperature is precisely within the 105-115°F range, your yeast is fresh and viable, and provide your dough with a consistently warm, humid, and undisturbed spot to rise. Patience is also key; sometimes dough simply needs a little more time to do its magic!
Explore More Delicious Bread & Roll Recipes
If you’ve enjoyed the rewarding experience of baking these homemade orange rolls, we encourage you to dive deeper into the wonderful world of bread and roll making! Here’s a curated selection of more fantastic recipes to expand your baking skills and delight your palate. From sticky-sweet morning treats to savory companions for any meal, there’s a new favorite waiting for you:
- Easy Caramel Pecan Sticky Rolls from Melissa’s Southern Style Kitchen – a gooey, nutty, and utterly indulgent treat perfect for any special occasion.
- Perfectly Glazed Cinnamon Buns – for those times when you still crave the comforting classic sweet roll experience, these are simply irresistible.
- Soft & Chewy Homemade Pretzel Rolls – a delightful savory twist, ideal for serving with hearty soups, gourmet sandwiches, or just a smear of mustard.
- Authentic Homemade Pita Bread Recipe – light, airy, and perfect for dipping into hummus, filling with your favorite ingredients, or accompanying a Mediterranean meal.
- Hearty Whole Wheat Country Bread – a rustic, wholesome loaf that’s fantastic for everyday enjoyment, toasts beautifully, and makes excellent sandwiches.
- Classic Homemade Sesame Seed Bagel Recipe – achieve that perfect chewy texture and savory crust right in your own kitchen, just like your favorite bakery bagels.
- Don’t stop here! Explore even more Diverse Bread Recipes on our site to find your next exciting baking project and expand your culinary repertoire.
We absolutely adore seeing your culinary creations! Stay connected with us and share your baking triumphs through social media. You can find us on Instagram, Facebook, and Pinterest. Don’t forget to tag us when you try one of our recipes! Your feedback and shared photos mean the world to our community. And if you truly loved the results of these homemade orange rolls, please consider giving this recipe a 5-star rating and leaving a comment below. Happy baking and enjoy every delicious bite!
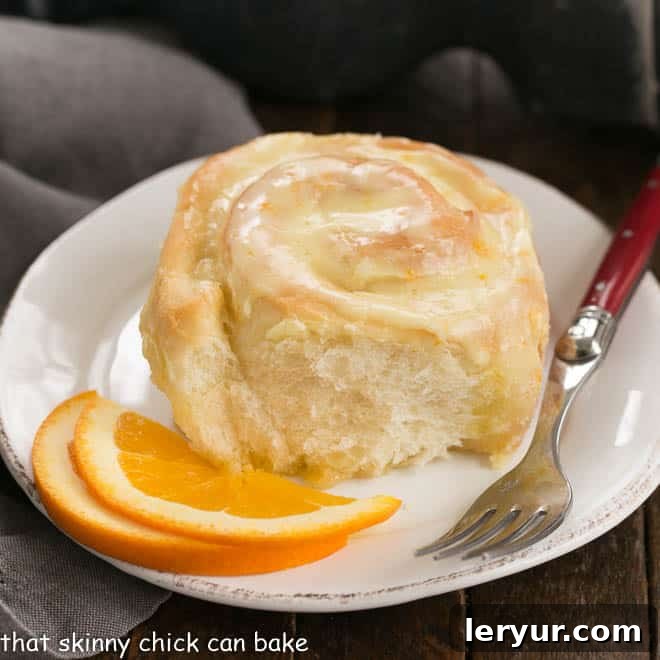
Homemade Orange Rolls Recipe
These classic homemade orange rolls are a delightful citrus-infused variation of sweet rolls, perfect for any occasion. Adapted from a historic Betty Crocker recipe, they feature a tender yeast dough, a vibrant orange zest filling, and a creamy, tangy orange frosting that will leave everyone asking for more. A truly comforting and memorable treat.
Average rating: 4.9 out of 5 stars based on 82 reviews.
Nutrition Information:
Yield:
12 rolls
Serving Size:
1
Amount Per Serving:
Calories: 395
Total Fat: 13g
Saturated Fat: 8g
Trans Fat: 0g
Unsaturated Fat: 4g
Cholesterol: 48mg
Sodium: 282mg
Carbohydrates: 65g
Fiber: 1g
Sugar: 35g
Protein: 5g
Recommended Baking Tools
As an Amazon Associate and member of other affiliate programs, I earn from qualifying purchases, helping support this site at no extra cost to you.
- 9 x 13 Revol Ceramic Baking Dish
- Nesting Mixing Bowls Set
- KitchenAid Artisan Stand Mixer