
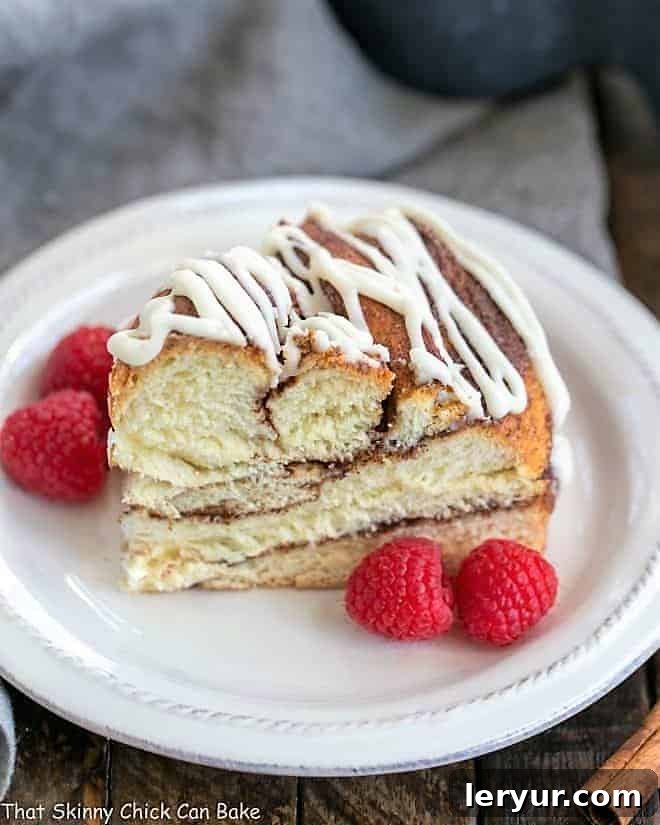
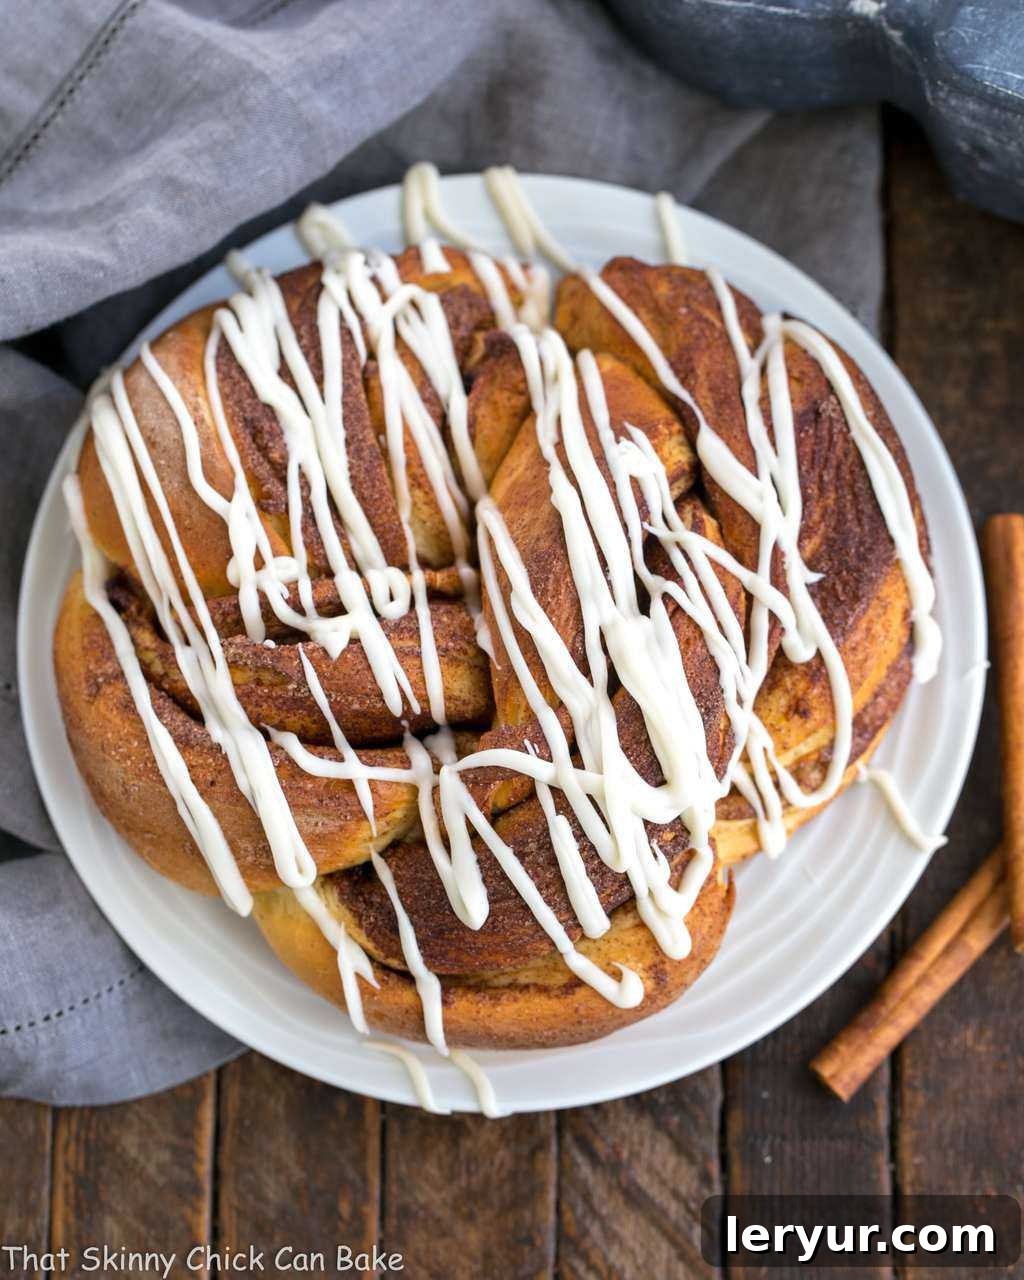
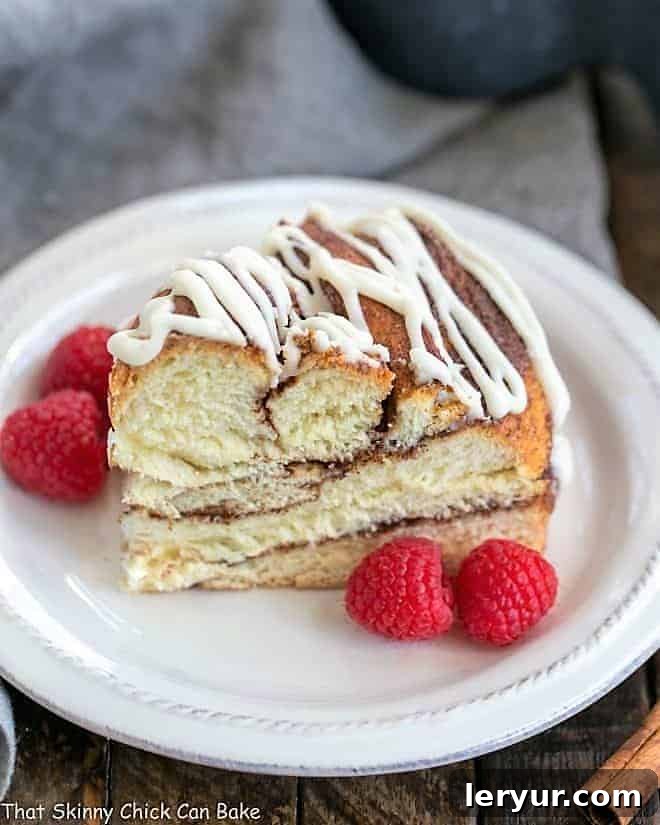
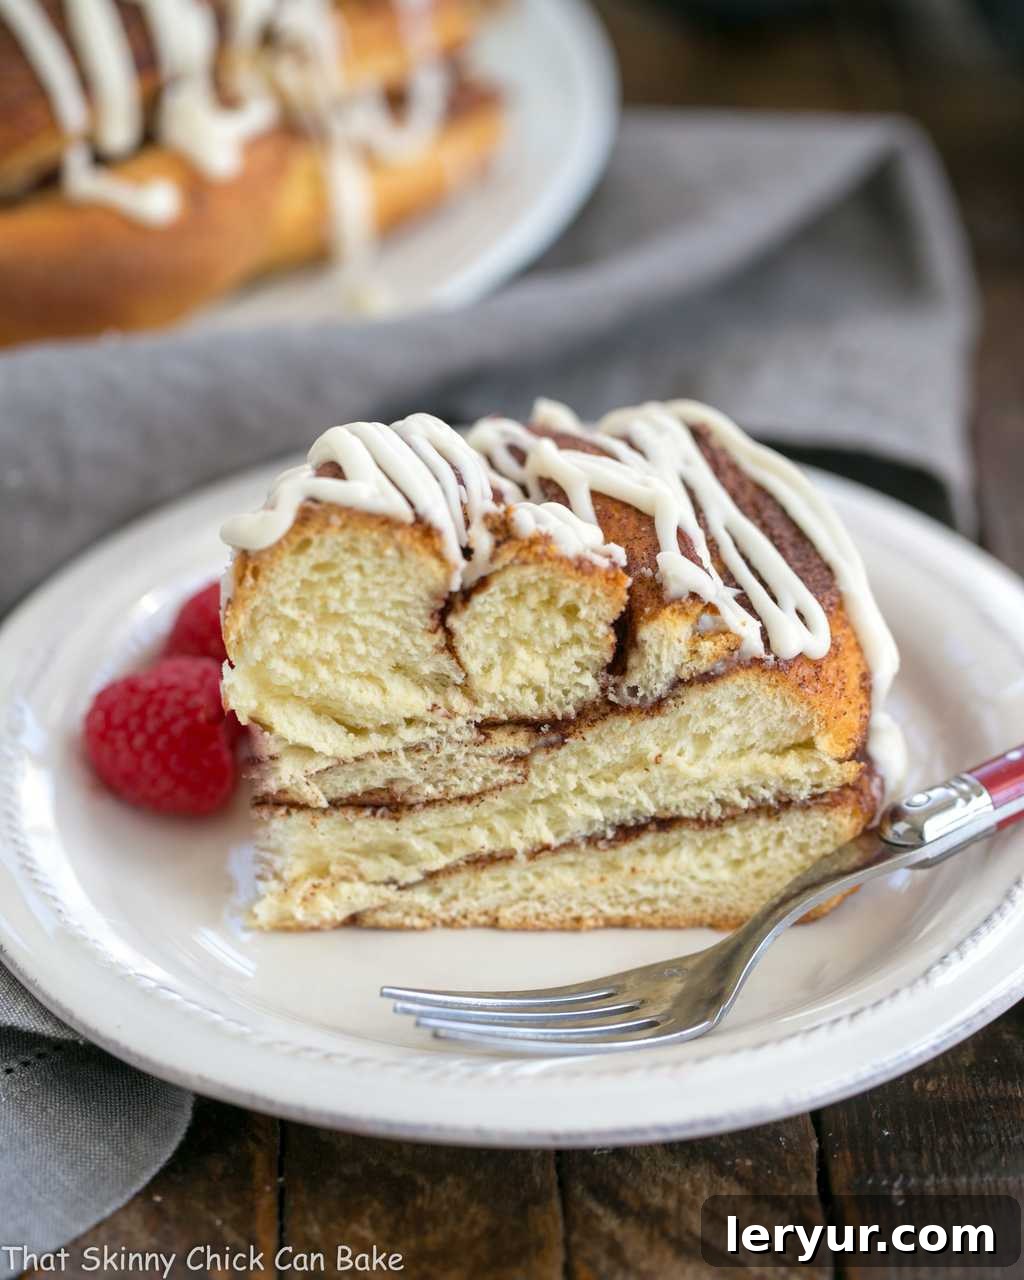
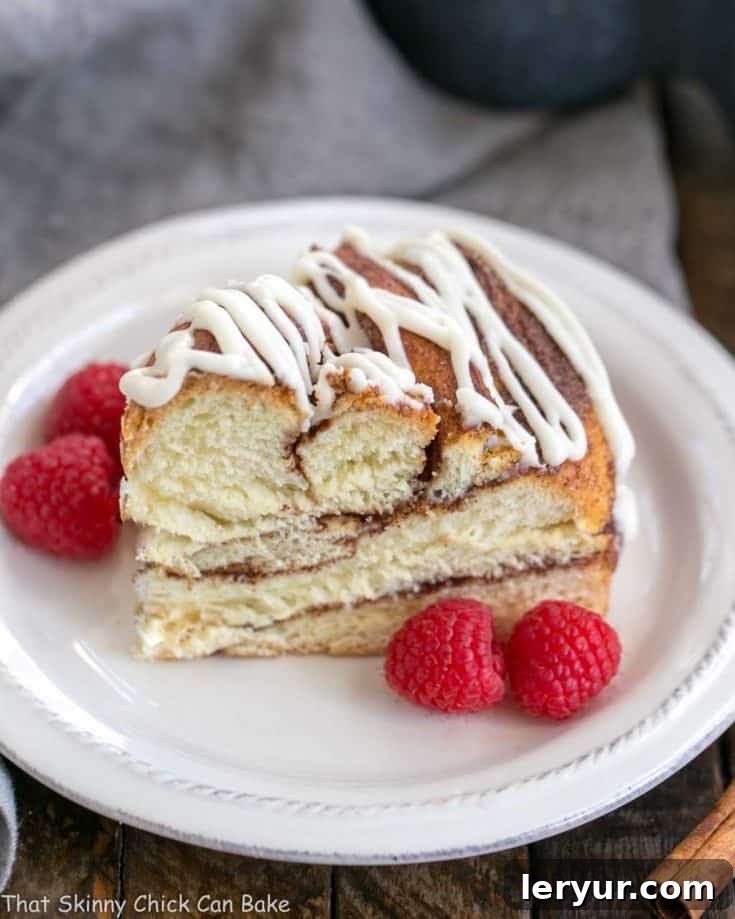
Cinnamon Twists are an irresistible delight, overflowing with tender nooks and crannies that lovingly cradle delectable ribbons of spiced cinnamon-sugar filling. This extraordinary breakfast bread offers all the comforting flavors of your favorite cinnamon rolls, but with a unique, eye-catching twisted shape. It’s the perfect treat to bake for company, making any morning feel special. And with a recipe that yields two generous loaves, you can enjoy one immediately and tuck the other away in your freezer for a future moment of pure bliss!
The quest for the perfect breakfast pastry often leads to a familiar answer: cinnamon rolls. When I recently asked my husband for his ideal morning treat, his reply was, predictably, “cinnamon rolls.” While I adore classic cinnamon rolls, I found myself yearning for something a little different, a creative “twist” on the beloved classic that would still meet his high standards for flavor and indulgence. That creative spark led me to develop this spectacular recipe for Cinnamon Twist Bread – a truly gourmet experience disguised as a simple, rustic loaf.
Why You Must Bake This Cinnamon Twist Bread
There are countless reasons to fall in love with this Cinnamon Twist Bread recipe, making it a staple in your baking repertoire. Here’s why it deserves a spot on your kitchen counter:
- A Delicious Twist on Cinnamon Rolls: If you adore the warm, comforting flavors of classic cinnamon rolls, you’re in for a treat. This recipe captures all that magic – the sweet cinnamon, the soft dough, the luscious glaze – but presents it in an exciting, pull-apart bread format. The unique twisted shape creates more surface area for that incredible cinnamon-sugar filling, ensuring every bite is bursting with flavor. It’s the same great taste, elevated with a different, more impressive presentation.
- Generous Yield for Any Occasion: This cinnamon bread recipe generously makes TWO beautiful twists. This is incredibly convenient! You can serve one loaf immediately for a family breakfast or brunch gathering, and have a second one ready to gift, or even better, to freeze. Imagine having a gourmet breakfast ready for an unexpected visitor or a lazy weekend morning with minimal effort. It’s perfect for entertaining, meal prepping, or simply ensuring you always have a delightful treat on hand.
- Freezer-Friendly Convenience: One of the best features of this yeast bread is how wonderfully it freezes. Once completely cooled, simply wrap the second loaf tightly in plastic wrap and then aluminum foil, ensuring it’s completely airtight. Pop it into the freezer, and it will stay fresh for up to three months. This means you can bake ahead for holidays, special occasions, or just have a delicious homemade breakfast waiting whenever a craving strikes. No more scrambling for last-minute treats – simply thaw, warm, and enjoy!
Ingredient Notes for Perfect Cinnamon Twists
Creating truly exceptional cinnamon twist bread starts with understanding your ingredients. While many are kitchen staples, a few key additions make all the difference in achieving that perfectly soft and tender texture.
- All-Purpose Flour: The foundation of our bread. Use a good quality unbleached all-purpose flour for the best results in terms of gluten development and structure.
- Sugar: Provides sweetness, aids in yeast activation, and contributes to the golden-brown crust.
- Salt: Essential for enhancing flavor and controlling yeast activity. Don’t skip it!
- Milk: Adds moisture and richness to the dough, leading to a softer crumb. Warm milk is also crucial for activating the yeast properly.
- Butter: Contributes tenderness, flavor, and a rich mouthfeel to the dough. Using room temperature butter makes it easier to incorporate.
- Cinnamon: The star of our filling! Use fresh, high-quality ground cinnamon for the most aromatic and flavorful results.
- Egg: Adds richness, helps with structure, and contributes to a beautiful golden color in the dough.
- Dried Potato Flakes or Buds: This is our secret ingredient for an incredibly tender bread! Potatoes significantly increase the starch content in the dough, which helps it retain more moisture. The result is a bread that stays softer and fresher for longer, with an unbelievably tender crumb.
- Instant Yeast: My preferred choice, often Red Star Yeast, for its convenience. Unlike active dry yeast, instant yeast can be mixed directly with the dry ingredients without needing to be proofed in liquid first. It’s reliable and produces a consistent rise.
- Vanilla Extract: Always opt for real vanilla extract, not imitation. The rich, complex flavor of genuine vanilla elevates both the dough and the glaze, adding a depth that imitation simply can’t match.
- Powdered Sugar: The base for our luscious glaze. For the smoothest, lump-free icing, it is absolutely essential to sift your powdered sugar before mixing.
- Heavy Cream: With a minimum of 36% butterfat, heavy cream is key to creating a rich, decadent, and perfectly pourable glaze that complements the cinnamon twists beautifully. It adds an unparalleled creaminess.
Expert Recipe Tips for Success
Baking homemade bread can feel intimidating, but with these expert tips, you’ll achieve beautifully twisted cinnamon bread every time. Don’t worry if your first twist isn’t picture-perfect – it will still taste absolutely divine!
- Mind Your Flour on the Work Surface: When rolling out your dough, use minimal flour on your work surface. A heavily floured surface can prevent the dough from sealing properly when you roll it into a log. A slight tackiness helps the edges adhere, ensuring your cinnamon filling stays neatly tucked inside during baking.
- Mastering the Twist Maneuver: Once you cut your cinnamon-filled logs lengthwise, they will naturally want to separate. This is where a gentle touch comes in. As you twist the two halves around each other, do your best to cup them gently in your hands. This provides support and helps maintain the integrity of the layers. If a little filling spills, don’t fret – it will caramelize beautifully.
- Sealing the Ends: After completing your twist, make sure to firmly pinch and seal the two short ends of the twisted dough together. This creates a secure ring or loaf shape and prevents the twist from unraveling as it proofs and bakes.
- PRO-Tip for Proofing Temperature: The ideal temperature for proofing yeast bread is around 85°F (29°C). Many modern ovens have a “proof” setting, which is incredibly handy. If yours doesn’t, don’t worry! You can create a warm environment by placing the covered dough in a slightly warmed oven (turn it on for a minute, then turn it off), near a sunny window, or in a warm spot in your kitchen. A consistent, warm environment encourages optimal yeast activity for a light and airy bread.
After the twists emerged from the oven, glistening with their sweet glaze, we couldn’t resist. One vanished almost immediately, devoured with immense satisfaction. The second, a testament to forward-thinking, was carefully wrapped and tucked into the freezer. This proved to be a brilliant decision, especially with a looming kitchen demolition! My husband, Bill, was absolutely delighted to have a reprieve from the “gourmet” buttered toast that had become our temporary breakfast staple. There’s truly nothing like the comforting taste of homemade cinnamon bread to brighten any day, even amidst renovation chaos!
Frequently Asked Questions About Cinnamon Twist Bread
Got questions about baking your perfect cinnamon twists? We’ve got answers to some of the most common queries to ensure your baking experience is a complete success.
There are typically two primary reasons why yeast bread dough fails to rise properly. First, the yeast itself might be expired or inactive. Always check the expiration date on your yeast packaging before use. To confirm its vitality, you can perform a quick test: dissolve a small amount of yeast (about a teaspoon) in ¼ cup of warm water (between 110-115°F, or 43-46°C) with a pinch of sugar. If the yeast is active, it should become foamy and bubbly within 5-10 minutes. If it doesn’t, your yeast is likely “dead” and needs to be replaced. The second common issue is liquid temperature. If the liquids added to the yeast are too hot (above 115°F), they can kill the delicate yeast organisms, preventing them from activating and producing the necessary carbon dioxide for a good rise. Conversely, water that’s too cold will inhibit yeast activity, leading to a very slow or minimal rise.
An ideal proofing temperature for yeast dough is around 85°F (29°C). This temperature allows the yeast to ferment efficiently, producing carbon dioxide and causing the dough to rise without over-fermenting or developing off-flavors. While 85°F is optimal, a few degrees above or below this range is generally acceptable. However, be cautious of extremes: if yeast dough is forced to rise in an environment that is too hot (above 115°F), the gluten structure may not be able to keep up with the rapid gas production, leading to a weak structure that collapses. If the environment is too cold, the rise will be excessively slow, potentially allowing the dough to dry out.
To maintain its freshness and delicious texture, store your cinnamon bread at room temperature in an airtight container or a plastic bag for up to 3 days. This prevents it from drying out and keeps it soft. For longer storage, cinnamon bread freezes exceptionally well. Once completely cooled, wrap the loaf tightly in plastic wrap, then again in aluminum foil, ensuring no air can reach it. Stored this way, it will remain fresh in the freezer for up to 3 months. Thaw at room temperature or gently warm in the oven for a fresh-baked experience.
Refrigerating the dough for an overnight (or “cold”) proof offers several significant advantages. This slow proofing method allows the yeast to work at a much slower pace, which provides more time for flavor development. The extended fermentation creates a richer, more complex taste in the final bread. Additionally, a cold proof often results in a more stable gluten structure, leading to a bread with improved texture and a more even, consistent rise. It also adds incredible convenience, as you can prepare the dough ahead of time and bake it fresh the next morning.
You May Also Like: More Brunch Recipes
Looking to create an unforgettable brunch spread? These complementary recipes will perfectly round out your menu and impress your guests:
- Homemade Blueberry Muffins – These muffins are exceptionally moist and tender, thanks to the addition of sour cream. A burst of blueberry goodness in every bite!
- Authentic Bagel Recipe – Have you ever dreamed of making bakery-quality bagels at home? This well-tested recipe guides you through the process for a chewy, flavorful result.
- Savory Egg Muffin Cups – A fantastic low-carb option for starting your day right. These customizable egg cups are easy to make ahead and perfect for quick grab-and-go breakfasts.
- Baked Denver Omelet – A classic way to prepare eggs for a crowd! This baked version simplifies serving and is packed with ham, peppers, and cheese.
- Gourmet Cinnamon Coffeecake – For the adventurous baker, this coffeecake is made with laminated dough, similar to croissants, creating delicate, flaky layers and a truly impressive presentation.
- Homemade Cinnamon Monkey Bread – This fun, pull-apart bread is a favorite among both kids and adults. Covered in cinnamon sugar and a sweet glaze, it’s perfect for sharing.
- Discover even more of my Best Brunch Recipes for endless inspiration!
Stay connected and share your baking journey with me through social media! You can find me @ Instagram, Facebook, and Pinterest. Don’t forget to tag me when you try one of my delicious recipes! And if you absolutely love the results, please consider giving it a 5-star rating in the recipe card below – your feedback means the world.
Cinnamon Bread Twist Recipe
30 minutes
30 minutes
1 hour
2 loaves
A delicious breakfast bread that tastes like a gourmet cinnamon roll!
Ingredients
Dough:
- 3¼ cups all-purpose flour
- ¼ cup dried potato flakes or buds
- ¼ cup sugar
- 1½ teaspoons instant yeast
- 1¼ teaspoon salt
- 3 tablespoons butter plus extra for buttering the bowl, at room temperature
- 1 teaspoon vanilla extract
- 1 egg
- 1 cup milk
Filling:
- ¼ cup plus 2 tablespoons sugar
- 4½ teaspoons cinnamon
- 2 tablespoons melted butter
Glaze:
- 1 cup powdered sugar, sifted
- ¼ cup heavy cream
- 1 teaspoon vanilla
Instructions
- Mix all dry ingredients in a bowl of a large stand mixer (you can also mix and knead by hand). Make sure potato flakes are well dispersed.
- Add the butter, vanilla, egg, and milk. Mix with a dough hook until a shaggy dough forms.
- Let rest for 30 minutes.
- Knead the dough with a dough hook or by hand for 10 minutes, then place the dough in a greased bowl, turning to coat the top of the dough with butter, then cover and refrigerate the dough overnight.
- The next morning, bring the dough out and allow it to sit out on the counter for 3 hours.
- Make the filling by combining sugar, and cinnamon. Set aside.
- To assemble, deflate the dough and divide it in half.
- On a lightly floured surface, roll out one dough half into a 10 x 12-inch rectangle.
- Brush the dough with half the melted butter, then sprinkle with half the cinnamon mixture over the surface stopping within about ½-inch of one longer edge. Roll up jelly-roll style starting at the long edge with the cinnamon, making a log. Press the seam together to lightly seal.
- Cut the log in half lengthwise with a sharp knife. Turn each half so that the filling and cut edges face upward.
- Seal two of the short edges together, then cross one side over the other repeatedly to make a twist.
- Carefully place the twist in a greased 8-inch cake pan forming a ring. Repeat with the second piece of dough.
- Cover lightly and let rise at room temperature for about 1 hour.
- Preheat the oven to 350 degrees.
- Bake for about 30 minutes.
- Cool for a few minutes, then remove from pan to rack to finish cooling.
- Make the glaze by combining all ingredients. Place into a quart ziplock bag, seal, and clip off the corner with scissors. Squeeze the bag to drizzle icing over the cooled twists.
Notes
This cinnamon bread recipe was adapted from King Arthur Flour, a trusted source for baking excellence. It yields 2 beautiful 8-inch cinnamon twists.
When rolling out the dough into a rectangle, be mindful not to use too much flour on your work surface. Excess flour can prevent the dough’s edges from sealing properly, which is crucial for keeping the cinnamon filling neatly encased during the twisting and baking process.
Nutrition Information:
Yield:
12
Serving Size:
1 slice
Amount Per Serving:
Calories: 284Total Fat: 8gSaturated Fat: 5gTrans Fat: 0gUnsaturated Fat: 3gCholesterol: 36mgSodium: 281mgCarbohydrates: 45gFiber: 2gSugar: 16gProtein: 5g
HOW MUCH DID YOU LOVE THIS RECIPE?
Please leave a comment on the blog or share a photo on Pinterest