
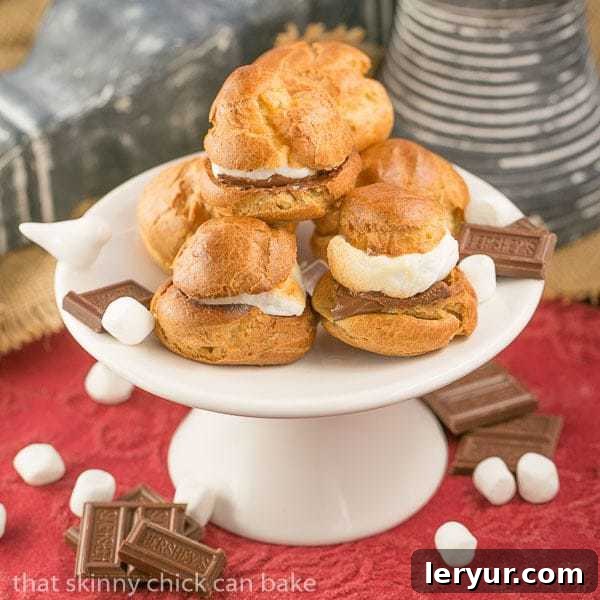
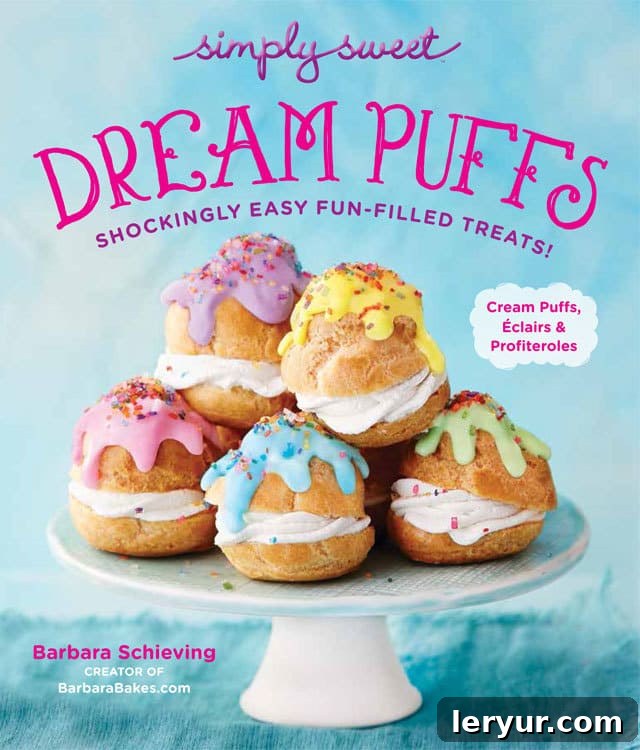
Are you ready to elevate your dessert game and conquer the seemingly intimidating world of cream puffs? Many home bakers shy away from pâte à choux, the classic dough that forms the base of these delightful treats, believing it to be too complex. But what if we told you there’s a foolproof method to achieve light, airy, and utterly delicious cream puffs right in your own kitchen? Our dear friend, Barbara, the culinary maestro behind Barbara Bakes, has generously shared her expert techniques in her acclaimed new ebook, Simply Sweet Dream Puffs. Today, we’re incredibly excited to share with you one of her most fabulous creations: the spectacular S’mores Cream Puffs. Prepare to transform the nostalgic campfire treat into an elegant, gourmet dessert that will astound your family and friends.
The Enduring Magic of a Childhood Kitchen
My earliest memories of baking are steeped in the warmth and inviting aromas of my mother’s kitchen. Unlike many households with strict rules and boundaries, our mom fostered an environment of boundless creativity, especially when it came to culinary explorations. If we expressed even the slightest interest in cooking or baking, she offered her full encouragement, empowering us to experiment and learn through hands-on experience. This freedom was a precious gift, allowing me and my three sisters to transform our kitchen into a vibrant laboratory of flavors and textures.
I distinctly recall standing on a sturdy stool, barely tall enough to reach the countertop, with a large wooden spoon clutched firmly in my small hands. My mission: to stir the developing pâte à choux dough. This wasn’t merely mixing; it was a vigorous workout for my puny arm muscles, especially when it came time to incorporate the eggs, one by one. Each egg required meticulous and persistent stirring to achieve that smooth, glossy consistency that is the hallmark of a successful choux pastry. There was no fancy pastry bag in our kitchen back then. Instead, we’d simply scoop out generous spoonfuls of the dough onto a cookie sheet, shaping them as best we could with the back of a spoon.
The real magic, however, began as the puffs entered the oven. The four of us sisters would gather, eyes glued to the oven window, watching with bated breath as the humble dollops of dough magically expanded, transforming into golden, hollow spheres. The anticipation was almost unbearable, a delightful torture as we waited for that perfect hue. We knew the moment they turned golden brown, it was nearly time for the ultimate reward: sampling our delicious creations. Once cooled, we’d eagerly slice them in half, carefully scooping out the eggy centers to create the perfect cavity for our chosen fillings – often a luscious pudding or a scoop of creamy ice cream. And oh, how we cherished those soft, eggy scraps of pastry, nibbling on them as a precursor to the main event. These moments weren’t just about baking; they were about discovery, shared joy, and the foundational lessons of cooking that have stayed with me ever since.
Mastering Pâte à Choux: The Art of the Perfect Cream Puff
The term “pâte à choux” might sound intimidating, conjuring images of complex French patisserie, but at its heart, it’s a remarkably straightforward and versatile dough. It’s the secret behind not only cream puffs but also éclairs, gougères, and churros. The beauty of choux pastry lies in its ability to puff up dramatically in the oven, creating a hollow interior perfect for sweet or savory fillings. This magical expansion is due to the high moisture content and eggs, which create steam that inflates the dough, forming a crisp outer shell and a tender inside.
The Foolproof Method for Homemade Cream Puffs
While my childhood method was charmingly rustic, the world of baking has evolved, and techniques have been refined to ensure consistent success. Barbara’s approach, detailed in her ebook and demonstrated in her helpful videos (a truly invaluable tool for first-timers), offers a modern, foolproof path to perfect cream puffs. Her method, which aligns closely with that of acclaimed baker Dorie Greenspan for her famous gougères and pâte à choux, represents what many consider the gold standard for choux pastry.
A key difference from my mom’s freestyle approach is the importance of slightly cooling the dough before incorporating the eggs. In my youth, we’d add eggs directly to warm dough, sometimes resulting in tiny, undesirable bits of cooked egg – a minor mishap that didn’t deter our enthusiastic appetites but certainly isn’t ideal for a professional finish. Barbara’s technique ensures the eggs are incorporated smoothly, creating a glossy, emulsified batter that guarantees superior texture and rise.
Another refinement is the use of a pastry bag for piping. While I can attest that you’ll still get terrific results scooping dough onto a baking sheet, using a pastry bag allows for uniform sizing and a more elegant presentation, which is especially desirable for a show-stopping dessert like S’mores Cream Puffs. However, if a pastry bag isn’t readily available, don’t let that stop you. The core technique of making the dough remains the same, and your puffs will still be delicious!
Tips for Perfect Puffs Every Time
- **Embrace the Stirring:** The initial mixing of the flour into the boiling water-butter mixture is crucial. Stir vigorously until the dough forms a ball and pulls away from the sides of the pan. This step cooks the flour and develops the gluten.
- **Cooling is Key:** Allow the dough to cool slightly (as Barbara recommends, typically for about 5 minutes in a stand mixer) before adding the eggs. This prevents the eggs from cooking prematurely and ensures they emulsify properly into the dough.
- **Add Eggs Gradually:** Incorporate eggs one at a time, beating well after each addition until fully absorbed and the dough is smooth and glossy. The dough should eventually fall from the paddle or spoon in a “V” shape.
- **Don’t Fear the Oven:** Resist the urge to open the oven door during the initial baking phase, as this can cause the puffs to collapse. The high heat creates the steam needed for puffing, and the lower heat then dries them out to prevent sogginess.
- **Moisten Your Finger:** For beautifully rounded cream puffs, gently smooth out any peaks or uneven tops with a moistened finger before baking.
S’mores Cream Puffs: A Decadent Twist on a Campfire Classic
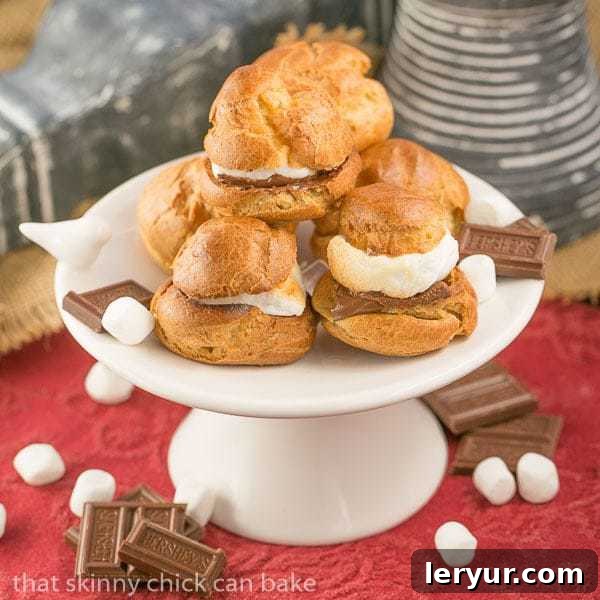
When I delved into Barbara’s collection of recipes, the S’mores Cream Puffs immediately caught my eye. The concept of fusing the beloved flavors of a campfire s’mores with the sophisticated elegance of a cream puff was simply irresistible. It promised a dessert that was both comforting and unexpectedly refined. And let me tell you, it delivered beyond all expectations.
A Classic Reimagined with Genius Ingredients
What makes these S’mores Cream Puffs truly exceptional is Barbara’s ingenious inclusion of graham cracker crumbs directly into the pâte à choux batter. This subtle yet brilliant addition infuses the cream puff shell with that quintessential graham cracker flavor, creating an authentic s’mores experience from the very first bite. It’s a game-changer, moving beyond mere decoration to integrate the flavor profile deeply into the structure of the dessert itself. The result is a pastry that is not just a carrier for the filling but an active participant in the flavor symphony.
The Delightful Assembly and Unforgettable Experience
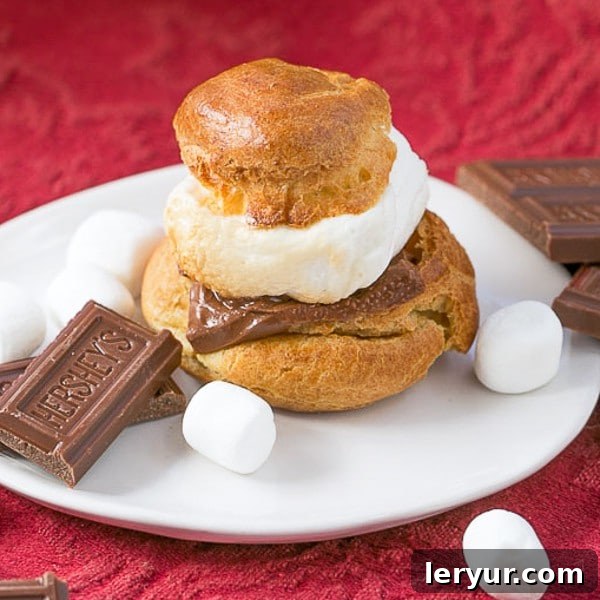
The assembly of these cream puffs is as enjoyable as eating them. Once the beautifully puffed and cooled shells are ready, they are carefully sliced in half horizontally. Then comes the magic: one half is crowned with a fluffy marshmallow, while the other receives a few squares of rich milk chocolate. A quick trip under the broiler for just a minute or so transforms these components. The marshmallows toast to a golden, gooey perfection, developing that irresistible caramelized aroma, while the chocolate squares soften and melt slightly, creating a luscious base. Once reunited, marshmallow-side down onto the melted chocolate, the two halves form a spectacular, elegant treat that’s ready to impress.
The reaction from my friends was nothing short of ecstatic. These S’mores Cream Puffs garnered rave reviews and disappeared at an astonishing rate. Several friends were even caught tucking “seconds” into napkins and then into their purses, a testament to their utterly addictive quality! They truly trumped any traditional graham cracker version by a mile, offering a gourmet interpretation that is both playful and incredibly satisfying. The delicate crunch of the choux pastry, the warmth of the toasted marshmallow, and the smooth melt of the chocolate create a harmonious blend of textures and temperatures that makes each bite a moment of pure bliss. This recipe isn’t just a dessert; it’s an experience, a delightful journey that begins with a simple dough and ends with a sophisticated indulgence.
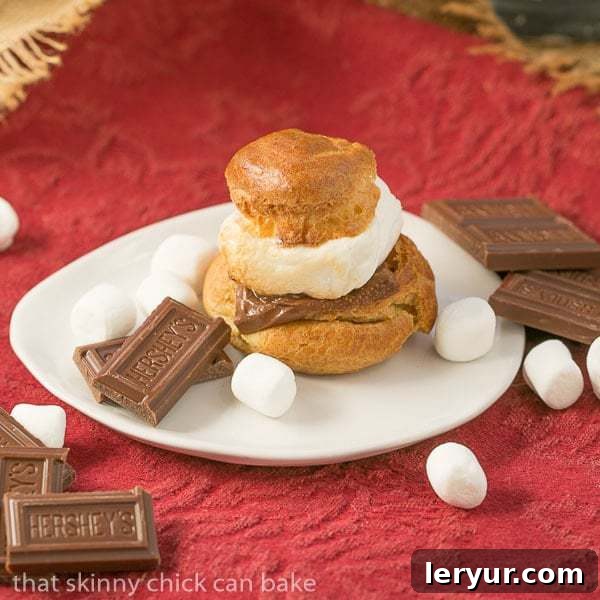
S’mores Cream Puffs
20 minutes
40 minutes
1 hour
16 cream puffs
Indulge in these delightful cream puffs, expertly crafted with graham cracker-infused pâte à choux and decadently filled with rich chocolate and perfectly toasted marshmallows. A gourmet twist on a beloved classic!
Ingredients
- ½ cup bread flour
- ¼ cup graham cracker crumbs (from about 2 sheets)
- 6 tablespoons unsalted butter, cut into 6 pieces
- 1 teaspoon sugar
- ½ teaspoon table salt
- 3 eggs, at room temperature
- 16 marshmallows (standard size)
- 4 (1.55 ounce) milk chocolate candy bars, broken into individual squares
Instructions
- Preheat your oven to 425°F (220°C). Lightly grease two baking sheets or line them with parchment paper. In a small bowl, stir together the bread flour and graham cracker crumbs; set this mixture aside.
- In a large saucepan, combine the butter, sugar, salt, and ¾ cup of water. Bring this mixture to a rolling boil over medium-high heat, stirring occasionally to ensure the butter melts evenly. As soon as it boils, immediately remove the saucepan from the heat.
- Quickly and vigorously stir in the entire flour-graham cracker mixture all at once. Return the saucepan to medium heat and continue to stir with a sturdy wooden spoon for 1 to 2 minutes, or until the dough comes together, forms a smooth ball, and pulls away from the sides of the pan.
- Transfer the hot dough to the bowl of an electric mixer fitted with a paddle attachment. Let the dough cool for about 5 minutes, allowing some steam to escape.
- With the mixer on medium speed, add the eggs one at a time, beating thoroughly after each addition until the egg is fully incorporated and the mixture becomes smooth and glossy. The dough should have a consistency that slowly falls from the paddle in a “V” shape.
- Spoon the finished dough into a pastry bag fitted with a large round tip (or simply use a spoon if you don’t have a pastry bag).
- Pipe the dough onto the prepared baking pans, creating 1½-inch rounds (approximately 1½ inches high). For a neat appearance, moisten your finger with a little water and gently smooth out any peaks or uneven tops.
- Bake at 425°F (220°C) for 5 minutes. Without opening the oven door, reduce the oven temperature to 375°F (190°C) and continue to bake for an additional 30-35 minutes, or until the cream puffs are beautifully puffed, golden brown, and feel light.
- Carefully remove the cream puffs from the baking sheet and transfer them to wire racks to cool completely. This prevents them from becoming soggy.
- Once cooled, preheat your broiler, positioning the oven rack approximately 3 inches from the heat source.
- Using a serrated knife, carefully cut each cooled cream puff in half horizontally. Place both halves, cut-side up, on a clean baking sheet lined with parchment paper.
- On the bottom halves of the cream puffs, place a few squares of milk chocolate. On the top halves, place one marshmallow.
- Broil for about 1 minute, or until the marshmallows are beautifully toasted to a golden-brown hue and the chocolate is slightly melted and gooey. Keep a close eye on them to prevent burning.
- Carefully place the bottom halves (with chocolate) on top of the marshmallow-crowned halves, pressing gently so the toasted marshmallow faces down onto the melted chocolate.
- Allow the S’mores Cream Puffs to cool slightly before serving to let the chocolate set just a bit, but they are best enjoyed while still warm and gooey.
Notes
Don’t hesitate to experiment with the chocolate! Instead of plain milk chocolate candy bars, try using bite-sized peanut butter cups, caramel-filled chocolate squares, or even a square of dark chocolate for a richer flavor. White chocolate chips could also be a delicious variation.
For an extra layer of flavor, consider adding a sprinkle of sea salt flakes over the melted chocolate and toasted marshmallow before combining the halves. This enhances the sweetness and adds a gourmet touch.
If you prefer a softer marshmallow, you can also add a dollop of marshmallow fluff to the top halves instead of a whole marshmallow before broiling. Adjust broiling time accordingly.
This recipe for S’mores Cream Puffs is reprinted with the kind permission of the publisher and author of Simply Sweet Dream Puffs, Barbara of Barbara Bakes.
Nutrition Information:
Yield:
16
Serving Size:
1 cream puff
Amount Per Serving (estimated):
Calories: 143Total Fat: 7gSaturated Fat: 4gTrans Fat: 0gUnsaturated Fat: 3gCholesterol: 52mgSodium: 126mgCarbohydrates: 15gFiber: 0gSugar: 6gProtein: 4g
Did You Love This Recipe?
We’d love to hear from you! Please leave a comment below or share a photo of your S’mores Cream Puffs on Pinterest.