
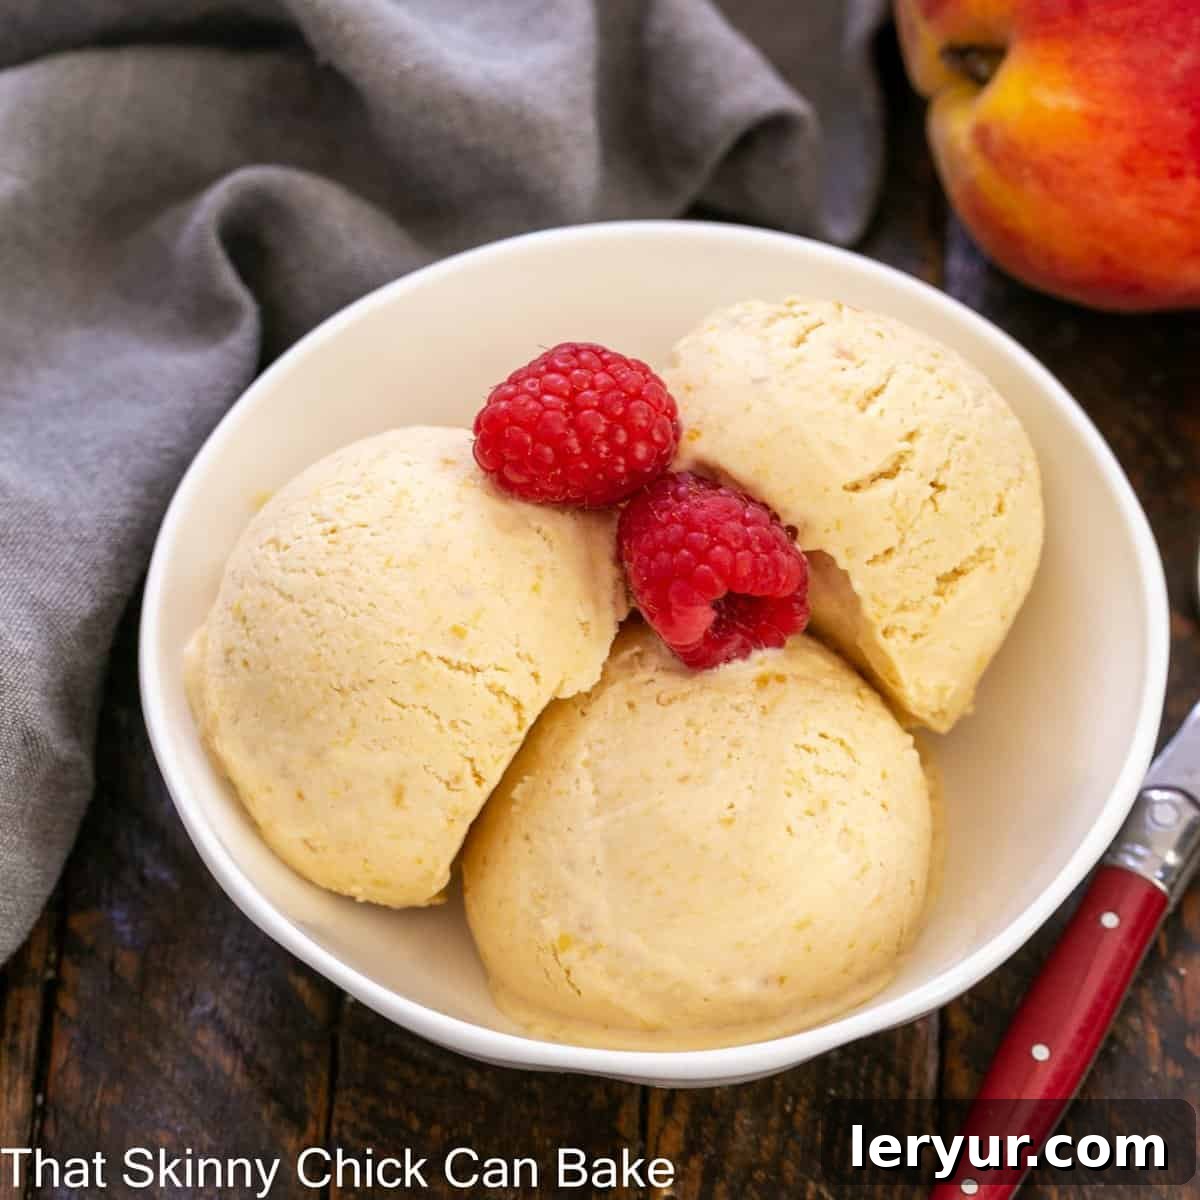
As the vibrant hues of summer paint our days, there’s an undeniable call for refreshing treats that perfectly capture the season’s essence. For me, that call often comes in the form of golden, succulent peaches. During the peak of peach season, I find myself gathering as many of these fragrant stone fruits as possible, transforming them into everything from rustic peach tarts to delightful peach pie bars. But when the heat truly sets in, nothing quite satisfies like a scoop of creamy, homemade ice cream. And that’s precisely when my thoughts turn to this exquisite No-Churn Roasted Peach Ice Cream.
The beauty of a no-churn ice cream recipe is its inherent simplicity. It liberates you from the need for specialized equipment like an ice cream maker or churn, making this luscious dessert accessible to everyone, regardless of their kitchen gadgets. Imagine indulging in a rich, deeply flavored fresh peach ice cream, crafted right in your home, without the fuss. This recipe is a testament to how easy and incredibly rewarding homemade treats can be, offering a delectable escape into pure summer bliss. The secret ingredient that truly elevates this recipe? The magical transformation that occurs when peaches are roasted, turning a simple fruit into an intense flavor sensation.
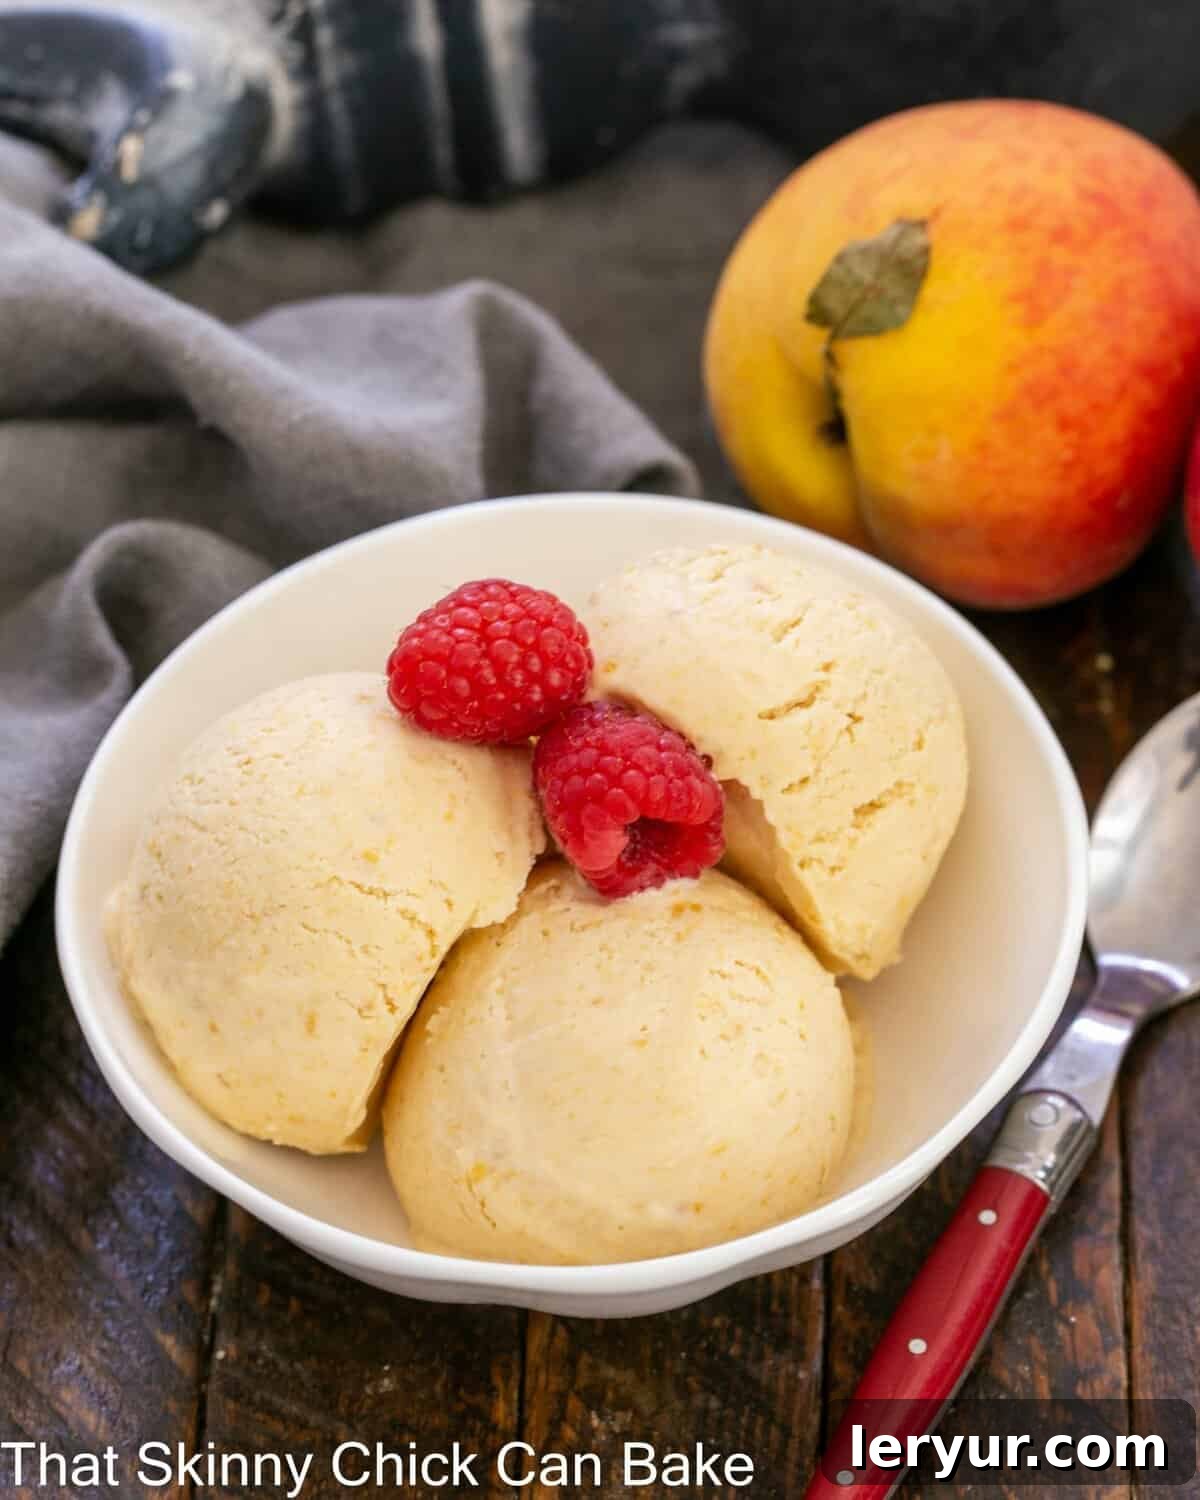
Why You’ll Adore This No-Churn Roasted Peach Ice Cream
This recipe isn’t just another dessert; it’s a culinary revelation that combines ease with extraordinary flavor. Here’s why you’ll want to make it your go-to summer treat:
- Effortless Preparation: No Ice Cream Maker Required! One of the most significant advantages of this recipe is that it can be made without any special equipment. Forget about investing in a bulky ice cream machine or lugging out your old churn. All you need are a few basic kitchen tools, and you’re well on your way to a silky-smooth, homemade ice cream experience. It’s perfect for casual bakers and seasoned dessert enthusiasts alike, simplifying the process of enjoying artisanal quality ice cream at home.
- Incredibly Simple Steps: A Truly Easy Recipe for All Skill Levels. Despite its gourmet taste and rich texture, this no-churn ice cream is remarkably easy to assemble. The process is straightforward, requiring minimal active time and simple techniques that even novice cooks can master. There are no complicated custards to temper, no eggs to worry about, and no lengthy chilling times for a base mixture. It’s a fantastic entry point for anyone looking to dip their toes into the world of homemade ice cream, proving that delightful results don’t demand complex methods or advanced culinary skills.
- Unforgettable Flavor from Roasted Peaches: A Game Changer for Depth and Sweetness! While fresh peaches are wonderfully sweet and juicy, roasting them takes their natural flavor to an entirely new dimension. The oven’s gentle heat caramelizes their inherent sugars, intensifying their sweetness and depth, while simultaneously reducing some of their water content. This magical transformation results in a peach flavor that is concentrated, warm, and far more complex than that of raw fruit, creating an ice cream that truly pops with vibrant, authentic peach essence. This simple roasting step imparts an incredible richness and a subtle, honeyed undertone that will make every spoonful a memorable experience. Prepare to be utterly amazed by the depth of flavor!
These easy-to-make ice cream recipes have been a favorite on food blogs for good reason. They open up the world of homemade frozen treats to everyone. Typically, my family tends to stick to classic chocolate and vanilla, which, while delicious, can sometimes feel a bit uninspired. But with an abundance of ripe, juicy peaches gracing my kitchen counter, I found the perfect excuse to whip up something truly special and break from the routine: this sensational no-churn roasted peach ice cream. This version stands out because it requires no eggs, no time-consuming cooking of a custard base, and, crucially, no specialized ice cream maker. The genius behind its incredible creaminess and delightful texture lies in the harmonious combination of sweetened condensed milk and perfectly whipped heavy cream.
The Magic Behind No-Churn Ice Cream: Simple Science for Delicious Results
For years, making ice cream at home seemed to require a specialized machine, often seen as a luxury item for serious dessert lovers. However, the no-churn method has revolutionized home ice cream making, proving that you can achieve incredibly creamy results with just a few key ingredients and a simple technique. So, how does this culinary magic happen, allowing us to skip the traditional churning process?
The secret lies in two main components: sweetened condensed milk and whipped heavy cream. Sweetened condensed milk is not just a sweetener; it’s a powerhouse ingredient that provides the necessary body and prevents the formation of large, icy crystals. Unlike granulated sugar, which needs to be dissolved in a custard base and then cooked, condensed milk is already thick, lusciously creamy, and provides the perfect base without any cooking required. Its high sugar content also plays a crucial role by lowering the freezing point of the mixture, which contributes to a softer, more scoopable texture that melts delightfully in your mouth.
The second hero in this no-churn tale is whipped heavy cream. When heavy cream is whipped to firm, airy peaks, it incorporates a significant amount of air. This process essentially mimics the aeration that a traditional ice cream churn performs, but in a much simpler way. The trapped air gives the ice cream its light, airy, and melt-in-your-mouth texture. By gently folding the sweetened condensed milk mixture into the whipped cream, you create a stable, aerated base that freezes beautifully into a rich, creamy ice cream, completely bypassing the need for an expensive machine or the time-consuming process of making and chilling a traditional custard. This brilliant combination means you can enjoy the pure joy of homemade ice cream more often, with less fuss and fantastic, consistently creamy results every time.
Culinary Term Spotlight: Churn
In the delightful world of ice cream, understanding a few key terms can enhance your appreciation for the craft and the ingenious methods behind different preparations. One such fundamental term is “churn.”
Churn: This culinary term refers to the mechanical process of continuously agitating a mixture, typically cream or a custard base, repeatedly over a period of time while it simultaneously freezes. In the context of traditional ice cream making, churning serves two primary, indispensable purposes: firstly, it actively incorporates air into the mixture, which is vital for creating a light, airy, and fluffy texture rather than a dense, solid block of ice. Secondly, and equally important, the constant movement during churning prevents the formation of large, undesirable ice crystals. Without churning, the water content in the ice cream mixture would freeze into coarse, icy shards, resulting in a gritty, unpleasant dessert. By continuously moving the mixture as it freezes, the churn ensures that the fat globules and ice crystals remain exceptionally small and evenly dispersed, leading to a smooth, velvety, and irresistibly creamy final product. Our no-churn method, however, ingeniously bypasses this mechanical process by incorporating air through the act of whipping the heavy cream and relying on sweetened condensed milk for its superior crystal-inhibiting properties, delivering remarkable creaminess without the machine.
Expert Tips for Crafting Your Perfect Roasted Peach Ice Cream
Achieving that perfectly creamy, flavorful homemade ice cream is simpler than you think, especially with these helpful pointers that guarantee success:
- Maximize Flavor and Minimize Icy Crystals by Roasting Your Peaches: The presence of excess liquid is the primary culprit behind icy ice cream. Roasting peaches before incorporating them into your mixture is a brilliant, non-negotiable technique. Not only does the heat from the oven gently evaporate some of the natural peach juices, significantly reducing the water content that could form ice crystals, but it also intensely concentrates their natural sweetness and flavor. This caramelization process adds a deep, complex richness and a subtle warmth that fresh peaches simply can’t achieve, ensuring a truly vibrant peach essence in every spoonful, free from undesirable ice crystals. Be sure to spread them in a single layer for even roasting.
- Pre-Chill Your Mixing Bowl for Superior Whipped Cream: A simple yet profoundly effective trick for achieving perfectly stable, voluminous, and long-lasting whipped cream is to chill your mixing bowl (preferably metal) and your whisk attachments for about 10-15 minutes in the freezer before you begin whipping. Cold environments are absolutely crucial for whipping cream effectively as they help stabilize the fat globules. This cold temperature allows the fat to stiffen more efficiently and trap air bubbles more effectively, resulting in a much firmer, more stable, and longer-lasting whipped cream that holds its shape beautifully and provides the perfect airy, luscious base for your ice cream.
- Plan Ahead for Optimal Freezing Time: Patience is indeed a virtue, especially when it comes to homemade ice cream. For your no-churn masterpiece to achieve its ideal texture—firm enough to scoop gracefully but still deliciously creamy—it requires ample time in the freezer. Plan to make your ice cream at least 8 hours before you intend to serve it. Even better, prepare it the day before, allowing it to freeze completely overnight. This extended freezing period ensures that the mixture sets properly, allowing all components to firm up and meld together, developing the perfect consistency and preventing it from being too soft or too icy.
- Allow Your Ice Cream to Soften Before Serving for Perfect Scooping: Resist the urge to dive in immediately after pulling your ice cream from the deep freeze. Bringing your ice cream out of the freezer and letting it sit at room temperature for 15-30 minutes (the exact time depending on your kitchen’s ambient temperature and the ice cream’s firmness) before scooping is essential. This brief resting period allows the ice cream to soften slightly, making it much easier to scoop gracefully into perfect spheres and enhancing its creamy texture and full flavor release on the palate.
- Choose Perfectly Ripe, Fragrant Peaches for Best Results: The quality of your peaches directly impacts the final flavor of your ice cream more than any other ingredient. Seek out peaches that are wonderfully ripe, fragrant, and slightly soft to the touch, indicating their peak sweetness and juiciness. These will have the most natural sweetness and robust flavor, which will only be amplified and deepened by the roasting process, resulting in an intensely peachy ice cream.
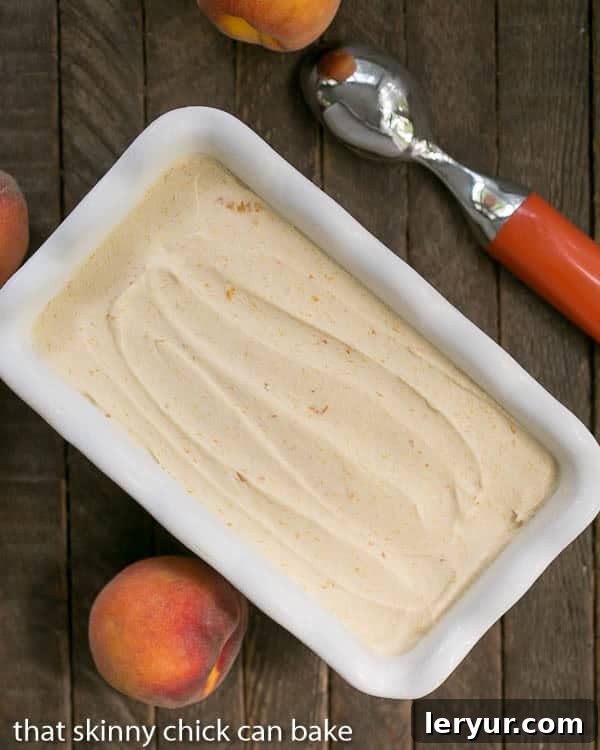
- Consider a Loaf Pan for Easy Freezing and Scooping: A standard loaf pan (approximately 9×5 inches or similar size) is an ideal vessel for freezing no-churn ice cream. Its rectangular shape allows for relatively even freezing and makes scooping simple and neat. You can line it with parchment paper or plastic wrap, leaving an overhang on the sides, for even easier removal of the entire block of ice cream later, should you wish to slice it or transfer it.
My peaches for this particular batch were perfectly ripe and bursting with natural flavor. To elevate their sweetness and depth even further, I embraced the roasting process, sprinkling them with just a touch of brown sugar. This simple step worked wonders, concentrating their sugars and coaxing out a beautiful caramelization that added a subtle, rich complexity that truly defines this recipe. While the vibrant, fresh color of the peaches mellowed slightly with the cooking, transforming into a lovely blush hue, the end result was nothing short of spectacular. This no-churn method, despite producing a slightly less dense texture than a traditional egg-custard ice cream, remains my absolute go-to for its sheer ease, minimal cleanup, and unequivocally delicious outcome. It was a delightful, incredibly speedy treat, perfectly suited for those scorching summer afternoons when maximum flavor with minimum fuss is exactly what you need!
Frequently Asked Questions About No-Churn Roasted Peach Ice Cream
No-churn ice cream relies on a brilliant combination of ingredients and techniques to achieve a creamy texture without the need for an ice cream maker. The core components are sweetened condensed milk and whipped heavy cream. Sweetened condensed milk is a thick, highly sugared milk product that provides a rich, creamy base without requiring any cooking or egg yolks, unlike traditional custard-based ice creams. Its high sugar content also naturally lowers the freezing point of the mixture, which helps prevent the formation of large, disruptive ice crystals, contributing to a wonderfully soft and scoopable texture. The whipped heavy cream, on the other hand, is crucial for aeration. When heavy cream is whipped to stiff peaks, it incorporates a significant amount of air, creating a light, fluffy, and voluminous texture that effectively mimics the aeration achieved by a mechanical churn. When these two elements are gently folded together, they form a stable, airy mixture that freezes into a wonderfully smooth, rich, and utterly scoopable ice cream.
An icy texture in no-churn ice cream typically indicates an excess of water in the recipe. This can stem from several factors. Highly juicy fruits, like some varieties of peaches, can introduce extra moisture into the mixture. That’s precisely why roasting the peaches in this recipe is so beneficial – it actively helps evaporate some of their natural juices, concentrating flavor while simultaneously reducing the water content that could turn into ice. Other common reasons for iciness can include not whipping the heavy cream to firm enough peaks (meaning less crucial air is incorporated into the mixture), or improper storage methods. If your ice cream is left uncovered in the freezer, moisture can evaporate from its surface and then refreeze as noticeable ice crystals. Additionally, repeated thawing and refreezing, or storing the ice cream for an extended period beyond its optimal freshness, can also degrade the texture and lead to iciness. To prevent this, always ensure your ice cream is stored in a freezer-safe, airtight container, ideally with a layer of plastic wrap pressed directly onto the surface of the ice cream to create a barrier from air.
Roasting peaches is a simple, yet profoundly impactful step that yields multiple significant improvements in your ice cream. Firstly, and most importantly, it’s a fantastic way to intensely concentrate their flavor. As the peaches gently heat in the oven, their natural sugars undergo a beautiful caramelization process, deepening their inherent sweetness and introducing rich, complex, and subtly smoky notes that are simply not present in raw fruit. This caramelization also adds a subtle nuttiness and warmth to the overall flavor profile, creating a more sophisticated peach essence. Secondly, roasting actively helps to dehydrate the peaches. A significant amount of their natural juices evaporate during this thermal process, which is absolutely crucial for preventing your finished ice cream from becoming unpleasantly icy. By effectively reducing the water content, you ensure a smoother, creamier, and more luxurious final product. This powerful dual benefit of intensified, complex flavor and significantly improved texture makes roasting an indispensable and highly recommended step for truly exceptional, gourmet-quality peach ice cream.
Creative Variations & Delightful Serving Suggestions for Your Peach Ice Cream
While this No-Churn Roasted Peach Ice Cream is a sensational stand-alone dessert, its incredible versatility allows for exciting variations and delightful serving ideas to suit any palate or occasion. Don’t hesitate to get creative!
Flavorful Variations to Explore:
- Spiced Peach Sensation: Enhance the warm, roasted peach flavor by adding a pinch of complementary spices. A touch of ground cinnamon, a hint of nutmeg, or even a tiny amount of ground ginger added to the peach puree before folding it into the cream mixture will introduce a comforting warmth. These spices beautifully complement the natural sweetness and depth of the peaches.
- Peach Berry Swirl: For a burst of contrasting color and tartness, gently swirl in a handful of fresh raspberries, blueberries, or a simple homemade berry compote after folding in the peach puree. The bright, tangy notes of the berries provide a lovely counterpoint to the sweet, roasted peaches.
- Crunchy Mix-ins for Texture: If you crave a delightful textural contrast, consider folding in some crushed graham crackers, pieces of shortbread cookies, chopped toasted pecans, almonds, or even candied walnuts just before transferring the mixture to the loaf pan for freezing. These additions provide a wonderful crunch that complements the creamy ice cream.
- Cream Cheese Swirl Indulgence: For a cheesecake-like twist, soften 2-3 ounces of cream cheese and whip it until smooth with a tablespoon of powdered sugar and a splash of vanilla extract. Gently swirl this luscious mixture into the ice cream base before freezing for pockets of tangy creaminess.
- Boozy Peaches (Adults Only!): For a sophisticated adult treat, you could add a tablespoon or two of peach schnapps, a high-quality bourbon, or even a splash of dark rum to the peach puree. Be cautious not to add too much alcohol, as it can significantly lower the freezing point and prevent the ice cream from setting properly.
Delightful Serving Suggestions:
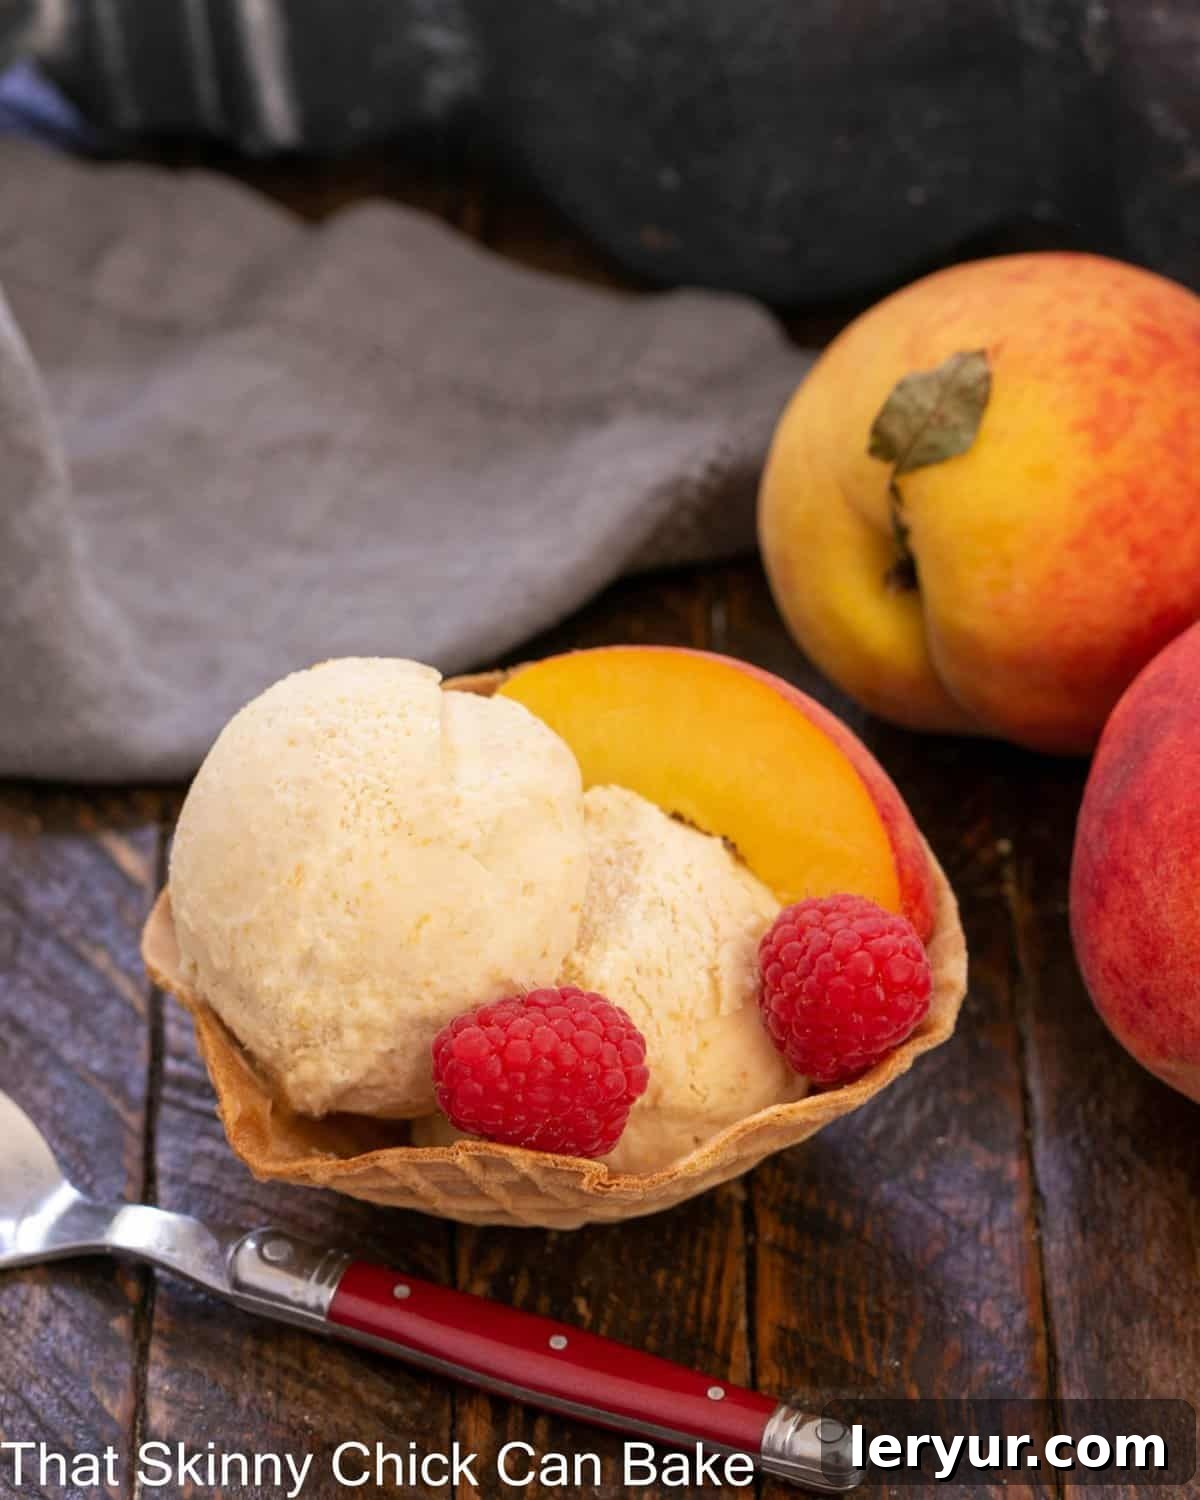
- Classic Cone or Bowl Perfection: Serve generous scoops in crisp waffle cones, delicate sugar cones, or charming dessert bowls. A simple, elegant garnish of a fresh peach slice, a few vibrant raspberries, or a sprig of mint elevates the presentation.
- With a Drizzle of Decadence: Enhance the experience with a warm drizzle of rich caramel sauce, a touch of golden honey, or for an unexpected gourmet twist, a vibrant balsamic glaze.
- As an Accompaniment to Other Desserts: This ice cream makes a fantastic accompaniment to a wide range of other summer desserts. Pair it with a slice of warm peach cobbler, a classic apple crisp, a simple pound cake, or even a stack of fluffy pancakes for an unforgettable treat.
- Create an Ice Cream Sundae Bar: For a fun gathering, set up a mini sundae bar with your No-Churn Roasted Peach Ice Cream as the star. Offer various toppings like whipped cream, chopped nuts, colorful sprinkles, chocolate sauce, and additional fresh fruit to let everyone customize their perfect dessert creation.
- Homemade Peach Melba Style: Recreate the elegance of a classic Peach Melba by combining a scoop of this ice cream with fresh raspberries and a simple raspberry sauce for a truly delightful, fruit-forward dessert.
Storage Tips for Optimal Freshness and Texture
To ensure your homemade No-Churn Roasted Peach Ice Cream maintains its exquisite creamy texture and fresh, vibrant flavor for as long as possible, proper storage is absolutely key. Following these simple tips will help protect your culinary creation:
- An Airtight Container is Essential: Always transfer your freshly frozen ice cream into a freezer-safe, airtight container immediately after it has set. This is crucial for preventing freezer burn, which can manifest as ice crystals forming on the surface, and a noticeable degradation of both flavor and texture. A tightly sealed container will also protect your ice cream from absorbing unwanted odors or flavors from other foods stored in your freezer.
- Press Plastic Wrap Directly on the Surface: For an extra, highly effective layer of protection against the formation of ice crystals, press a piece of plastic wrap or parchment paper directly onto the surface of the ice cream before sealing the container with its lid. This technique minimizes exposure to air, which is the primary culprit behind surface iciness and freezer burn.
- Store at the Back of the Freezer: The back of your freezer typically maintains the most consistent and coldest temperature, away from the frequent temperature fluctuations that occur when the freezer door is opened. Storing your ice cream here, rather than in the door, will help prevent partial thawing and refreezing, which significantly contribute to an icy, less desirable texture.
- Longevity for Optimal Enjoyment: While homemade ice cream is undoubtedly at its best when enjoyed within 1-2 weeks of being made for optimal freshness and texture, it can typically be stored for up to 1 month in a well-sealed, airtight container. Beyond that timeframe, the quality may start to decline, and iciness might gradually increase, even with proper storage. For the freshest experience, enjoy it sooner rather than later!
You May Also Like: Discover More Delicious Frozen Treats!
If you loved this easy and delicious No-Churn Roasted Peach Ice Cream, you’re in for a treat! We have a plethora of other fantastic ice cream and dessert recipes that are sure to tantalize your taste buds. Explore these delightful options for more ways to cool down and satisfy your sweet cravings:
- No-Churn Cookies and Cream Coffee Ice Cream from Cravings of a Lunatic
- No-Churn Ice Cream Cake
- Best Homemade Ice Cream Recipes
- Strawberry Cheesecake Ice Cream
- Best Coffee Ice Cream Recipe
- Best Dessert Recipes
We sincerely hope you cherish this incredible recipe for No-Churn Roasted Peach Ice Cream as much as we do. It’s a testament to how simple ingredients can create extraordinary results – a truly delightful way to savor the essence of summer with minimal effort. Don’t forget to stay connected with us through social media! You can find us @ Instagram, Facebook, and Pinterest. We’d absolutely love to see your culinary creations, so please tag us when you try one of our recipes! And if you’re thrilled with the outcome and have enjoyed making and tasting this delightful treat, a 5-star rating in the recipe card below would be a wonderful way to show your support and help other peach lovers discover this fantastic recipe.
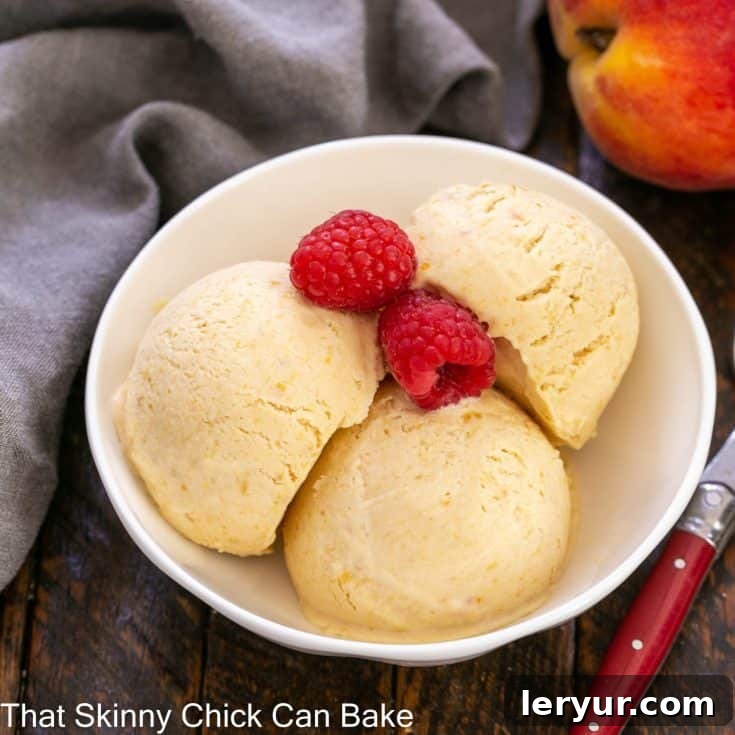
No Churn Roasted Peach Ice Cream
30 minutes
30 minutes
8 hours
9 hours 0 minutes
About 1 quart
An easy to make ice cream that doesn’t require an ice cream maker! This simple recipe features intensely flavored roasted peaches folded into a rich, creamy no-churn base for the ultimate summer dessert.
Ingredients
- 5 sweet, ripe medium peaches, peeled and cut into thin slices (¼-⅓ inches)
- ¼ cup brown sugar
- ⅔ cup sweetened condensed milk
- ½ teaspoon vanilla extract
- ⅛ teaspoon fresh lemon juice
- ⅛ teaspoon salt
- 1 ¼ cup heavy cream, chilled
Instructions
- Preheat the oven to 400ºF (200ºC).
- Line a rimmed baking sheet with parchment paper and spread the sliced peaches in a single layer. Sprinkle evenly with brown sugar.
- Roast for 30 minutes, turning the peaches once or twice during cooking to ensure even caramelization. Remove from oven and let them cool completely.
- Once the roasted peaches are cool, transfer them to a food processor or blender and puree until smooth.
- In a medium bowl, whisk together the peach puree, sweetened condensed milk, vanilla extract, fresh lemon juice, and salt until well combined. Set this mixture aside.
- In a separate, chilled large bowl, whip the heavy cream using an electric mixer until firm peaks form. Be careful not to over-whip.
- Gently fold the peach puree mixture into the whipped cream until just combined, being careful not to deflate the whipped cream.
- Scrape the entire mixture into a loaf pan (or other freezer-safe container) and cover tightly with plastic wrap or a lid. Freeze for at least 8 hours, or preferably overnight, to allow the ice cream to set completely.
Notes
For the most exquisite flavor, always choose sweet, intensely fragrant, and juicy peaches. Their quality will significantly impact the final taste of your ice cream. Roasting them further concentrates this delightful flavor.
Recommended Products
As an Amazon Associate and member of other affiliate programs, I earn from qualifying purchases.
- OXO Cutting Board
- Lemon squeezer
- Ice Cream Scoop
Nutrition Information:
Yield:
8
Serving Size:
1
Amount Per Serving:
Calories: 268Total Fat: 16gSaturated Fat: 10gTrans Fat: 0gUnsaturated Fat: 5gCholesterol: 51mgSodium: 76mgCarbohydrates: 30gFiber: 1gSugar: 28gProtein: 4g
HOW MUCH DID YOU LOVE THIS RECIPE?
Please leave a comment on the blog or share a photo on Pinterest
Note: This post may contain affiliate links; view my Disclosure Policy for details.