
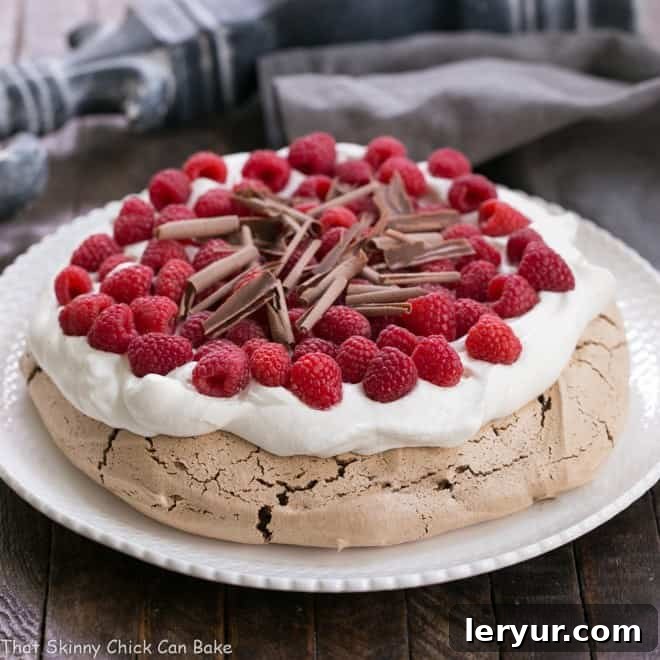
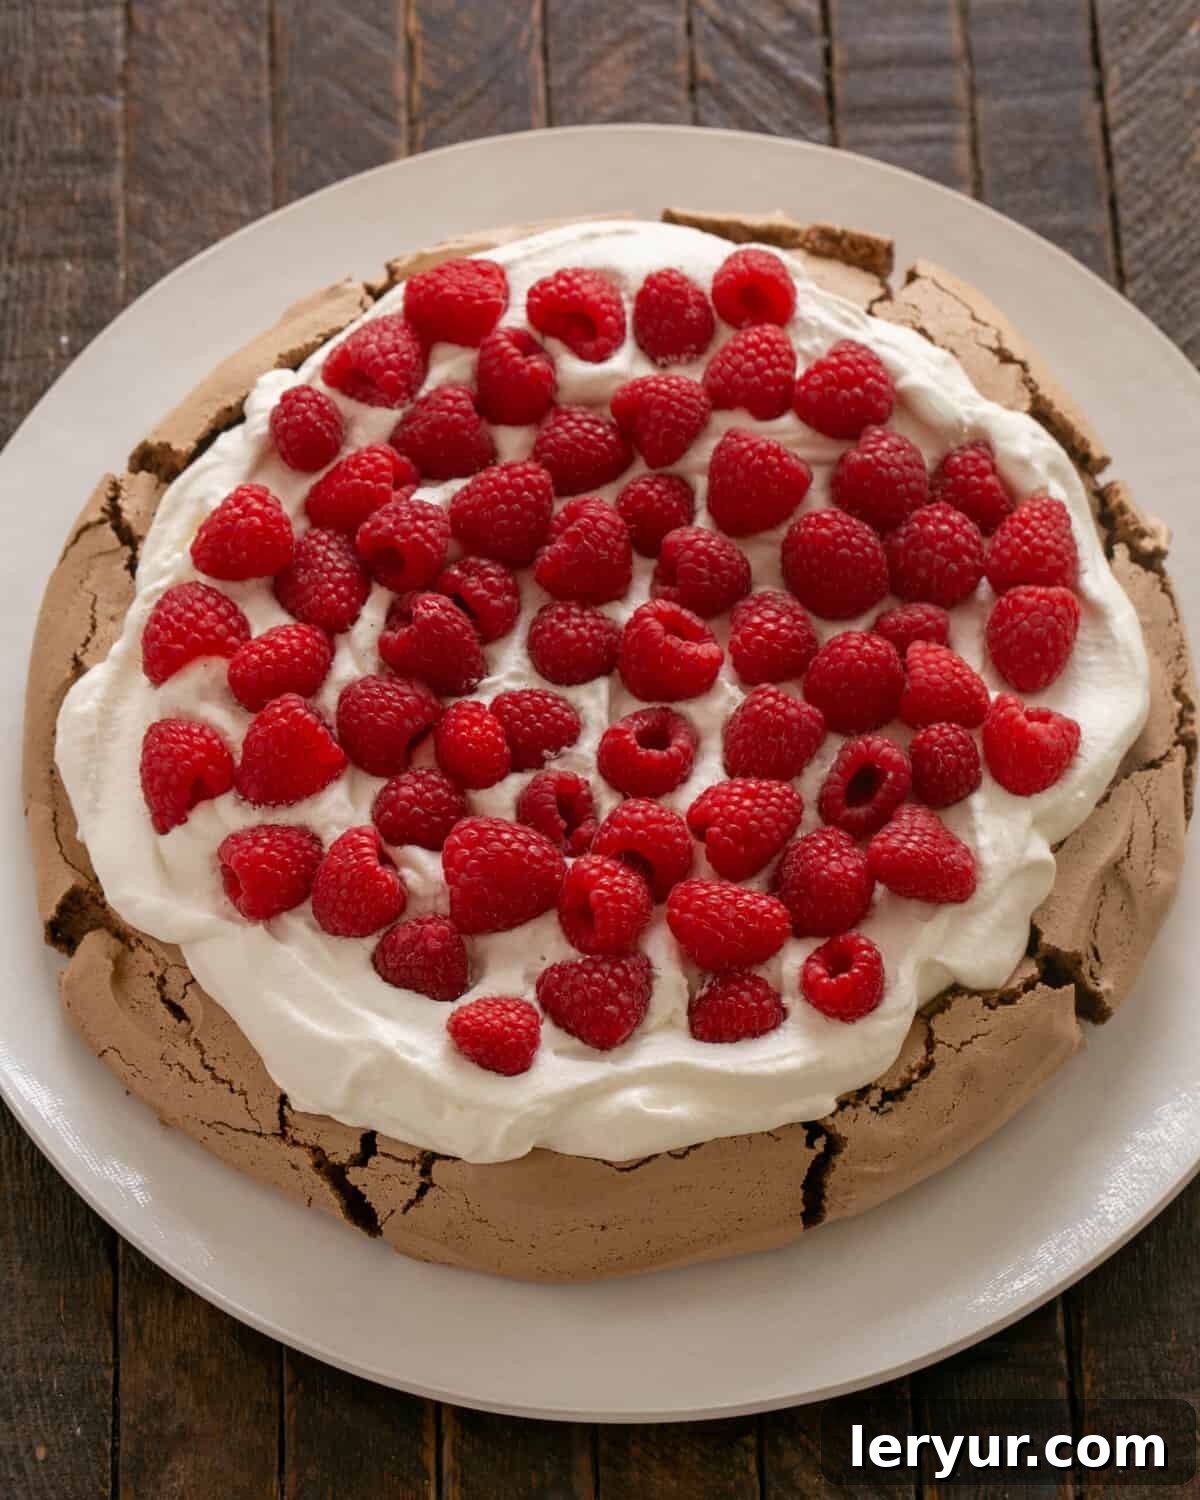
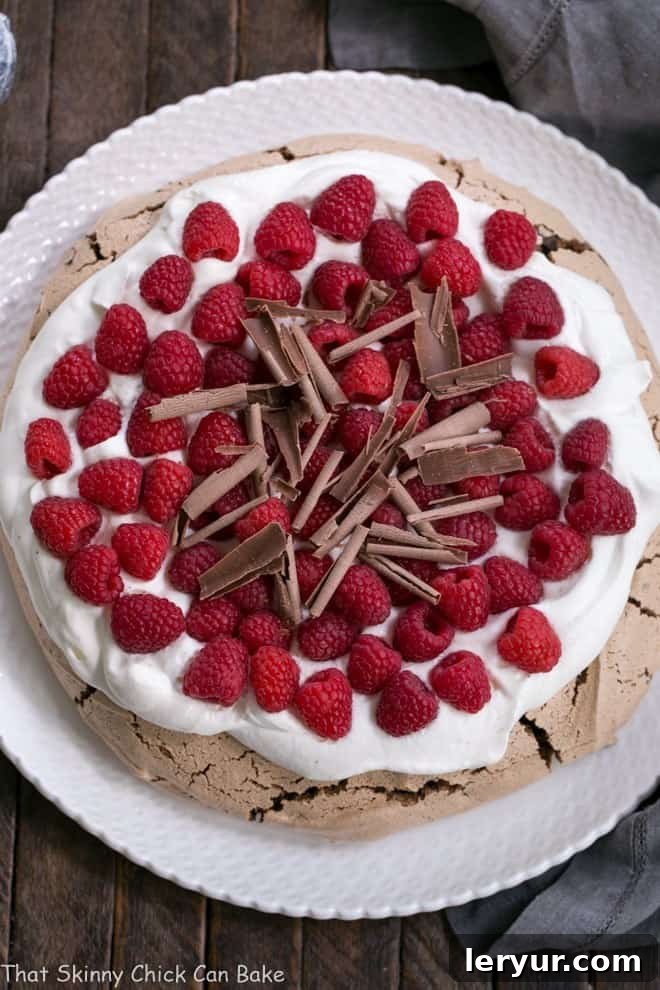
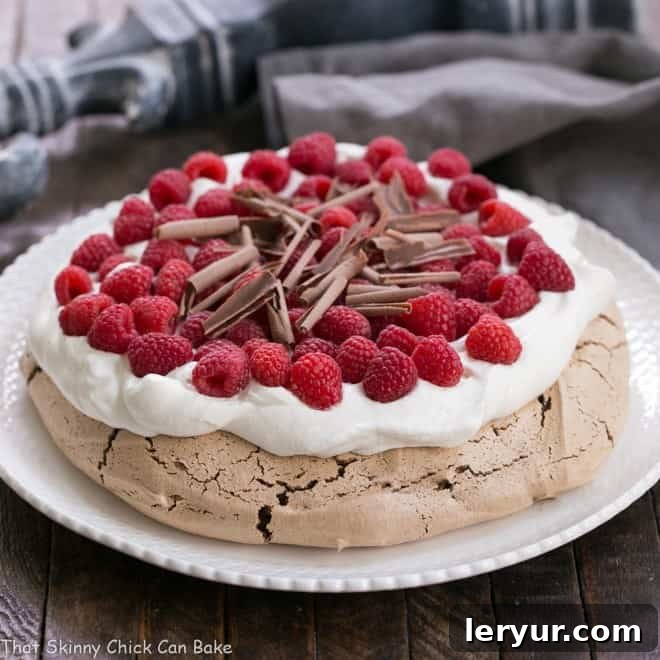
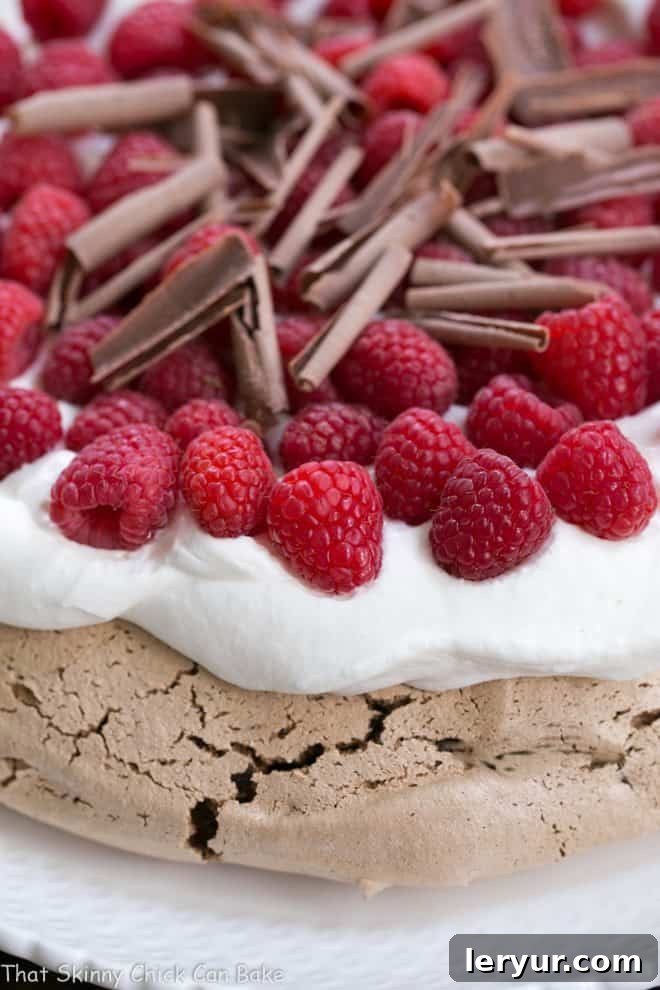
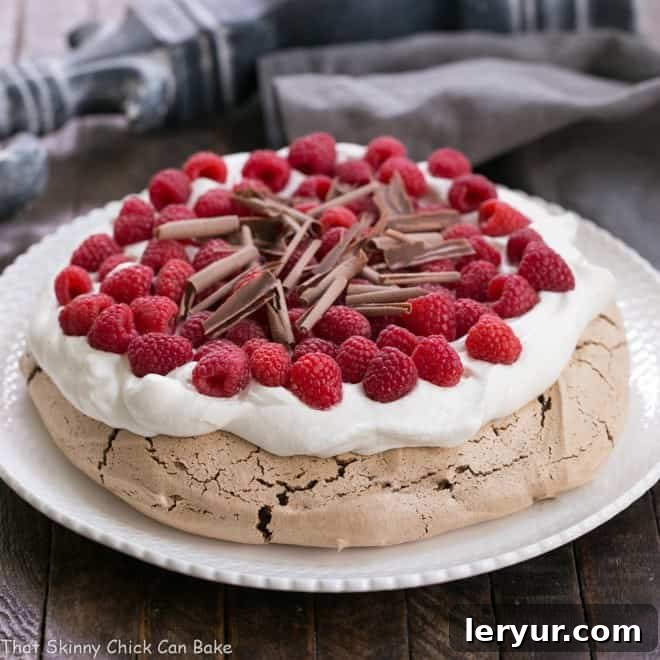
When you crave a show-stopping dessert that effortlessly combines elegance with irresistible flavor, look no further than a Chocolate Raspberry Pavlova. This magnificent creation features a delicate yet rich cocoa meringue base, piled high with a luscious cloud of freshly whipped cream, vibrant, sweet raspberries, and decadent chocolate shavings. It’s a symphony of textures and tastes designed to impress and delight.
This exquisite Chocolate Pavlova recipe is your ideal choice, especially when the market is brimming with peak-season, juicy raspberries. More than just a dessert, it’s an experience – a true stunner that guarantees gasps of admiration from your friends and family at any gathering. Prepare to receive endless compliments as you present this stunning beauty!
Why This Chocolate Raspberry Pavlova is an Absolute Must-Make
The Chocolate Raspberry Pavlova isn’t just a dessert; it’s a delightful culinary discovery that has captivated hearts for years. Even a decade ago, when many of my friends had never encountered a pavlova, this particular recipe, inspired by the celebrated Nigella Lawson, instantly became a treasured favorite. Here’s why this dessert deserves a prime spot in your baking repertoire:
- A Unique Culinary Experience: For many, a pavlova is a novel treat. Introducing your guests to this Australian/New Zealand classic, especially with a sophisticated chocolate twist, creates a memorable dining experience that stands out from typical desserts. Its light yet substantial nature makes it uniquely satisfying.
- Unforgettably Delicious: Beyond its impressive appearance, the flavor profile is simply divine. The deep, slightly bitter notes of cocoa in the meringue beautifully complement the tart sweetness of fresh raspberries, all softened by the silky whipped cream. It’s a balance of flavors that appeals to almost everyone.
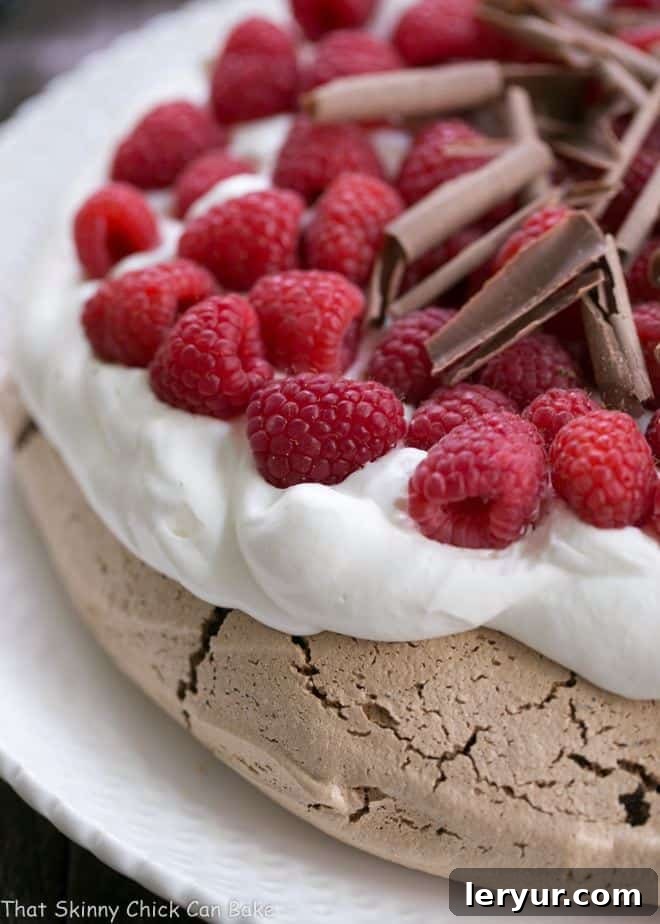
- The Ultimate Show-Stopper: Visually, this dessert is a masterpiece. The dramatic dark meringue, the snowy white cream, and the vibrant red berries adorned with chocolate shavings create a feast for the eyes before the first bite. It’s guaranteed to be the center of attention and spark conversation at any party or special occasion.
- Texture Perfection: A well-made pavlova offers an extraordinary textural contrast. The outer shell is exquisitely crisp and delicate, shattering to reveal a chewy, marshmallow-like interior – a characteristic that truly sets pavlova apart from a simple meringue. This unique “squidgy” (as Nigella Lawson describes it) center is key to its charm.
Essential Ingredients for Your Perfect Chocolate Pavlova
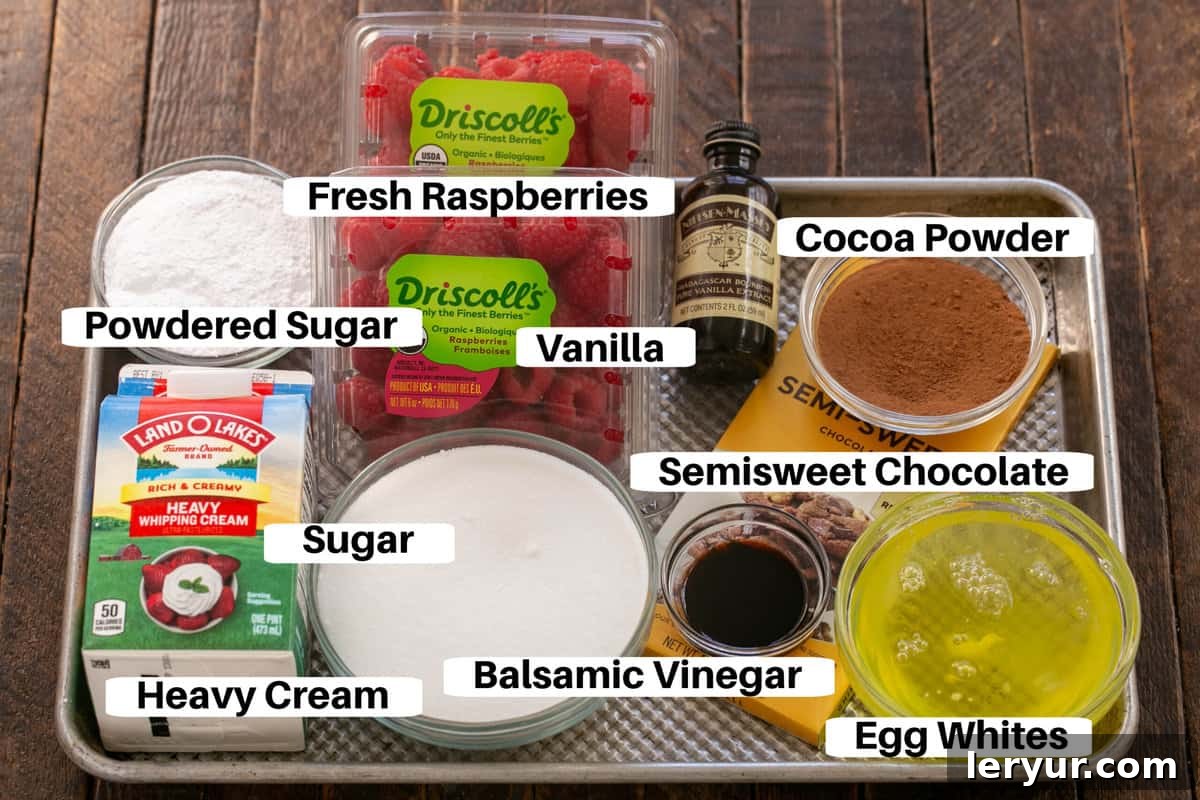
Creating a flawless Chocolate Raspberry Pavlova begins with understanding the role of each ingredient. Quality and proper preparation are key to achieving that signature crisp exterior and soft, chewy interior.
- Egg Whites: The Foundation of Meringue
- Your egg whites must be absolutely pristine, free from any traces of oil, grease, or even a tiny speck of egg yolk. Any fat contamination will prevent them from whipping up properly into stiff peaks.
- For optimal volume and stability, ensure your egg whites are at room temperature. This allows their proteins to stretch more easily, incorporating more air and creating a lighter, more voluminous meringue.
- Sugar: Sweetness and Structure
- Superfine Sugar (also known as caster sugar) is highly recommended. Its finer granules dissolve much more easily and quickly into the egg whites than regular granulated sugar, resulting in a smoother, more stable, and less gritty meringue. This quick dissolution also helps prevent the meringue from weeping or collapsing.
- While you can pulse regular granulated sugar in a food processor to create superfine sugar, pre-packaged brands like Dominos offer convenience and consistent texture.
- Cocoa Powder: For Rich Chocolate Flavor
- The quality of your cocoa powder directly impacts the depth of flavor in your pavlova. Opt for a good quality cocoa powder for the best results. Brands like Ghirardelli often offer a richer, more complex chocolate flavor compared to standard baking cocoas like Hershey’s. Dutch-processed cocoa powder will give a darker color and milder flavor, while natural cocoa powder offers a fruitier, more intense chocolate note.
- Semi-sweet Chocolate: Elevating the Experience
- Finely chopped semi-sweet chocolate, such as Ghirardelli, is incorporated into the meringue, melting slightly during baking to create pockets of rich chocolate flavor and an extra layer of decadence. Chopping it finely ensures even distribution.
- Vinegar: The Pavlova Secret Weapon
- A small amount of good quality vinegar, such as raspberry or balsamic vinegar, is crucial for pavlova. It acts as an acid, helping to stabilize the egg whites and contributing to the desired textural contrast: a wonderfully crisp outer shell and a soft, marshmallowy interior. Don’t worry, the amount is too small to affect the flavor.
- Toppings: The Grand Finale
- Heavy Cream: Whipped until light and fluffy, it provides a cooling, rich contrast to the meringue.
- Powdered Sugar: Sweetens the cream and helps stabilize it.
- Vanilla Extract: Enhances the flavor of the whipped cream.
- Fresh Raspberries: The star fruit topping, offering tartness, sweetness, and a beautiful pop of color.
- Grated Semisweet Chocolate: For an elegant finish and an extra touch of chocolatey goodness.
Step-by-Step Guide to Crafting Your Chocolate Raspberry Pavlova
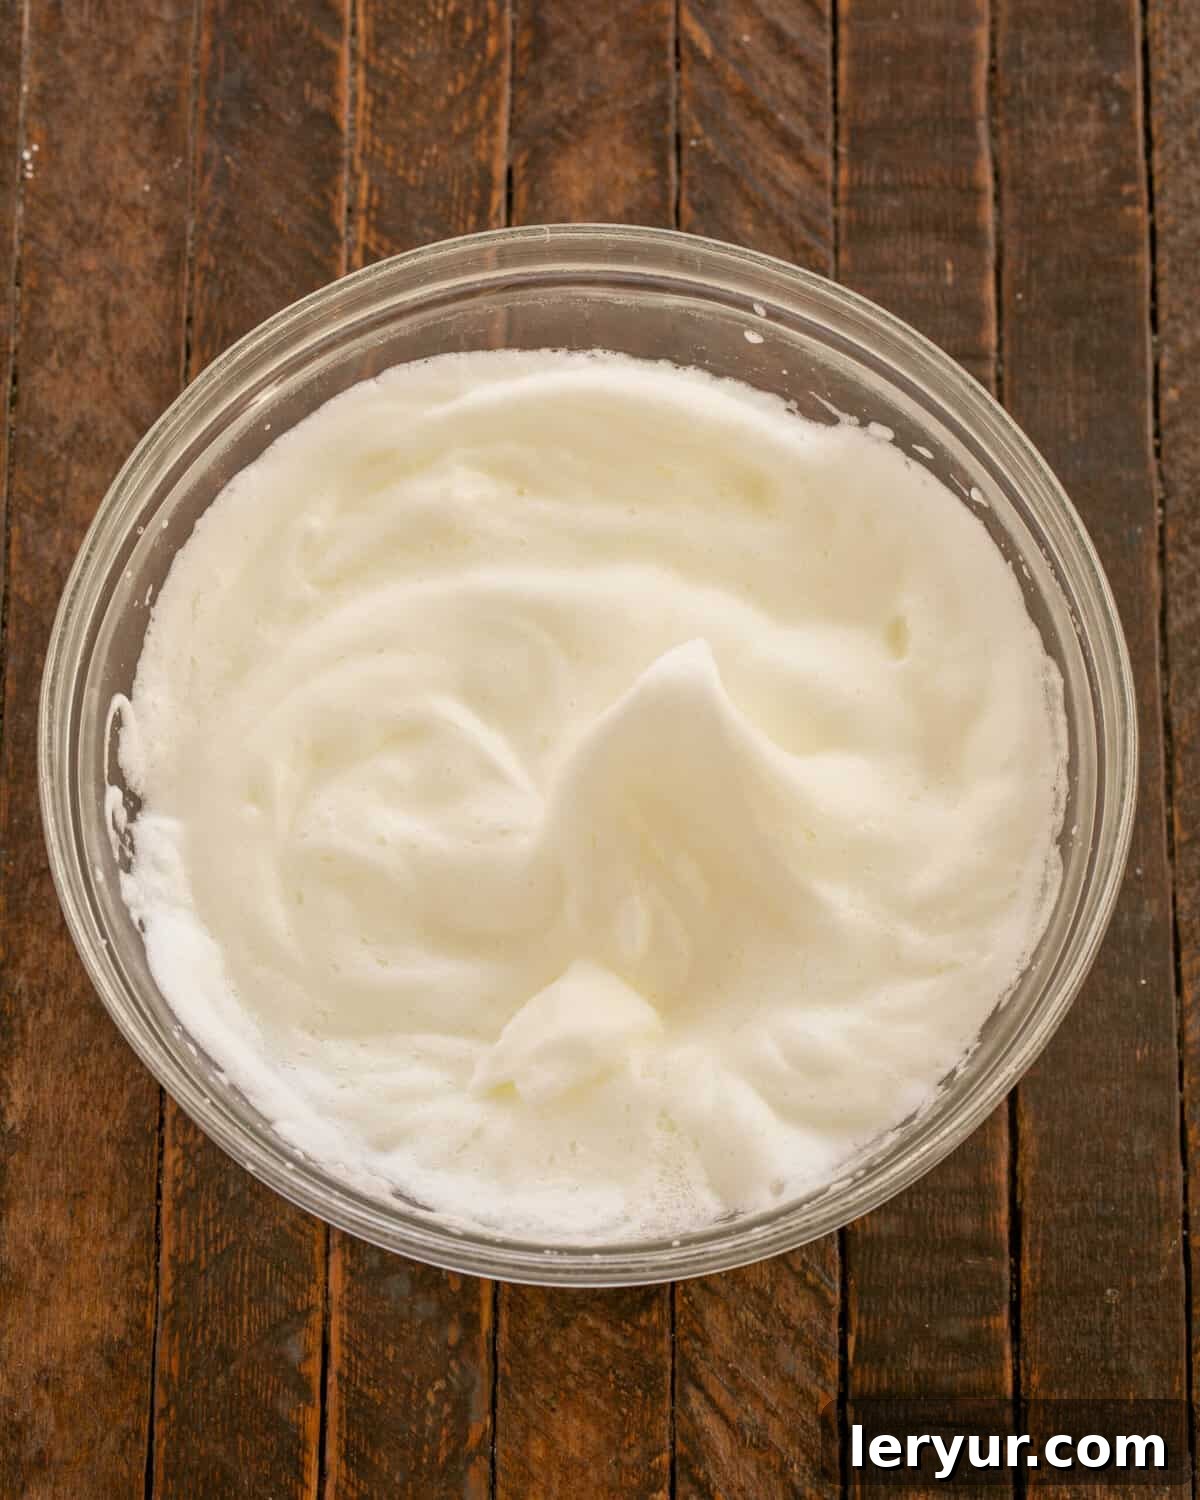
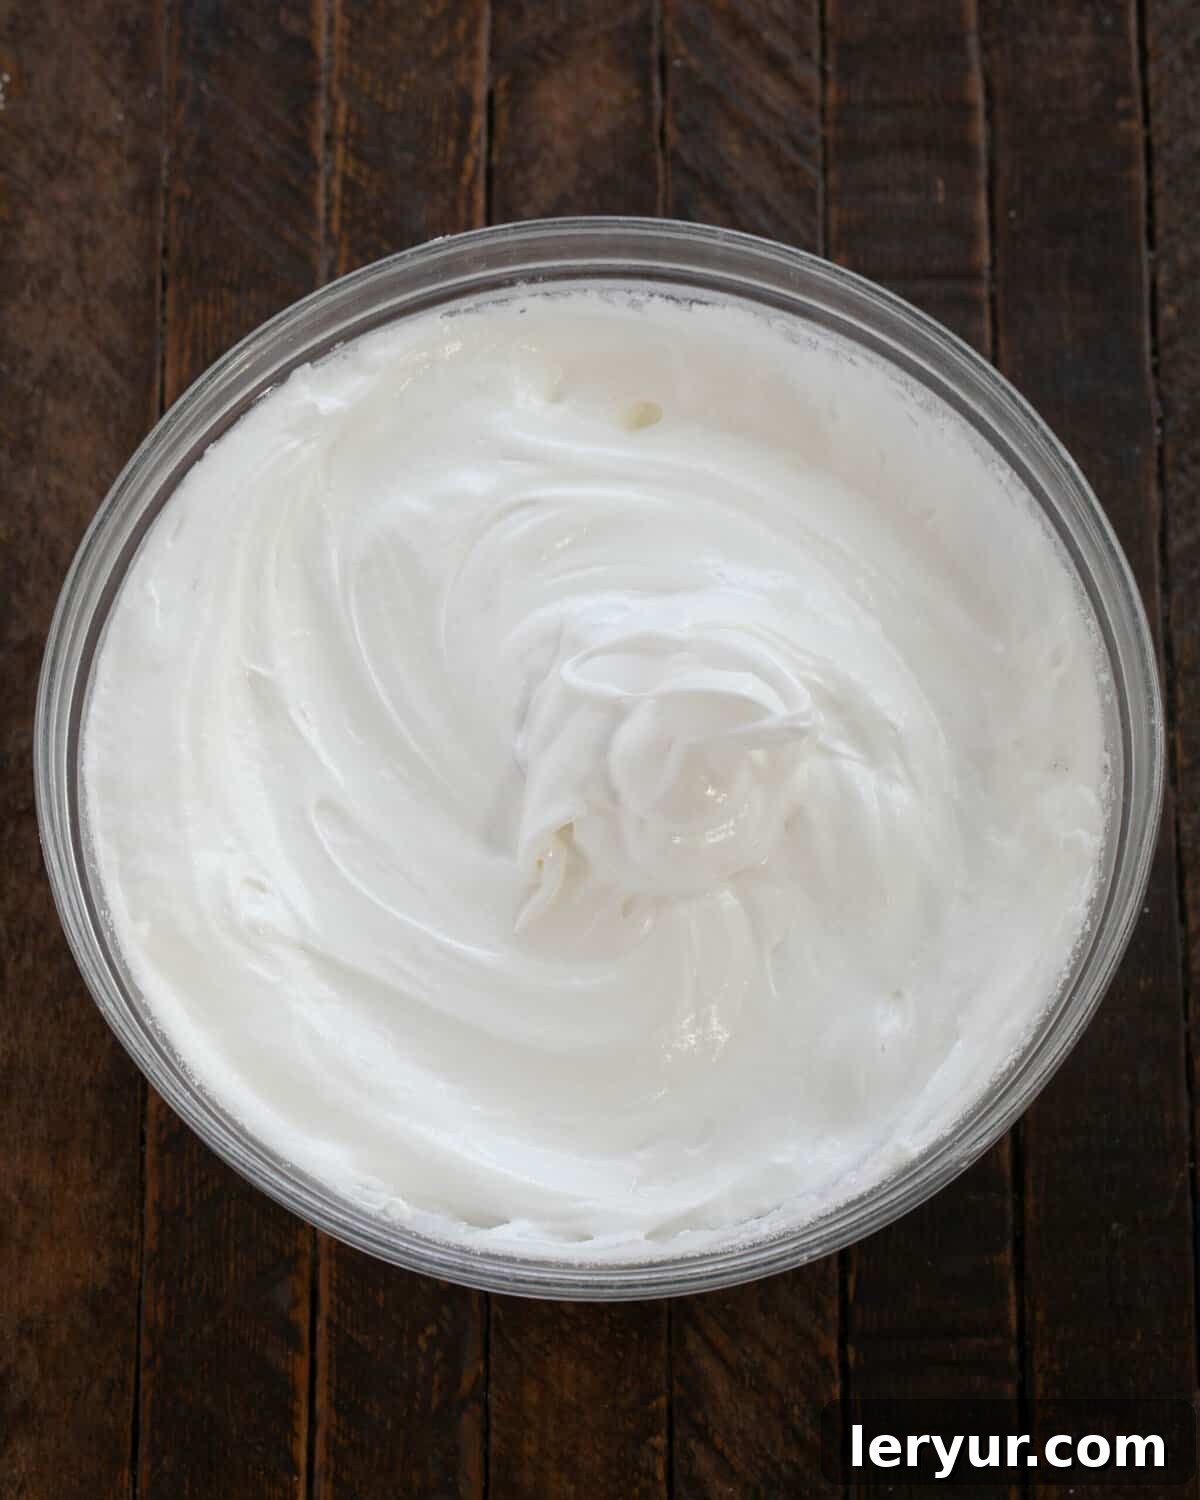
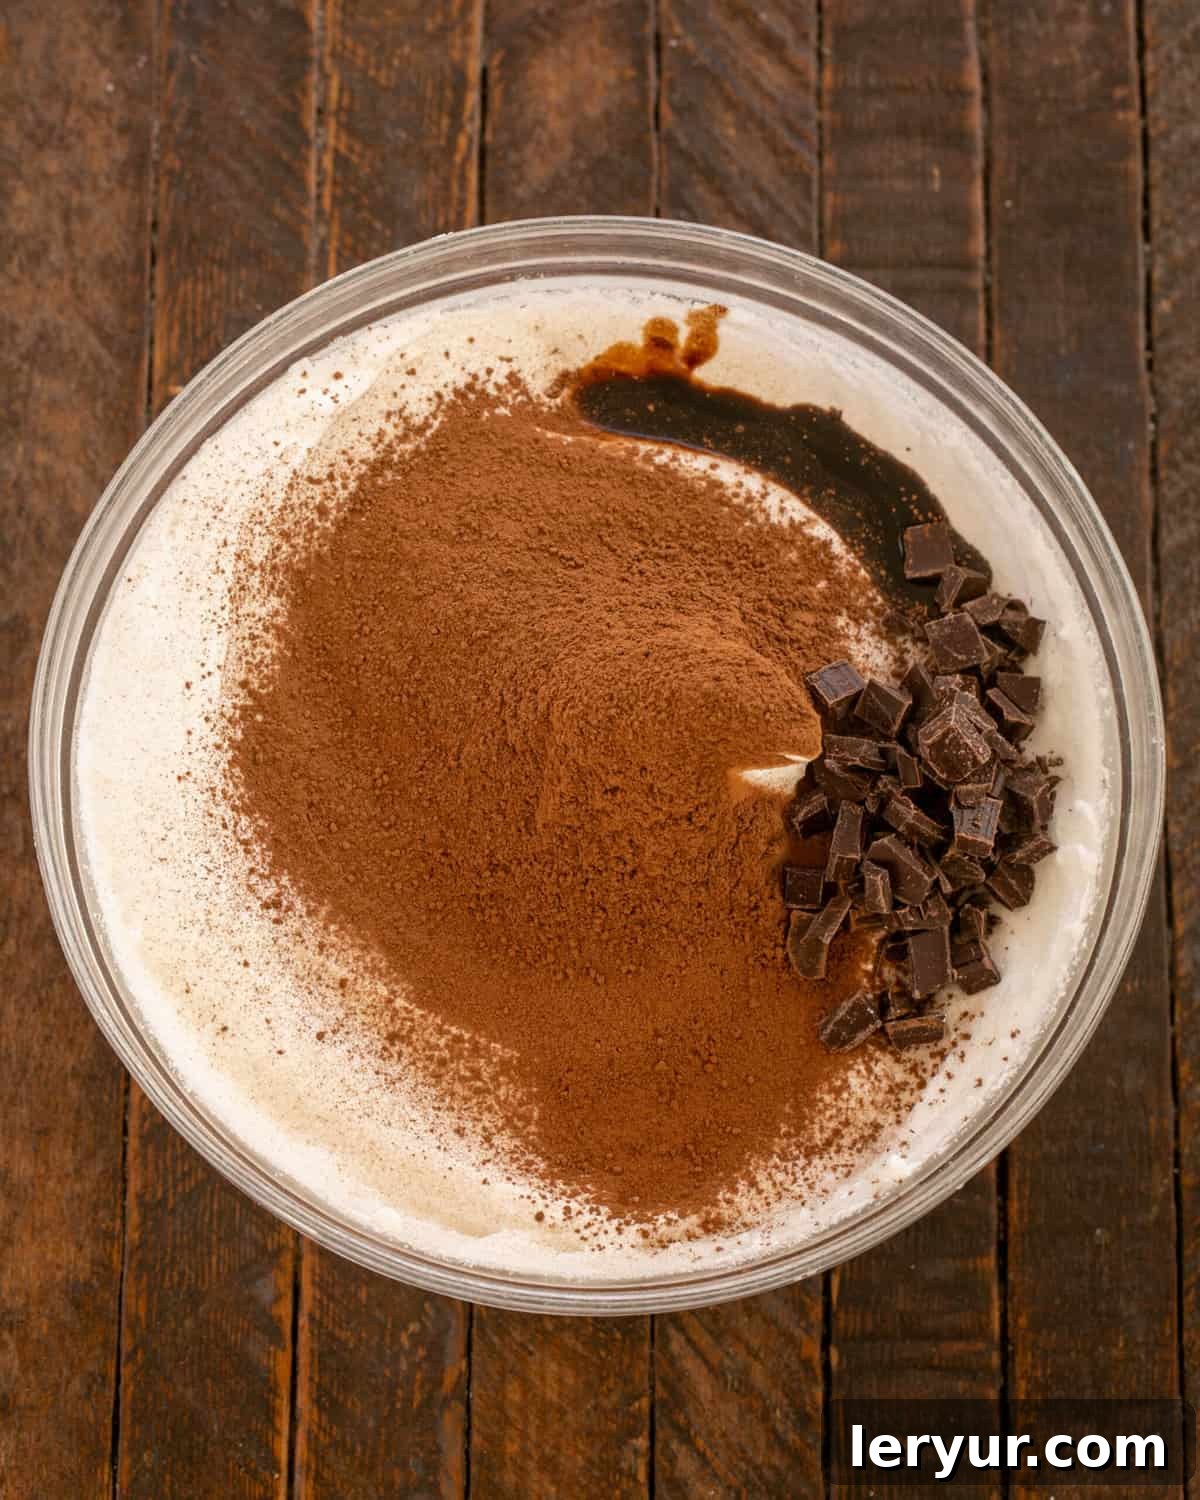
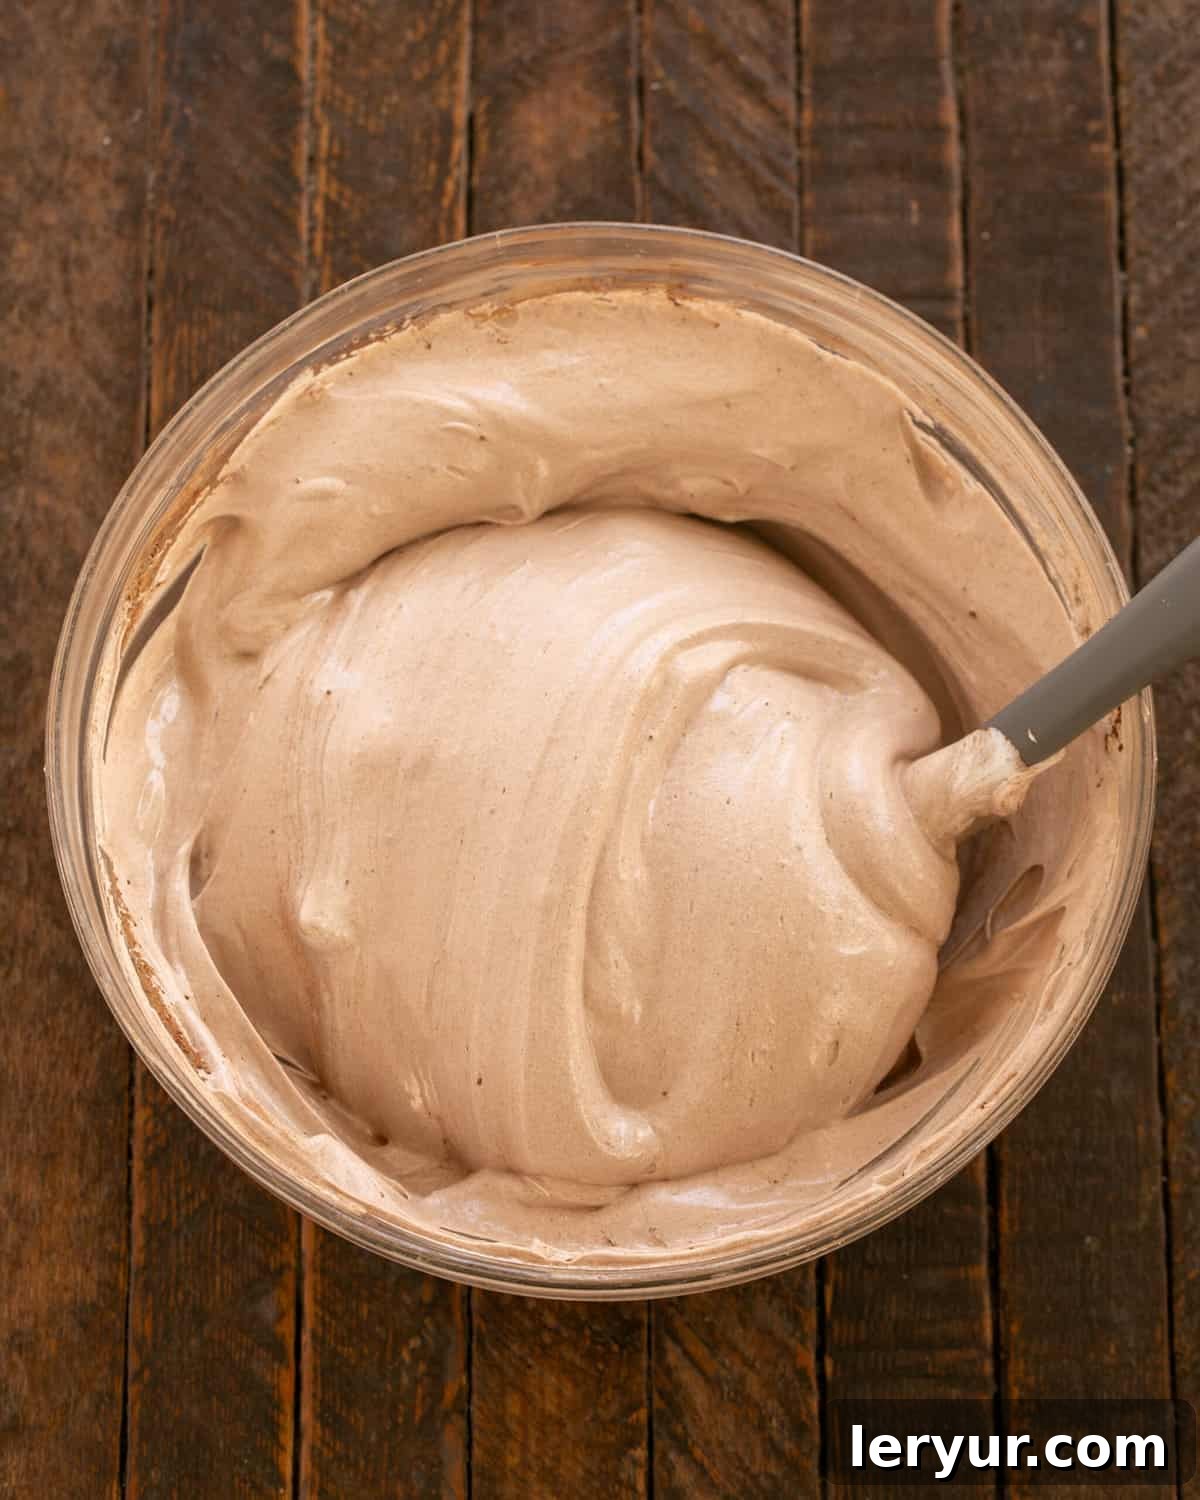
Making a pavlova might seem intimidating, but with these clear steps and helpful visuals, you’ll achieve perfection. The process involves precise whipping and careful baking to create the ideal meringue base.
An Easy, Make-Ahead Dessert: Perfect for Stress-Free Entertaining
One of the many reasons I adore Nigella Lawson’s Chocolate Raspberry Pavlova is its incredible make-ahead potential. It perfectly aligns with my philosophy of enjoyable, stress-free entertaining. The magic truly happens when that crisp outer meringue meets its delightfully chewy, almost marshmallowy center, all crowned with a cloud of sweetened whipped cream and vibrant red raspberries. It’s a flavor and texture combination that simply screams “YUMMY!” and makes the decision to prepare it an easy one.
For ultimate convenience, I often prepare the meringue shell the night before I plan to serve this spectacular dessert. After it has finished baking and has completely cooled, I simply store it right in the oven with the door slightly ajar. This keeps it dry and protected until I’m ready for the final assembly. A crucial tip for this method: always, always affix a sticky note or a brightly colored magnet to your oven door as a reminder! This small step prevents the unfortunate (and all too common) mishap of accidentally turning on the oven with your precious pavlova shell inside.
I’ve seen firsthand the delight this dessert brings. My guests, many of whom had never even heard of a pavlova (we’ve often had impromptu pronunciation lessons: it’s “pav-LOH-vuh,” by the way!), were utterly captivated. Even a notoriously “non-dessert eater” guest – a concept I still find hard to fathom – was completely converted, praising its unique wonders. I have no doubt that you, too, will find yourself utterly charmed by this elegant and surprisingly simple make-ahead dessert.
Mastering Your Meringue: Expert Tips for Pavlova Perfection
While pavlova shares many characteristics with traditional meringues, there are specific techniques and considerations that ensure its distinct texture and elegant appearance. Follow these expert tips for a flawless Chocolate Raspberry Pavlova every time.
The Foundation: Perfecting Your Egg Whites
- PRO-Tip: The Golden Rule of Separation: The absolute most critical step is to ensure your egg whites are entirely free of oil, grease, or any speck of egg yolk. Even a minuscule amount of fat will inhibit the egg whites from whipping up into the necessary stiff peaks. A clean glass or metal bowl and meticulously clean beaters are essential.
- Strategic Egg Separation: To avoid catastrophe, always separate each egg into a small, individual clean bowl first. Only once you’ve confirmed there’s no yolk contamination, pour that white into your larger mixing bowl. This way, if a yolk breaks, you only lose one egg, not your entire batch of whites.
- PRO-Tip: Temperature Matters: Eggs separate most easily when they are cold, as the yolk is firmer and less likely to break. However, egg whites whip best at room temperature, achieving maximum volume. After separating them cold, let your egg whites sit on the counter for 30 minutes to an hour. For a quicker warm-up, place the bowl of whites in a larger bowl of warm (not hot) water for 10-15 minutes.
Crafting the Meringue: Structure and Stability
- Superfine Sugar is Superior: Using superfine (caster) sugar is not just a suggestion; it’s a game-changer. Its tiny granules dissolve quickly and completely into the egg whites, creating a smooth, stable, and glossy meringue without a grainy texture. This quick dissolution also helps prevent the meringue from “weeping” during baking. You can find superfine sugar in the baking aisle of most grocery stores, or make your own by pulsing regular granulated sugar in a food processor for a few seconds.
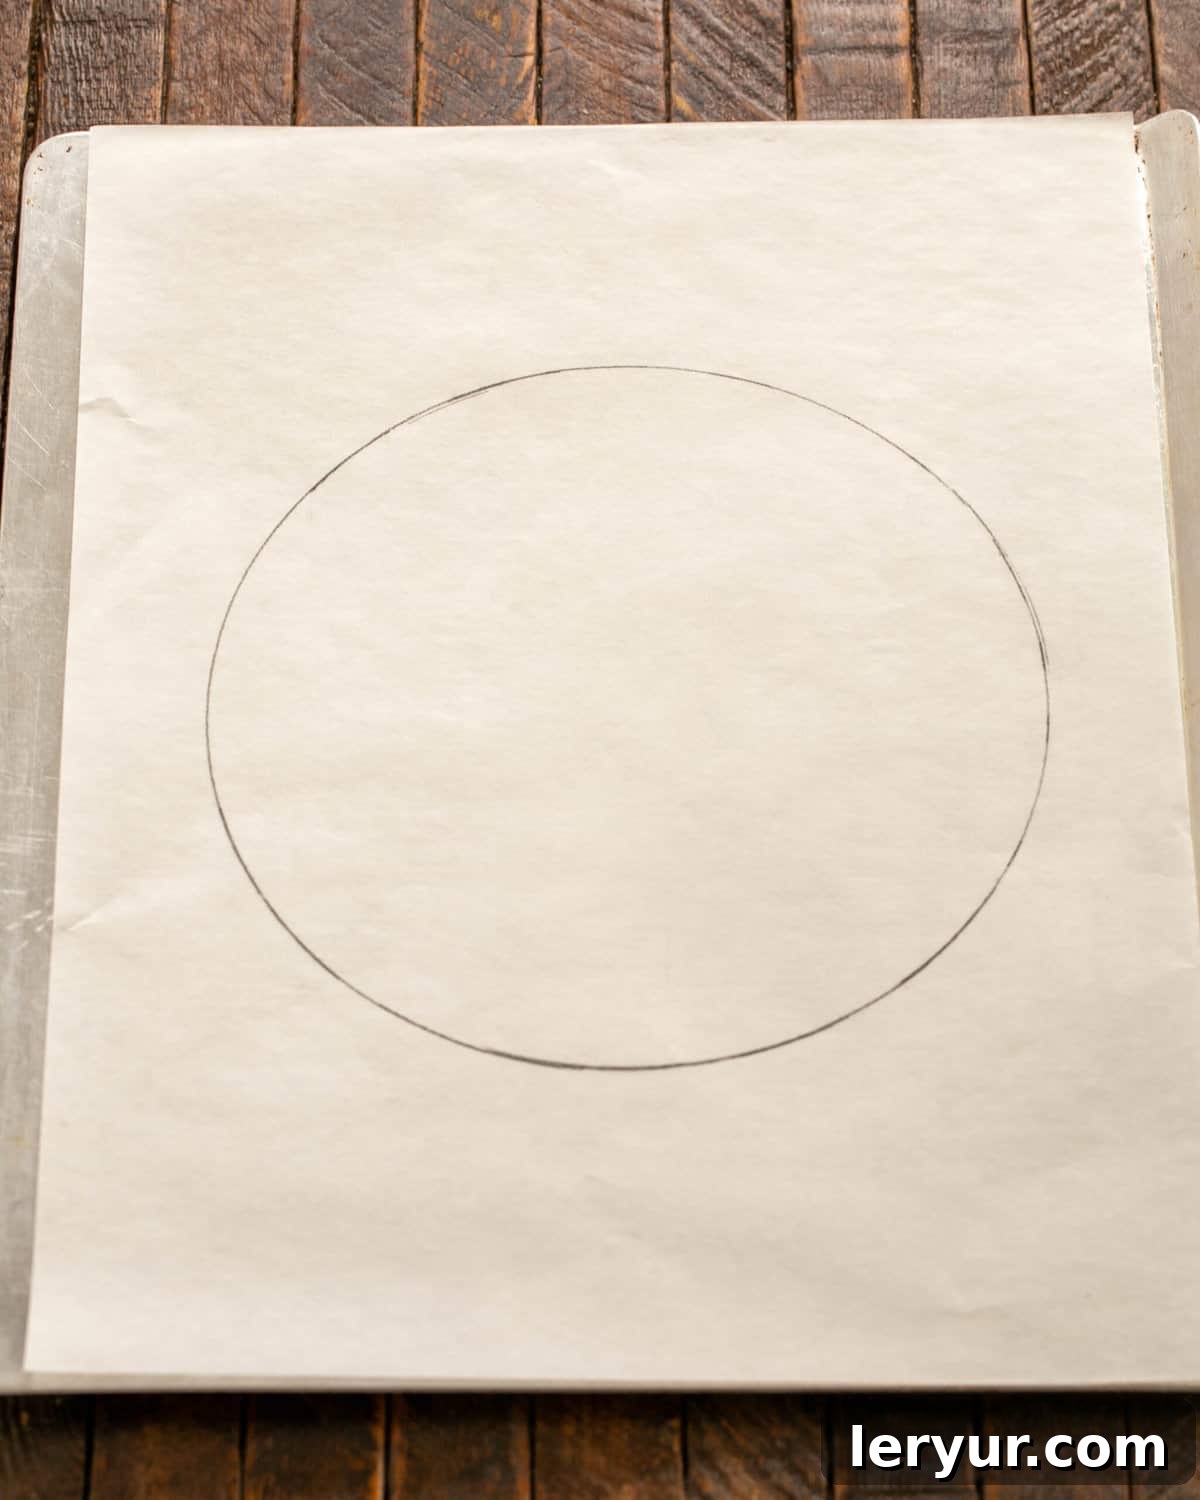
- The Art of the Template: To achieve a beautifully round and uniform pavlova, trace a 9-inch diameter circle onto a sheet of parchment paper using a cake pan or plate. Flip the parchment over (so the pencil mark doesn’t touch the meringue) and place it on your baking sheet. This visual guide makes spreading the meringue much simpler and more consistent.
- Vinegar’s Special Role: Unlike traditional meringues, pavlova includes a small amount of vinegar (or another acid like cream of tartar). This acid is vital for stabilizing the egg white proteins and is responsible for the pavlova’s unique texture – a wonderfully crisp outer shell giving way to a soft, marshmallowy, chewy center. It won’t impart any noticeable flavor.
- Gradual Sugar Addition: Begin adding the superfine sugar slowly, one tablespoon at a time, once the egg whites have reached a foamy consistency (typically after about 1 minute of whipping). This slow addition allows the sugar to dissolve properly, preventing grainy meringue and ensuring a strong, stable structure.
- Testing for Readiness: Your meringue is perfectly whipped when it is thick, bright white, and incredibly glossy. When you lift the beaters, the meringue should form stiff, firm peaks that stand upright without drooping. To double-check that the sugar has fully dissolved, rub a tiny bit of meringue between your thumb and forefinger; it should feel completely smooth, not gritty.
Baking and Cooling: The Patience Pays Off
- Shaping the Shell: Carefully scoop the prepared meringue onto your parchment-lined baking sheet, using your 9-inch template as a guide. Use an offset spatula or the back of a spoon to gently spread it into a circle, building up the sides slightly and creating a small well in the center to hold your toppings later.
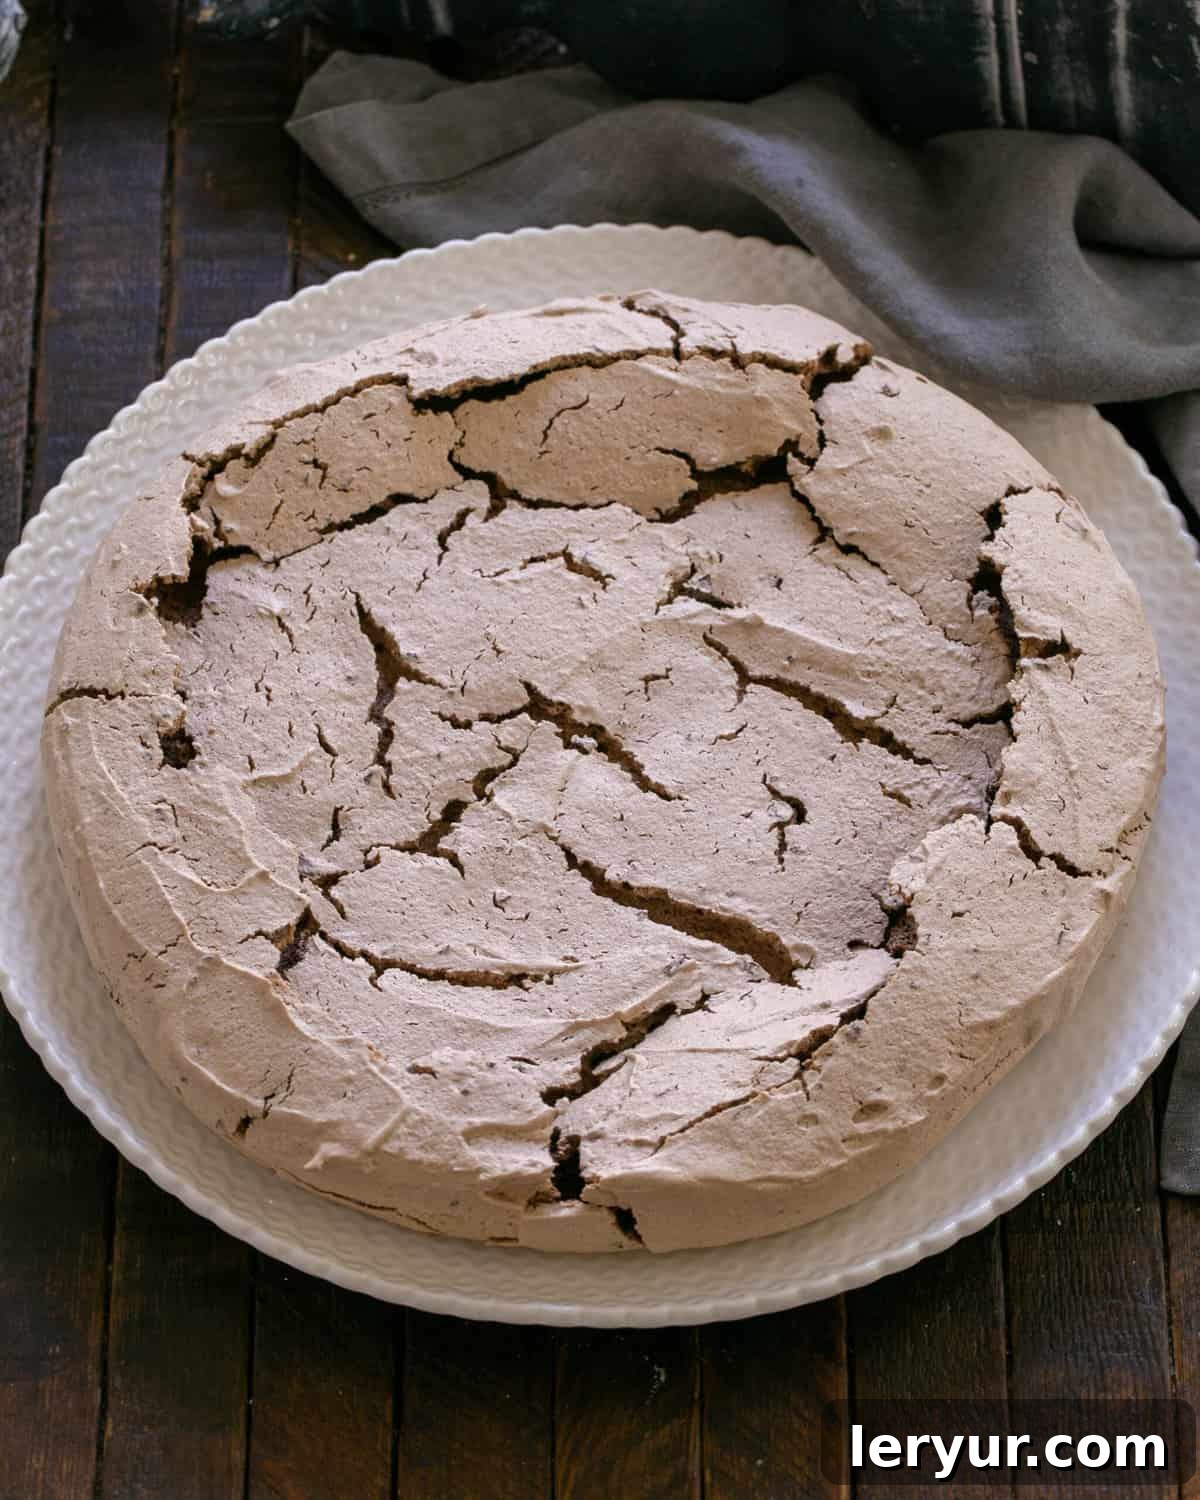
- PRO-Tip: The Importance of Slow Cooling: While the baking time is crucial, the cooling process is equally, if not more, important for pavlova. After the baking time is complete, turn off the oven but leave the pavlova inside. Prop the oven door open slightly (with a wooden spoon or oven mitt) and let the pavlova cool completely and slowly within the oven. This gradual cooling prevents thermal shock, which can cause significant cracking and collapse, ensuring a beautifully crisp and stable shell.
Garnishing Your Masterpiece: The Finishing Touches
- Chilled Whipped Cream: For the most stable and voluminous whipped cream, ensure your heavy cream, mixing bowl, and beaters are thoroughly chilled. Placing your metal mixing bowl and beaters in the freezer for 10-15 minutes before whipping can make a significant difference, helping the cream hold its shape longer. If you have any concerns, a whipped cream stabilizer (like “Whip-It”) can also be used, though chilling often suffices.
- Crafting Chocolate Shavings: For delicate chocolate shavings, use a vegetable peeler and gently scrape it down the long, flat side of a room-temperature chocolate bar. To create larger, more dramatic chocolate curls (as seen in some photos), start with a block of good quality chocolate (like Callebaut). Very gently warm the block in the microwave for just a few seconds until it’s slightly soft to the touch, then use your vegetable peeler or a sharp knife to shave off elegant curls.
Troubleshooting Common Pavlova Challenges
Even experienced bakers can encounter hiccups when making pavlova. Don’t be discouraged if your first attempt isn’t absolutely perfect. Here are some common issues and practical solutions to help you achieve pavlova perfection next time.
- Cracks in Your Pavlova: A few minor cracks are completely normal and part of the pavlova’s rustic charm. However, excessive cracking can indicate a few underlying issues:
- Undissolved Sugar: If the sugar isn’t fully incorporated and dissolved into the egg whites, it can cause the meringue to expand unevenly and crack during baking. Always use superfine sugar and add it very slowly, allowing plenty of time for it to dissolve while beating.
- Oven Temperature Fluctuations: An oven that is too hot or fluctuates significantly can cause the meringue to bake too quickly on the outside, creating a rigid crust that cracks as the interior expands. Using an oven thermometer to verify your oven’s true temperature is a wise investment.
- Rapid Cooling: The most common culprit for cracks. If a pavlova cools too quickly (e.g., removed from the oven immediately after baking), the sudden change in temperature can shock the meringue, leading to cracks and sometimes even collapse. Always allow your pavlova to cool slowly inside the turned-off oven with the door ajar.
- Meringue Doesn’t Thicken (or collapses): This is perhaps the most frustrating issue, but it’s almost always related to one primary factor:
- Fat Contamination: The presence of any fat – whether it’s a speck of egg yolk, grease residue on your mixing bowl, or oil on your beaters – will prevent egg whites from whipping into a stable meringue. Egg proteins need to bind with air, and fat interferes with this process.
- Prevention is Key: Ensure all your equipment (bowls, beaters, spatulas) are scrupulously clean and completely dry. Washing with hot, soapy water and then drying thoroughly is crucial. Many experienced bakers recommend avoiding plastic bowls for meringues, as plastic can sometimes retain greasy residues even after washing.
- Careful Egg Separation: As mentioned in the “Expert Tips,” always separate eggs one at a time into a separate small bowl to avoid contaminating the entire batch.
- Adding Water: Any water added to the egg whites before or during whipping can also hinder proper thickening and stability. Ensure egg whites are pure.
- Over-whipping: While less common, egg whites can be over-whipped, becoming dry and crumbly, which can also lead to issues. Look for stiff, glossy peaks that still have some elasticity.
Frequently Asked Questions About Pavlova
The true origin of pavlova is a delicious and long-standing debate between Australia and New Zealand, with both nations fervently claiming it as their national dessert. It was developed in honor of the renowned Russian ballerina, Anna Pavlova, during her tours of the region in the 1920s. Regardless of its exact birthplace, the pavlova has become an iconic dessert enjoyed worldwide.
At its heart, a pavlova is essentially a large, baked meringue, though its unique characteristics set it apart. While you can certainly make miniature versions, the classic pavlova is a substantial dessert. It’s crafted from whipped egg whites and sugar, then baked at a low temperature until the exterior becomes wonderfully crisp and delicate, while the interior remains gloriously soft, chewy, and marshmallow-like. This distinct “squidgy” (a term often used by Nigella Lawson) middle is the hallmark that differentiates a true pavlova from a simple, uniformly crisp meringue.
Traditional pavlovas are typically adorned with generous dollops of whipped cream and fresh fruit. This chocolate raspberry rendition takes a delightful twist on the classic, incorporating cocoa powder and chopped chocolate into the meringue for a richer, more complex flavor profile. Beyond berries, countless variations exist, featuring anything from tangy lemon curd to exotic tropical fruits, making it a versatile dessert canvas.
Storing pavlova correctly is crucial to maintain its signature crispness. Moisture and humidity are its arch-enemies, as they can quickly turn the delicate meringue sticky and soft. The best place to store an undecorated pavlova shell is in a cool, dry location, ideally in an airtight container or, even better, inside a turned-off oven. If storing in the oven, remember the “Post-it” note trick to prevent accidental heating!
You can prepare the pavlova shell a day in advance of serving. This allows for convenient make-ahead entertaining. However, it’s vital to assemble the pavlova (add the whipped cream and fruit) only a few hours before you plan to serve it. While best enjoyed on the day it’s assembled, any rare leftovers (it’s that good!) should be stored in the refrigerator, though the meringue may soften slightly. Rest assured, it will still be incredibly delicious!
Explore More Delicious Desserts
If you’ve fallen in love with the elegance and flavor of this Chocolate Raspberry Pavlova, you’ll be thrilled to discover other wonderful dessert recipes:
- Festive Christmas Wreath Pavlova
- Strawberry Topped Chocolate Pavlova (complete with a helpful video tutorial)
- Charming Individual Pavlovas
- Tangy Pavlova with Lemon Curd
- Discover Over 900 Irresistible Dessert Recipes
Stay connected and share your baking triumphs with us! Follow on Instagram, Facebook, and Pinterest. Don’t forget to tag me when you try one of my recipes! If you adore the results, please consider giving it a 5-star rating in the recipe card below.
Chocolate Raspberry Pavlova
20 minutes
1 hour 15 minutes
1 hour 35 minutes
8 servings
A jumbo cocoa meringue topped with cream and berries! This elegant Chocolate Raspberry Pavlova features a crisp exterior, a chewy marshmallow-like interior, and is perfect for any special occasion.
Ingredients
- 6 large egg whites, at room temperature
- 1 ½ cups superfine sugar
- 3 tablespoons good quality cocoa powder
- 1 teaspoon raspberry or balsamic vinegar
- 2 ounces semi-sweet chocolate, finely chopped
- 2 cups heavy cream, well-chilled
- ½ cup powdered sugar
- 1 teaspoon vanilla extract
- 2-3 tablespoons coarsely grated semi-sweet chocolate (for garnish)
- 1-2 cups fresh raspberries (for topping)
Instructions
- Prepare Baking Sheet: Preheat the oven to 350ºF (175ºC). Line a large baking sheet with parchment paper. Using a 9-inch plate or cake pan, draw a circle on the parchment, then flip the paper over so the mark is underneath. Set aside.
- Whip Egg Whites: In a very clean, dry bowl, beat the room temperature egg whites with an electric mixer on medium speed until they are foamy and soft peaks form (about 1 minute).
- Add Sugar: Gradually add the superfine sugar, 1 tablespoon at a time, while continuing to beat on medium-high speed. Continue beating until the meringue is very stiff, glossy, and holds firm peaks. Rub a small amount between your fingers to ensure no grittiness remains.
- Fold in Flavors: Sift the cocoa powder over the meringue. Add the vinegar and finely chopped semi-sweet chocolate. Gently fold these ingredients into the meringue using a large spatula until just combined, being careful not to deflate the mixture.
- Shape Pavlova: Pile the meringue onto the prepared parchment paper, using the 9-inch circle as a guide. Shape it into a neat circle with an offset spatula or the back of a spoon, creating a slight well in the center for the toppings.
- Bake: Place the baking sheet in the preheated oven and immediately decrease the temperature to 300ºF (150ºC). Bake for 1 to 1¼ hours, or until the pavlova is dry and crisp on the edges and top. It will likely have some cracks.
- Cool: Turn off the oven, prop the oven door open slightly with a wooden spoon, and allow the pavlova to cool completely inside the oven. This slow cooling process helps prevent cracking and ensures a perfect texture.
- Prepare Toppings: Once the pavlova is completely cool, transfer it to a serving plate. In a chilled bowl, whip the cold heavy cream with powdered sugar and vanilla extract until light and fluffy.
- Assemble and Serve: Generously spoon the sweetened whipped cream into the center of the pavlova. Arrange fresh raspberries over the cream, then sprinkle with coarsely grated semi-sweet chocolate. Serve immediately and enjoy!
Notes
This recipe has been adapted from a delightful creation by Nigella Lawson.
Please note that the “Total Time” listed does not include the essential cooling time inside the oven, which can take several hours for the pavlova to fully set.
For best results, assemble the whipped cream and fruit toppings no more than 2-3 hours before serving to maintain the pavlova’s crisp texture.
Recommended Baking Essentials
As an Amazon Associate and member of other affiliate programs, I earn from qualifying purchases.
- Superfine Sugar
- KitchenAid KSM150PSER Artisan Tilt-Head Stand Mixer
- USA Pan Bakeware Half Sheet Pan
- Reynolds Cookie Baking Sheets Non-Stick Parchment Paper
Nutrition Information:
Yield:
8
Serving Size:
1
Amount Per Serving:
Calories: 452Total Fat: 25gSaturated Fat: 16gTrans Fat: 1gUnsaturated Fat: 8gCholesterol: 67mgSodium: 59mgCarbohydrates: 55gFiber: 1gSugar: 53gProtein: 5g
HOW MUCH DID YOU LOVE THIS RECIPE?
Please leave a comment on the blog or share a photo on Pinterest!