
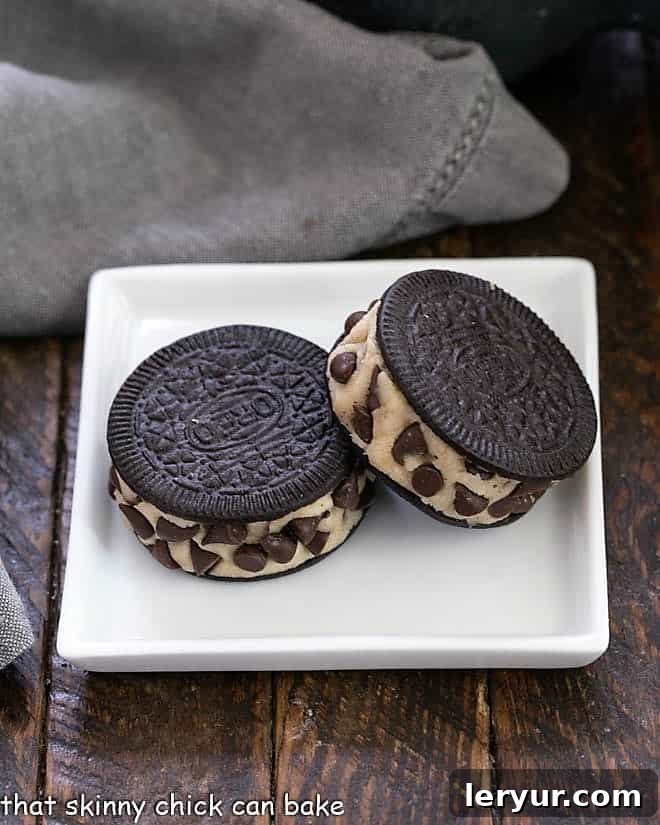
If you adore the classic taste of cookie dough, prepare to be captivated by these incredible Oreo Cookie Dough Treats. This recipe offers a delightful and completely safe way to indulge your cravings for that unbaked goodness, nestled perfectly within your favorite chocolate sandwich cookie. Forget the store-bought imitations; these Cookie Dough Filled Oreos are incredibly easy to make, packed with unparalleled flavor, and promise to be a show-stopping dessert for any occasion. They are truly a game-changer for anyone who dreams of cookie dough!
While Nabisco occasionally releases limited-edition Cookie Dough Oreos, this homemade version features a generously thick layer of our specially prepared, egg-free cookie dough. The rich, creamy texture and vibrant flavor of this safe-to-eat filling far surpass anything factory-made, offering a truly gourmet experience right from your kitchen. You’ll be amazed at how simple it is to create such a decadent treat!
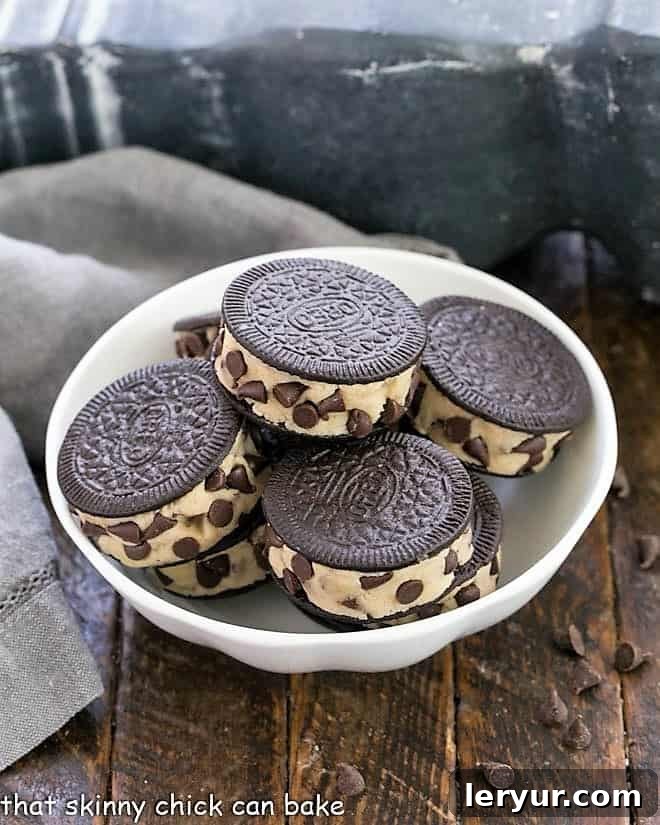
Why These Oreo Cookie Dough Treats Are a Must-Make
These aren’t just any cookie dough treats; they’re an experience waiting to happen. Here’s why this recipe deserves a permanent spot in your dessert repertoire:
- Effortlessly Delicious Semi-Homemade Delight: Combining the convenience of store-bought Oreos with a simple, homemade cookie dough, this recipe strikes the perfect balance between ease and gourmet flavor. It’s ideal for busy bakers or anyone looking for a quick yet impressive dessert.
- Guaranteed Safe-to-Eat Cookie Dough Filling: Say goodbye to worries about raw eggs or flour! Our recipe specifically outlines how to prepare a delicious cookie dough that is entirely safe for consumption, ensuring peace of mind with every scrumptious bite.
- Unquestionably Superior to Store-Bought Versions: If you’ve ever tried a packaged cookie dough flavored treat, you know they often fall short. Our homemade cookie dough is richer, creamier, and bursting with authentic flavor, making these treats infinitely more satisfying than any mass-produced alternative.
- Perfect for Any Occasion: Whether you’re hosting a party, looking for a unique potluck contribution, or simply craving a sweet snack, these Oreo Cookie Dough Treats are versatile and always a hit. They’re also fantastic for gifting!
- No-Bake Convenience: Enjoy a fantastic dessert without even turning on your oven (except for the quick flour treatment). This makes them perfect for hot summer days or when you simply don’t want to bake.
- Customizable and Fun: The basic recipe is wonderful, but it also serves as a canvas for creativity. Experiment with different Oreo flavors or mix-ins to make these treats uniquely yours.
Essential Ingredients for Your Edible Cookie Dough Oreos
Crafting these delectable treats requires only a handful of common ingredients. The quality of each component contributes significantly to the final taste, so choose wisely!
- Kitchen Staples: You’ll need granulated sugar, brown sugar, a pinch of salt, all-purpose flour, and a splash of milk or cream. These form the fundamental base of our irresistible cookie dough.
- Oreo Thins (or Regular Oreos): While any Oreo will technically work, Oreo Thins are highly recommended. Their slightly wider diameter provides a more generous surface area for the cookie dough filling, and their thinner profile creates a more balanced cookie-to-dough ratio. If Thins are unavailable, regular Oreos are a perfectly fine substitute, though the final treat might be a bit thicker.
- Unsalted Butter (Room Temperature): The butter is crucial for the cookie dough’s texture and richness. Ensuring it’s at room temperature is key for easy incorporation with the sugars, resulting in a smooth, creamy base. Always opt for unsalted butter to control the overall sodium content of your treats.
- Pure Vanilla Extract: Do not compromise on vanilla! Artificially flavored vanilla extracts can impart a synthetic taste. A high-quality pure vanilla extract will elevate the flavor of your cookie dough, giving it that authentic, warm, and inviting aroma.
- Mini Chocolate Chips: These tiny morsels are essential for creating that classic cookie dough aesthetic and adding bursts of chocolatey goodness. Mini chips distribute more evenly throughout the dough and look fantastic when pressed into the sides as a garnish. You can use milk, semi-sweet, or dark chocolate, depending on your preference.
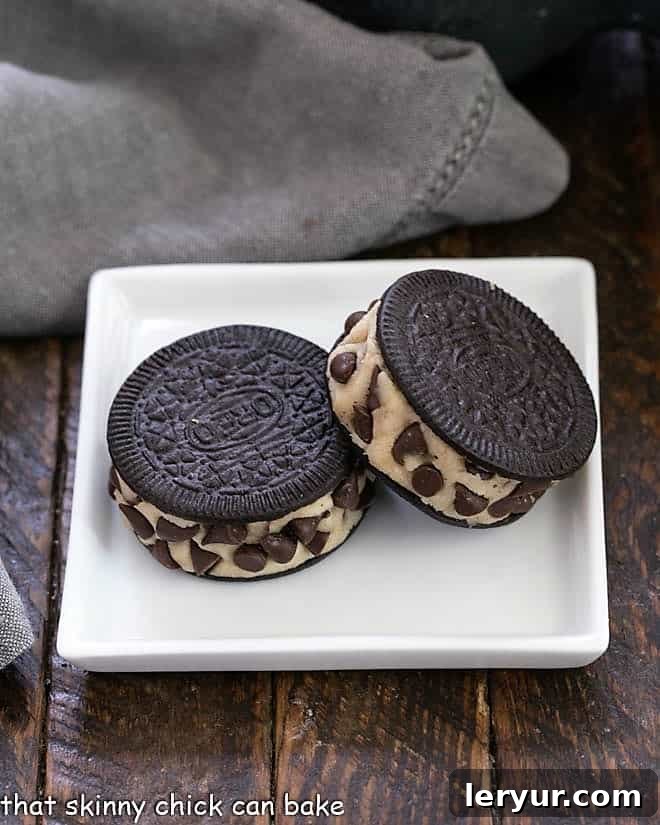
Step-by-Step Guide: Crafting Your Oreo Cookie Dough Treats
Making these decadent treats is surprisingly straightforward. Follow these steps for perfect, delicious results every time:
- Prepare Your Flour for Safety: Before anything else, it’s crucial to heat-treat your flour to eliminate any potential bacteria (like E. coli) that can be found in raw flour. Spread your all-purpose flour evenly on a baking sheet and bake at 350°F (175°C) for 5-7 minutes, or until it reaches an internal temperature of 160°F (71°C). Alternatively, microwave it in 15-second intervals, stirring between each, until it reaches the same temperature. Allow the flour to cool completely before proceeding. This step is non-negotiable for safe edible cookie dough!
- Cream the Butter and Sugars: In a medium mixing bowl, beat together the room-temperature unsalted butter with both the granulated sugar and brown sugar until the mixture is light, fluffy, and well combined. This process usually takes 2-3 minutes with an electric mixer.
- Add Wet Ingredients: Mix in the pure vanilla extract and your choice of milk or cream. Continue beating until everything is thoroughly incorporated and smooth.
- Incorporate Dry Ingredients: Gently fold in the salt and your cooled, heat-treated flour. Mix on low speed or by hand until just combined. Be careful not to overmix, as this can develop the gluten in the flour and make the dough tough.
- Stir in Chocolate Chips: Finally, fold in the mini chocolate chips until they are evenly distributed throughout the cookie dough. Your delicious, safe edible cookie dough is now ready! Set it aside.
- Carefully Separate Your Oreos: This step requires a gentle touch. Take each Oreo and carefully twist the halves apart. The goal is to keep as many halves intact as possible. You can choose to scrape off the original cream filling for a pure cookie dough experience, or leave it for an extra layer of sweetness – it’s entirely up to you. Leaving it saves time and adds to the flavor.
- Fill the Oreos: Using a small cookie scoop (or about a teaspoon), place a dollop of your prepared cookie dough onto one half of an opened Oreo.
- Assemble and Press: Gently place the other half of the Oreo on top of the cookie dough. Carefully press down to spread the cookie dough evenly to the edges of the Oreo, creating a beautiful, uniform sandwich.
- Garnish (Optional): For an extra touch of visual appeal and chocolatey goodness, gently press additional mini chocolate chips around the exposed edges of the cookie dough filling. This adds texture and makes them look even more professional.
Mastering Your Oreo Cookie Dough Treats: Expert Advice
Take your cookie dough treats from good to absolutely extraordinary with these insider tips and tricks:
- Choose Your Oreo Wisely: While Oreo Thins are recommended for their ideal cookie-to-dough ratio, feel free to experiment with different Oreo flavors! Golden Oreos, Mint Oreos, or even Peanut Butter Oreos can create exciting flavor combinations with the classic cookie dough filling. The possibilities are endless!
- Room Temperature Dough is Key: Avoid chilling your cookie dough filling before assembly. When the dough is at room temperature, it’s much softer and easier to spread evenly within the Oreo halves. This also ensures that any garnishing chocolate chips adhere perfectly without crumbling.
- Storage for Freshness: While these treats do not strictly require refrigeration, storing them in an airtight container in the refrigerator will significantly extend their freshness and help them maintain their firm structure. They can be kept refrigerated for up to a week. For longer storage, see freezing tips below.
- Prevent Cracks When Separating: To minimize breakage when separating Oreos, twist them gently and slowly. If the cream filling sticks unevenly, a thin knife can help coax it off one side if you prefer to remove it entirely, though it’s often easiest to just proceed with the filling remaining on one half.
- Consistency is Crucial: If your cookie dough feels too dry, add a tiny splash more milk or cream, a quarter teaspoon at a time, until it reaches a soft, pliable consistency that’s easy to scoop and spread. If it’s too sticky, a small amount of extra treated flour can help.
- Creative Variations: Don’t limit yourself to plain chocolate chip cookie dough! Consider adding a touch of peanut butter to the dough, or mixing in sprinkles for a festive twist. Drizzle with melted chocolate for an extra layer of indulgence.
- Gifting Idea: These treats make fantastic homemade gifts. Arrange them in a decorative box or clear cellophane bag tied with a ribbon for a thoughtful and delicious present.
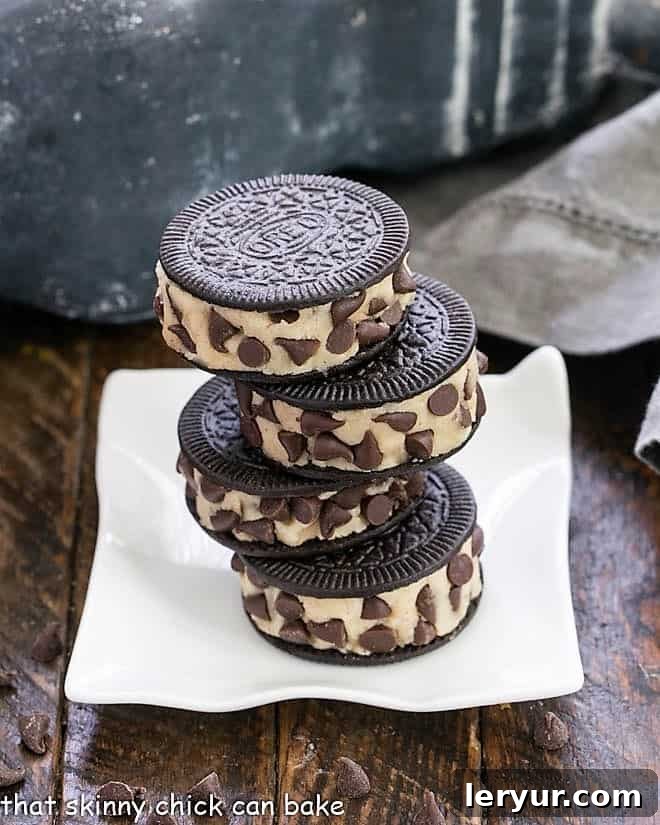
Frequently Asked Questions About Edible Cookie Dough
The primary reason raw cookie dough is typically unsafe to eat stems from two common ingredients: raw flour and raw eggs. Each carries its own set of potential food-borne pathogens. Raw eggs can harbor Salmonella bacteria, which can be present both on the shell and inside the egg. Ingesting Salmonella can lead to salmonellosis, causing symptoms like fever, abdominal cramps, and diarrhea, and can be particularly dangerous for vulnerable populations such as infants, pregnant women, the elderly, and those with compromised immune systems. Raw, uncooked flour, on the other hand, can contain harmful strains of E. coli bacteria. E. coli contamination from flour can cause severe gastrointestinal illness, including cramps, vomiting, and diarrhea. The process of heat-treating flour, as described in this recipe, effectively kills any lurking E. coli, making it safe for raw consumption.
To create cookie dough that is entirely safe to eat raw, two critical modifications are necessary. Firstly, ensure your recipe is egg-free. This removes the risk of Salmonella contamination. Ingredients like butter, cream cheese, or milk are used to achieve the desired texture and binding without eggs. Secondly, and equally important, you must heat-treat your flour. This process eliminates any potential E. coli bacteria. To heat-treat flour, you can either spread it thinly on a baking sheet and bake it in an oven at 350°F (175°C) for about 5-7 minutes, ensuring it reaches an internal temperature of 160°F (71°C), or microwave it in 15-second intervals, stirring after each, until it reaches the same safe temperature. Always allow the flour to cool completely before incorporating it into your dough.
Absolutely! While classic Oreos are fantastic, feel free to get creative with your choice of cookie. Golden Oreos will offer a vanilla base, while Mint Oreos could add a refreshing twist, and Peanut Butter Oreos would create an even richer, nuttier flavor profile. Experimenting with different Oreo varieties is a fun way to customize these treats to your liking.
These delicious treats will stay fresh when stored in an airtight container in the refrigerator for up to 5-7 days. While they don’t strictly require refrigeration due to the absence of raw eggs, keeping them chilled helps maintain the firm texture of the cookie dough and extends their shelf life, especially in warmer environments.
Yes, these treats freeze beautifully! To freeze, arrange the assembled Oreo Cookie Dough Treats in a single layer on a baking sheet and freeze until solid (about 1-2 hours). Once solid, transfer them to a freezer-safe airtight container or bag. They can be stored in the freezer for up to 2-3 months. Thaw them in the refrigerator for a few hours or at room temperature for about 30 minutes before enjoying.
Explore More Delicious Cookie Creations
If you’ve fallen in love with these irresistible Oreo Cookie Dough Treats, you’ll surely enjoy these other fantastic cookie-inspired recipes from our collection and beyond. Get ready to bake (or not bake!) more delightful desserts:
- Edible Sugar Cookie Dough from Mom on Timeout – Another fantastic safe-to-eat dough!
- Chocolate Chip Cookie Dough Brownies – The best of both worlds!
- Chocolate Chip Cookie Dough Dip – Perfect for parties and fruit platters.
- Brown Butter Cookie Dough Truffles – Elegant bites of cookie dough heaven.
- More of my Best Cookie Recipes – A comprehensive collection of beloved classics and new favorites.
Stay in touch and share your creations through social media @ Instagram, Facebook, and Pinterest. Don’t forget to tag me when you try one of my recipes! And if you love the results and plan to make these again, please give it a 5-star rating in the recipe card below – your feedback means the world!
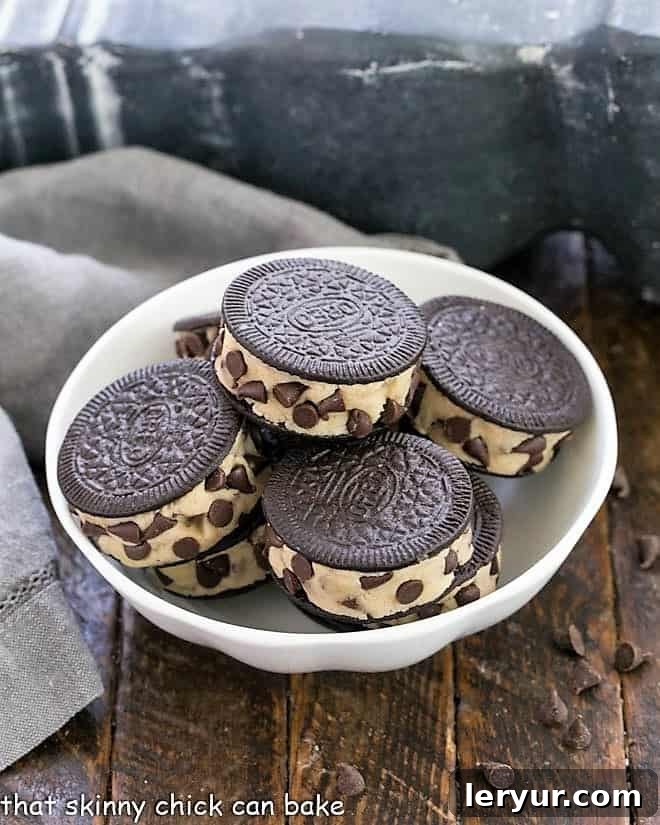
Oreo Cookie Dough Treats
30 minutes
5 minutes
35 minutes
48 treats
Indulge in these irresistible Oreo Cookie Dough Treats, featuring a thick layer of safe-to-eat, homemade cookie dough nestled between two chocolate sandwich cookies. A simple, no-bake dessert that’s perfect for any occasion!
Ingredients
- 1 13.1 ounce package of Oreo Thins (or regular Oreos)
- ½ cup unsalted butter, at room temperature
- ½ cup light brown sugar, packed
- ½ cup granulated sugar
- 1 teaspoon pure vanilla extract
- ¼ cup milk or cream
- ½ teaspoon salt
- 1 ½ cups all-purpose flour, heat-treated and cooled (see notes for details)
- 1 cup mini chocolate chips, plus more for optional garnish
Instructions
- First, heat-treat your flour: Spread 1½ cups of flour evenly on a baking sheet. Bake at 350°F (175°C) for 5-7 minutes, or microwave in 15-second increments, stirring between each, until it reaches an internal temperature of 160°F (71°C). Allow to cool completely before use.
- Carefully separate all the Oreos into 2 halves, gently twisting to keep them as intact as possible. You can scrape off the cream filling if desired, or leave it.
- In a medium bowl, beat together the room-temperature butter, brown sugar, and granulated sugar until light and fluffy.
- Stir in the pure vanilla extract and milk (or cream) until well combined.
- Add the cooled, heat-treated flour and salt to the wet ingredients. Mix on low speed or by hand until just combined, being careful not to overmix.
- Fold in the mini chocolate chips until they are evenly distributed throughout the edible cookie dough.
- Using a small cookie scoop or a teaspoon, place a dollop of cookie dough onto one half of each separated Oreo.
- Place the other Oreo half on top of the cookie dough and gently press down to spread the dough to the edges, forming a neat sandwich.
- If desired, gently press additional mini chocolate chips onto the exposed sides of the cookie dough filling for garnish.
Notes
To ensure your flour is safe for raw consumption, it is crucial to heat-treat it to kill any potential E. coli bacteria. Spread 1½ cups of all-purpose flour evenly on a baking sheet. Bake it in a preheated 350°F (175°C) oven for 5-7 minutes, or until it reaches an internal temperature of 160°F (71°C). Alternatively, you can microwave the flour in 15-second intervals, stirring thoroughly after each interval, until it reaches 160°F (71°C). Always use an instant-read thermometer to verify the temperature. After heat-treating, allow the flour to cool completely to room temperature before incorporating it into your cookie dough recipe.
Store any leftover treated flour in an airtight container in the refrigerator for future use in edible dough recipes.
Recommended Products
As an Amazon Associate and member of other affiliate programs, I earn from qualifying purchases.
- Small Cookie Scoop
- Set of Glass Mixing Bowls
- KitchenAid 9-Speed Digital Hand Mixer
Nutrition Information:
Yield:
24 servings (2 cookies per serving)
Serving Size:
2 cookies
Amount Per Serving:
Calories: 211Total Fat: 10gSaturated Fat: 5gTrans Fat: 0gUnsaturated Fat: 4gCholesterol: 12mgSodium: 143mgCarbohydrates: 31gFiber: 1gSugar: 19gProtein: 2g
Thatskinnychickcanbake.com occasionally offers nutritional information for recipes contained on this site. This information is provided as a courtesy and is an estimate only. This information comes from online calculators. Although thatskinnychickcanbake.com attempts to provide accurate nutritional information, these figures are only estimates.
Varying factors such as product types or brands purchased can change the nutritional information in any given recipe. Also, many recipes on thatskinnychickcanbake.com recommend toppings, which may or may not be listed as optional and nutritional information for these added toppings is not listed. Other factors may change the nutritional information such as when the salt amount is listed “to taste,” it is not calculated into the recipe as the amount will vary. Also, different online calculators can provide different results.
To obtain the most accurate representation of the nutritional information in any given recipe, you should calculate the nutritional information with the actual ingredients used in your recipe. You are solely responsible for ensuring that any nutritional information obtained is accurate.
HOW MUCH DID YOU LOVE THIS RECIPE?
Please leave a comment on the blog or share a photo on Pinterest