
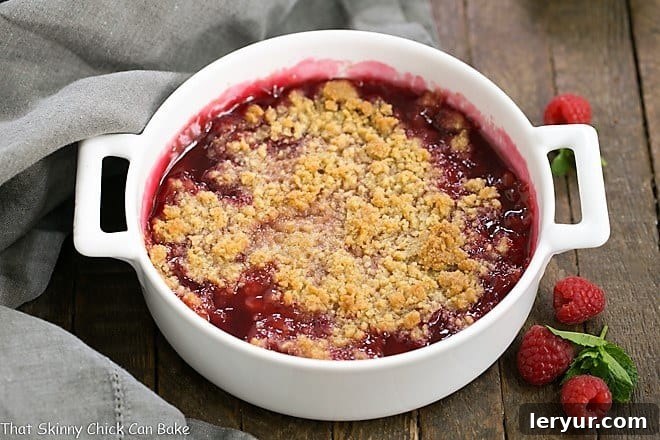
From the vibrant bounty of berry season at your local farm to the convenience of your grocery store’s produce aisle, gathering fresh raspberries for a Fresh Raspberry Crisp promises an exceptionally easy and utterly delectable dessert!
While the rich, comforting flavors of pie are a family favorite, the art of crafting the perfect pie crust often feels like a significant kitchen undertaking. This is precisely where the humble yet magnificent fruit crisp steps in, offering a scrumptious and stress-free alternative. With delightful Raspberry Desserts like this crisp, you can revel in the same warm, fruity indulgence without all the intricate work traditionally associated with a classic pie. It’s the ideal solution for satisfying those sweet cravings, especially when time is of the essence or you’re simply seeking a less demanding baking project.
Note: This post may contain affiliate links, which means I earn a small percentage from any purchase you make by clicking on these links at no extra cost to you. For full transparency, please view my Disclosure Policy.
The Allure of Raspberry Crisp: A Summer Dessert Dream
As berry season bursts forth with its vibrant colors and sweet aromas, there’s no better time to whip up a raspberry dessert. For those who, like me, might find themselves without a fully equipped kitchen or simply prefer minimal cleanup, a fruit crisp is a revelation. Forget the rolling pins and multiple bowls needed for a pie crust; a crisp offers all the comforting flavors with a fraction of the fuss. It truly embodies the spirit of summer desserts, making the most of fresh, seasonal produce.
This particular fresh raspberry crisp recipe is a celebration of simplicity and flavor, allowing the natural sweetness and slight tartness of the berries to shine through. It’s an undeniable crowd-pleaser that consistently earns rave reviews from everyone who tries it. If you’re a fan of fresh raspberry recipes, this straightforward and incredibly delicious crisp is an absolute must-try. Its easy preparation means you can spend less time baking and more time enjoying the beautiful summer days.
Why This Raspberry Crisp Recipe Belongs in Your Kitchen
- Effortless Elegance: A raspberry crisp, often synonymous with a fruit crumble, is remarkably simple to prepare. It requires minimal, readily available ingredients that are likely already in your pantry or easily found at any supermarket. The assembly process is quick, making it perfect for last-minute dessert decisions or busy weeknights.
- Peak Seasonal Flavor: This dessert truly shines when made with beautiful, plump berries picked at their peak. Whether you source them from a local farm stand, a farmers’ market, or your preferred grocery store, utilizing fresh, in-season raspberries guarantees an unparalleled taste experience.
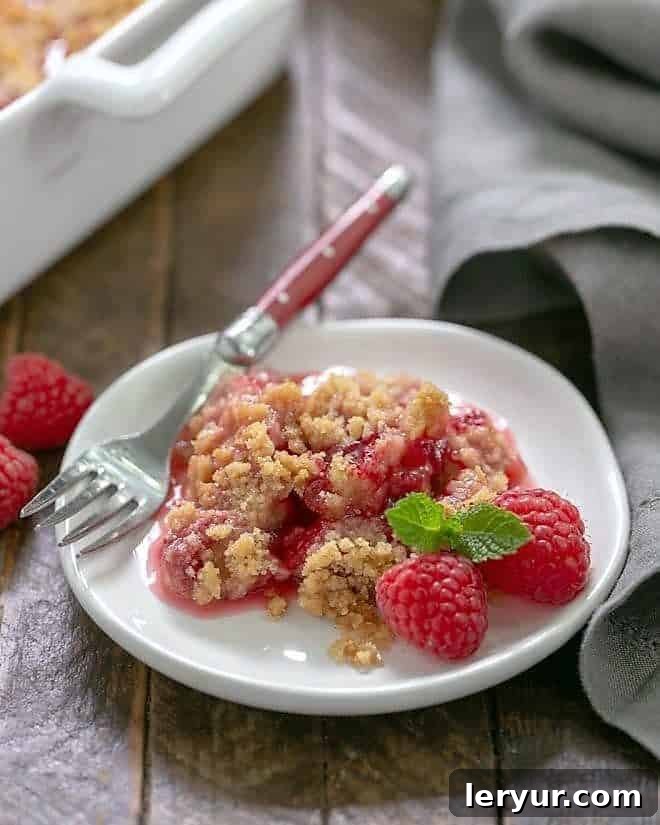
- Comfort in Every Spoonful: Serving this crisp warm, especially with a generous scoop of creamy vanilla ice cream or a dollop of sweetened whipped cream, transforms it into a spectacularly comforting and utterly satisfying dessert. The contrast of the warm, bubbly fruit and the cold, melting topping is pure bliss.
- Versatile & Adaptable: While this recipe focuses on raspberries, the crisp concept is incredibly flexible. You can easily adapt it for other seasonal fruits, making it a year-round staple. It’s also forgiving, making it suitable for bakers of all skill levels.
Essential Ingredients for Your Perfect Raspberry Crisp
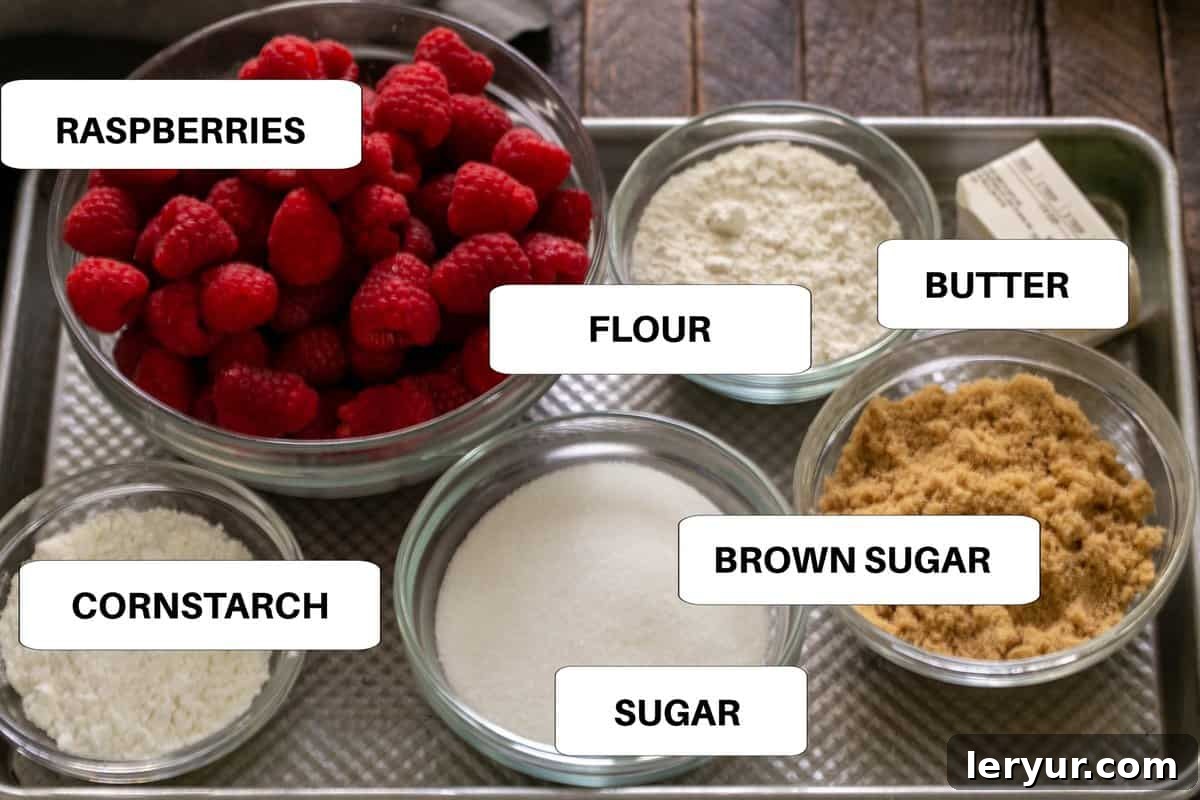
Crafting a truly memorable raspberry crisp begins with understanding the role of each ingredient. Most of what you’ll need can be found in your kitchen staples, but paying attention to the quality and characteristics of a few key components will elevate your dessert.
- Fresh Raspberries: The star of the show! When selecting raspberries, look for berries that are vibrant in color, plump, and glossy, with no visible signs of mold, softness, or deterioration. Gently examine all sides of the packaging to ensure freshness. Fragrant berries are also a good indicator of ripeness and sweetness.
- Pantry Essentials:
- Granulated Sugar: Provides sweetness to balance the raspberries’ tartness and aids in creating the juicy filling.
- All-Purpose Flour: Used in both the filling to contribute to the thickening process and in the topping for structure and a tender crumb.
- Brown Sugar: Crucial for the streusel topping, brown sugar adds a delightful molasses flavor and contributes to a chewy texture once baked.
- Unsalted Butter: Essential for the rich, crumbly topping. Using cold butter, cut into cubes, helps achieve the desired crumbly texture when cut into the dry ingredients.
- Cornstarch: This ingredient is vital for thickening the raspberry filling. Without it, your crisp would be a watery mess. For the cornstarch to properly activate and create a luscious, thick filling, it’s imperative that the fruit mixture bubbles vigorously during baking.
- Optional Enhancements: A hint of lemon zest tossed with the raspberries can brighten their flavor, or a touch of vanilla extract in the topping can add another layer of aroma and depth.
While the ingredients are straightforward, the quality of your fresh raspberries makes all the difference. Choose wisely, and you’re halfway to a sensational dessert.
Crafting Your Raspberry Crisp: Step-by-Step Guide
Fruit crisps and crumbles are beloved for their simplicity and versatility. Whether it’s apple crisp in the cozy autumn, peach crisp in the peak of summer, or this delightful berry crisp made whenever sweet, plump raspberries are abundant, the method remains remarkably easy. Here’s how to create this irresistible dessert in four simple steps:
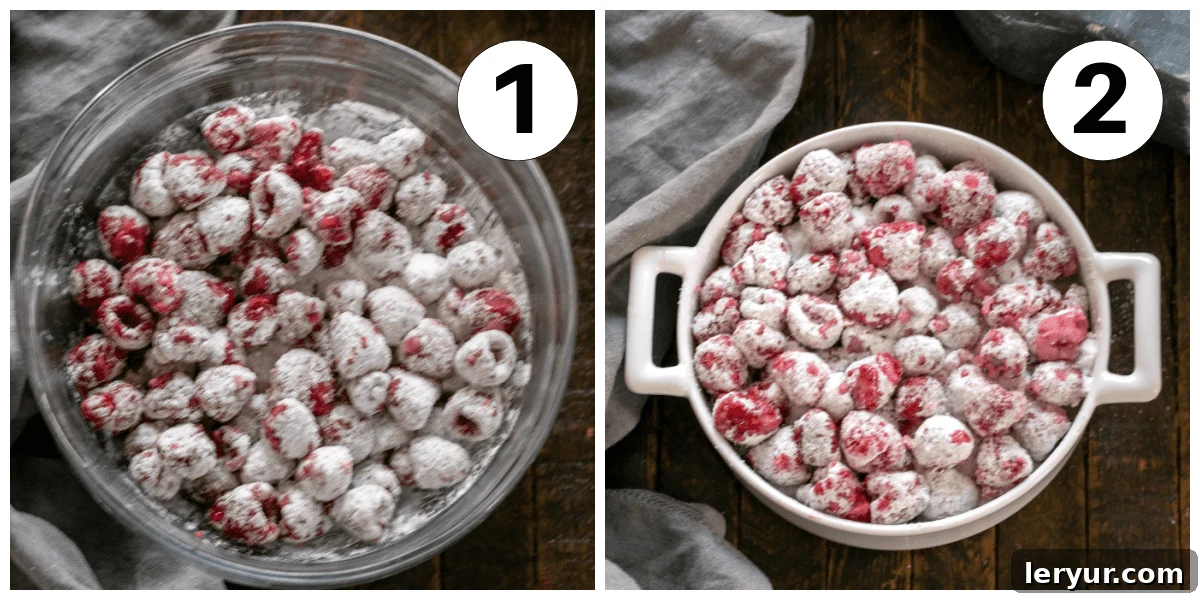
- Prepare the Raspberry Filling: In a large bowl, gently toss the fresh raspberries with granulated sugar, a touch of flour, and cornstarch. The flour and cornstarch mixture will coat the berries, helping to create a thick, glossy sauce as they bake. Handle the berries delicately to prevent crushing them.
- Transfer to Baking Dish: Lightly grease your chosen baking dish to prevent sticking. Carefully transfer the coated raspberries into the prepared dish, spreading them evenly. Any remaining sugar and cornstarch mixture in the bowl should be scraped over the berries.
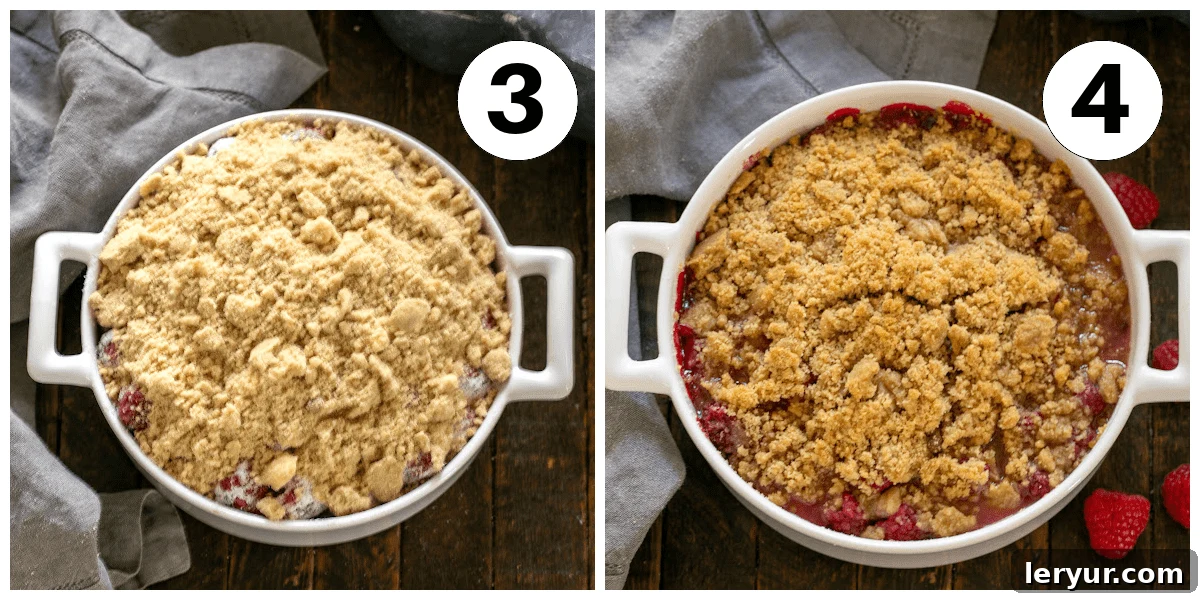
- Create the Streusel Topping: In a separate medium bowl, combine flour and brown sugar. Add the cold, cubed butter. Using a pastry blender, two knives, or your fingertips, cut the butter into the dry ingredients until the mixture resembles coarse crumbs with some pea-sized pieces of butter remaining. This technique ensures a wonderfully crisp topping.
- Bake to Perfection: Evenly sprinkle the crumbly streusel topping over the raspberry filling. Bake in a preheated oven until the topping achieves a beautiful golden brown color and, most importantly, the fruit filling in the center is visibly bubbling. The bubbling indicates that the cornstarch has properly activated, ensuring a perfectly thickened sauce.
Mastering the Art of Crisps and Crumbles: Expert Baking Tips
Achieving the perfect fruit crisp is simple with a few key techniques. These general tips apply not only to raspberry crisp but to most fruit crisps and crumbles, helping you create consistently delicious results.
- Understanding Fruit Doneness: Different fruits cook at different rates. While sturdier fruits like apples and peaches need to be cooked until they are tender and easily pierced with a fork, delicate berries like raspberries will soften much more quickly. However, regardless of the fruit, the critical indicator of doneness is the bubbling of the filling.
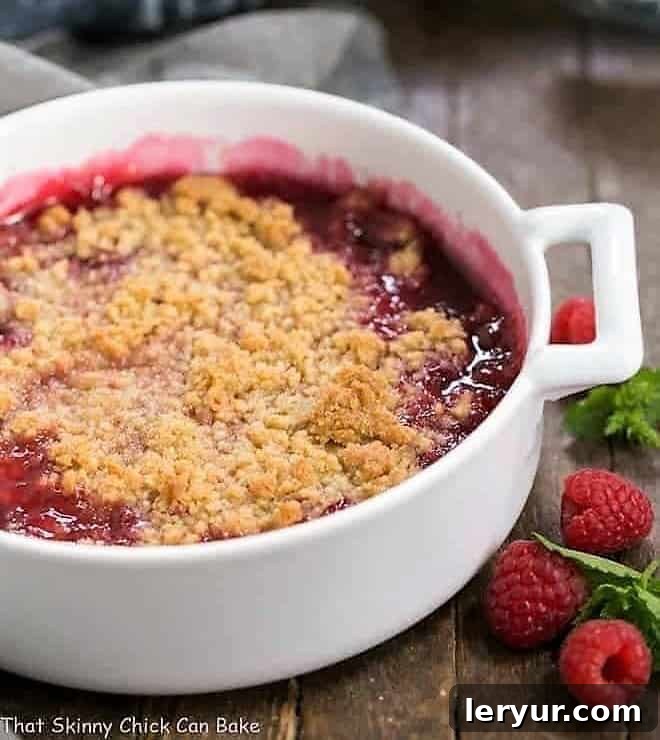
- The Crucial Bubbling Phase: Even though berries soften quickly, you absolutely must wait until the entire middle of the crisp is bubbling vigorously. PRO-Tip: This sustained boiling temperature is essential for the cornstarch (or any thickener) to properly gelatinize and thicken the fruit juices. If the center isn’t bubbling, your filling will likely be watery.
- Preventing a Watery Filling: A common pitfall is removing the crisp from the oven too early. PRO TIP: If you pull your crisp out before the filling has had a chance to boil and thicken, it will be thin and runny. While still incredibly flavorful, a thick, glossy filling offers a superior texture experience. Be patient and watch for that consistent bubbling across the surface.
- Topping Variations: Crisp and crumble topping recipes can vary widely. Many traditional crumbles include oats for a chewier texture. If, like my family, you prefer a simpler topping without oats, a classic mixture of sugar, butter, and flour creates a delightfully crispy crust. Experiment to find your favorite, but know that a basic topping is wonderfully satisfying on its own!
- Achieving Perfect Crumb Topping: After mixing your dry topping ingredients with cold, cubed butter, use your hands to work the mixture. Pinch and squeeze it between your fingers to create varied-sized crumbs. This hands-on approach helps distribute the butter effectively and ensures a lovely, textured topping.
- Browning the Topping: If your crisp topping appears a bit too pale towards the end of baking, you can carefully place it under the broiler for a minute or two to achieve a beautiful golden brown. PRO-Tip: Be extremely vigilant and watch it continuously, as the topping can go from perfectly golden to burnt in mere seconds.
- Choosing the Right Baking Dish: The size of your baking dish affects baking time. A shallower, wider dish will result in a crispier topping and faster cooking, while a deeper, narrower dish will retain more moisture and take longer. Adjust baking times accordingly.
Frequently Asked Questions About Raspberry Crisps
Can I use frozen raspberries for this crisp recipe?
While this recipe is optimized for fresh raspberries, you can certainly use frozen berries. There’s no need to defrost them; simply toss the frozen berries directly with the sugar and cornstarch mixture. Keep in mind that frozen berries release more liquid as they thaw and cook, so you will likely need to increase the amount of cornstarch by an additional tablespoon or two to ensure the filling thickens properly. Watch closely for robust bubbling in the oven to confirm activation.
How Should You Store a Fruit Crisp or Crumble?
A fruit crisp, including this raspberry version, will keep well at room temperature for up to 3 days. Simply cover it loosely with plastic wrap or aluminum foil to maintain freshness. Be aware that the topping may soften over time as it sits atop the juicy fruit filling. For longer storage, refrigerate for up to 5 days.
How Do You Reheat a Crisp Recipe?
To reheat and revive your crisp, place it in a 350-degree Fahrenheit oven for approximately 12-15 minutes, or until warmed through. This method will also help to re-crisp the topping to a degree, bringing back some of its original crunch. If you’re simply looking to warm it up without focusing on the topping’s texture, a short stint in the microwave will do the trick, though the topping will remain soft.
How Do You Extend the Life of Fresh Raspberries?
Raspberries are notoriously delicate and prone to mold. To extend their shelf life, avoid washing them until just before use. Store them in their original plastic containers or a shallow, breathable bowl in the refrigerator. Inspect them regularly and remove any mushy or moldy berries immediately to prevent spoilage from spreading.
For a proactive approach against mold, consider a quick vinegar wash. Gently rinse the raspberries in a solution of 8 cups of water and 1 cup of white vinegar. You can halve this ratio for smaller quantities of berries. After rinsing, spread the berries in a single layer on paper towels and allow them to air dry completely before returning them to the refrigerator. This method can significantly inhibit mold development.
Can I prepare the raspberry crisp ahead of time?
You can prepare components of the crisp in advance. The streusel topping can be made and stored in the refrigerator for up to 3 days, or frozen for longer. The raspberry filling can be mixed a few hours ahead and kept in the refrigerator, but it’s best to assemble and bake just before serving for the freshest taste and best topping texture.
What are the best serving suggestions for raspberry crisp?
A warm raspberry crisp is absolutely divine served with a generous scoop of classic vanilla bean ice cream, allowing it to melt slightly into the warm fruit. Other excellent options include a dollop of freshly whipped cream, a drizzle of crème fraîche, or even a spoonful of plain Greek yogurt for a lighter touch.

Explore More Raspberry & Berry Delights
If you’ve fallen in love with the ease and deliciousness of this Fresh Raspberry Crisp, you’ll surely enjoy exploring these other fantastic berry-inspired recipes:
- Strawberry Buttermilk Cake from The View from Great Island
- Lattice Topped Raspberry Pie
- Raspberry Topped Mini Cheesecakes
- Raspberry Squares
- Best Berry Desserts
- Best Dessert Recipes
Stay connected and share your culinary adventures! Follow me on Instagram, Facebook, and Pinterest. Don’t forget to tag me when you whip up one of my recipes! If you adore the results, please consider giving it a 5-star rating in the recipe card below.
Fresh Raspberry Crisp
15 minutes
45 minutes
1 hour
6 servings
An easy summer berry dessert that will knock your socks off!
Ingredients
Filling:
- 5 cups fresh raspberries
- 5 tablespoons cornstarch
- ¾ cup granulated sugar
Topping:
- ½ cup all-purpose flour
- ¼ cup packed light brown sugar
- ¼ cup unsalted butter, cold and cut into cubes
Instructions
- Preheat your oven to 350 degrees Fahrenheit (175°C).
- Lightly spray a 9 x 9-inch baking pan (or similar size) with non-stick cooking spray. Set aside.
- In a large bowl, combine the fresh raspberries, granulated sugar, and cornstarch. Toss gently to ensure all berries are lightly coated. Pour the mixture into the prepared baking dish, distributing the berries evenly. Scrape any remaining sugar and cornstarch from the bowl over the fruit.
- To make the topping, in a medium bowl, whisk together the flour and brown sugar until well combined. Add the cold, cubed butter. Using a pastry blender, two knives, or your fingertips, cut the butter into the flour mixture until it forms coarse crumbs. Some pea-sized pieces of butter are desirable for a crumbly texture.
- Evenly sprinkle the prepared crumb topping over the raspberry filling in the baking dish.
- Bake for 35-45 minutes, or potentially longer, until the topping is golden brown and the fruit filling in the very center of the crisp is visibly bubbling. This bubbling indicates that the cornstarch has activated, ensuring a thick and glossy sauce.
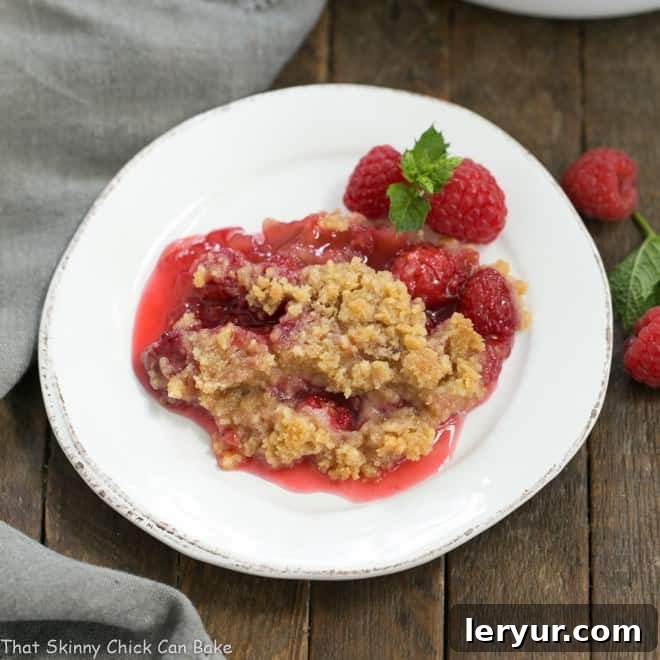
- Serve the raspberry crisp warm, ideally with a generous scoop of vanilla ice cream or a dollop of sweetened whipped cream for an unforgettable dessert experience.
Notes
Feel free to use a baking dish that’s slightly larger or smaller than 9×9 inches. A larger, shallower dish might cook a bit faster, while a deeper one may take longer. Always monitor for bubbling to ensure doneness.
If using frozen raspberries, you might need an extra tablespoon or two of cornstarch to account for the increased moisture release. Do not thaw the berries before mixing.
Recommended Products
As an Amazon Associate and member of other affiliate programs, I earn from qualifying purchases.
- Smithcraft Stainless Steel Measuring Cups Set
- Measuring Spoons
- Pastry Blender
- Set of Glass Mixing Bowls
Nutrition Information:
Yield:
6
Serving Size:
1
Amount Per Serving:
Calories: 310Total Fat: 8gSaturated Fat: 5gTrans Fat: 0gUnsaturated Fat: 3gCholesterol: 20mgSodium: 65mgCarbohydrates: 59gFiber: 7gSugar: 37gProtein: 2g
HOW MUCH DID YOU LOVE THIS RECIPE?
Please leave a comment on the blog or share a photo on Pinterest