
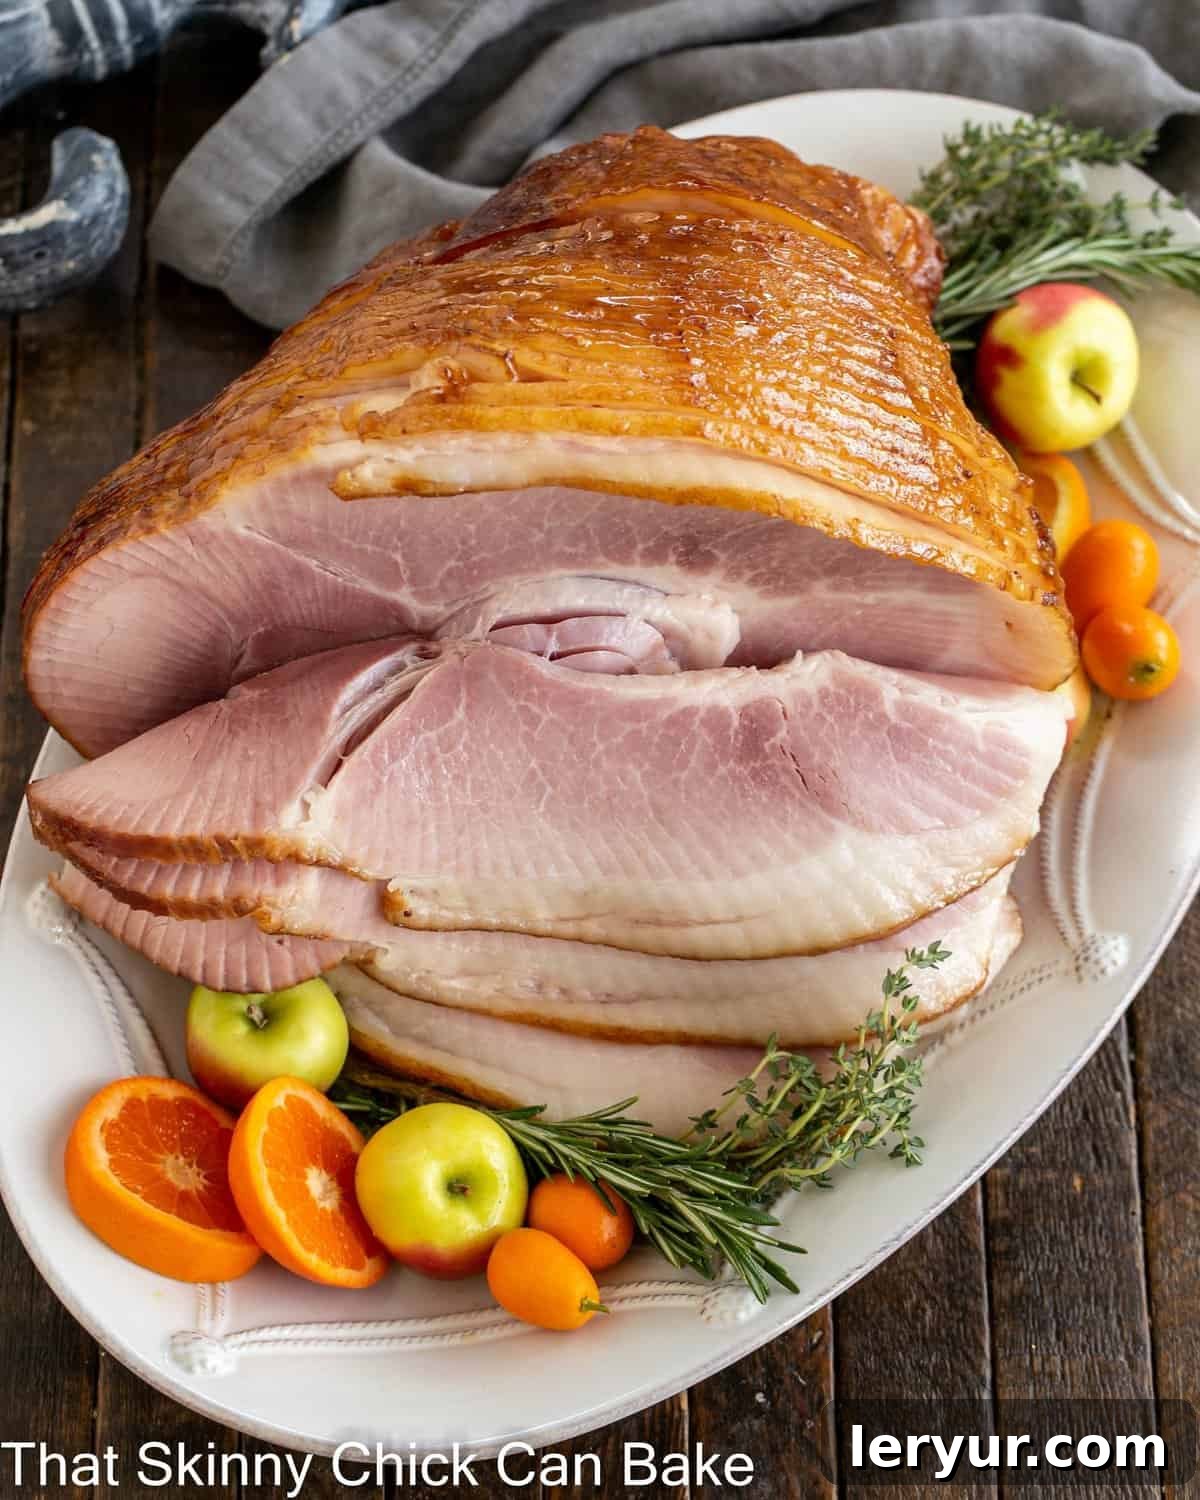
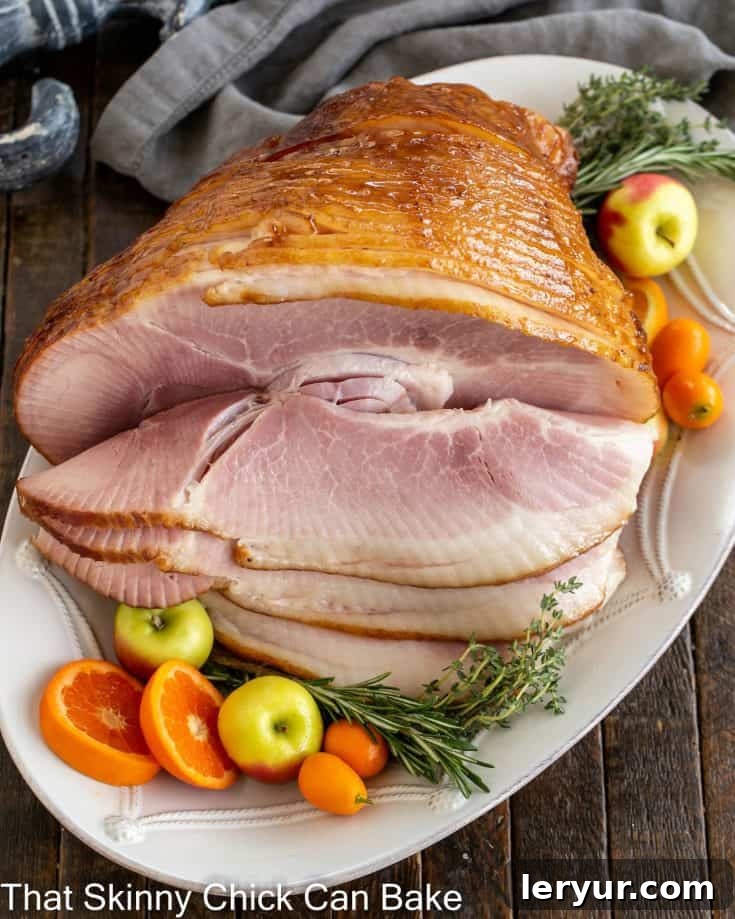
Mastering the Art of Glazed Ham is far simpler and more rewarding than you might imagine. A homemade glaze elevates your ham from a mere dish to a dazzling centerpiece, bursting with flavor. Forget those mystery packets that come with store-bought hams; crafting your own glaze puts you in complete control of every delicious ingredient, ensuring a wholesome and unforgettable meal for your loved ones.
This comprehensive guide to baking and glazing ham is your ultimate resource for holiday feasts, significant family gatherings, or any occasion deserving of a show-stopping main course. Once you experience the irresistible allure of this simple yet profound Honey Mustard Ham Glaze, preparing a beautifully glazed ham will undoubtedly become a cherished annual tradition in your kitchen.
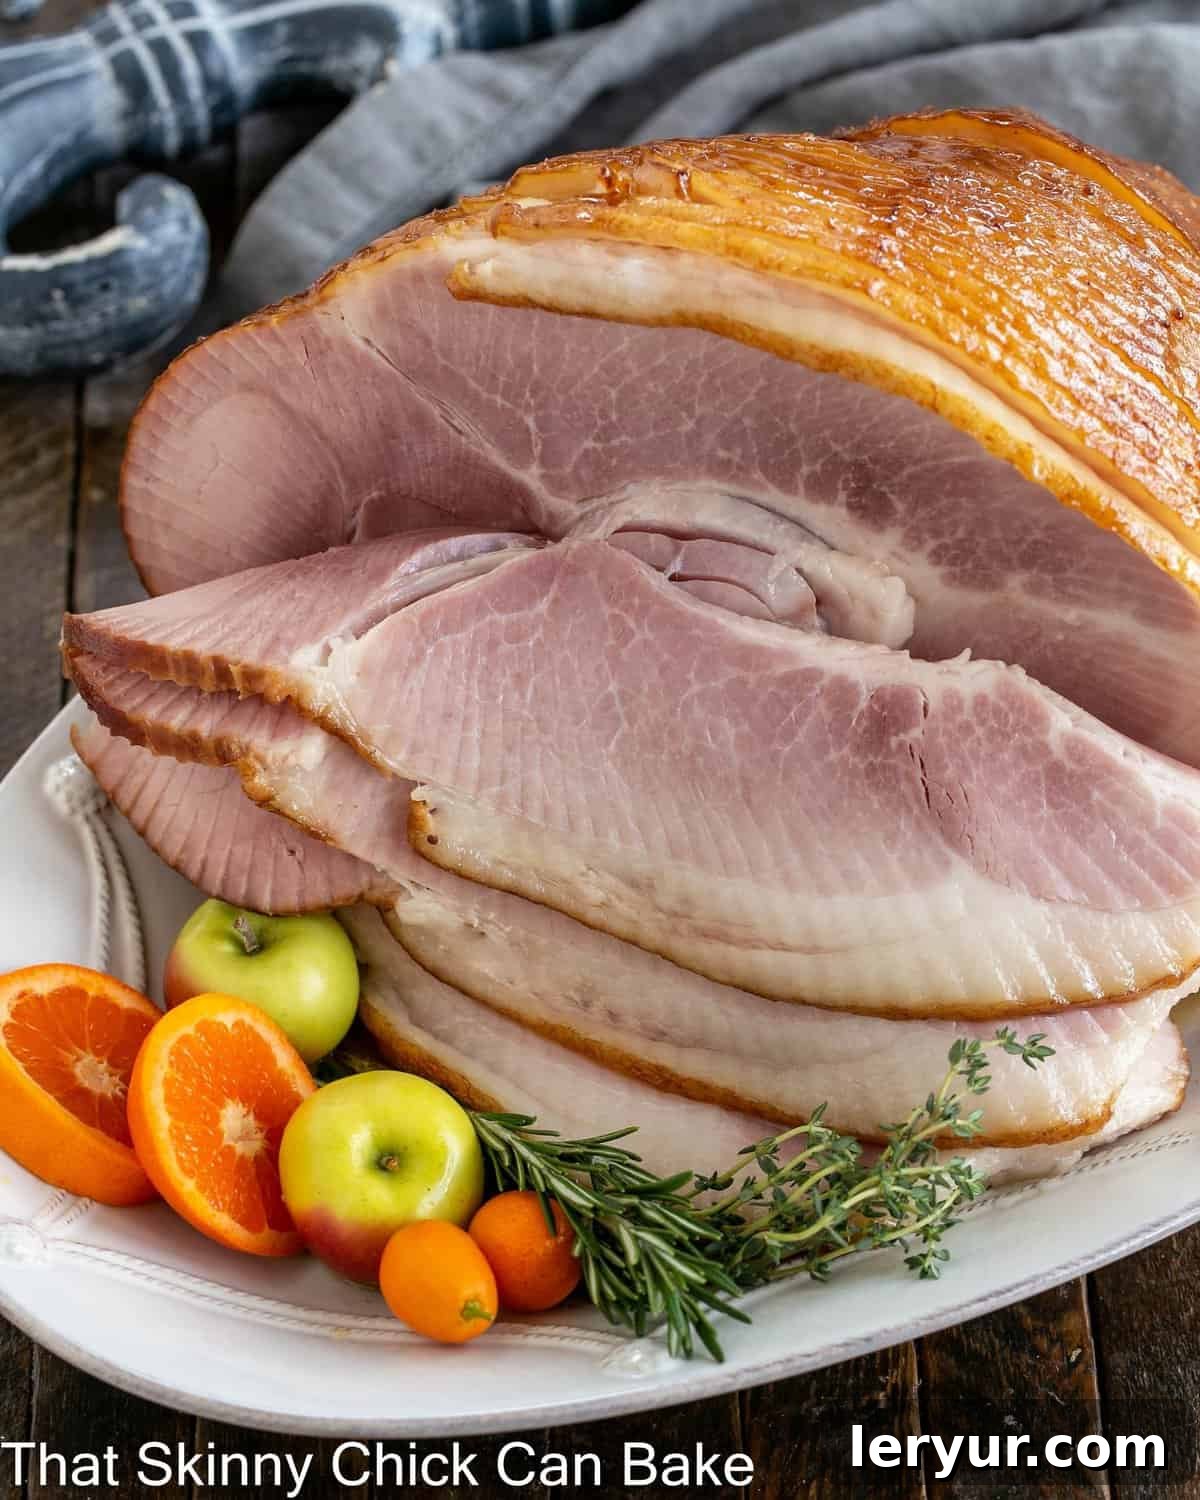
Why Homemade Glazed Ham is a Must-Try Culinary Experience
There’s an unparalleled satisfaction that comes with serving a homemade glazed ham, especially when compared to relying on pre-packaged glazes. Here’s why this recipe deserves a prime spot in your culinary repertoire:
- Uncompromised Ingredient Control: You have absolute authority over every single component that goes into your glaze. This means no artificial flavors, colors, or preservatives – just pure, natural goodness.
- Wholesome, Additive-Free Goodness: Say goodbye to unknown additives and complex chemical names. Our glaze relies solely on simple, fresh ingredients, offering a healthier and more transparent option for your family. Ditch that complimentary glaze packet without a second thought!
- Effortless Preparation: Don’t let the impressive results fool you; this glaze comes together in mere minutes. There’s truly no justifiable reason not to try this spiral ham recipe and transform your ham into a culinary masterpiece.
- Tailored Flavor Profile: Crafting your own glaze allows you to customize the flavor to your exact preference. Whether you prefer a sweeter, tangier, or spicier profile, the power is in your hands to adjust and perfect.
- Elevated Culinary Experience: A homemade glaze isn’t just about taste; it also contributes to a stunning visual presentation. The rich, caramelized exterior of a properly glazed ham is a feast for the eyes, promising a memorable dining experience.
Expert Tips for a Perfectly Glazed Ham Every Time
Achieving a succulent, beautifully glazed ham is easier than you think with these professional insights. Follow these tips to ensure your ham is moist, flavorful, and perfectly caramelized:
- PRO-Tip: Prioritize Bone-In Ham for Superior Flavor and Moisture. When selecting your ham, opt for a bone-in variety. The bone acts as a natural heat conductor, helping the ham cook more evenly and retaining moisture. Furthermore, it infuses the meat with a deeper, more robust flavor that simply can’t be matched by boneless alternatives.
- PRO-Tip: Smart Portioning for Your Guests. To accurately plan your meal, remember these guidelines: for boneless ham, aim for approximately ½ pound per person. If you’re using a bone-in ham, which has more weight from the bone, plan for ¾ pound per person. Always consider if you desire leftovers when making your purchase.
- Choose a Fully Cooked Ham for Convenience and Safety. Always purchase a “fully cooked” ham, not an uncooked one, unless you’re experienced with curing and smoking. Check the ingredient list to ensure it’s primarily ham, avoiding products with excessive additives or brines that might alter the flavor.
- Temper Your Ham for Even Cooking. Remove your ham from the refrigerator about one hour before you plan to begin roasting. Allowing it to come closer to room temperature helps take the chill off the meat, promoting more even cooking and preventing the exterior from drying out while the interior catches up.
- PRO-Tip: Initial Baking Under Cover for Maximum Moisture. Begin by baking your ham covered tightly with aluminum foil. Place about ½ cup of water or chicken broth at the bottom of the roasting pan. This creates a steamy environment that prevents the ham from drying out as it slowly comes up to temperature, ensuring a tender and juicy result before glazing begins.
- Customize Your Glaze with Aromatic Spices. While our honey mustard glaze is fantastic as is, don’t hesitate to personalize it. A touch of ground cloves adds a warm, aromatic depth. Cinnamon can introduce a subtly sweet and festive note, while dried thyme offers an earthy, savory counterpoint. Experiment to find your perfect flavor profile!
- Score Non-Spiral Hams for Better Glaze Penetration and Presentation. If you’re not using a pre-sliced spiral-cut ham, it’s beneficial to score the fatty layer on top in a crosshatch pattern. This not only helps render the fat more effectively, but also creates a beautiful diamond design perfect for inserting whole cloves, enhancing both flavor and visual appeal.
- Increase Oven Temperature for a Beautiful Caramelized Finish. After applying the glaze multiple times, increase the oven temperature during the final stages of cooking. This higher heat helps caramelize the sugars in the glaze, creating that desirable golden-brown, slightly sticky, and irresistibly delicious crust on the exterior of the ham.
- PRO-Tip: Vigilance is Key to Prevent Burning. Sugars in the glaze can burn quickly at high temperatures. Once you increase the oven temperature for browning, monitor your ham carefully. If it starts to darken too rapidly, you can loosely tent it with foil to prevent scorching while the interior finishes cooking.
- Rest Your Ham for Optimal Juiciness. Once your glazed ham is out of the oven, cover it loosely with foil and let it rest for at least 10-15 minutes before carving. This crucial step allows the juices to redistribute evenly throughout the meat, ensuring every slice is incredibly tender and moist. Serve your perfectly glazed ham warm for the best experience.
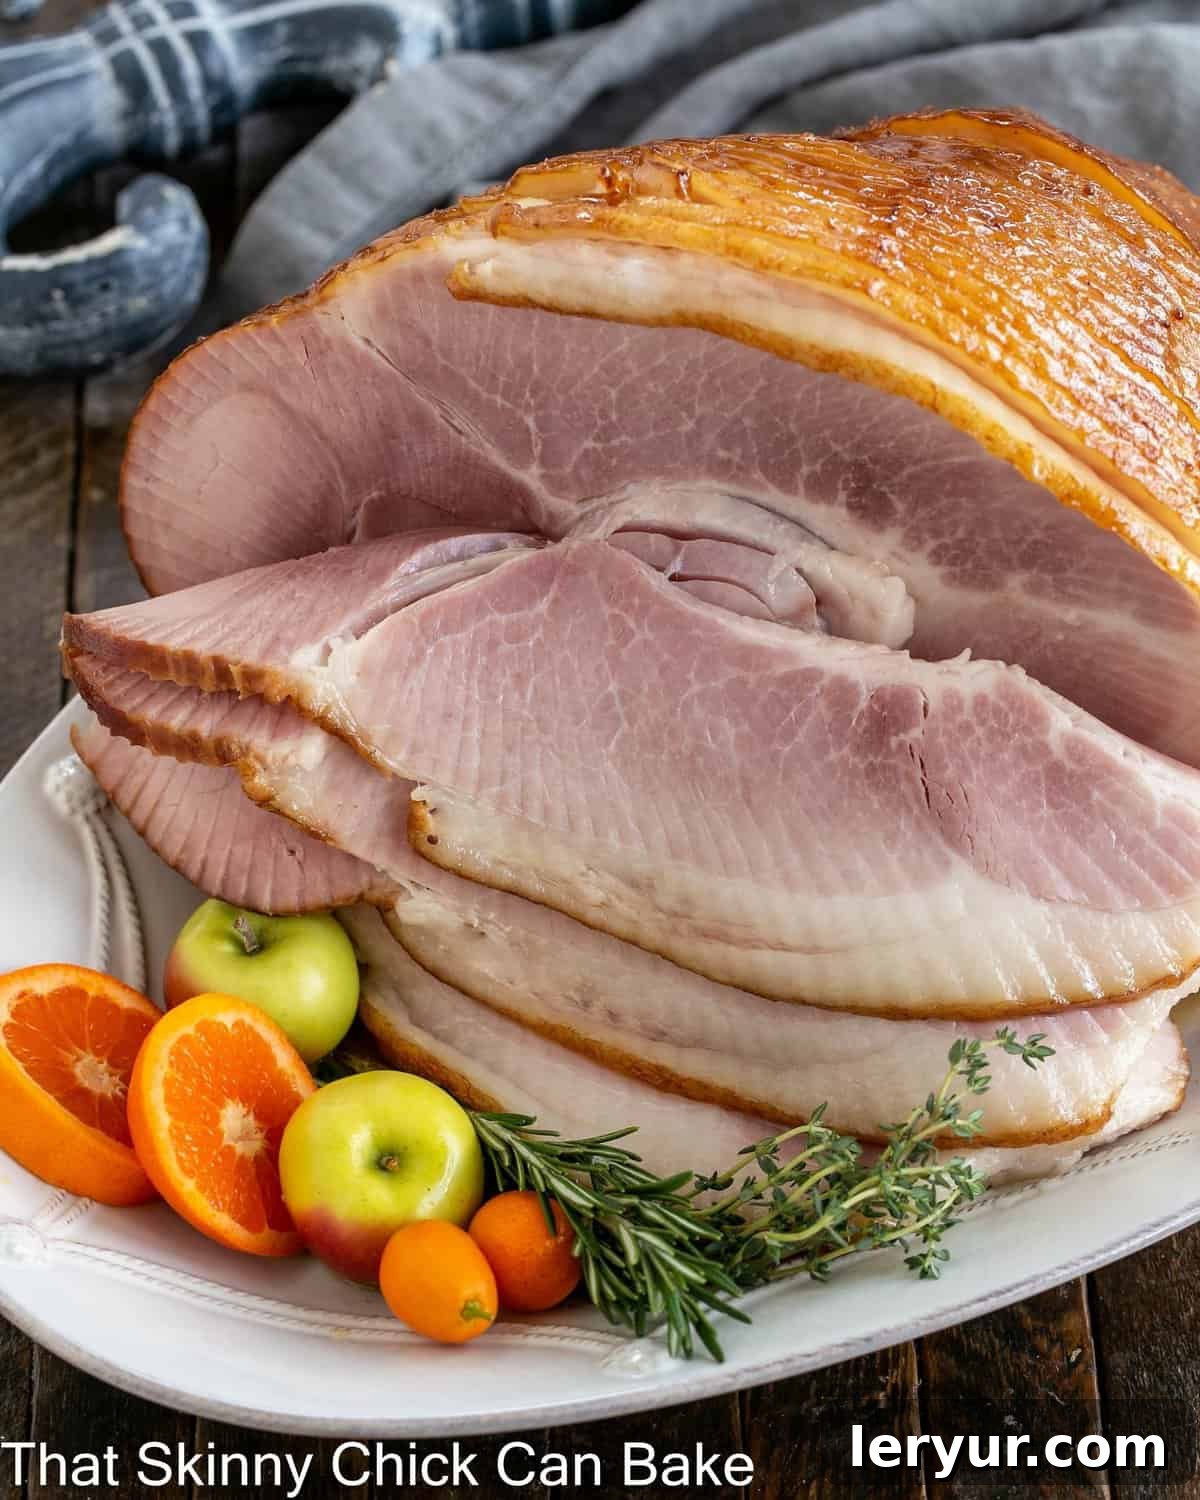
Serving Suggestions: Perfect Pairings for Your Glazed Ham
A beautifully glazed ham deserves an equally impressive spread of side dishes. Here are some delectable recipes that complement the sweet and savory notes of our Baked Ham, creating a balanced and satisfying meal:
- Scalloped Potatoes: Creamy, cheesy, and utterly comforting, scalloped potatoes are a classic pairing that provides a rich, savory counterpoint to the ham’s sweetness.
- Cream Cheese Mashed Potatoes: For an extra luxurious and smooth texture, these mashed potatoes offer a decadent base that perfectly soaks up any ham juices and glaze.
- Roasted Vegetables: A medley of vibrant roasted vegetables brings freshness and a delightful textural contrast.
- Garlic Parmesan Roasted Green Beans: Crisp-tender green beans with savory garlic and Parmesan cheese add a healthy and flavorful crunch.
- Roasted Asparagus with Balsamic Browned Butter: Elegant and slightly tangy asparagus spears provide a delicate bitterness that cuts through the richness of the ham.
- Honey Balsamic Roasted Carrots: Sweet carrots roasted with honey and balsamic vinegar echo the glaze’s flavors beautifully, offering a harmonious side.
- Glazed Carrots Recipe: Another fantastic carrot option, perhaps with a different flavor profile like bourbon maple, to continue the theme of sweet and savory.
- Easy Corn Casserole: A creamy and slightly sweet corn casserole is a crowd-pleaser that adds a touch of Southern comfort to your spread.
- Homemade Boston Baked Beans: Hearty and robust, these slow-cooked beans with a touch of molasses and bacon (or extra ham!) are a traditional and satisfying accompaniment.
- Spinach Soufflé: A light, airy, and elegant spinach soufflé provides a sophisticated green vegetable option that is surprisingly easy to make.
- Homemade Crescent Rolls: Warm, buttery, and flaky crescent rolls are perfect for soaking up any leftover glaze or juices and are always a welcome addition to any meal.
What to Do with Leftover Ham: Creative Culinary Transformations
One of the best parts about baking a large ham is the treasure trove of leftovers! Ham is incredibly versatile, adding a smoky, savory depth to a multitude of dishes. Don’t let a single morsel go to waste – here are some delicious ideas to transform your leftover ham:
- Classic Sandwiches & Sliders: Simply slice or shred your leftover ham for incredible ham sandwiches. For a party favorite, assemble small ham and cheese sliders on Hawaiian rolls, perhaps with a dab of Dijon mustard.
- Hearty Soups & Stews: Dice leftover ham and add it to a variety of soups and stews. It’s an absolute star in my Split Pea Soup, lending richness and flavor. It also works wonderfully in navy bean soup, lentil soup, or even a robust vegetable soup.
- Comforting Casseroles: Ham is a natural fit for casseroles. Incorporate chopped ham into potato casseroles, mac and cheese bakes, or even a strata for breakfast or brunch. Its salty notes balance creamy sauces beautifully.
- Breakfast Power-Up: Forget bacon – fry up some thinly sliced leftover ham to serve alongside your eggs, pancakes, or waffles. It adds a satisfying savory element to any breakfast plate.
- Savory Hash: Substitute ham for corned beef when making a breakfast hash. Sauté diced ham with potatoes, onions, and bell peppers, then top with a fried egg for a truly delicious and filling meal.
- Elegant Quiches & Frittatas: Add chopped ham to your favorite quiche or frittata recipe. It pairs wonderfully with cheeses, spinach, mushrooms, and onions, making for a sophisticated brunch or light dinner.
- Pasta Dishes: Toss cubed ham into pasta salads, creamy pasta sauces, or even a simple carbonara for an extra layer of flavor and protein.
- Homemade Ham Bone Broth: Don’t discard that ham bone! Simmer it with vegetables like carrots, celery, and onions, along with some bay leaves and peppercorns, to create a deeply flavorful ham bone broth. This broth is perfect as a soup base or for cooking grains like rice or risotto.
The options are truly endless, proving that a single glazed ham can inspire several fantastic meals throughout the week!
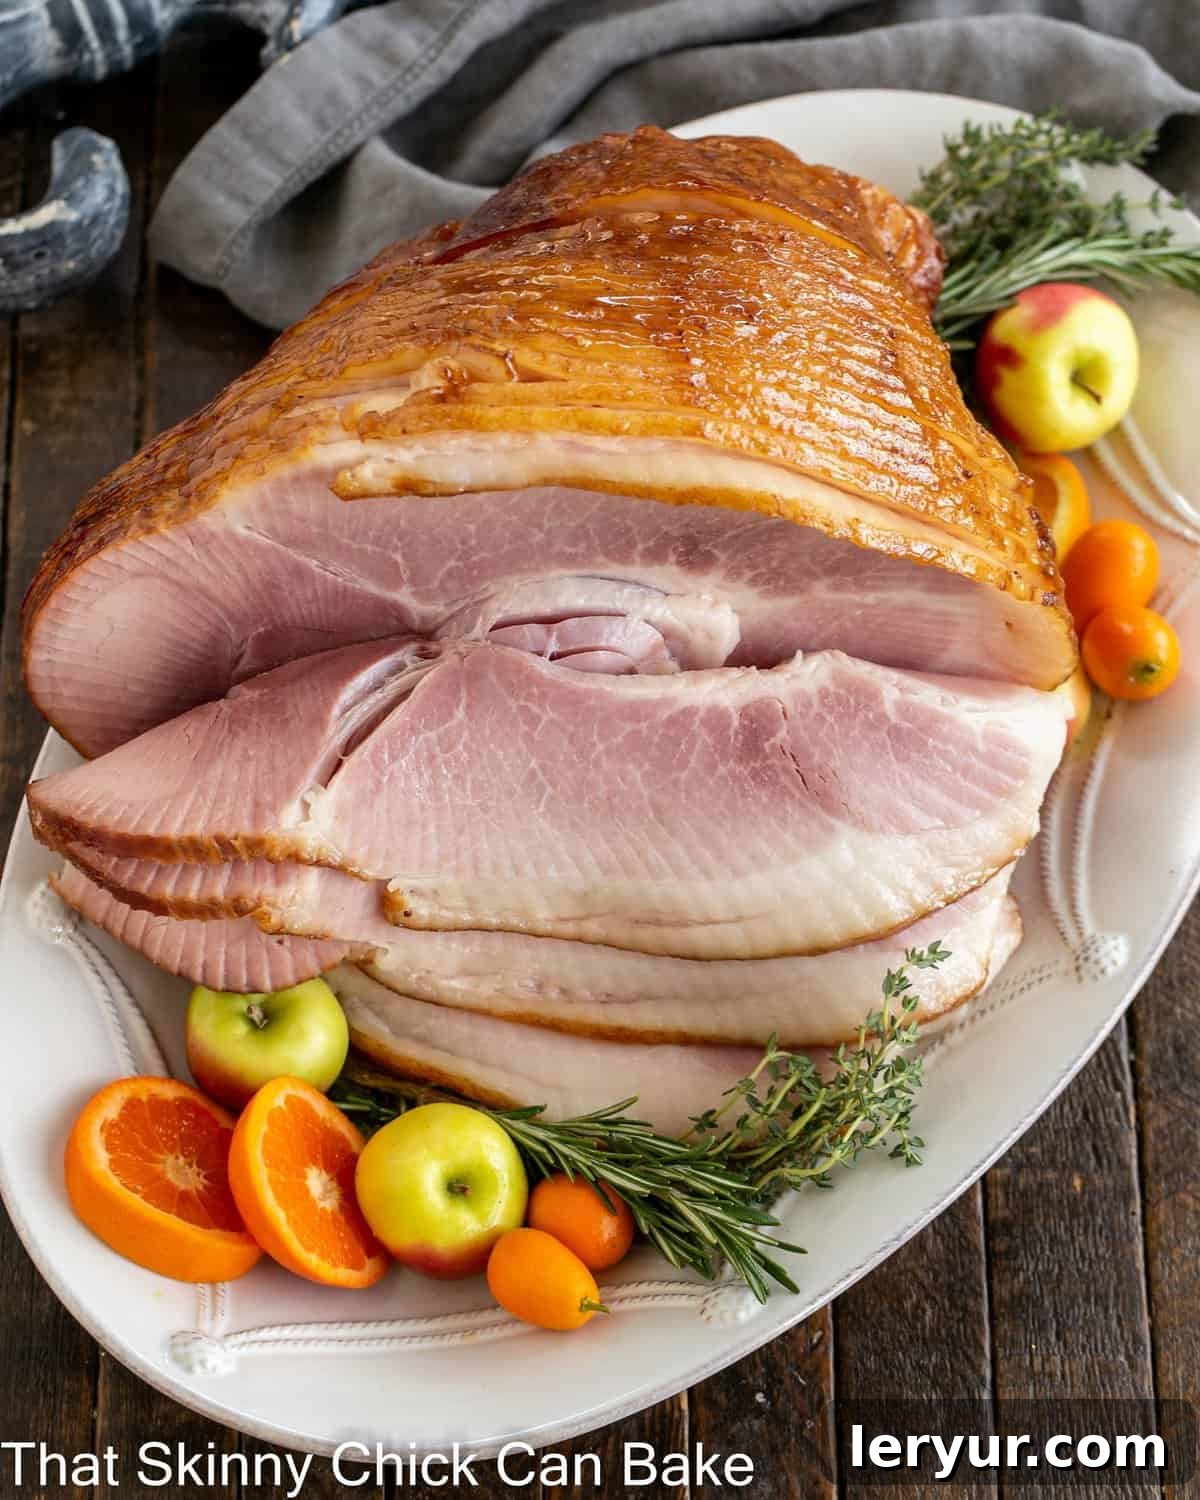
Frequently Asked Questions About Glazing Ham
Glazing a ham serves multiple purposes, transforming an already delicious cut of meat into a culinary masterpiece. Firstly, it imparts a stunning, caramelized color to the exterior, making your ham incredibly appealing. Beyond aesthetics, the sweet glaze perfectly complements the inherent saltiness and savory notes of the ham, creating a harmonious flavor balance. If you employ a quick browning technique like increasing the oven temperature or briefly using the broiler at the end, the glaze can also contribute a wonderful texture as the fat crisps up. Just remember to watch it closely to prevent burning the sugars!
The optimal time to start glazing your ham is after it has been thoroughly heated through. Begin by cooking your ham, covered with foil, in the oven until its internal temperature reaches about 130-140°F (54-60°C). This usually takes approximately 1 to 1½ hours for an 8-10 pound ham, depending on its size and your oven. Once it’s heated through, remove the foil, increase the oven temperature, and begin brushing generously with your prepared glaze. Repeat this glazing process every 10 to 15 minutes for 2-3 applications to build up a beautiful, flavorful crust.
Planning the right ham size depends on your guest count and whether you desire leftovers. A general rule of thumb is to calculate ½ pound of ham per person if you’re purchasing a boneless ham. For a bone-in ham, which has more non-edible weight, you should plan for ¾ pound of ham per person. Always factor in potential leftovers for sandwiches, soups, or other delicious post-holiday meals when deciding on the total weight of ham to buy.
The total baking time for a fully cooked ham will vary based on its size and the specific oven temperature. The primary goal is to heat the ham thoroughly without drying it out. A fully cooked ham should be heated to an internal temperature of 140°F (60°C) before serving. For an 8-10 pound fully cooked, bone-in ham, this typically involves an initial covered baking period of 1 to 1½ hours at 325°F (160°C), followed by 45-60 minutes of glazing and browning at a slightly higher temperature, around 350-400°F (175-200°C).
Absolutely! Preparing the ham glaze in advance is a fantastic time-saving tip, especially when preparing for a holiday meal. You can make the honey mustard glaze up to 2-3 days ahead of time and store it in an airtight container in the refrigerator. When you’re ready to use it, gently reheat it over low heat on the stovetop until it’s warmed through and easily brushable. This makes the glazing process on the day of serving much smoother.
Proper storage is key to enjoying your leftover ham safely and deliciously. Once the ham has cooled to room temperature (within 2 hours of serving), carve any remaining meat off the bone and store it in airtight containers in the refrigerator. It will keep well for 3-5 days. For longer storage, tightly wrap slices or portions of ham and freeze for up to 1-2 months. Thaw in the refrigerator before reheating.
Explore More Delicious Ham Recipes and Main Dishes
If you love the versatility of ham or are looking for other fantastic main course ideas, explore these additional recipes:
- Ham Salad Recipe from Spend with Pennies: A quick and easy way to use up leftover ham, perfect for sandwiches or crackers.
- Navy Bean Soup with Ham: A hearty and comforting classic, ideal for utilizing that ham bone and leftover meat.
- Ham and Cheese Breakfast Sliders: Perfect for a casual brunch or a make-ahead breakfast, these are always a hit.
- More Easy Main Dish Recipes: Discover a wider array of delicious and approachable main courses for any occasion.
Stay connected with our culinary journey through social media! Follow us on Instagram, Facebook, and Pinterest for daily inspiration and delicious updates. Don’t forget to tag us when you create one of our recipes! And if you’re delighted with the results, please consider giving it a 5-star rating in the recipe card below – your feedback means the world to us.
Honey Mustard Ham Glaze Recipe
10 minutes
2 hours 15 minutes
10 minutes
2 hours 35 minutes
10-12 servings
A simple yet irresistible homemade ham glaze that elevates your ordinary ham into an extraordinary culinary delight! This Honey Mustard Glaze creates a perfect main dish for Easter, Christmas, and other festive holidays.
Ingredients
- 1 bone-in, fully cooked 8-10 pound ham
- ½ cup water (or chicken broth)
- 4 tablespoons unsalted butter
- ½ cup honey
- 1 cup light brown sugar, packed
- 1 tablespoon Dijon mustard
- 1 tablespoon whole grain mustard
- ⅛ teaspoon ground cloves (optional, for added spice)
Instructions
- Bring the ham out of the refrigerator at least one hour before you plan to start roasting. This allows it to come closer to room temperature for more even cooking.
- Preheat your oven to 325°F (160°C) when you are ready to begin the roasting process.
- Place the ham, cut side down, on a rack set within a large roasting pan. Pour ½ cup of water (or chicken broth for extra flavor) into the bottom of the pan. Cover the entire roasting pan tightly with heavy-duty aluminum foil.
- Cook the ham until it is thoroughly heated through, reaching an internal temperature of 130-140°F (54-60°C). This will typically take 1 to 1½ hours for an 8-10 pound ham.
- While the ham is in the oven heating, prepare your luscious glaze.
- In a small saucepan, melt the butter over medium heat. Once melted, add the honey, brown sugar, Dijon mustard, whole grain mustard, and ground cloves (if using). Whisk all the ingredients together until well combined. Bring the mixture to a gentle simmer, stirring occasionally, until the brown sugar has completely dissolved and the glaze is smooth and slightly thickened. Remove from heat.
- Once the ham has reached the desired internal temperature, remove the foil. Generously brush or spoon a layer of the prepared glaze over the entire surface of the hot ham. Return the ham to the oven and continue baking for about 15 minutes. Repeat this glazing and baking process two to three more times at 15-minute intervals, ensuring the ham is evenly coated and building a beautiful glaze.
- For the final touch, increase the oven temperature to 400°F (200°C). Brush one last layer of glaze onto the ham and cook for another 10-15 minutes, or until the glaze achieves a rich, golden-brown, and slightly caramelized finish. It’s crucial to watch the ham carefully during this stage, as the high sugar content in the glaze can burn quickly.
- Remove the glazed ham from the oven, cover it loosely with foil, and allow it to rest for at least 10 minutes before carving. This resting period is essential for the juices to redistribute, ensuring a tender and moist ham. Slice and serve warm.
Notes
Feel free to adjust the amount of ground cloves to your liking, or experiment with other warming spices. Cinnamon and/or dried thyme are also excellent and tasty additions to this glaze, offering different aromatic profiles.
The amount of glaze specified in this recipe is generous, designed for a large (8-10 pound) ham. If you are preparing a smaller ham, you can easily halve the glaze recipe.
Recommended Products
As an Amazon Associate and member of other affiliate programs, I earn from qualifying purchases.
- Thermapen Instant Read Thermometer
- Silicone Pastry Brush
- Heavy Duty Aluminum Foil
- Roasting Pan
Nutrition Information:
Yield:
12
Serving Size:
1
Amount Per Serving:
Calories: 557Total Fat: 19gSaturated Fat: 5gTrans Fat: 0gUnsaturated Fat: 9gCholesterol: 204mgSodium: 3038mgCarbohydrates: 30gFiber: 0gSugar: 30gProtein: 67g
Thatskinnychickcanbake.com occasionally offers nutritional information for recipes contained on this site. This information is provided as a courtesy and is an estimate only. This information comes from online calculators. Although thatskinnychickcanbake.com attempts to provide accurate nutritional information, these figures are only estimates.
Varying factors such as product types or brands purchased can change the nutritional information in any given recipe. Also, many recipes on thatskinnychickcanbake.com recommend toppings, which may or may not be listed as optional and nutritional information for these added toppings is not listed. Other factors may change the nutritional information such as when the salt amount is listed “to taste,” it is not calculated into the recipe as the amount will vary. Also, different online calculators can provide different results.
To obtain the most accurate representation of the nutritional information in any given recipe, you should calculate the nutritional information with the actual ingredients used in your recipe. You are solely responsible for ensuring that any nutritional information obtained is accurate.
HOW MUCH DID YOU LOVE THIS RECIPE?
Please leave a comment on the blog or share a photo on Pinterest