
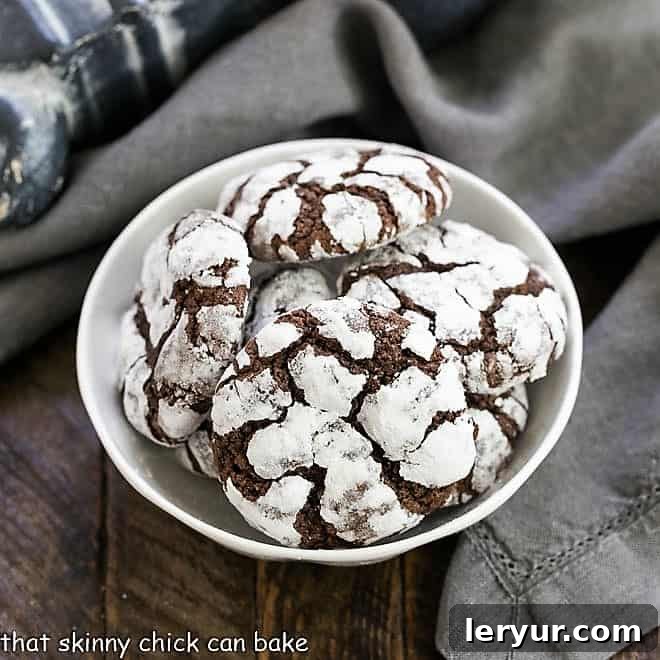
When an intense craving for rich, chocolatey goodness strikes, nothing satisfies quite like these incredible Fudgy Chocolate Earthquake Cookies. These aren’t just any cookies; they’re a decadent experience designed to fulfill your deepest chocolate desires with every chewy, fudgy bite!
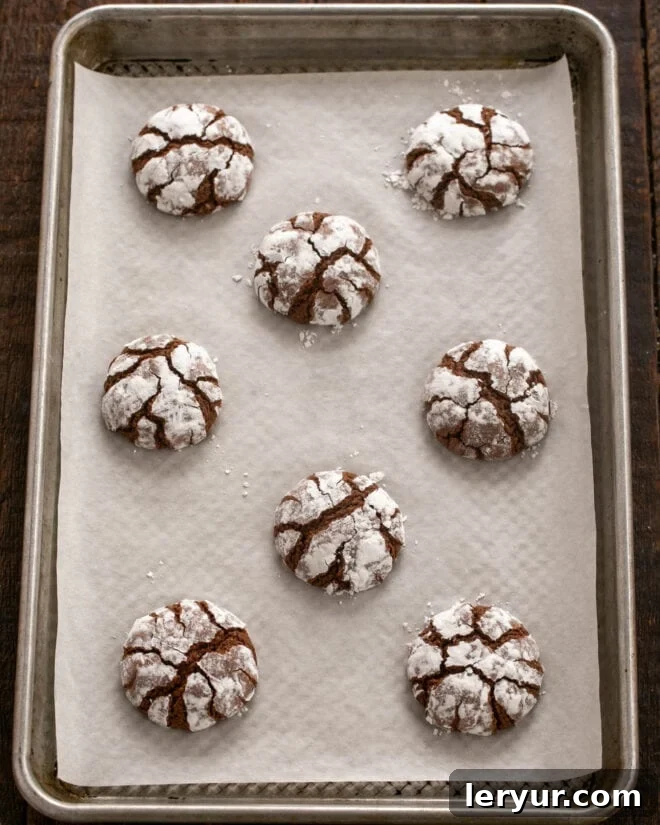
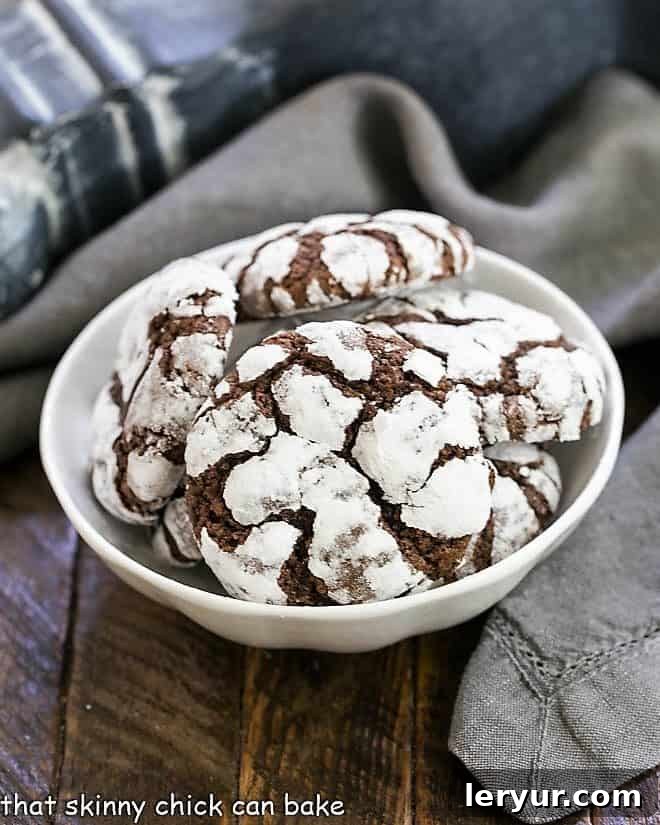
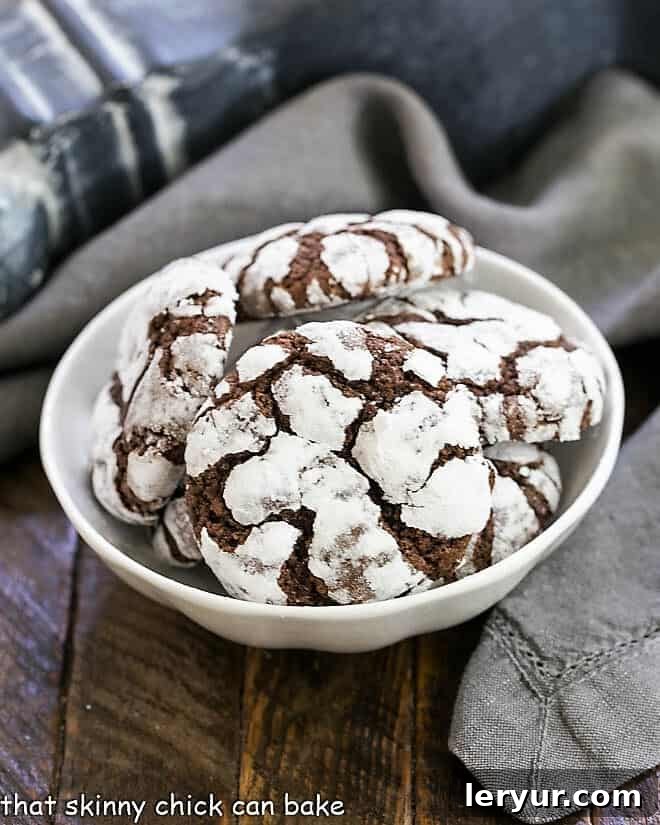
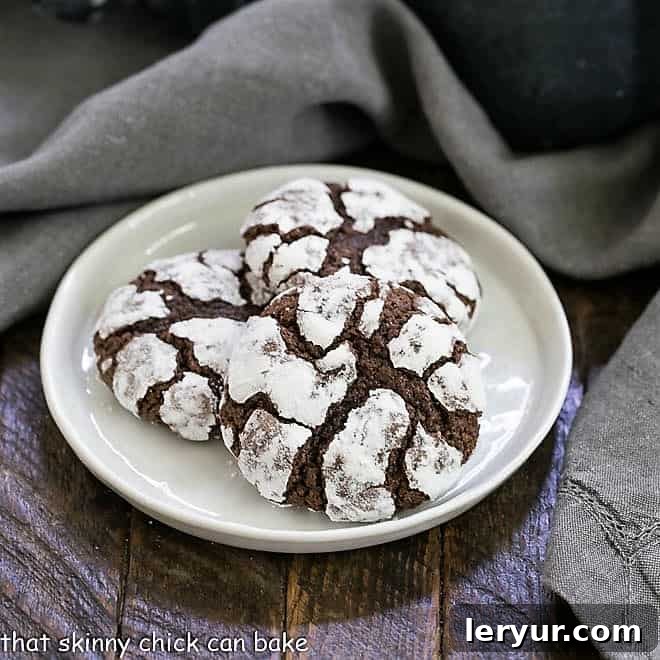
Each perfectly portioned dough ball is generously rolled in a blanket of powdered sugar before baking. As they warm and expand in the oven, the dark chocolate dough beautifully cracks, creating a distinct pattern reminiscent of earthquake faults or a charming snowy landscape. This unique visual appeal, combined with their utterly irresistible flavor and melt-in-your-mouth texture, makes these Chocolate Crinkle Cookies a standout treat. Get ready to bake a batch that will impress everyone, from casual snackers to serious chocoholics!
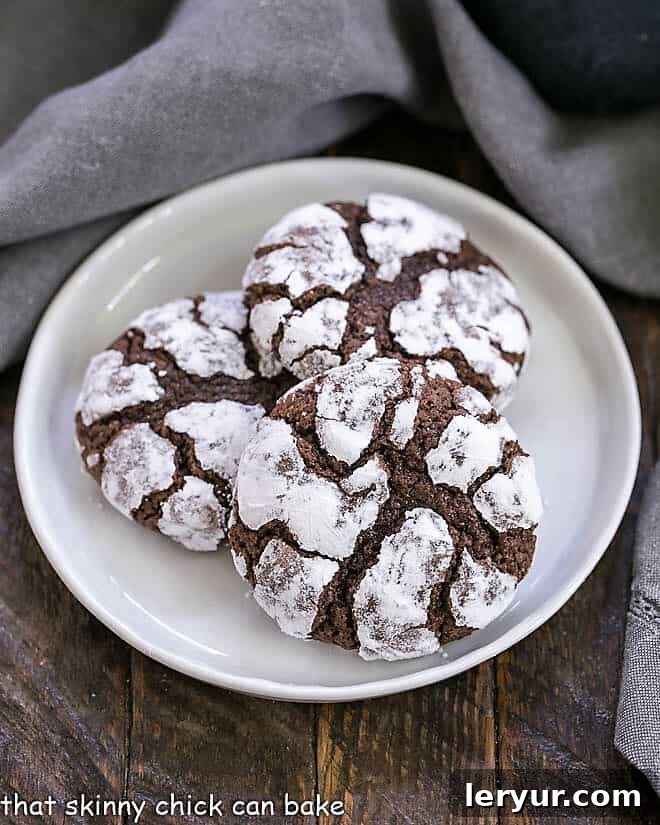
Why These Fudgy Chocolate Earthquake Cookies Are a Must-Bake
There are countless cookie recipes out there, but these Fudgy Chocolate Earthquake Cookies hold a special place for several compelling reasons. They go beyond the ordinary, offering a truly superior chocolate experience that will have you reaching for more.
- Elevated Classic: While I’ve enjoyed baking classic recipes like Martha Stewart’s Chocolate Crackle Cookies and other delightful Chocolate Crinkles many times, this particular recipe takes the concept to a new level. It builds on the beloved crinkle cookie tradition, refining it for an even more exquisite result.
- The Ultimate Fudginess Factor: What sets this recipe apart is its unparalleled fudginess. A dear friend, Sharon, generously shared her mother’s secret recipe, which consistently yields cookies that are significantly fudgier than any other I’ve tried. Who can resist the allure of an extra-fudgy chocolate cookie? This recipe delivers that deep, moist, intensely chocolatey interior that chocoholics dream about.
- Perfect for Any Occasion, Especially Holidays: Beyond their incredible taste and texture, these cookies boast a charming appearance that makes them perfect for any gathering. The generous coating of powdered sugar, contrasted with the dark chocolate cracks, evokes the serene beauty of a fresh snowfall. This makes them an absolutely enchanting addition to your holiday dessert platters, bringing a festive touch to Christmas, New Year’s, or any winter celebration. Yet, their universal appeal means they’re equally welcome at birthdays, potlucks, or simply as an everyday indulgence.
These cookies aren’t just a treat; they’re a statement. A statement that homemade desserts can be both stunning and profoundly delicious, making every bite a memorable one.
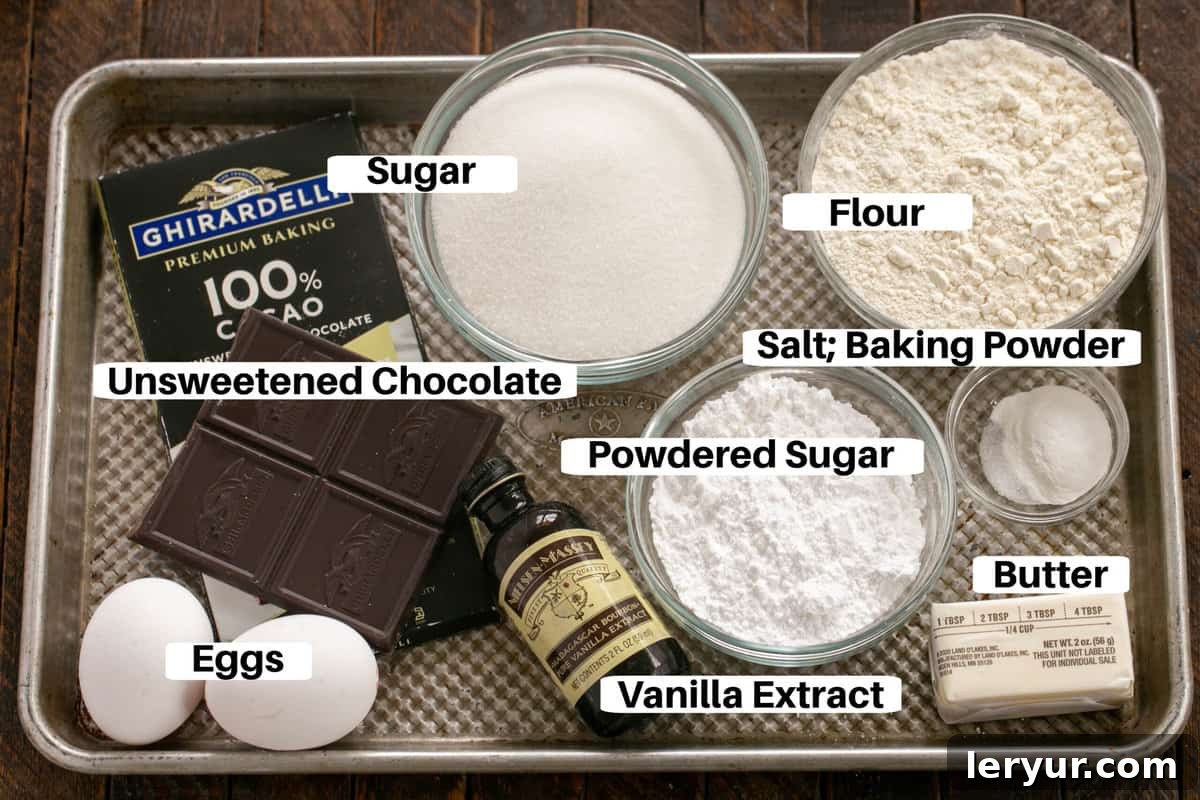
Essential Ingredients for Perfect Chocolate Earthquake Cookies
Crafting the perfect batch of these fudgy delights begins with understanding the role of each ingredient. Quality and proper preparation are key to achieving their signature texture and rich flavor.
- Kitchen Staples: Flour, Butter, Salt, Sugar – These foundational ingredients form the backbone of almost any cookie recipe. Ensure your flour is all-purpose and measured correctly, preferably by weight for accuracy. Unsalted butter is generally recommended as it gives you control over the overall salt content, and it adds richness and moisture. A pinch of salt is crucial for balancing the sweetness and enhancing the deep chocolate flavor. Granulated sugar not only sweetens but also contributes to the cookie’s tender texture and helps with browning.
- Unsweetened Chocolate – For that intense, deep chocolate flavor that defines these cookies, unsweetened chocolate is a must. It allows you to control the sweetness level without compromising on chocolate richness. I highly recommend using a quality brand like Ghirardelli, as the flavor of the chocolate significantly impacts the final taste of your cookies. Avoid using cocoa powder as a direct substitute unless the recipe specifies; the fat content of solid chocolate is essential for the fudgy texture.
- Eggs – Eggs act as a binding agent, providing structure and richness to the dough. For optimal incorporation and a smoother, more emulsified batter, it’s vital to have your eggs at room temperature. Cold eggs can cause the melted butter and chocolate mixture to seize, leading to a lumpy dough. To quickly bring eggs to room temperature, place them in a bowl of warm water for 5-10 minutes before you begin mixing.
- Baking Powder – This leavening agent is responsible for the cookies’ rise and, consequently, the beautiful “earthquake” cracks on their surface. Baking powder reacts with moisture and heat to create carbon dioxide bubbles, puffing up the dough. Unlike baking soda, which needs an acidic component, baking powder is a complete leavener. It’s crucial to check its expiration date, as it loses potency over time. An easy way to test its freshness: place a spoonful into a cup of very hot water. If it fizzes vigorously, it’s still active and ready to make your cookies crackle! If it barely bubbles, it’s time for a new container.
- Vanilla Extract – Never underestimate the power of good vanilla extract. It enhances and complements the chocolate flavor, adding depth and warmth to the cookies. Always opt for pure vanilla extract. Artificial vanilla, while cheaper, simply cannot replicate the complex aromatic profile of real vanilla, resulting in a noticeably less flavorful cookie. A little goes a long way in elevating the overall taste experience.
Step-by-Step Guide to Baking Fudgy Chocolate Earthquake Cookies
Creating these sensational chocolate crinkle cookies is a straightforward process, but following these steps carefully will ensure you achieve that perfect fudgy texture and striking cracked appearance. Let’s walk through it together.
Pro Tips for Flawless Fudgy Chocolate Earthquake Cookies
Achieving those perfectly rich, fudgy interiors and distinctive cracked exteriors is an art, but with a few expert tips, you’ll master these Chocolate Crinkles in no time. The magic of these cookies lies in the contrast: a dark, tender chocolate dough encased in a powdery white sugar shell that elegantly “cracks” as the dough expands in the heat of the oven. Here’s how to ensure success:
- Temperature Matters: While the butter in this recipe is melted and doesn’t require room temperature, your eggs are a different story. Bringing your eggs out of the refrigerator about an hour before you start mixing ensures they are closer to room temperature. This significantly aids in their emulsification with the melted chocolate and butter, leading to a smoother, more homogenous dough and a better overall cookie texture. Cold eggs can cause the chocolate mixture to seize, creating a less desirable consistency.
- PRO-Tip: Verify Your Baking Powder’s Potency: Baking powder is the primary leavening agent responsible for the cookie’s rise and, crucially, the cracks. It’s often used less frequently than baking soda, making it prone to expiring without notice. Before you begin, test its freshness: drop a spoonful into a cup of very hot water. If it bubbles vigorously, it’s active. If not, replace it; expired baking powder is a common culprit for flat, un-cracked cookies.
- The Golden Rule: Do Not Over-Mix: Once you’ve added the dry ingredients to the wet, mix only until they are just combined. Over-mixing develops the gluten in the flour, which can lead to tough, chewy cookies instead of the desired tender, fudgy ones. A few streaks of flour are better than an over-mixed dough.
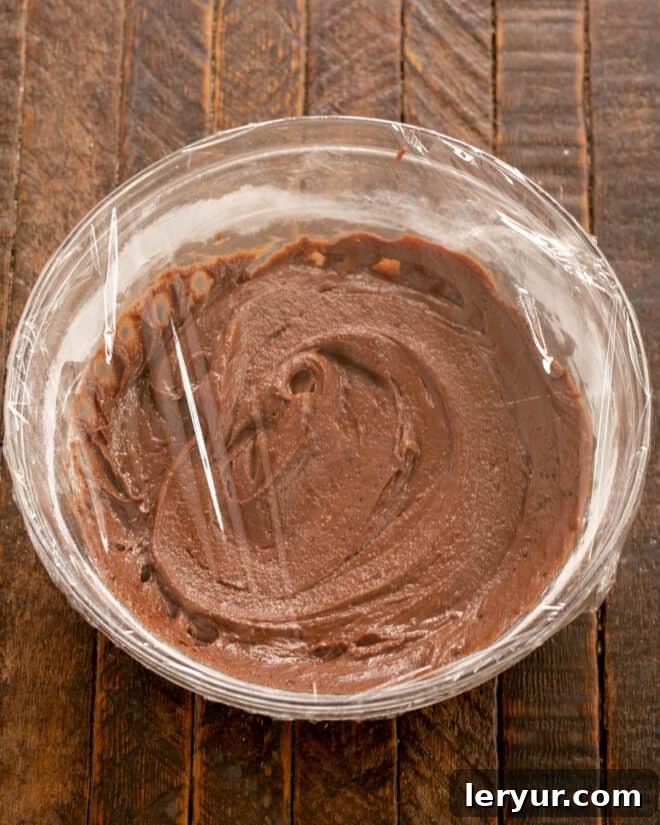
- Chilling is Critical: This dough absolutely *must* be chilled for at least 20 minutes before you proceed with shaping. Chilling helps to firm up the dough, making it much easier to handle and roll. More importantly, it prevents the cookies from spreading excessively in the oven, encouraging them to rise and crack beautifully rather than flatten into discs. If your kitchen is warm or the dough still feels very soft, extend the chilling time.
- Consistency is Key to Aesthetics: Use a medium-sized cookie disher or scoop to portion out consistent-sized dough balls. This ensures that all your cookies bake evenly and have a uniform appearance.
- Perfect Rolling Technique: After scooping, gently roll the dough between your palms to create nice, round spheres. This smoothness aids in achieving an even coating of powdered sugar.
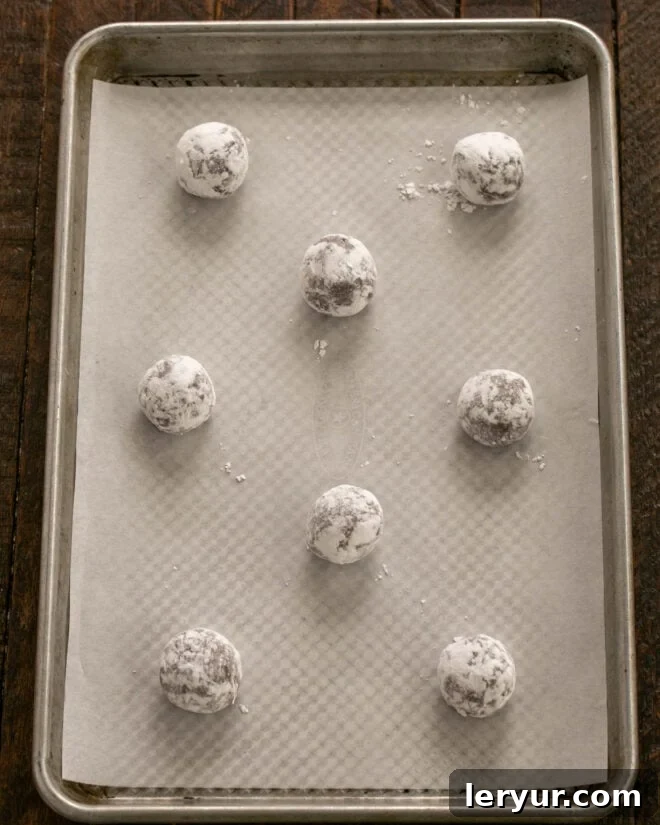
- Double Coat for Dramatic Cracks: For the most striking “earthquake” effect and excellent powdered sugar coverage, roll each dough ball in powdered sugar not once, but twice. This thick layer of sugar provides the perfect contrasting white coating that cracks open to reveal the rich chocolate beneath.
- Prep Your Baking Sheets: Always use parchment-lined baking sheets. This prevents sticking, promotes even baking, and makes cleanup incredibly easy.
- The Secret to Fudginess: Don’t Overbake! These cookies bake relatively quickly, typically 9-10 minutes. The edges should be set, but the centers should still look slightly soft and gooey. Overbaking will dry out the cookies, sacrificing that coveted fudgy interior for a drier, cakier texture. When in doubt, err on the side of underbaking by a minute or two.
Frequently Asked Questions About Chocolate Crinkle Cookies
Even with the best intentions, baking can sometimes present challenges. Here are answers to some common questions about making Chocolate Earthquake Cookies to help you achieve perfect results every time.
The signature crackled surface of these delicious crinkle cookies is a beautiful result of basic thermodynamics and the properties of the dough. When the dough balls, coated in powdered sugar, are exposed to the hot oven, the exterior surface of the cookie bakes and sets more rapidly than the interior. As the leavening agents (like baking powder) cause the cookie’s internal structure to expand and puff up during baking, the already-set outer crust is forced to break and crack. This creates those distinctive “fault lines” that give the cookies their charming, rustic appearance.
There are a few reasons why your Chocolate Crinkle Cookies might not develop their characteristic cracks. Firstly, an oven that isn’t hot enough (or has fluctuating temperatures) can prevent the cookie’s surface from setting quickly enough to create the tension needed for cracking. Ensure your oven is preheated properly and consider using an oven thermometer for accuracy. Secondly, an expired or inactive baking powder is a common culprit; if the leavening agent isn’t producing enough rise, the cookie won’t puff up sufficiently to break its surface. Always check your baking powder’s freshness. Lastly, not chilling the dough adequately can lead to excessive spreading rather than rising, which also inhibits crack formation. Make sure your dough is firm before baking.
Flat cookies are often a sign that the dough was too warm or lacked sufficient structure before baking. If the dough gets too warm (either from insufficient chilling or a warm kitchen environment), the butter in the dough will melt too quickly in the oven, causing the dough balls to spread out into flat rounds instead of holding their shape and rising. To prevent this, ensure you chill the dough for at least 20 minutes, or even longer if your kitchen is warm or the dough still feels soft. You can even chill the rolled, powdered-sugar-coated dough balls for a few minutes before baking. Also, double-check that you’re not using too little flour or that your baking powder isn’t expired, as these can also contribute to flat cookies.
More Decadent Chocolate & Cookie Recipes
If you’re a true chocolate enthusiast or simply love baking delicious cookies, you’ll be thrilled to explore these other fantastic recipes that are sure to satisfy any sweet tooth. From gooey bars to richly filled delights, there’s something here for every cookie craving!
- Caramel Chocolate Chip Cookie Bars: Layers of soft cookie and gooey caramel – an irresistible combination.
- Hot Chocolate Cookies: All the comforting flavors of your favorite winter drink, transformed into a cookie.
- Caramel Filled Chocolate Cookies: A surprise burst of sweet, sticky caramel hidden inside a rich chocolate cookie.
- Flourless Chocolate Cookies: Intense chocolate flavor with a wonderfully chewy texture, perfect for gluten-free guests or pure indulgence.
- Death by Chocolate Cookies: For the ultimate chocolate lover, these cookies are packed with multiple forms of chocolate.
- Triple Chocolate Cookies: A delightful blend of dark, milk, and white chocolates in one amazing cookie.
- Killer Chocolate Chip Cookies: A classic done right, with an emphasis on chewiness and perfect flavor.
- Layered Chocolate Chip Cookies: An innovative twist on the classic, offering delightful texture in every bite.
- More Chocolate Recipes: Explore a wide array of homemade chocolate desserts and treats.
Stay in touch through social media and discover more delightful recipes! Find me @ Instagram, Facebook, and Pinterest. Don’t forget to tag me when you whip up one of my creations! If you’re thrilled with the results of these cookies, please show your love by giving this recipe a 5-star rating in the recipe card below – your feedback means the world!
Chocolate Earthquake Cookies
20 minutes
10 minutes
30 minutes
2 dozen
Super rich and fudgy cookies coated in powdered sugar.
Ingredients
- ¼ cup butter (the original recipe called for “butter the size of an egg”)
- 2 ounces unsweetened chocolate, I use Ghirardelli brand
- 2 eggs, at room temperature
- 1 cup sugar
- 1 cup flour
- ⅛ teaspoon salt
- 1 teaspoon baking powder
- 1 teaspoon vanilla
Instructions
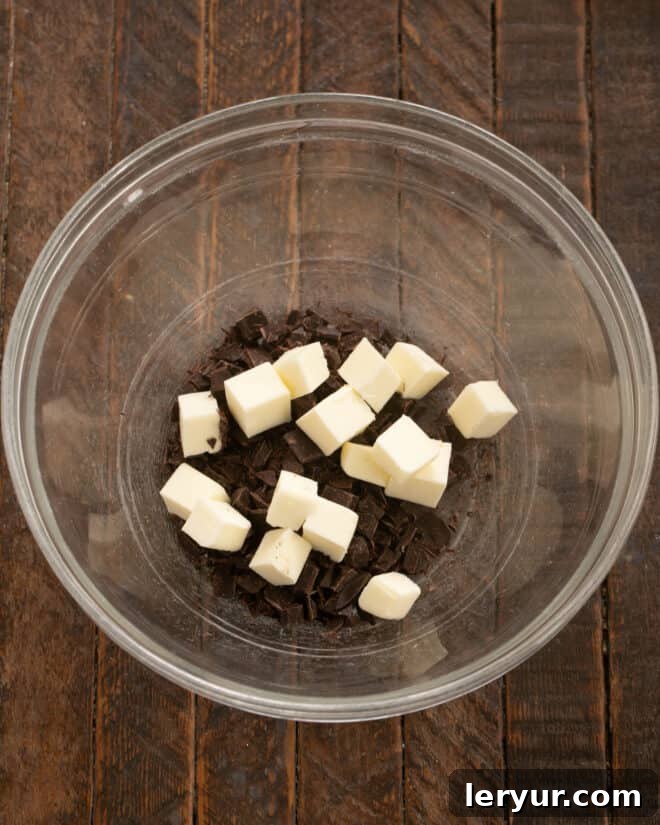
- Gently melt butter and chocolate in the microwave; stir till smooth.
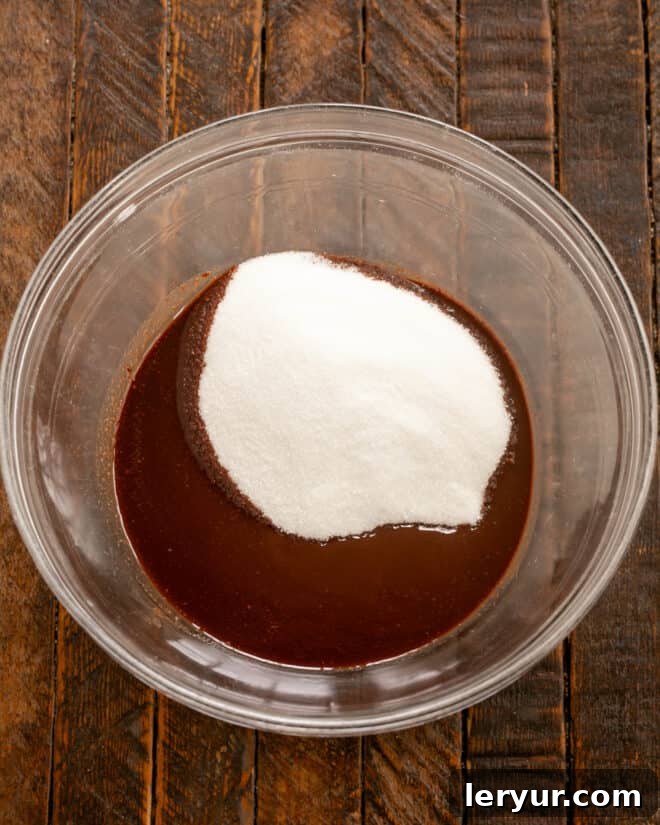
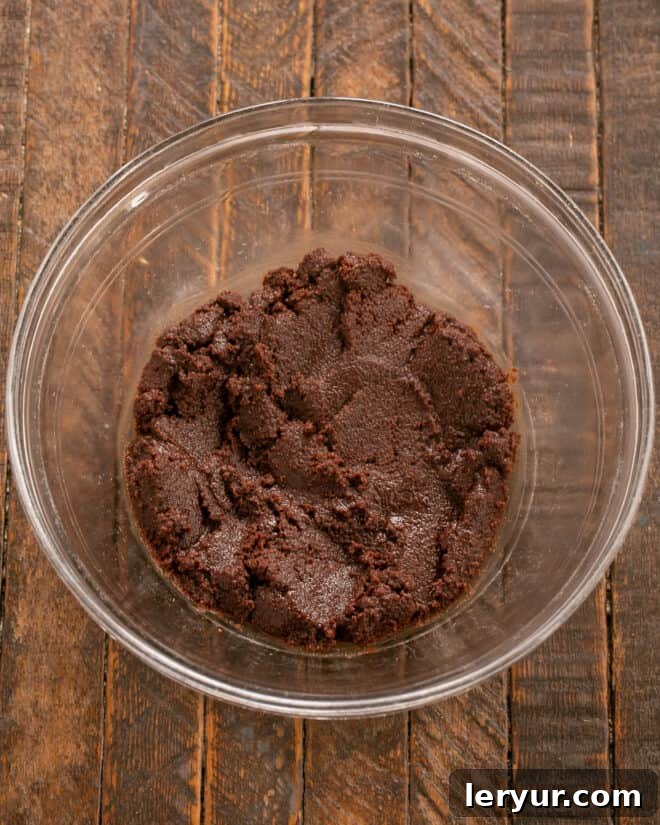
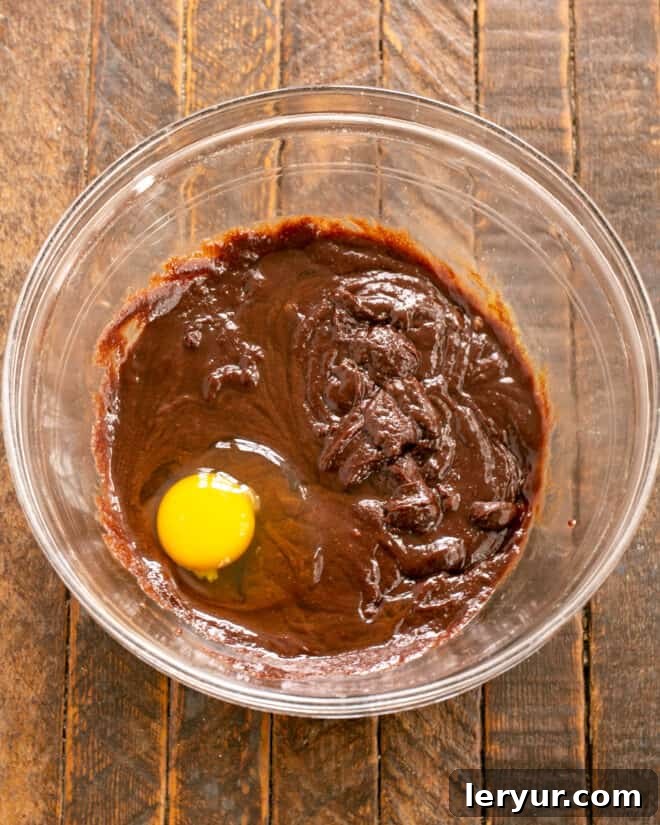
- Add sugar gradually, then use a mixer to mix in eggs.
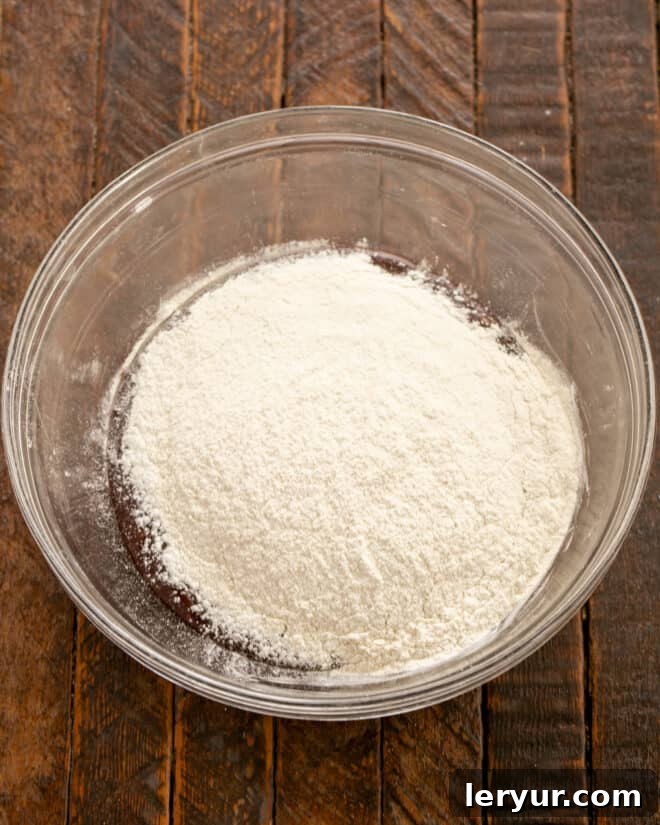
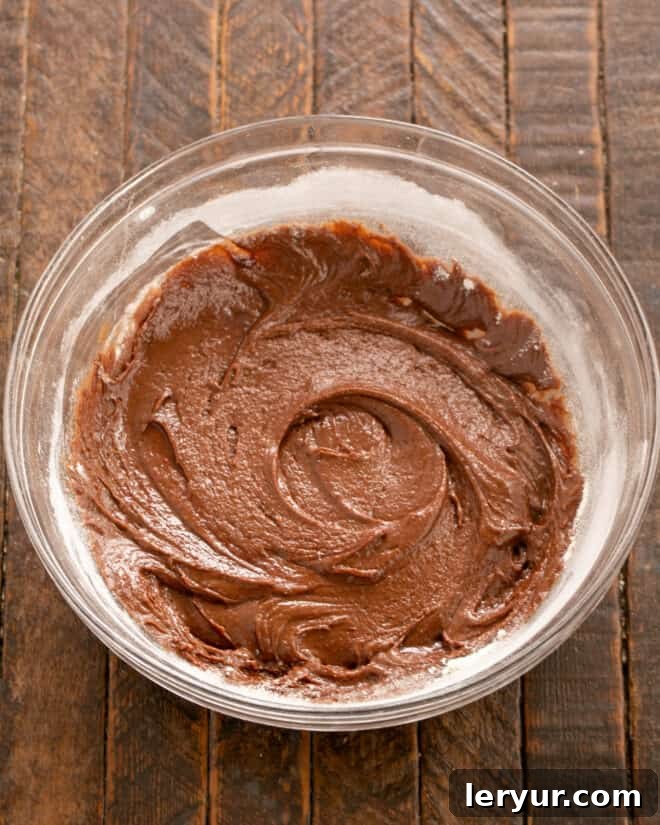
- Sift dry ingredients, and add to the chocolate mixture. Mix till just combined.
- Add vanilla and mix into the dough. Refrigerate for 20 minutes or more.
- Preheat oven to 350º.
- Roll tablespoonfuls of dough into balls; then roll into powdered sugar. Bake for 9-10 minutes. The centers should be fudgy if not overbaked.
Notes
Total time does not include chilling time.
Recommended Products
As an Amazon Associate and member of other affiliate programs, I earn from qualifying purchases.
- KitchenAid 9-Speed Digital Hand Mixer
- USA Pan Bakeware Half Sheet Pan
- Baking Powder
Nutrition Information:
Yield:
24
Serving Size:
1 cookie
Amount Per Serving:
Calories: 90Total Fat: 4gSaturated Fat: 2gTrans Fat: 0gUnsaturated Fat: 1gCholesterol: 21mgSodium: 53mgCarbohydrates: 13gFiber: 1gSugar: 8gProtein: 1g
HOW MUCH DID YOU LOVE THIS RECIPE?
Please leave a comment on the blog or share a photo on Pinterest
These Fudgy Chocolate Earthquake Cookies are a joyous creation, perfect for sharing with friends and family. My girlfriends were certainly thrilled when I aimed the camera on them, and they’ll be even more delighted to bite into these rich, crackled beauties. Happy baking!