
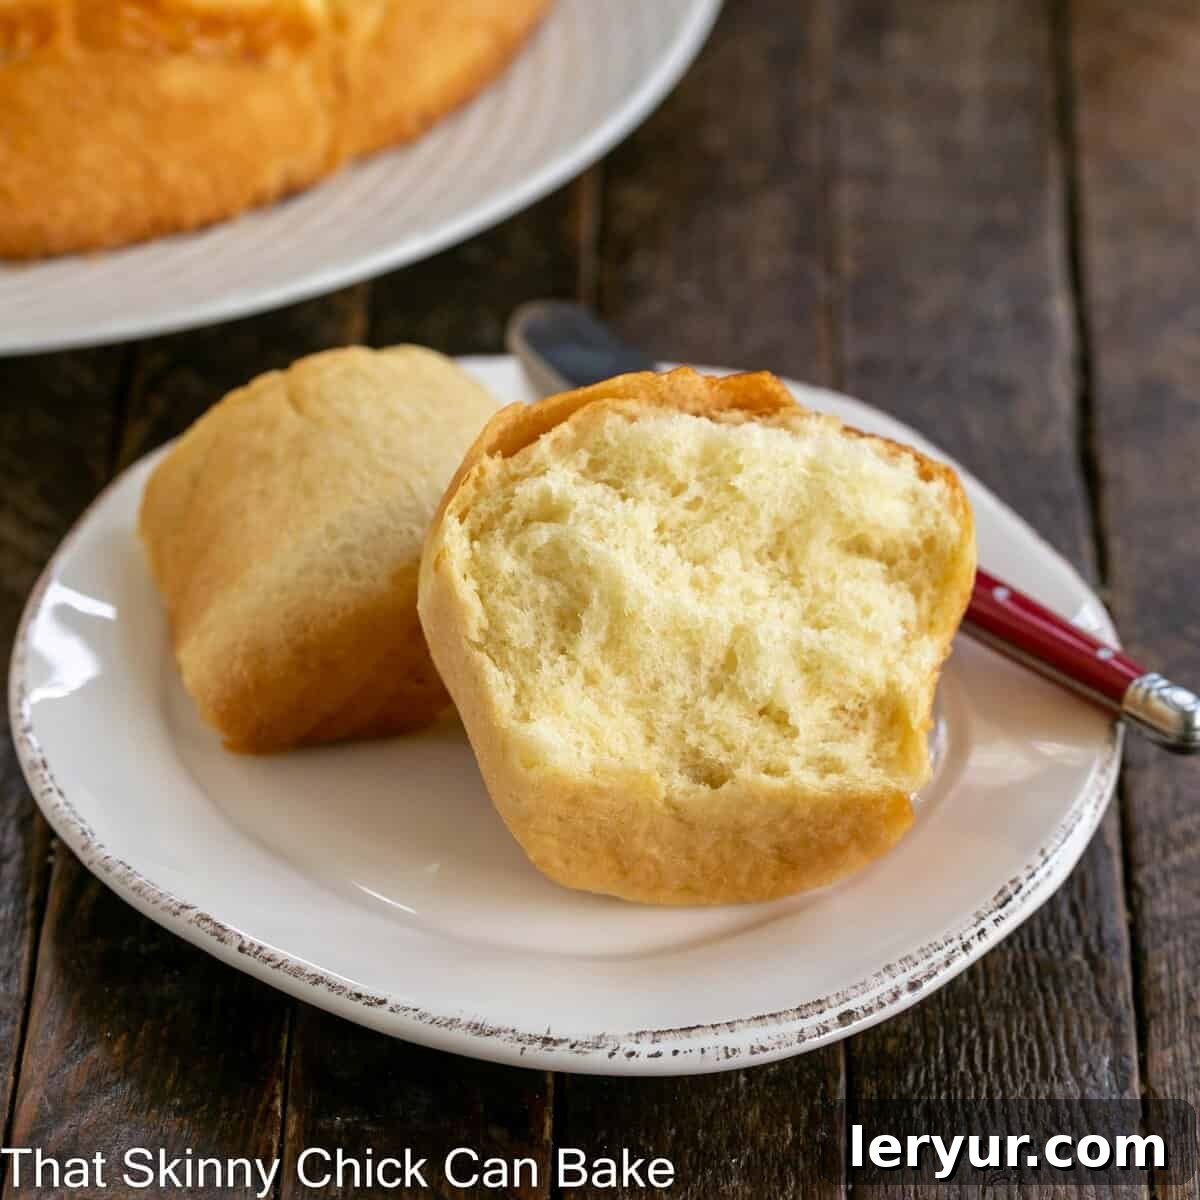
Japanese Milk Bread, famously known as Shokupan, transcends the ordinary, offering an unparalleled experience of softness and delicate flavor. Crafted into exquisite rolls or a beautiful loaf, its tender crumb and subtly sweet taste elevate any meal, leaving a lasting impression. This isn’t just bread; it’s a culinary revelation, promising to become an unforgettable addition to your baking repertoire.
The culinary secret behind the ethereal texture of this beloved Japanese bread lies in an ingenious technique called tangzhong. This simple yet transformative roux, made from flour and water, is the cornerstone of its exceptional moistness and pillowy softness. Once you experience the delicate, feathery texture of these homemade milk buns, you’ll be inspired to make them a staple in your kitchen, forever changing your perception of what bread can be.

Why You’ll Fall in Love with This Japanese Milk Bread Recipe
Embark on a delightful baking journey with this Japanese Milk Bread recipe, and discover a myriad of reasons why it will become your new favorite:
- **Experience Unrivaled Softness:** Prepare to bake the softest, most pillowy bread imaginable. The texture is so tender it practically melts in your mouth, making every bite a luxurious experience. This bread redefines what “soft” means in the world of baking.
- **Master the Tangzhong Method:** This recipe serves as your introduction to tangzhong, an ancient Asian roux technique. By learning this simple step, you’ll unlock the secret to creating bread that is incredibly tender, supremely moist, and stays fresh for significantly longer than traditional bread recipes. It’s a foundational skill that will elevate all your future bread-making endeavors.
- **Bake a Versatile Staple:** Once you savor the delicate flavor and cloud-like texture of this bread, you’ll find yourself reaching for this recipe repeatedly. It’s perfectly adaptable for various uses – from a delightful breakfast roll to the base for gourmet sandwiches, or even transformed into extraordinary cinnamon rolls, which are definitely next on the list for many enthusiastic bakers!
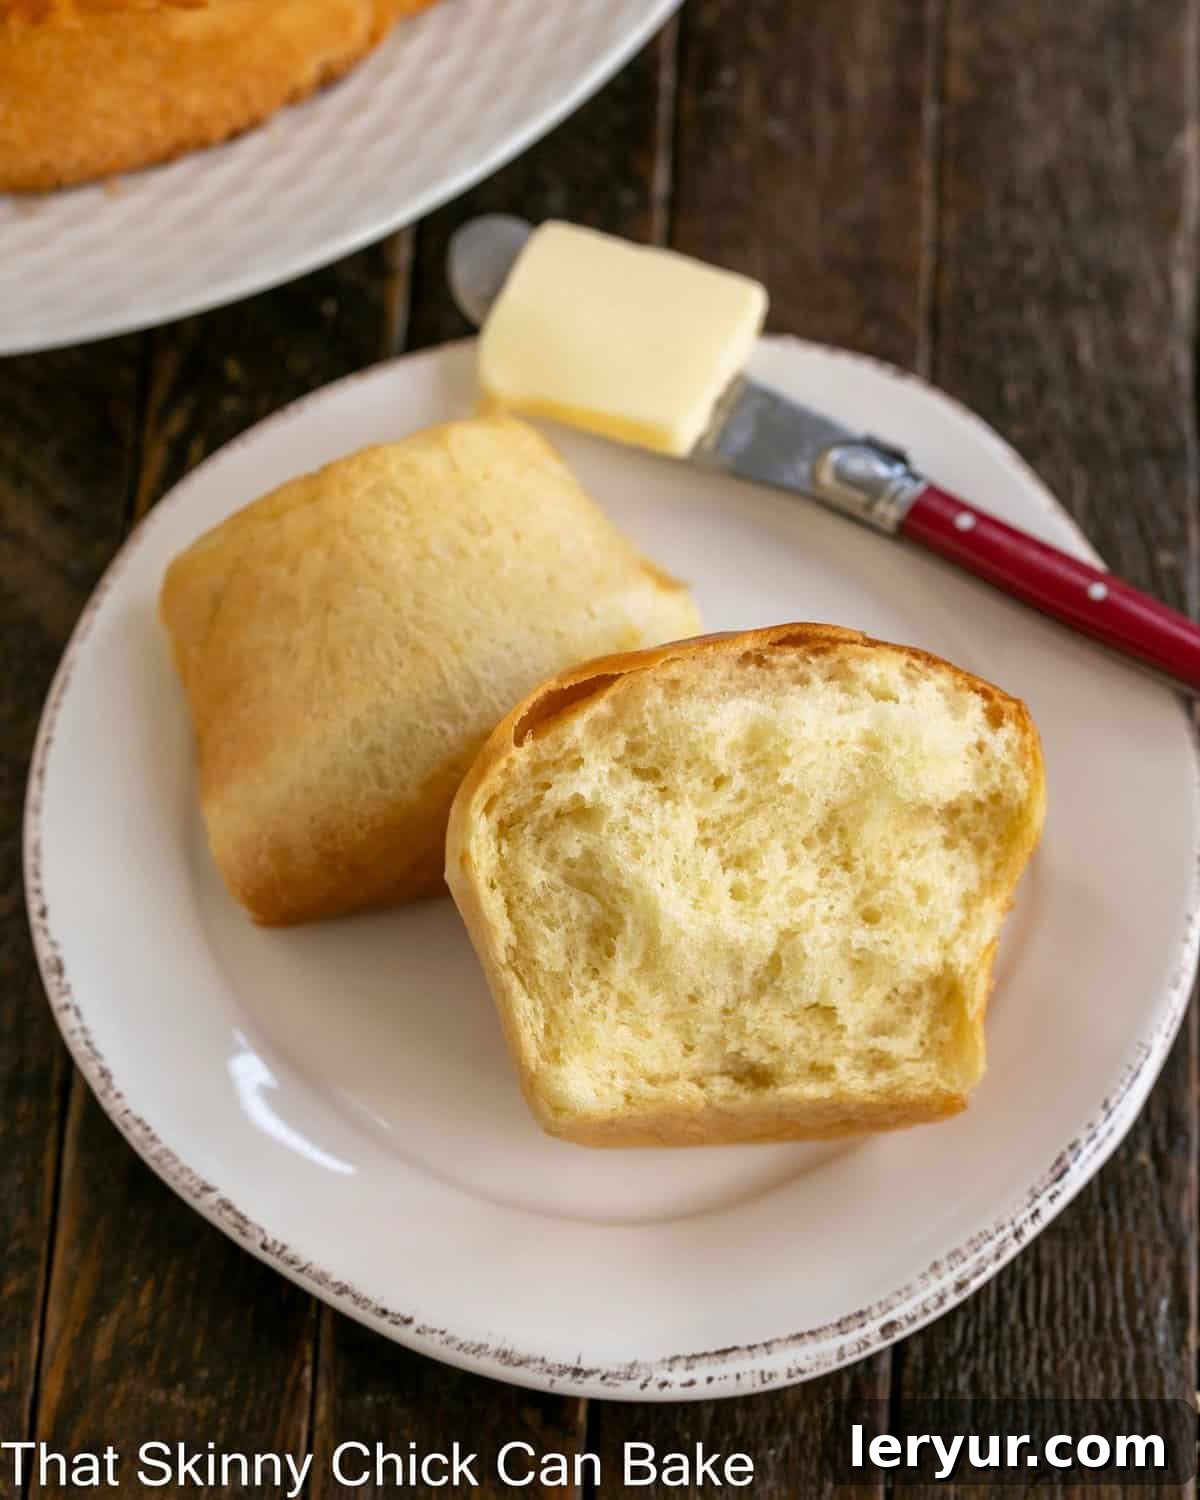
The Magic of Tangzhong: Unveiling the Secret to Unmatched Softness
At the heart of Japanese Milk Bread’s legendary softness is the tangzhong method, a brilliant technique originating from Chinese baking that has been embraced and perfected in Japan. But what exactly is tangzhong, and how does it perform its magic?
Tangzhong is essentially a “water roux” or a “starter paste” made by cooking a small portion of flour with liquid (water or milk) until it forms a thick, gelatinous mixture, similar to a paste. When this cooked paste is added to the main bread dough, it works wonders. The starch in the flour pre-gelatinizes during cooking, allowing it to absorb and retain a significantly higher amount of moisture without making the dough sticky or difficult to handle. This pre-gelatinized starch also swells up, creating a more tender and supple dough structure.
The benefits of incorporating tangzhong are profound: it dramatically increases the dough’s hydration capacity, resulting in bread that is exceptionally moist, incredibly soft, and boasts a fine, uniform crumb. Moreover, this heightened moisture retention actively slows down the staling process, meaning your Japanese Milk Bread stays fresh, tender, and delicious for several days longer than bread made with conventional methods. It’s a simple extra step that yields truly extraordinary results, transforming good bread into truly great bread.
A Step-by-Step Guide to Baking Perfect Japanese Milk Buns
Creating these heavenly Japanese Milk Buns might seem intricate, but by following these detailed steps, you’ll achieve bakery-quality results right in your own kitchen:
- Prepare the Tangzhong: Begin by making your tangzhong roux in a small saucepan on the stovetop. Cook the flour and water/milk mixture over low heat, stirring continuously, until it thickens into a paste-like consistency, resembling paper mache glue. This crucial step pre-gelatinizes the starch, which is key to the bread’s tenderness. Once achieved, remove from heat and allow it to cool completely before adding it to your dough. This cooling prevents the tangzhong from cooking the yeast in the main dough.
- Measure All Ingredients: Precision is paramount in baking. Carefully measure all your ingredients, preferably using a kitchen scale for flour to ensure accuracy. Having everything pre-measured and ready will streamline the mixing process.
- Combine Dough Ingredients: In the bowl of a stand mixer (or a large mixing bowl if kneading by hand), combine the activated yeast mixture, the cooled tangzhong, and all the remaining dough ingredients, excluding the softened butter.
- Initial Mixing and Kneading: Attach the dough hook (for a stand mixer) or begin mixing by hand. Mix on low speed for about 5 minutes, or until a shaggy, soft dough forms. For hand kneading, mix until the ingredients are well incorporated.
- Incorporate Butter and Continue Kneading: Gradually add the softened butter, one tablespoon at a time, allowing each addition to be fully absorbed before adding the next. Increase the mixer speed to medium and continue kneading until the dough becomes incredibly smooth, elastic, and no longer sticky to the touch. This can take anywhere from 10-15 minutes in a stand mixer. A good indicator of sufficient kneading is the “windowpane test” – you should be able to stretch a small piece of dough thin enough to see light through it without tearing.
- Adjust for Stickiness: If, after extending the kneading time, your dough remains excessively sticky, you may add a small amount of additional flour, one teaspoon at a time, until the desired consistency is reached. Be cautious not to add too much flour, as this can result in a drier bread.
- First Rise (Proofing): Lightly grease a clean bowl, place the dough inside, turning it once to coat. Cover the bowl tightly with plastic wrap or a damp towel and let it rise in a warm, draft-free place until it has doubled in size. This typically takes 1.5 to 2 hours, depending on your room temperature.
- Deflate and Divide: Once doubled, gently deflate the dough by pressing down on it with your fists. This releases the gases and prepares the dough for shaping. Turn the dough out onto a lightly floured surface.
- Portion the Dough: Divide the dough into 8-9 equal pieces. For consistent results and beautifully uniform rolls, using a kitchen scale to weigh each piece is highly recommended.
- Shape into Rolls: Shape each dough portion into a smooth, tight round roll. Arrange the shaped rolls in a lightly greased cake pan or springform pan, leaving a small space (about ⅓ inch) between each roll to allow for expansion during the second rise and baking.
- Second Rise, Egg Wash, and Bake: Cover the pan loosely and let the rolls rise again in a warm spot for another 45-60 minutes, or until noticeably puffy and almost doubled in size. Preheat your oven as directed. Just before baking, whisk an egg with a tablespoon of water to create an egg wash, then gently brush it over the tops of the risen rolls. This egg wash provides a beautiful golden-brown crust. Bake as specified in the recipe.
Mastering Japanese Milk Bread: Essential Expert Tips
Achieving bakery-perfect Japanese Milk Bread is easy with these insider tips:
- **Tangzhong Consistency is Key:** If you’re new to making tangzhong, remember that its ideal consistency is like a thick, glossy paper mache paste. You’ll know it’s ready when your spoon or whisk leaves clear trails as you stir it, and it feels resistant. It should not be runny, nor should it be a dry, crumbly dough.
- **Yeast Matters:** This recipe calls for 1 tablespoon of active dry yeast. Be aware that this is typically more than a single standard packet of yeast, which usually contains 2 ¼ teaspoons. Always check the volume or weight of your yeast. While this recipe uses active dry yeast, some variations might use instant yeast, which generally requires a slightly different activation process or can be mixed directly into dry ingredients.
- **PRO-Tip: Embrace Your Kitchen Scale:** For consistently excellent results, measuring flour by weight (grams) is far superior to measuring by volume (cups). When testing this recipe, using grams consistently produced a less sticky and more manageable dough, leading to a superior final product. A kitchen scale eliminates common measuring errors and ensures hydration levels are precise, which is crucial for the delicate texture of milk bread.
- **All-Purpose Flour for Tenderness:** Contrary to some bread recipes that call for high-protein bread flour, Japanese Milk Bread achieves its signature tenderness using standard all-purpose flour. Using AP flour creates a lighter, softer crumb, perfectly suited for this delicate bread.
- **Grease Your Pan Generously:** To ensure your beautifully baked bread releases effortlessly from the pan, grease it thoroughly with butter or a non-stick spray. This prevents sticking and preserves the bread’s soft crust.
- **Prevent Over-Browning:** If you notice your bread browning too quickly during baking, gently tent it with aluminum foil. This protects the top crust from burning while allowing the inside to continue baking to perfection.
- **PRO-Tip: The Internal Temperature Test:** The most reliable way to confirm your bread is perfectly baked is to check its internal temperature. Your Japanese Milk Bread is done when a digital instant-read thermometer inserted into the center of a roll registers 190°F (88°C). This ensures it’s cooked through without being dry.
- **Room Temperature Ingredients:** Ensure your milk, egg, and butter are at room temperature. This helps them incorporate more smoothly into the dough, leading to a more consistent texture and better rise.
- **Don’t Rush the Kneading:** Kneading is vital for developing gluten, which gives the bread its structure and chewiness. Be patient and allow the mixer (or your hands) to work the dough until it’s smooth and elastic.
- **Proper Storage for Lasting Freshness:** Once cooled, store your milk bread in an airtight container or bag at room temperature for optimal freshness. Avoid refrigerating, as it can dry out bread quickly. For longer storage, freeze individual rolls.
Demystifying Japanese Milk Bread: Your Questions Answered
While often used interchangeably, Shokupan specifically refers to a loaf of fluffy Japanese Milk Bread that is typically baked in a square, lidded Pullman-style pan. This creates a loaf with perfectly straight sides, ideal for uniform slicing and often enjoyed as toast in Japan. The term “Shokupan” itself translates to “eating bread,” highlighting its staple status in Japanese cuisine, whereas “Milk Bread” is a broader term for any bread made with milk and often includes the tangzhong method, regardless of its final shape (rolls, round loaves, etc.). So, all Shokupan is milk bread, but not all milk bread is Shokupan.
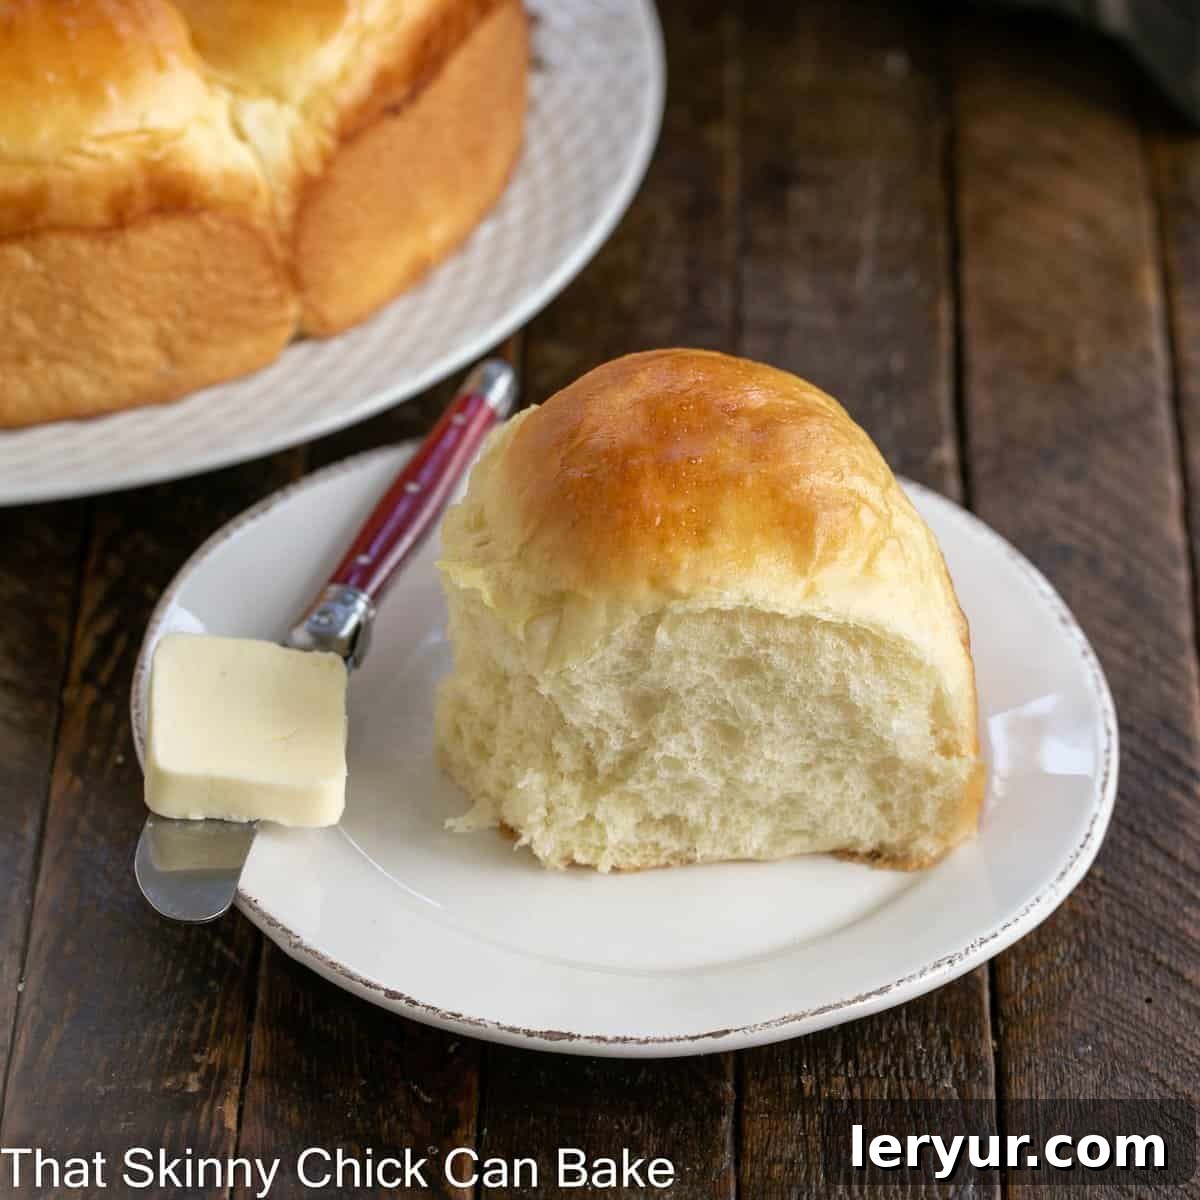
Shokupan bread offers a truly delightful taste experience. It’s characterized by a subtle sweetness, often imparted by a touch of sugar and the inherent sweetness of milk, combined with a delicate milky flavor. However, its most striking characteristic isn’t just the taste, but the astonishing texture. You’ll immediately notice its soft, pillowy, and uniquely feathery crumb that gives it an almost cloud-like mouthfeel. It’s rich without being heavy, and wonderfully satisfying.
Yes, Shokupan is indeed a type of white bread, but it’s a far cry from your average supermarket white loaf. Its sophisticated texture and flavor set it apart. It often has a very slight yellowish tinge, which typically comes from the inclusion of egg in the recipe, contributing to its richness and color, rather than being stark white like bleached flour bread.
Tangzhong is a traditional Chinese water roux method that involves cooking a small portion of flour with water (or milk) until it forms a thick, gelatinous paste. This pre-gelatinized starch mixture is then incorporated into the bread dough. Its magical effect stems from the fact that the cooked starch can absorb and hold significantly more liquid than raw flour. When added to dough, tangzhong allows for higher hydration levels without making the dough excessively sticky. The resulting bread is incredibly moist, extraordinarily soft, and boasts a much slower staling rate, keeping it fresh and tender for days. It’s a simple technique that yields profoundly superior bread quality.
Serving Suggestions and Storage
Japanese Milk Bread is wonderfully versatile. Enjoy these rolls warm with a pat of butter, alongside your favorite savory meals, or as a delightful breakfast treat with jam. Its mild sweetness makes it perfect for French toast or as the base for exquisite sandwiches. For a decadent dessert, slice it thick and serve with fresh berries and whipped cream.
To preserve its incredible softness, store your cooled Japanese Milk Bread in an airtight container or a sealed plastic bag at room temperature for up to 3-4 days. Avoid refrigeration, as it can cause bread to dry out quickly. For longer storage, slice or wrap individual rolls tightly and freeze for up to 2-3 months. Thaw at room temperature or gently warm in the oven for a freshly baked experience.
Why Bake Your Own Japanese Milk Bread?
There’s a unique satisfaction that comes from baking bread from scratch, and Japanese Milk Bread amplifies that joy. Beyond the delightful aroma filling your kitchen, making your own ensures you’re using fresh, quality ingredients, free from preservatives. The sensory experience of kneading the silky dough and watching it transform into golden, pillowy rolls is incredibly rewarding. Most importantly, the taste and texture of homemade Japanese Milk Bread far surpass any store-bought alternative, offering an unmatched freshness and tenderness that you simply have to experience to believe. It’s a culinary accomplishment that brings warmth and comfort to any home.
You May Also Like:
- Classic Oatmeal Bread
- Whole Wheat Challah
- Homemade Pretzel Rolls
- Explore more of my Yeast Bread Recipes
Stay connected with us through social media @ Instagram, Facebook, and Pinterest. Don’t forget to tag me when you try one of my recipes! And if you love the results, please give it a 5-star rating in the recipe card below.
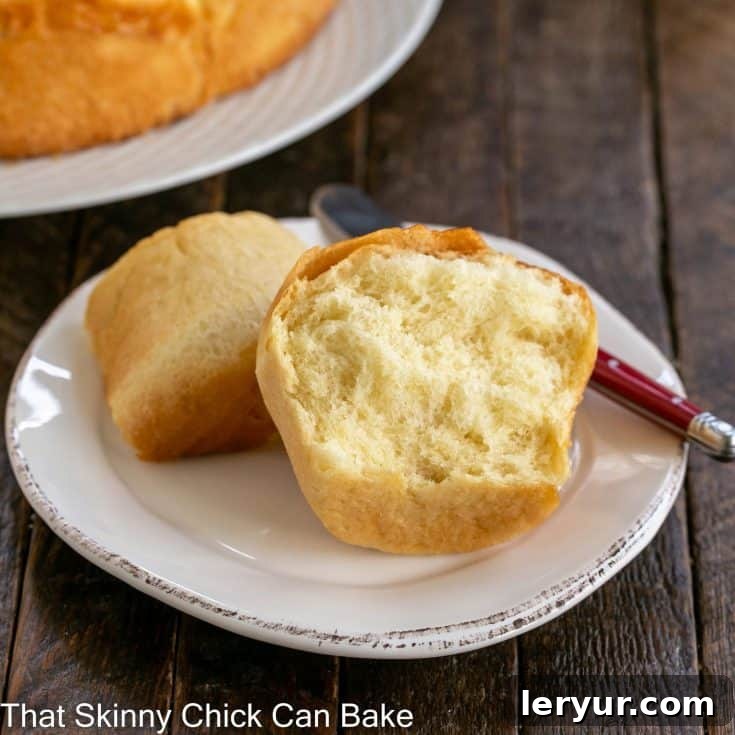
Japanese Milk Bread Recipe
20 minutes
25 minutes
2 hours 15 minutes
2 hours 40 minutes
8 rolls
Soft, fluffy rolls that are a delicious addition to any meal.
Ingredients
Yeast Mixture
- 1 tablespoon active dry yeast
- ¼ cup lukewarm water, 98-105°
Tangzhong
- 2 tablespoons flour
- 2 tablespoons water
- 4½ tablespoons milk
Dough
- 2⅓ cups or 380 grams all-purpose flour (It’s best to weigh your flour with this recipe)
- ¼ cup sugar
- 1 teaspoon salt
- ½ cup milk
- 1 large egg
- 3 tablespoons butter, at room temperature
Egg wash
- 1 egg
- 1 tablespoon water
Instructions
- Add the active dry yeast into the lukewarm water, mix and allow to sit for 10 minutes. You know the yeast is active if it blooms (expands and bubbles).
- In a small saucepan, add the tangzhong ingredients. Cook and stir until a thick paste forms. It should be like paper mache glue.
- Add your yeast mixture and tangzhong along with the remaining dough ingredients except for the butter in a stand mixer bowl fitted with the dough hook. Mix on low speed for 5 minutes or until a soft dough forms.
- Add your softened butter, 1 tablespoon at a time, and mix on medium speed until the butter is fully incorporated and the dough is very smooth.
- Allow your dough to proof in a bowl in a warm (85°) location, covered with plastic wrap for 1 ½ hours or until doubled.
- Portion the dough into 8 or 9 equal pieces, and shape it into rolls.
- Place the dough balls into a lightly greased 9-inch springform or cake pan. Leave about ⅓ inch between rolls.
- Allow it to rest another 45 minutes for the second proof.
- Before the last resting period is up, preheat the oven to 350°F (175°C).
- Whisk together egg and water until well combined to make the egg wash. Brush across the surface of the rolls and bake for 20 minutes, or until golden brown and the internal temperature reaches 190°F (88°C).
- When done, remove to a cooling rack. Let cool for 15 minutes, then remove from the pan to finish cooling completely before serving.
Notes
Adapted from kwokspots.com/
If all your dough balls don’t fit into your pan, use a greased ramekin or two to make single rolls with the excess dough.
If you’re unsure if your bread is done, the internal temperature should be 190°F (88°C) when measured with an instant-read thermometer.
Recommended Products
As an Amazon Associate and member of other affiliate programs, I earn from qualifying purchases.
- Kitchen Scale
- Silicone Pastry Brush
- Thermapen Instant Read Thermometer
- KitchenAid KSM150PSER Artisan Tilt-Head Stand Mixer with Pouring Shield, 5-Quart, Empire Red
- 9-inch springform pan
Nutrition Information:
Yield:
8
Serving Size:
1 roll
Amount Per Serving:
Calories: 277Total Fat: 7gSaturated Fat: 4gTrans Fat: 0gUnsaturated Fat: 2gCholesterol: 60mgSodium: 330mgCarbohydrates: 46gFiber: 2gSugar: 8gProtein: 8g
Thatskinnychickcanbake.com occasionally offers nutritional information for recipes contained on this site. This information is provided as a courtesy and is an estimate only. This information comes from online calculators. Although thatskinnychickcanbake.com attempts to provide accurate nutritional information, these figures are only estimates.
Varying factors such as product types or brands purchased can change the nutritional information in any given recipe. Also, many recipes on thatskinnychickcanbake.com recommend toppings, which may or may not be listed as optional and nutritional information for these added toppings is not listed. Other factors may change the nutritional information such as when the salt amount is listed “to taste,” it is not calculated into the recipe as the amount will vary. Also, different online calculators can provide different results.
To obtain the most accurate representation of the nutritional information in any given recipe, you should calculate the nutritional information with the actual ingredients used in your recipe. You are solely responsible for ensuring that any nutritional information obtained is accurate.
HOW MUCH DID YOU LOVE THIS RECIPE?
Please leave a comment on the blog or share a photo on Pinterest