
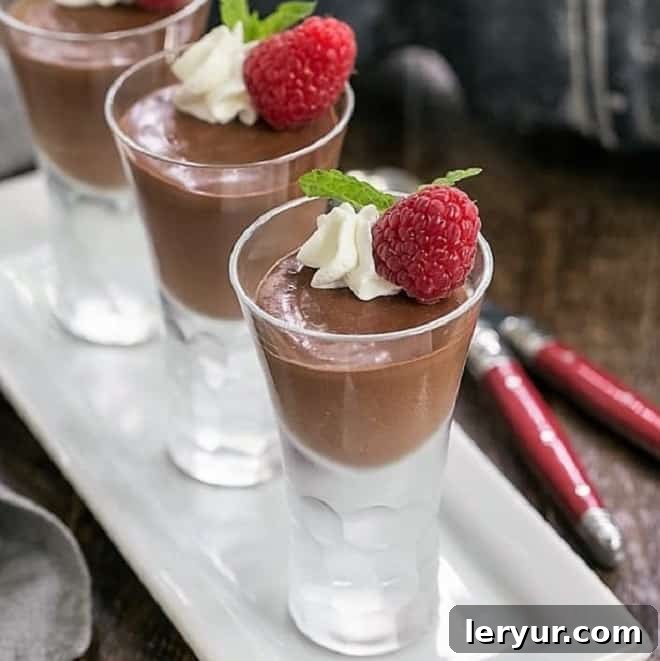
Effortless Elegance: The Ultimate Easy Blender Chocolate Mousse Recipe
Prepare to have your perceptions shattered! This incredible recipe for Blender Chocolate Mousse will definitively prove that crafting an exquisite, authentic French chocolate mousse doesn’t have to be a daunting culinary challenge. Forget complex techniques and multiple bowls; elegance is now within arm’s reach.
This extraordinary Easy Chocolate Mousse is a dream come true for chocolate aficionados, perfect for any occasion, year-round. If you’ve ever felt intimidated by the idea of creating classic French Desserts, this innovative blender mousse recipe will be your gateway to a world of simple, sophisticated indulgence.
Why You Must Make This Easy Blender Chocolate Mousse
As a passionate baker and host, I often seek ways to bring gourmet flavors to my family gatherings without spending hours in the kitchen. My two sons, self-proclaimed chocoholics, are frequent guests at our Sunday night dinners, and I wanted to treat them and the rest of the family to a truly special yet incredibly simple chocolate mousse recipe that would impress without the fuss.
This recipe stood out as an absolute winner, and here’s why it’s a must-try for anyone craving a decadent dessert:
- Unbeatable Simplicity: You only need one blender, four essential ingredients (plus boiling water), and some patience for chilling. That’s it! These minimal requirements mean less clean-up and a straightforward process, making gourmet dessert accessible to even novice cooks.
- Lightning-Fast Prep: The active preparation time is astonishingly short—just 5 minutes! This makes it an ideal dessert for busy weeknights, last-minute cravings, or when you need an impressive dish without the time commitment.
- The Blender Does It All: Say goodbye to hand-whipping egg whites or carefully folding delicate mixtures. Your blender takes on the heavy lifting, ensuring a perfectly smooth, airy, and consistent mousse texture every single time. It truly transforms the art of mousse-making into an effortless task.
- Impressive Results: Despite its ease, this blender chocolate mousse delivers a rich, intense chocolate flavor and a luxuriously creamy texture that rivals traditional, more complex versions. It’s the perfect blend of convenience and indulgence.
- Versatile for Any Occasion: Whether it’s a casual family dessert, a sophisticated dinner party, or a special holiday treat, this mousse fits right in. Its elegant presentation and irresistible taste make it suitable for any event.
Intrigued by the promise of gourmet taste with minimal effort? Read on, and I’ll expertly guide you through each step of creating this fantastic dessert.
How to Make Blender Chocolate Mousse: A Simple Step-by-Step Guide
Creating this rich and decadent chocolate mousse is surprisingly simple, all thanks to the magic of your blender. Follow these steps for a perfect dessert every time:
- Prepare the Chocolate: Begin by adding your finely chopped semi-sweet chocolate directly into your blender. Finely chopping the chocolate is crucial as it ensures faster and more even melting when combined with hot liquid.
- Melt with Boiling Water: Carefully pour the measured boiling water over the chopped chocolate in the blender. Immediately secure the lid and blend for approximately 30 seconds. The high speed of the blender, combined with the hot water, will quickly transform the chocolate into a smooth, glossy liquid.
- Ensure Smoothness: After the initial blend, quickly scrape down the sides of the blender with a spatula. This ensures that any stubborn, unmelted chocolate bits are incorporated into the mixture. Blend again for another 15 seconds until the chocolate mixture is perfectly smooth and uniform.
- Add Remaining Ingredients: Now, add the heavy cream, vanilla extract, and the (preferably pasteurized) egg to the blender. These ingredients will enrich the mousse, adding creaminess and depth of flavor.
- Final Blend for Texture: Secure the lid once more and blend for about 15 seconds to thoroughly combine all the ingredients. Then, scrape down the sides one last time to catch any lingering unmixed portions. Continue blending until the mixture is completely smooth, emulsified, and has a slightly thickened, airy consistency.
- Chill to Perfection: Pour the velvety chocolate mousse mixture into your chosen individual serving glasses or ramekins. Place them in the refrigerator and allow them to chill for a minimum of 2 hours. This chilling period is essential for the mousse to set properly, develop its signature texture, and allow the flavors to meld beautifully. The longer it chills, the firmer and more decadent it will become.
Key Ingredients for the Perfect Blender Chocolate Mousse
With such a simple recipe, the quality of your ingredients truly shines through. Opt for the best you can find to achieve that luxurious, gourmet taste.
- Boiling Water: This essential kitchen staple isn’t just for hydration; in this recipe, it acts as the primary heat source to quickly and effectively melt the chocolate. Its rapid heat transfer is what makes the blender method so efficient.
- Semi-sweet Chocolate: The heart of your mousse! I highly recommend using a good quality semi-sweet chocolate, finely chopped from a bar, as it melts more evenly and quickly than chocolate chips (which often contain stabilizers). My personal preference is Ghirardelli bars for their consistent quality and rich flavor, but feel free to explore other premium brands like Valrhona or Callebaut if your budget allows. If you prefer a more intense chocolate experience, bittersweet chocolate works wonderfully, or you can even experiment with a blend of bittersweet and semi-sweet for nuanced flavor.
- Heavy Cream (35% Butterfat): This provides the signature richness and contributes significantly to the mousse’s luxurious, silky texture. Always use heavy cream with at least 35% butterfat for optimal results. Lighter creams won’t yield the same decadent consistency.
- Vanilla Extract: A splash of real vanilla extract elevates the chocolate flavor, adding warmth and complexity. Never substitute with artificially flavored vanilla, as it can impart an off-putting taste. Nielsen-Massey is my preferred brand for its superior quality.
- Egg: The egg is crucial for emulsifying the mixture and contributing to the mousse’s classic creamy mouthfeel. Since the egg in this recipe is not cooked, it’s paramount to address safety concerns, especially if serving to vulnerable populations.
- Pasteurized Eggs Recommended: If you plan to serve this delightful dessert to very young children, the elderly, pregnant individuals, or anyone with a compromised immune system, it is highly recommended to use pasteurized eggs. While they can sometimes be hard to find in regular supermarkets, you can learn how to pasteurize eggs safely at home. I recommend checking out Simply Recipe’s detailed technique for home pasteurization. This simple step ensures peace of mind without compromising the recipe’s integrity.
Expert Tips for a Flawless Blender Chocolate Mousse
While this speedy mousse recipe won’t be exactly like Julia Child’s labor-intensive Mousse au Chocolat, with only 5 minutes of active prep, it’s undeniably impressive. Not. at. all. shabby! To ensure your blender mousse turns out perfectly creamy and delightful every time, keep these expert tips in mind:
- Finely Chop Your Chocolate: This is a non-negotiable step for success. The finer you chop your semi-sweet chocolate, the more surface area it has, allowing it to melt quickly and thoroughly when the boiling water is added. Large chunks will take longer to melt, potentially cooling the mixture too much before it fully emulsifies, leading to a grainy texture.
- The Power of the Blender: Your blender is the star here! It performs an excellent job of rapidly mixing and emulsifying the mousse. However, don’t skip the step of scraping down the sides. Even the most powerful blenders can leave tiny unmelted chocolate bits or unmixed ingredients clinging to the corners. A quick scrape ensures every part of the mixture is incorporated for ultimate smoothness.
- Prioritize Egg Safety: As with most classic mousse recipes, the egg in this blender version is not cooked. For the safety of everyone enjoying this dessert, especially young children, the elderly, or individuals with compromised immune systems, it is highly recommended to use pasteurized eggs. If store-bought pasteurized eggs are unavailable, consider learning how to pasteurize them at home. Your guests’ health and peace of mind are paramount.
- Invest in Quality Ingredients: With very few ingredients, each one plays a starring role. This isn’t the time to skimp. Opt for high-quality chocolate (Ghirardelli is a great choice, but feel free to splurge on European chocolates for an extra luxurious touch), real vanilla extract, and fresh heavy cream. The difference in taste and texture will be noticeable.
- Understanding the Blender’s Advantage: Traditional chocolate mousse often involves separate steps like whipping egg whites to stiff peaks, whipping heavy cream, and then delicately folding them into the chocolate base. These steps can be tricky for even experienced cooks. This blender version eliminates all that complexity, making it truly foolproof without sacrificing flavor or texture.
- Patience with Chilling is Key: The most “difficult” part of this recipe is the waiting game! Allot at least 2 hours (or preferably longer, even overnight) for your blender chocolate mousse to chill completely before diving in. This chilling time is absolutely crucial for the mousse to set properly, achieve its dense yet airy consistency, and for the flavors to fully develop and meld. Planning ahead is essential for the best possible results.
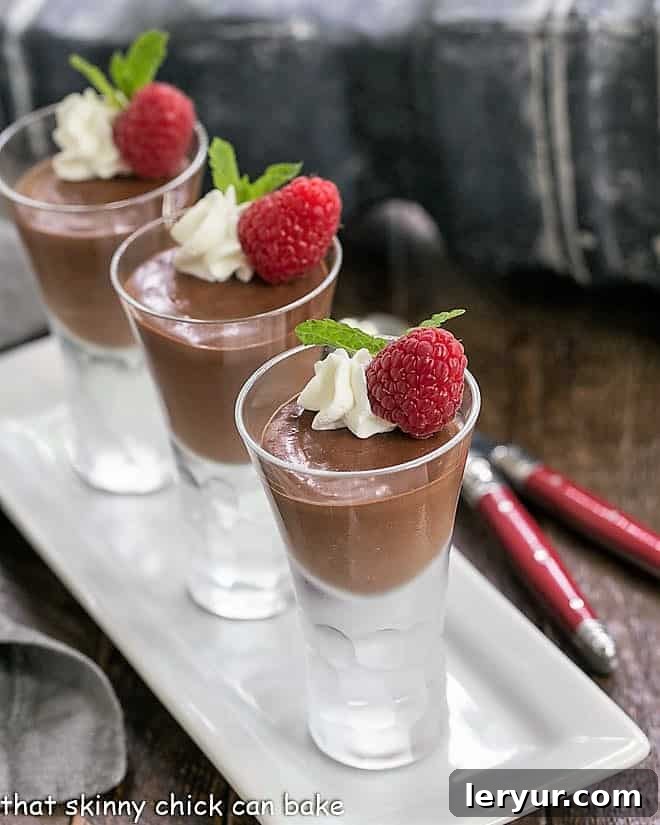
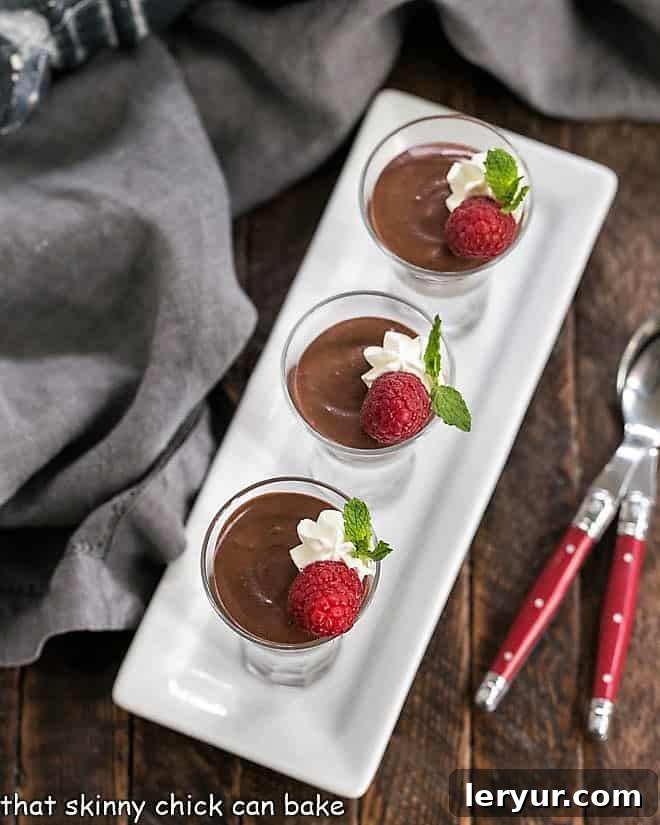
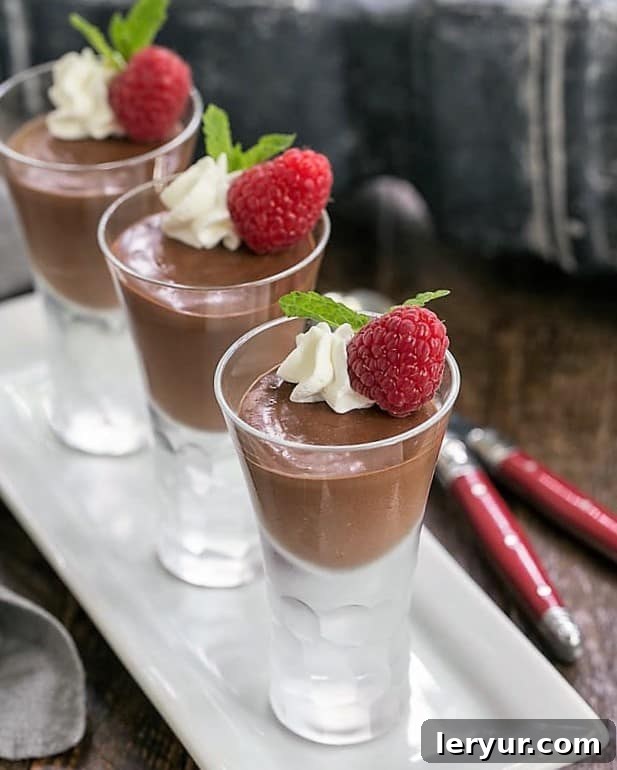
- Elevate with Elegant Garnishes: A beautiful dessert deserves a beautiful presentation! Garnish your chilled chocolate mousse with a generous dollop of freshly whipped cream for a delightful contrast in texture and sweetness. Fresh berries (raspberries, strawberries, or blueberries) add a burst of color and a touch of tartness that perfectly complements the rich chocolate. For a festive holiday dessert, a sprig of fresh mint alongside red berries creates a stunning visual appeal. A sprinkle of cocoa powder, chocolate shavings, or even a dusting of edible gold can also add a gourmet touch.
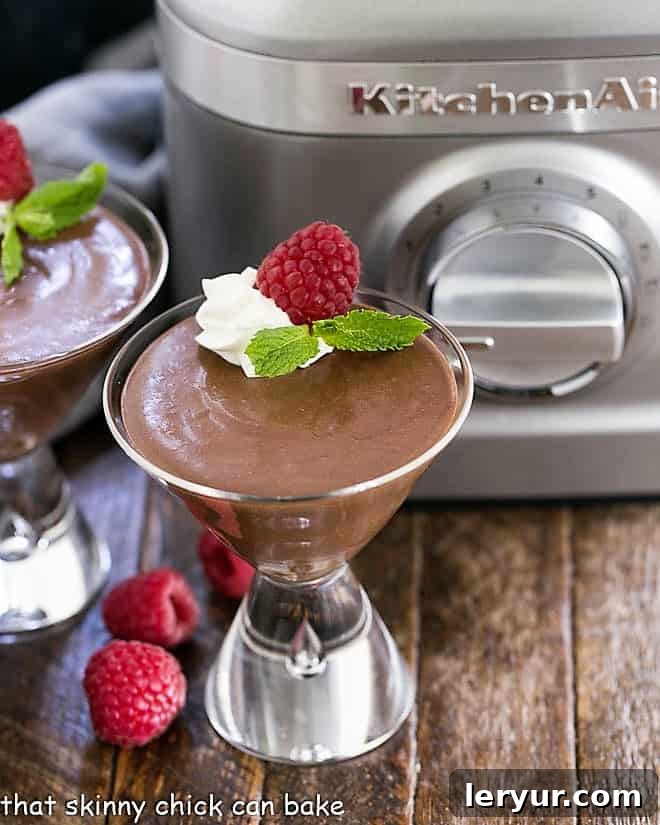
- Serving Vessels Matter: While the taste is paramount, serving mousse in clear glass dishes, cordial glasses, or even elegant martini glasses allows its deep, alluring chocolate color and smooth texture to shine through, enhancing the overall dining experience.
- Troubleshooting Tip: Grainy Mousse? If your mousse turns out grainy, it’s almost always due to the chocolate not being fully melted or blended. Ensure your chocolate is finely chopped, your water is truly boiling, and you scrape down the blender sides diligently during the blending process. A slightly longer blend might also help.
Frequently Asked Questions About Chocolate Mousse
The core components of a classic chocolate mousse traditionally include chocolate and eggs. However, countless delightful variations exist! Many recipes incorporate additional ingredients such as butter, sugar, whipped cream (to lighten the texture), vanilla extract (to enhance flavor), and sometimes a pinch of salt to balance the sweetness and intensify the chocolate. Some modern recipes even omit eggs entirely, relying on cream and gelatin for setting.
Traditionally, yes, most authentic French chocolate mousse recipes call for raw eggs. The eggs are often separated, with the whites beaten to light, airy peaks and then folded into the chocolate base to provide the mousse’s characteristic fluffy, aerated texture. Raw egg yolks, on the other hand, contribute to the dessert’s richness and incredibly silky mouthfeel. It is crucial, as mentioned in our recipe, to exercise caution when serving mousse made with raw eggs to individuals who are very young, elderly, pregnant, or immune-suppressed, due to the potential risk of salmonella. Using pasteurized eggs is a highly recommended safety measure.
Chocolate mousse is most elegantly served in individual glass dishes, such as cordial glasses, parfait glasses, or even sophisticated martini glasses. The clear glass allows the deep, enticing chocolate color and smooth texture of the mousse to be fully appreciated. To enhance its visual appeal and flavor, a dollop of freshly whipped cream is a quintessential garnish, offering a beautiful color contrast, additional sweetness, and a creamy texture. Beyond whipped cream, you can add a couple of ripe berries (like raspberries or strawberries), delicate chocolate shavings, a dusting of cocoa powder, or a sprig of fresh mint. An elegant dessert truly deserves an equally elegant presentation!
While savory mousses were already making appearances on French menus in the late 19th century, particularly around the 1890s, the concept of a dessert mousse featuring chocolate is attributed to the renowned French painter Henri de Toulouse-Lautrec. It is believed that he developed the very first chocolate mousse recipe in the early 1900s, dubbing it “mayonnaise au chocolat.” This innovative creation quickly evolved into the beloved dessert we cherish today, cementing its place in culinary history as a truly iconic French sweet.
You May Also Like:
If you’re a chocolate mousse enthusiast and enjoyed this easy blender version, you’ll surely love exploring these other decadent chocolate dessert recipes:
- Chocolate Mousse Cake with Ladyfingers
- Irish Chocolate Mousse Cake
- Easy Chocolate Mousse Bars
- Layered Chocolate Mousse Cake
- Tunnel of Mousse Cake
- Frozen Chocolate Mousse Cake
- Discover more irresistible Dessert Recipes
Stay in touch and share your culinary creations with me through social media! Find me on Instagram, Facebook, and Pinterest. Don’t forget to tag me when you try one of my recipes! If you adore the results, please consider giving it a 5-star rating in the recipe card below—your feedback is greatly appreciated!
Blender Chocolate Mousse
10 minutes
10 minutes
4 servings
An incredibly easy and rich chocolate mousse recipe, perfect for when you’re short on time but craving a luxurious chocolate fix!
(66 ratings)
Ingredients
- 7 ounces semi-sweet chocolate, finely chopped
- ¼ cup boiling water
- ½ cup heavy cream (35% butterfat)
- ½ teaspoon vanilla extract (pure, not artificial)
- 1 large egg (pasteurized preferred for safety)
Instructions
- Place finely chopped chocolate into your blender. Pour in the boiling water and blend for 30 seconds until mostly melted. Scrape down the sides quickly and blend for another 15 seconds to ensure a smooth, uniform chocolate liquid.
- Add the remaining ingredients: heavy cream, vanilla extract, and the egg. Blend to mix thoroughly, about 15 seconds, ensuring everything is well combined.
- Scrape down the sides of the blender once more to incorporate any unmixed ingredients, and blend until the mixture is completely smooth and appears slightly thickened.
- Carefully pour the creamy chocolate mousse into individual serving glasses or ramekins. Chill in the refrigerator for at least 2 hours, or preferably longer, until firm and set.
Notes
Total time listed does not include the essential chilling time, which should be at least 2 hours.
This fantastic recipe has been adapted from Gourmantine.
Nutrition Information:
Yield:
4
Serving Size:
1
Amount Per Serving:
Calories: 359
Total Fat: 27g
Saturated Fat: 16g
Trans Fat: 0g
Unsaturated Fat: 9g
Cholesterol: 80mg
Sodium: 32mg
Carbohydrates: 33g
Fiber: 3g
Sugar: 28g
Protein: 4g
HOW MUCH DID YOU LOVE THIS RECIPE?
Please leave a comment on the blog or share a photo on Pinterest