
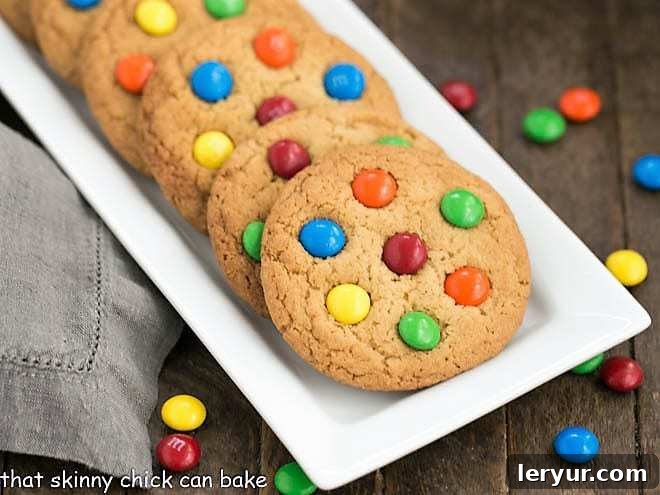
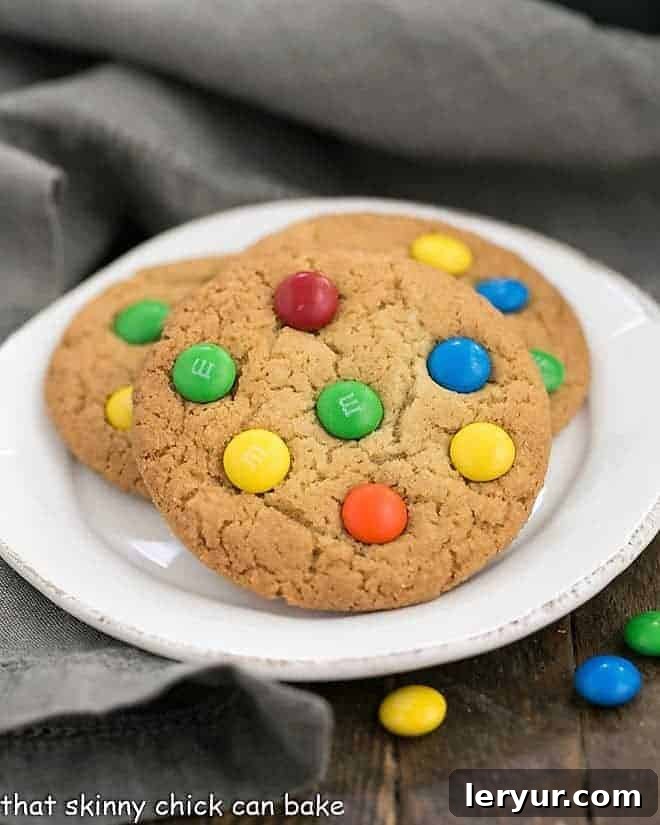
Indulge in the timeless charm of these old-fashioned, irresistibly chewy Classic M&M Cookies, a beloved treat that has delighted generations for decades!
This foolproof M&M Cookie Recipe brings the magic of a professional bakery right into your own kitchen. Each bite offers a wonderfully soft, tender texture, studded with vibrant, candy-coated chocolate pieces. They are the quintessential homemade delight, perfect for tucking into lunch boxes, surprising kids with an after-school snack, or serving as a cheerful dessert for any gathering. What’s more, their versatile nature allows for delightful customization; simply swap out the traditional multicolored M&M’s for seasonal varieties to match Easter pastels, autumn hues, festive Christmas reds and greens, or romantic Valentine’s pinks.
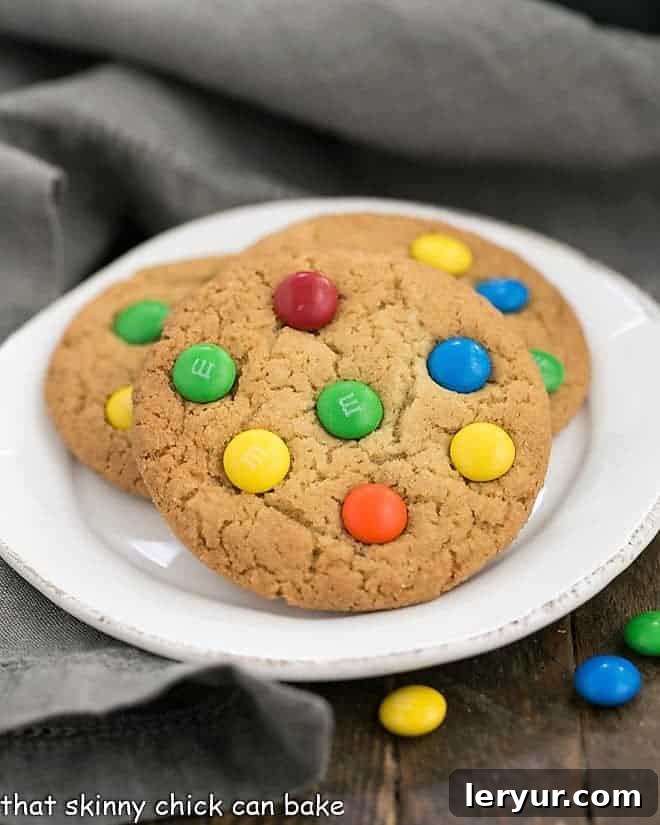
Why These M&M Cookies Are a Must-Bake
There’s something undeniably special about a freshly baked M&M cookie, and this recipe captures that magic perfectly. Whether you’re a seasoned baker or just starting your culinary journey, these cookies are destined to become a staple in your recipe repertoire. Here’s why you absolutely need to whip up a batch:
- Unforgettable Taste & Texture: Each cookie boasts a rich, buttery base with a perfectly soft and chewy interior, generously dotted with colorful, melt-in-your-mouth chocolate M&M candies. They are truly irresistible, offering a delightful contrast between the soft cookie and the slight crunch of the candy shell.
- Seasonal Versatility: The beauty of M&M cookies lies in their adaptability. With the wide array of seasonal M&M candies available, you can effortlessly transform these classic treats for any holiday or occasion. Imagine pastel M&M’s for Easter, vibrant reds and greens for Christmas, spooky orange and black for Halloween, or romantic pinks and reds for Valentine’s Day. They instantly become a festive centerpiece.
- Perfect for Any Occasion: From casual after-school snacks to celebratory party desserts, these cookies are always a hit. They travel well, making them ideal for potlucks, bake sales, or even sending care packages to loved ones. Their universal appeal means they’re loved by children and adults alike, guaranteeing smiles all around.
- Nostalgic Comfort: For many, M&M cookies evoke cherished childhood memories and a sense of comforting nostalgia. Baking them at home brings that warmth and happiness to your kitchen, creating new memories with every delicious batch.
- Utilize Leftover Candies: Have extra M&M’s from Halloween, Easter, or a spontaneous grocery store purchase? This recipe is the perfect excuse to put them to good use, transforming surplus candy into a delightful dessert. It’s a delicious way to ensure no chocolate goes to waste!
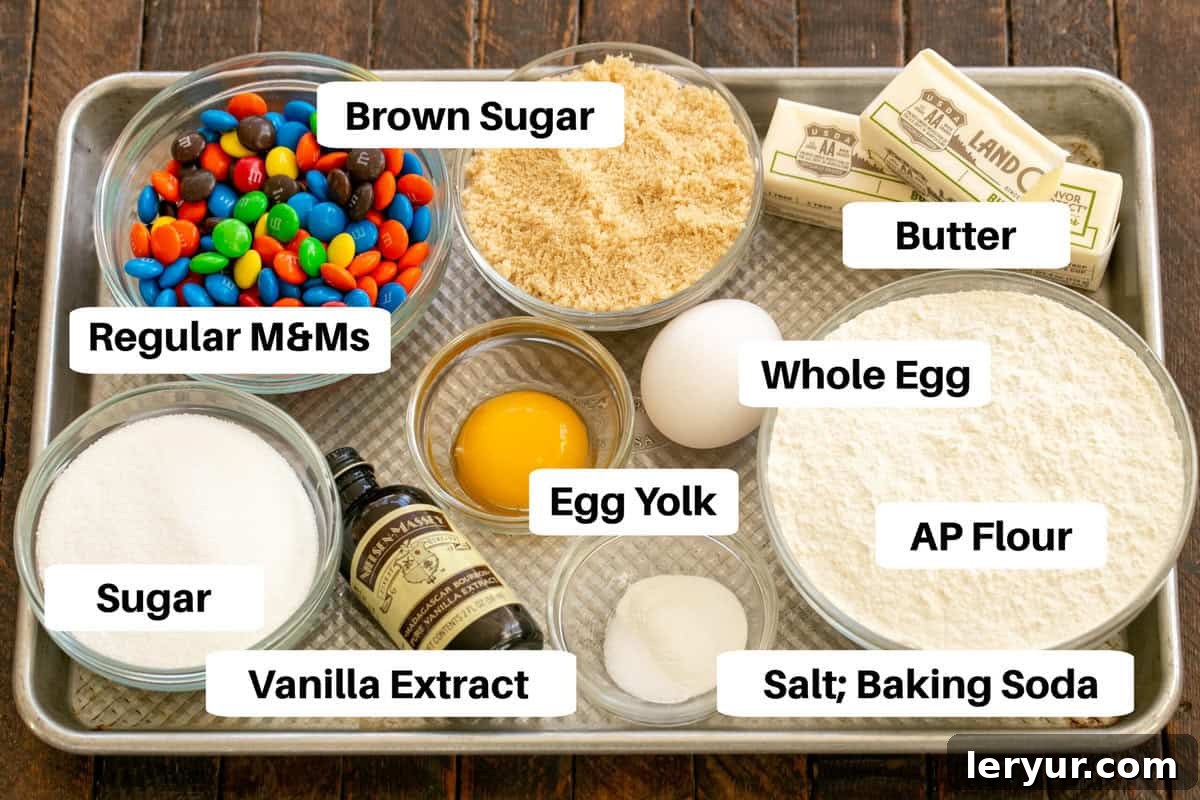
Essential Ingredient Notes for Perfect M&M Cookies
Crafting the perfect chewy M&M cookie starts with understanding the role of each ingredient. Here’s a breakdown of what you’ll need and why these details matter:
- Kitchen Staples: Granulated Sugar, All-Purpose Flour, Salt, Baking Soda – These are the foundational elements of nearly any great cookie. Granulated sugar provides sweetness and contributes to the crisp edge, while all-purpose flour offers structure. Salt balances the sweetness and enhances flavor, and baking soda acts as a leavening agent, giving the cookies a lovely rise and soft texture.
- Unsalted Butter (Room Temperature) – Using unsalted butter allows you to control the overall saltiness of the cookies. Critically, the butter must be at room temperature – soft enough to make a slight indentation when pressed, but not melted or greasy. This ensures it creams properly with the sugars, creating air pockets for a light and fluffy cookie dough, which translates to a tender baked cookie.
- Large Egg and Egg Yolk – All our recipes typically call for large eggs unless specified otherwise. The whole egg provides structure and moisture, while the extra egg yolk is the secret to an incredibly chewy and rich cookie. It adds additional fat without too much extra liquid, resulting in a delightfully dense and moist texture that truly distinguishes a bakery-style cookie. For best results, separate the egg when cold, then allow the yolk and white to come to room temperature before mixing.
- Packed Brown Sugar (Light or Dark) – The type of brown sugar (light or dark) affects the depth of flavor; dark brown sugar offers a richer, more molasses-like taste. The crucial detail here is “packed” – meaning you should firmly press the brown sugar into the measuring cup so that it holds its shape when inverted. Brown sugar adds significant moisture and chewiness to the cookies, thanks to its molasses content.
- Pure Vanilla Extract – Opt for “real” vanilla extract over artificial vanilla flavoring. Pure vanilla extract adds a depth of flavor that complements the chocolate and butter beautifully, elevating the overall taste of your cookies.
- M&M’s Candies – The star of the show! You can use any favorite variety of M&M’s. Classic milk chocolate M&M’s are a go-to, but feel free to experiment with peanut, caramel, crispy, or even mini M&M’s. The size of the M&M’s will slightly alter the distribution and texture, but all varieties will work wonderfully, adding bursts of chocolatey goodness and vibrant color.

Step-by-Step Guide: How to Make Irresistible M&M Cookies
Creating these delightful M&M cookies is a straightforward process, promising delicious results with every batch. Follow these easy steps to bring bakery-quality cookies to your home:
Expert Recipe Tips for Flawless M&M Cookies
Baking is often a blend of art and science, and a few clever tips can elevate your M&M cookies from good to absolutely glorious. I remember years ago, my youngest, Nick, was coming home for his college fall break. A couple of hours before he returned to the dorms, I nearly panicked, realizing I had no homemade treats to send back with him! Thankfully, these chewy cookies can be whipped up in the blink of an eye, and I’m pretty sure they disappeared just as quickly. Here are some pro tips to ensure your batch is always a success:
- Read the Recipe Thoroughly: Before you even gather your ingredients, take a moment to read the entire recipe from start to finish. This helps you understand the process, anticipate steps, and prepare all necessary components, like bringing butter and eggs to room temperature.
- Room Temperature Ingredients are Key: For most cookie recipes, especially those that involve creaming butter and sugar, having butter and eggs at room temperature is crucial. Room temperature butter creams more easily and effectively, incorporating air that leads to a lighter texture. Similarly, room temperature eggs emulsify better with the butter mixture, creating a smooth, cohesive dough. Your butter should be soft enough to indent with a finger, but not greasy or melted.
- The Magic of an Extra Egg Yolk: The inclusion of an extra egg yolk is a secret weapon for achieving that coveted soft and chewy texture. Egg yolks are rich in fat, which adds moisture and richness to the dough, preventing a dry or cakey cookie. This slight adjustment makes a significant difference in the final mouthfeel.
- Accurate Flour Measurement: Precision in measuring flour is vital. Avoid scooping directly from the bag with your measuring cup, as this can compact the flour and lead to using too much. Instead, fluff the flour in its container, then spoon it lightly into your measuring cup, leveling off the top with a straight edge like an offset spatula. This ensures you use the correct amount, preventing dense, dry cookies.
- Even Distribution of Dry Ingredients: To ensure a consistent rise and flavor, always whisk your baking soda and salt together with the flour before adding them to the wet ingredients. This pre-mixing step guarantees that these leavening and seasoning agents are evenly distributed throughout the dough, preventing pockets of concentrated salt or soda.
- Mix by Hand for Chewiness: Unless the recipe specifically calls for a stand mixer, consider mixing your cookie dough with a wooden spoon or spatula, especially once the flour is added. Overmixing with an electric mixer can incorporate too much air, leading to a more cake-like texture rather than the desired chewy, dense cookie.
- Parchment Paper for Success: Line your baking sheets with parchment paper. This simple step not only prevents sticking, ensuring easy removal of your delicate cookies, but also makes cleanup a breeze. It helps with even baking and browning too.
- Consistent Cookie Size: For uniformly sized and baked cookies, use a cookie disher (or ice cream scoop). This not only saves time but also ensures that all cookies bake evenly, preventing some from being overdone while others are underbaked.
- Proper Spacing: Always leave adequate space between your cookie dough balls on the baking sheet. Cookies spread during baking, and crowding them can cause them to merge, bake unevenly, or steam rather than bake, affecting their texture.
- The Art of Cooling: Allow your cookies to cool on the hot baking sheet for a few minutes after removing them from the oven. This brief period allows them to continue baking slightly and firm up, making them less prone to breaking when transferred to a wire cooling rack.
- Shaping Hot Cookies: If your cookies don’t come out perfectly round, don’t despair! Immediately after removing them from the oven, while they are still hot and pliable, use the back of a spatula or a round cookie cutter slightly larger than your cookie to gently push the edges inward, shaping them into perfect circles.
- Pro-Tip: Preserve M&M Shells: The vibrant candy shells of M&M’s have a tendency to crack and fade when exposed to the high heat of the oven for the entire baking duration. To preserve their pristine look and minimize cracking, wait until the cookies are removed from the oven and are still piping hot and pliable. Then, quickly press additional M&M’s onto the surface of each cookie. While a few might still show minor cracks, the majority will remain beautifully intact, adding a stunning visual appeal to your finished cookies!

Frequently Asked Questions About M&M Cookies
Here are answers to some common questions about baking M&M cookies, ensuring your baking experience is as smooth and successful as possible:
Achieving perfectly round cookies involves a couple of techniques. First, use a cookie disher (or an ice cream scoop) to portion out the dough. For extra roundness, gently roll the scooped dough between your palms before placing it on the baking sheet. Second, for an ultimate bakery-style finish, as soon as the cookies come out of the oven and are still hot and pliable, use a spatula or the rim of a round cookie cutter (slightly larger than your cookie) to gently push the edges inward, shaping them into perfect spheres. This trick works wonders! Additionally, pressing M&M’s onto the cookie surface *after* baking (while still hot) helps prevent the uneven bumps that can result in irregularly shaped cookies.
Baking times can vary slightly due to individual oven differences, so it’s best to rely on visual cues. Start checking your cookies when you notice that wonderful aroma filling your kitchen. The cookies are generally done when their edges are lightly golden brown, but the very centers might still look a bit soft and slightly underbaked. This is exactly what you want! The residual heat from the baking sheet will continue to cook the cookies as they cool, leading to that perfect chewy center. Overbaking will result in hard, dry cookies.
The intense heat of the oven can cause the delicate candy coating of M&M’s to weaken and crack, or even fade in color, leading to a less vibrant appearance. This is precisely why our pro-tip recommends adding some of the M&M’s to the cookies *after* they have baked. By pressing them onto the cookie’s surface while it’s still hot and pliable, you largely circumvent the direct heat exposure, allowing most of the M&M’s to remain perfectly intact and brightly colored. A few might still crack from the cookie’s internal heat, but the majority will look flawless.
Once completely cooled, store your M&M cookies in an airtight container at room temperature for up to 3-5 days. To maintain their chewiness, you can place a slice of bread in the container; the cookies will absorb moisture from the bread. For longer storage, baked cookies can be frozen in an airtight freezer-safe bag or container for up to 3 months. Thaw at room temperature before enjoying.
Absolutely! Freezing cookie dough is a fantastic way to have fresh, warm cookies on demand. Simply scoop the dough into balls, place them on a parchment-lined baking sheet, and freeze until solid (about 1-2 hours). Once frozen, transfer the dough balls to a freezer-safe bag or container and store for up to 2-3 months. When ready to bake, place the frozen dough balls on a baking sheet and bake as directed, adding an extra 2-4 minutes to the baking time.
You May Also Love These Chocolate & Candy Treats
If you’re a fan of these delightful M&M cookies, you’re sure to enjoy these other fantastic recipes that feature chocolate, candies, and irresistible flavors:
- Chocolate Cupcakes with M & M Frosting from Shugary Sweets
- M & M Chocolate Chip Pudding Cookies from The Bakermama
- M & M Blondies
- M & M Brownie Cookies
- M & M White Chocolate and Macadamia Nut Cookies
- Explore more of My Best Cookie Recipes for endless baking inspiration!
Stay connected and share your delicious creations! Find us on social media @ Instagram, Facebook, and Pinterest. Don’t forget to tag us when you try one of our recipes! And if you absolutely love the results, please consider giving it a 5-star rating in the recipe card below.
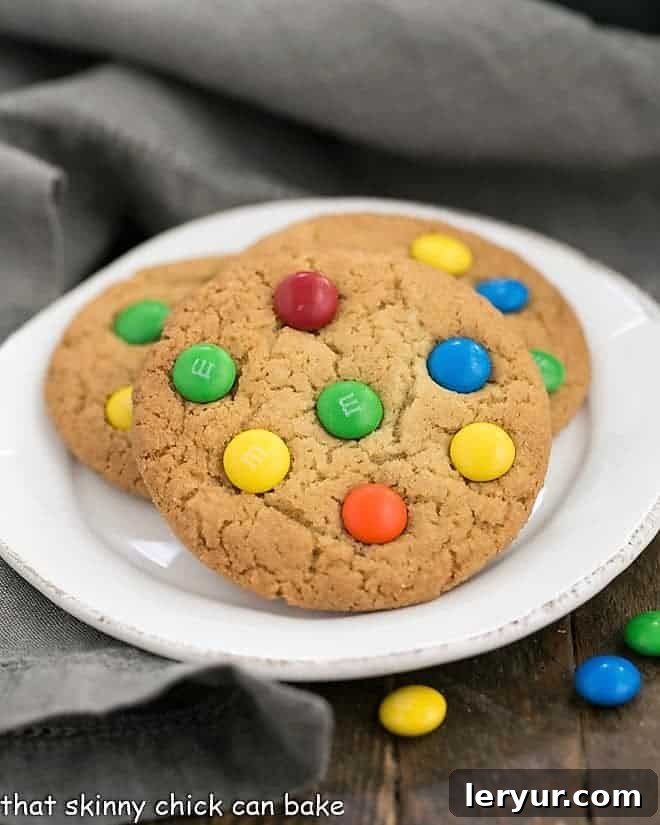
Classic M&M Cookies
20 minutes
12 minutes
32 minutes
30 cookies
Chewy, bakery style cookies studded with colorful M & M’s
Rating: 4.9 out of 5 stars (based on 71 reviews)
Ingredients
- ¾ cup (1 ½ sticks) unsalted butter, at room temperature
- ⅔ cup granulated sugar
- ⅔ cup packed light or dark brown sugar
- 1 large egg
- 1 large egg yolk
- 1 ½ teaspoons pure vanilla extract
- 2 cups all-purpose flour
- 1 ¼ teaspoon baking soda
- ¼ teaspoon salt
- 1 cup M&M’s candies (plus more for pressing on top after baking, if desired)
Instructions
- Preheat your oven to 350ºF (175ºC). Line two large cookie sheets with parchment paper and set aside.
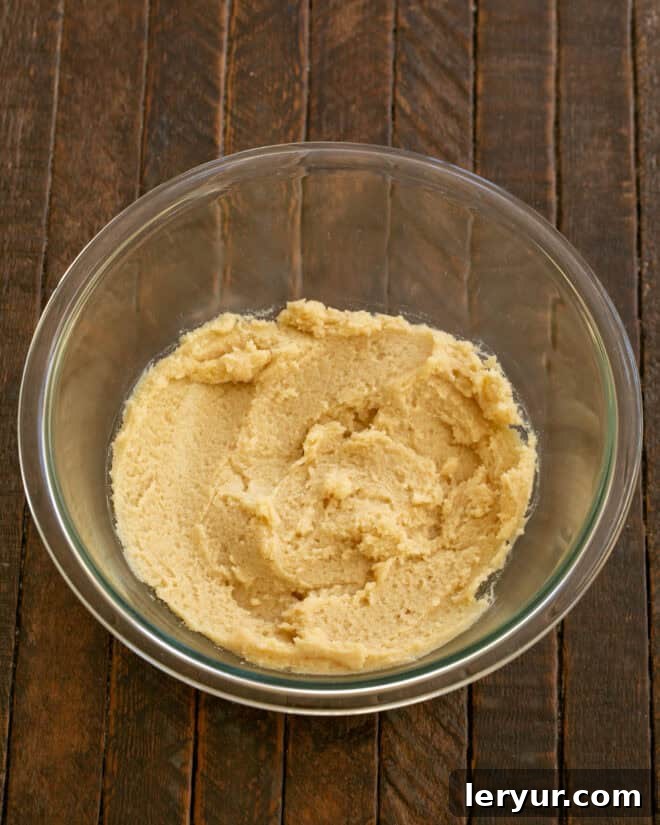
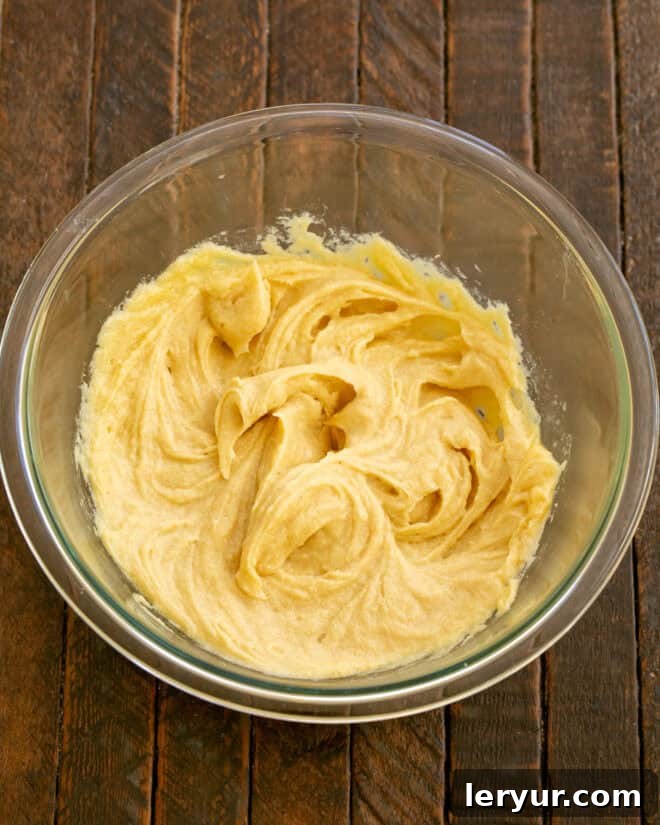
- In a large mixing bowl, using an electric mixer, beat the softened butter with the granulated sugar and packed brown sugar until the mixture is light, fluffy, and pale, about 2-3 minutes.
- Add the large egg and the extra egg yolk to the creamed mixture. Mix on medium speed until thoroughly combined, scraping down the sides of the bowl as needed.
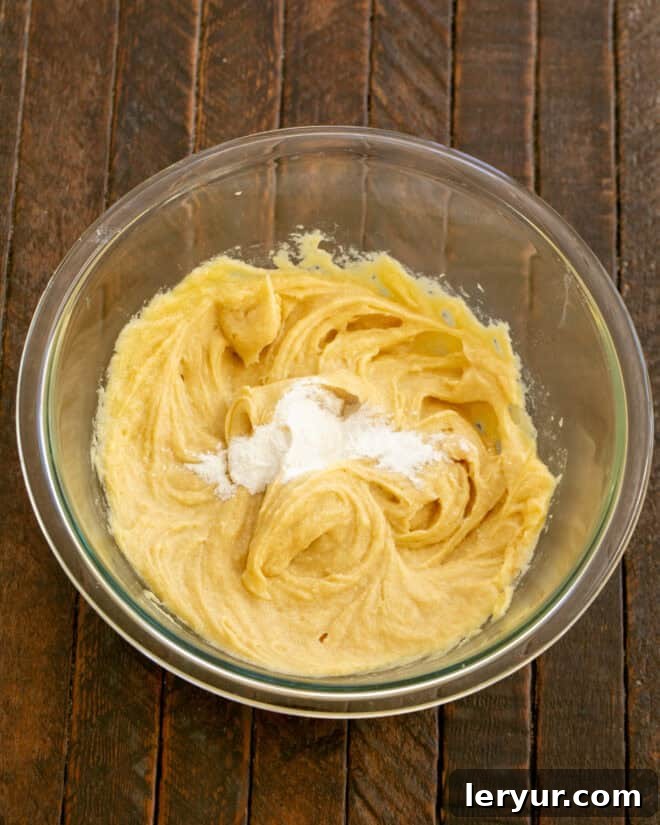
- Stir in the vanilla extract. Then, sprinkle the baking soda and salt over the butter mixture and mix again until just combined.
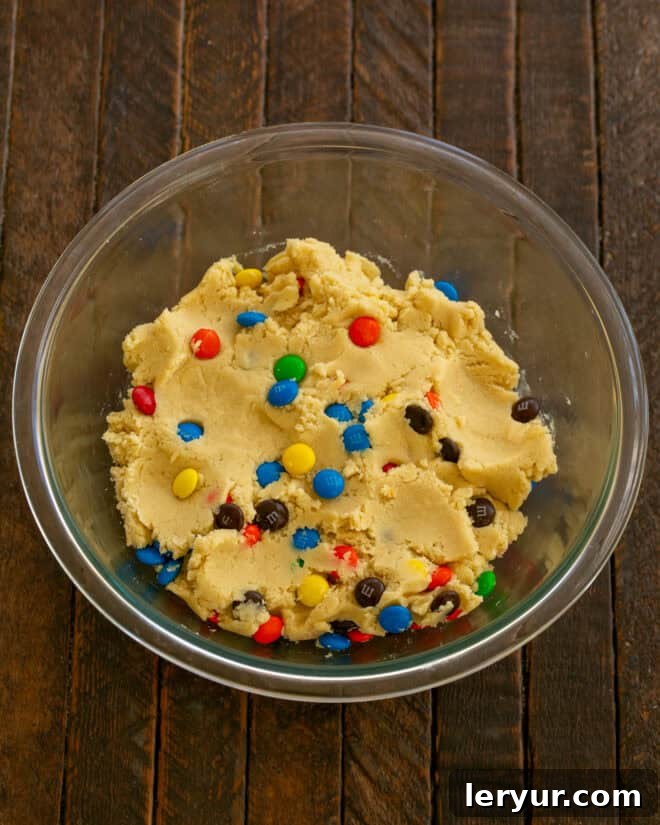
- Gradually add the all-purpose flour to the wet ingredients, mixing on low speed until the flour is just incorporated and no dry streaks remain. Be careful not to overmix. If your kitchen is particularly warm, you may want to refrigerate the dough for up to an hour to firm it up, which helps prevent excessive spreading.
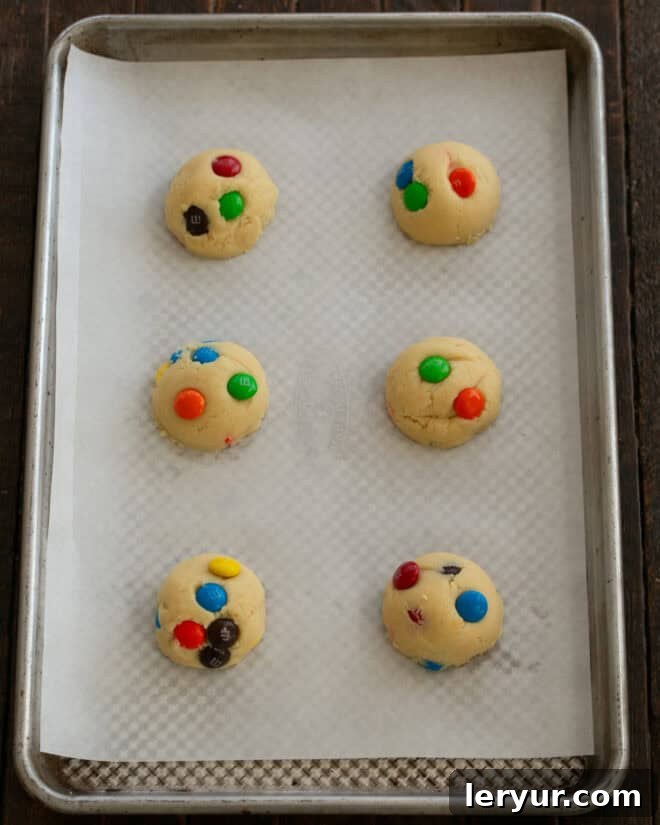
- Gently fold in the M&M’s candies by hand. Scoop out the dough using a 2-tablespoon cookie scoop for each cookie. Roll the dough into smooth balls between your palms. Place 6-8 dough balls on each prepared baking sheet, ensuring adequate spacing for spreading. If desired, lightly flatten each dough ball slightly with the palm of your hand before baking.
- Bake for approximately 10-12 minutes, or until the edges are light golden brown and the centers still look slightly soft. For vibrant M&M’s, remove from oven and immediately press a few extra M&M’s onto the hot cookies. Let the cookies cool on the baking sheet for 5 minutes to firm up before carefully transferring them to a wire cooling rack to cool completely.
- This recipe yields about 30 delicious M&M cookies, though the exact number may vary depending on the size you make your cookies.
Notes
This recipe is adapted for perfection from classic cookie-making techniques.
Don’t forget to customize your cookies! Use seasonal colored M&M’s to match various holidays and themes throughout the year.
Recommended Baking Tools
As an Amazon Associate and member of other affiliate programs, I earn from qualifying purchases, helping to support this site.
- Large Cookie Scoop
- Reynolds Cookie Baking Sheets Non-Stick Parchment Paper, 25 Sheet, 4 Count
- Heat-Resistant Silicone Spatula
- USA Pan Bakeware Half Sheet Pan
Nutrition Information:
Yield:
15 servings
Serving Size:
2 cookies
Amount Per Serving:
Calories: 204Total Fat: 4gSaturated Fat: 2gTrans Fat: 0gUnsaturated Fat: 1gCholesterol: 27mgSodium: 157mgCarbohydrates: 40gFiber: 1gSugar: 26gProtein: 3g
HOW MUCH DID YOU LOVE THIS RECIPE?
Please leave a comment on the blog or share a photo on Pinterest