
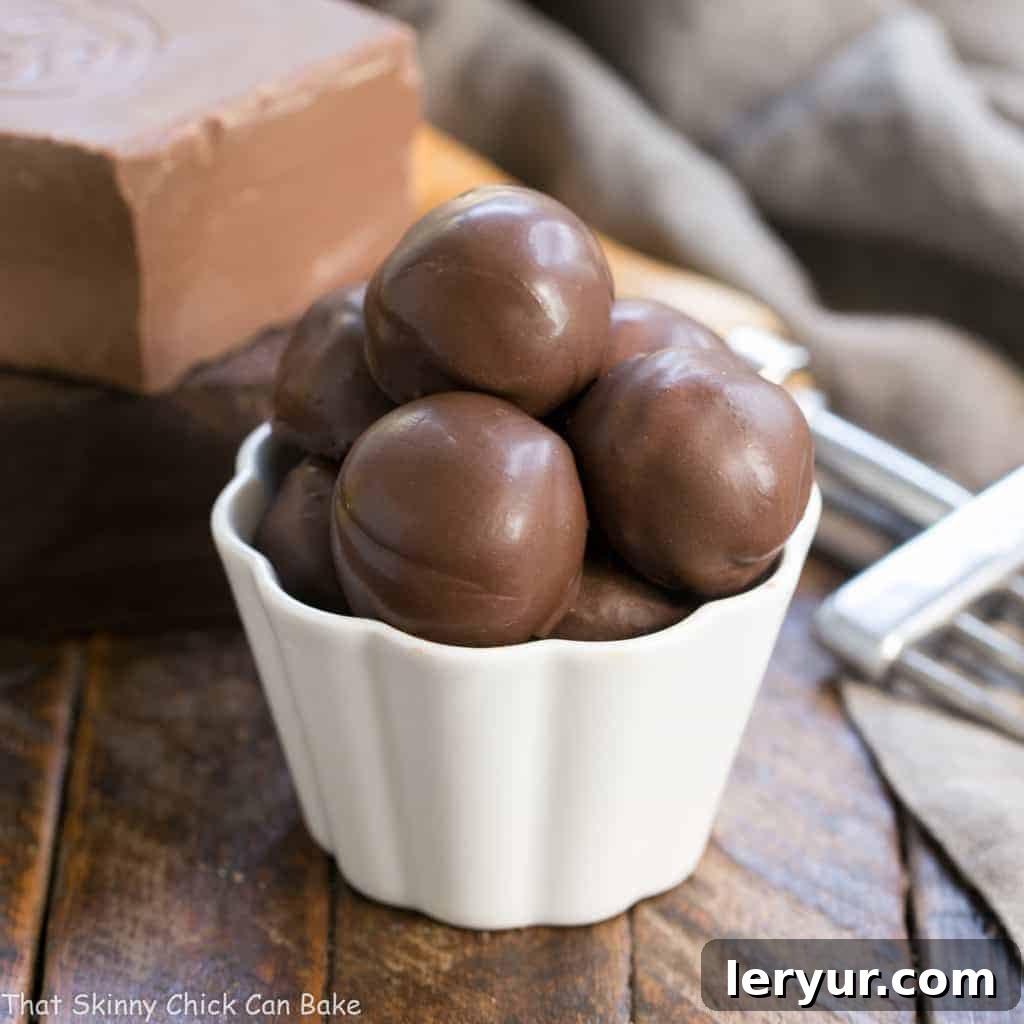
Indulge in a world of exquisite flavor and sophisticated sweetness with these decadent Chocolate Frangelico Truffles. The perfect time to whip up a batch of these luscious bonbons is always now, especially when a craving for something truly special strikes. Whether you’re a seasoned chocolatier or a home baker looking to elevate your dessert game, this comprehensive guide will not only lead you through crafting these hazelnut-infused delights but also refresh your skills on the essential art of how to temper chocolate for that professional, glossy finish.
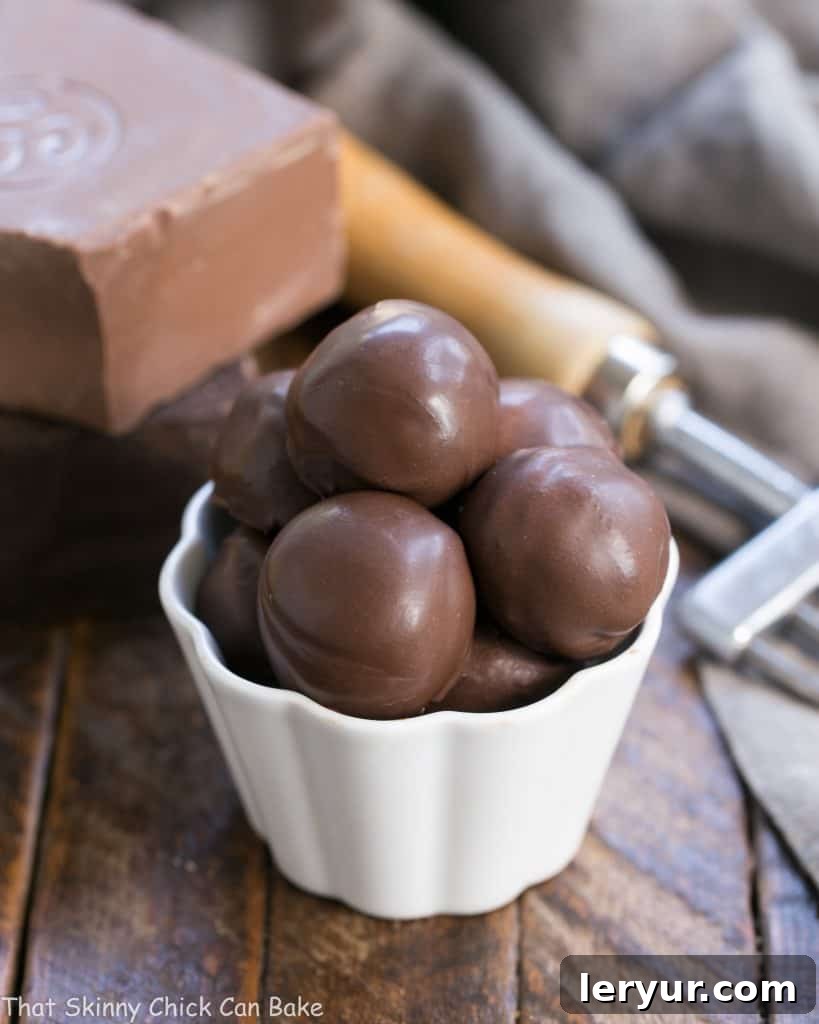
Unveiling the Decadence of Chocolate Frangelico Truffles
When it comes to homemade treats, few confections capture hearts quite like a perfectly crafted truffle. Right alongside classic chocolate chip cookies and creamy fudge, these Chocolate Frangelico Truffles consistently rank as a top family favorite. If you’ve never ventured into the delightful world of truffle making, you’re in for a treat – they’re surprisingly simple to create, yielding impressive results that taste utterly gourmet.
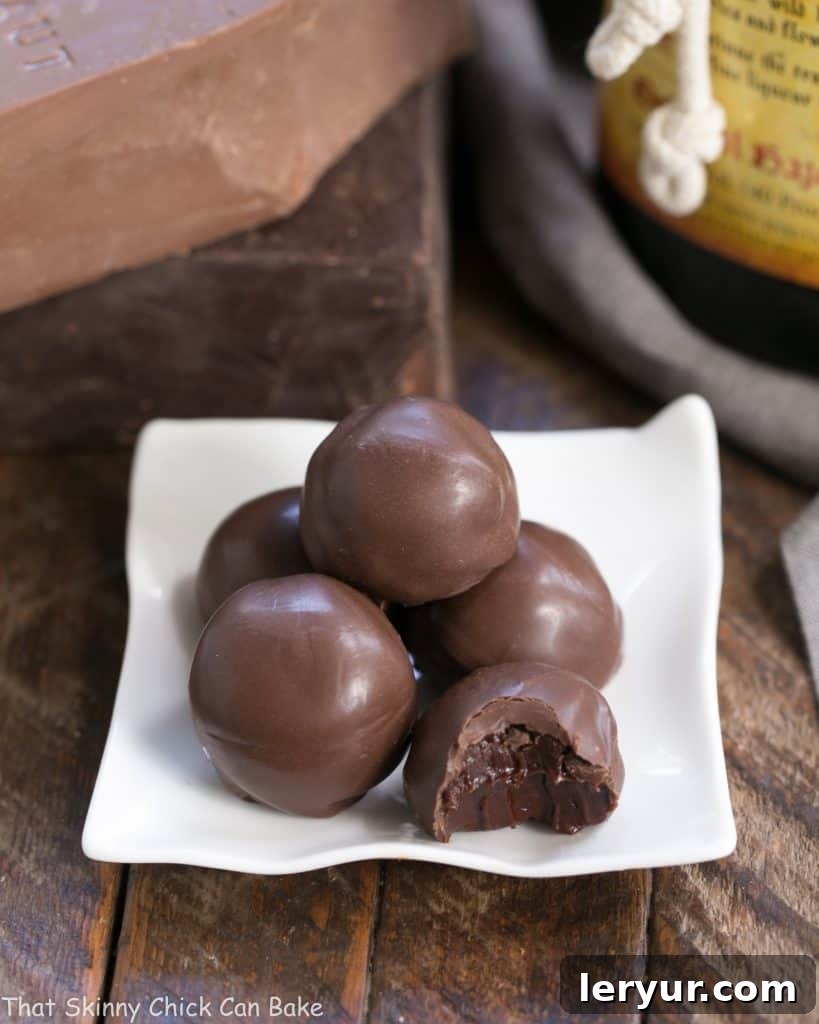
The beauty of truffles lies in their versatility and the sheer indulgence they offer in a single bite. While many home bakers, including myself, often opt for the simpler route of rolling these delightful ganache balls in rich cocoa powder, finely chopped nuts, or even shredded coconut to bypass the complexities of dipping, mastering the art of tempering chocolate unlocks a whole new level of confectionery perfection. The crisp shell, the satisfying “snap,” and the brilliant sheen are hallmarks of a truly professional chocolate creation.
Our dreamy truffles begin with a luxurious ganache, the heart of any good truffle. Hot, fragrant heavy cream, generously infused with Frangelico – a delightful hazelnut liqueur – is gently poured over finely chopped semisweet chocolate. This magical combination allows the chocolate to melt slowly, creating a smooth, silken mixture. Once perfectly emulsified, the ganache is chilled until firm, transforming into a pliable base ready to be rolled into individual spheres of bliss. For optimal texture and ease of handling, I often recommend letting the ganache chill overnight in the refrigerator, saving the chocolate tempering for the following morning. This patient approach ensures your ganache is perfectly firm, making the rolling process a breeze.
Mastering the Art: How to Temper Chocolate Flawlessly
Tempering chocolate might sound intimidating, but it’s a fundamental technique that unlocks the true potential of chocolate. It’s the secret behind that beautiful shine, the satisfying snap when you break a piece, and the resistance to “bloom” (the unsightly gray streaks that can appear on untempered chocolate). While it was nearly autumn during my last truffle-making session, the temperatures outside were unseasonably high, which is far from ideal for chocolate work. However, with a few adjustments—like cranking up the air conditioning and extending refrigeration times—perfectly tempered chocolate is always achievable.
The good news is that tempering chocolate requires just a few key components: quality chocolate, a double boiler setup (a saucepan with simmering water and a heatproof bowl that fits snugly on top), and an accurate candy thermometer. These tools are your best friends in navigating the precise temperature fluctuations essential for success.
Why Temper Chocolate? The Science Behind the Snap and Shine
Chocolate contains cocoa butter, which is a fat that can crystallize in several different forms, each melting at a different temperature and having a different texture. Untempered chocolate, or chocolate that has been melted and allowed to cool haphazardly, often forms unstable crystals. This leads to a dull, streaky appearance (known as bloom), a crumbly texture, and a soft melt that can feel greasy. Tempering is the process of precisely heating and cooling chocolate to encourage the formation of stable cocoa butter crystals, specifically the “Beta V” crystal form. These stable crystals are responsible for:
- Glossy Finish: A beautiful, reflective sheen that makes your confections look professional.
- Audible Snap: The satisfying sound when you break a piece of chocolate, indicating proper structure.
- Smooth Texture: Chocolate that melts cleanly and smoothly in your mouth, without a waxy or grainy feel.
- Stability: Resistance to melting easily at room temperature and prevention of cocoa butter bloom.
Understanding this science is key to appreciating why each temperature step in the tempering process is so critical.
The Tempering Process: Step-by-Step with the Seeding Method
The method we employ is often called the “seeding method,” where you introduce unmelted, already-tempered chocolate (the “seeds”) into melted chocolate to guide the crystallization. While the full detailed instructions are in the recipe card below, here’s an overview of the journey:
- Initial Melt: You’ll gently melt two-thirds of your finely chopped chocolate over a double boiler, bringing it to a specific temperature that breaks down all existing crystal structures. For dark chocolate, this is typically between 113°F and 122°F (45°C – 50°C).
- Cooling and Seeding: Remove the chocolate from the heat and gradually add the remaining one-third of unmelted, finely chopped chocolate (your “seeds”). Stir continuously. The goal here is for the “seed” chocolate to cool the melted chocolate down to its working temperature while introducing stable crystals. This crucial phase brings the chocolate down to about 80.6°F (27°C).
- Reheating to Working Temperature: Finally, the chocolate is gently reheated very briefly over the double boiler, stirring constantly, until it reaches its ideal “working temperature.” For dark chocolate, this is around 89.6°F (32°C). This slight re-warm stabilizes the crystals and ensures the chocolate is fluid enough for dipping.
Pros might be able to gauge these temperatures by sight and feel, but for us mere mortals, a reliable candy thermometer is absolutely indispensable. Even a few degrees off can ruin the temper!
Despite our sultry day and my perfectionist tendencies which noted a few too many fingerprints on the finished product, the reception was overwhelmingly positive. My husband, Bill, and son, Tom, couldn’t stop raving about these hazelnut-infused chocolate truffles. Tom, in particular, managed to devour three before moving on to a cupcake for dessert – a testament to their irresistible allure!
A fantastic shortcut for those who wish to bypass the tempering process entirely is to use quality chocolate melts, like Ghirardelli Dark Chocolate Melts. These are specifically formulated to melt smoothly and harden with a glossy finish without needing to be tempered, making them a terrific, foolproof option for coating your truffles.
I honed this tempering technique during my time with the Daring Bakers group, a wonderful community of passionate bakers. For your reference, here are the precise temperature ranges for the three main varieties of chocolate:
Essential Tempering Temperature Ranges:
Achieving the correct temperatures at each stage is paramount for successful tempering. Keep your candy thermometer handy!
Celsius (°C)
- Dark Chocolate: Melt to 45°C – 50°C > Cool to 27°C > Reheat to 32°C
- Milk Chocolate: Melt to 45°C > Cool to 27°C > Reheat to 30°C
- White Chocolate: Melt to 45°C > Cool to 27°C > Reheat to 29°C
Fahrenheit (°F)
- Dark Chocolate: Melt to 113°F – 122°F > Cool to 80.6°F > Reheat to 89.6°F
- Milk Chocolate: Melt to 113°F > Cool to 80.6°F > Reheat to 86°F
- White Chocolate: Melt to 113°F > Cool to 80.6°F > Reheat to 84.2°F
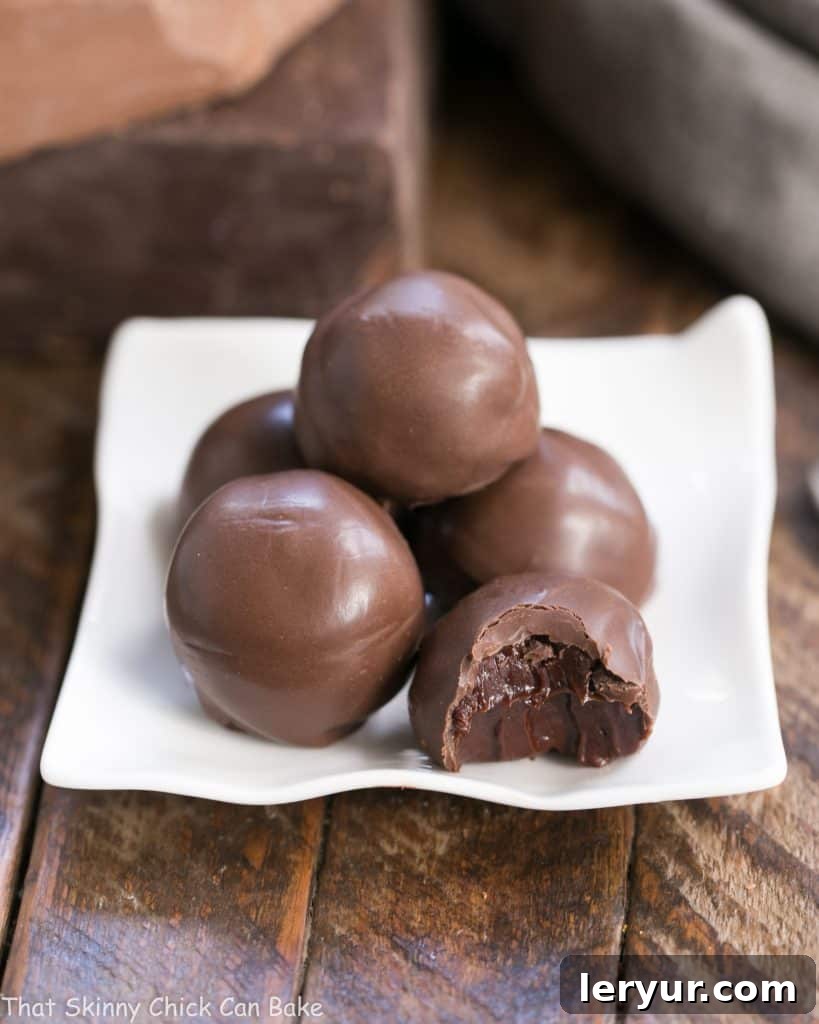
Expert Tips for Tempering Chocolate Successfully
While the step-by-step recipe provides the precise method, these additional tips will help you navigate the nuances of tempering chocolate like a pro. Remember, if you’re pressed for time or simply prefer a foolproof coating, using chocolate melts is always a fantastic shortcut!
- Prevent Water Contamination: This is arguably the most critical rule. Ensure your heatproof bowl fits snugly over your saucepan of simmering water, creating a tight seal. This prevents any steam from escaping and forming condensation droplets that could fall into your chocolate. Even a single drop of water can cause chocolate to “seize,” turning it into a thick, gritty, unusable mass. Always use dry utensils and bowls.
- Gentle and Even Stirring: Use a rubber spatula to gently and continuously stir the chocolate as it melts. This promotes even melting and prevents hot spots that could scorch the chocolate. Wooden spoons can retain moisture, so a dry, clean rubber spatula is the preferred tool for tempering.
- Constant Temperature Monitoring: A good candy thermometer is your best friend. Monitor the temperature constantly during all stages of the tempering process. Going a few degrees over the target temperature, especially during the reheating phase, can ruin the temper. If it does, don’t despair; you can usually re-temper by starting the process from the beginning.
- Working with Small Un-melted Bits: If you find a few stubborn, un-melted chocolate bits after the cooling/seeding phase, you can carefully place the bowl back over the simmering water for a very short period (just a few seconds), stirring gently and watching your thermometer like a hawk. The residual heat will usually melt them without raising the overall temperature too much.
- Maintaining Working Temperature: When dipping a large batch of truffles, the tempered chocolate will naturally begin to cool and thicken as it sits off the heat. To maintain its ideal viscosity for smooth, even coating, you can briefly place the bowl back over steam for 30 seconds to 1 minute every 10-15 minutes. Crucially, do not let the temperature exceed its working temperature.
- Insulation for Stability: To help keep the chocolate at its working temperature for longer, consider using a warmed glass bowl and wrapping it in a hot kitchen towel while you work. This gentle insulation can extend your dipping time.
- Quantity Matters: It’s generally easier to maintain the temper with larger quantities of chocolate rather than very small amounts. If you have leftover tempered chocolate, store it in a cool, dry place and you can re-temper it later. Good chocolate should never be wasted!
- Trust Your Thermometer (Unless You’re a Pro): Unless you’re a seasoned chocolatier with years of experience who can tell the chocolate’s temperature by touching it to your lower lip (a common pro trick), rely entirely on your thermometer. Precision is key.
- Begin Again if Needed: The beauty of tempering is that it’s forgiving. If you make a mistake at any stage – the chocolate seizes, overheats, or simply doesn’t set correctly – you can usually start over from the beginning. Or, as mentioned, reach for that bag of reliable chocolate melts!
- Chocolate Varieties: The specific temperatures listed in the recipe are for semisweet chocolate. Always refer to the ranges provided above for milk and white chocolate, as they have different fat and sugar compositions that require slightly different handling.
Chocolate Frangelico Truffles: The Recipe
These homemade Chocolate Frangelico Truffles are a truly decadent confection, perfect for gifting, holiday platters, or simply treating yourself. This recipe yields approximately two dozen exquisite truffles.
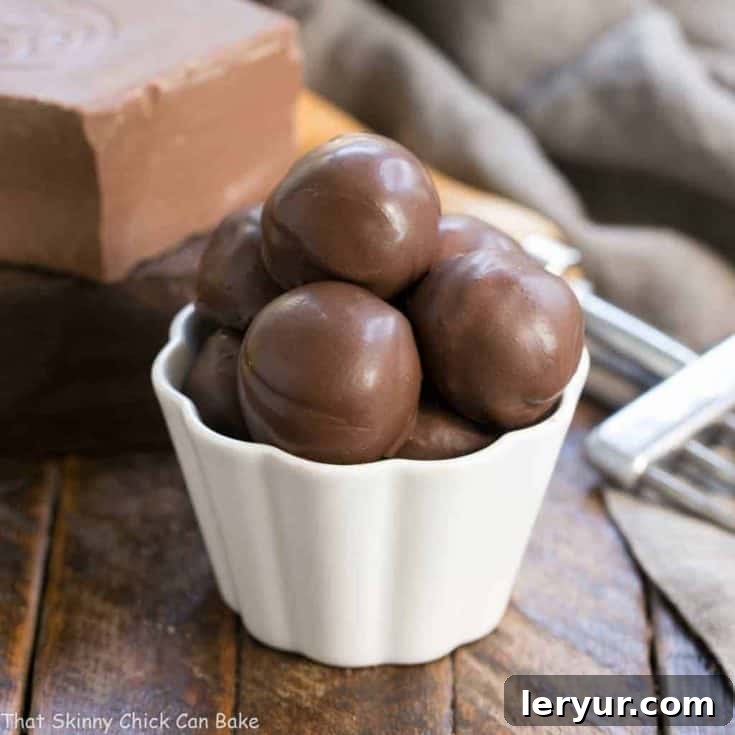
Chocolate Frangelico Truffles Recipe
1 hour
1 hour
2 dozen
These homemade Chocolate Frangelico Truffles are a decadent confection that’s perfect for gifting or a luxurious treat.
Ingredients
For the Ganache:
- 8 ounces semisweet chocolate, finely chopped
- ½ cup heavy cream
- 1 tablespoon Frangelico (hazelnut liqueur)
For the Tempered Chocolate Coating:
- 8 ounces semisweet chocolate, finely chopped, divided (approximately 5+ ounces for initial melt, a little less than 3 ounces for seeding)
Instructions
- Prepare the Ganache: Place the 8 ounces of finely chopped semisweet chocolate in a heatproof bowl.
- Infuse the Cream: In a microwave-safe measuring cup (a Pyrex works wonderfully), heat the heavy cream until it’s hot and just barely simmering, almost boiling. Stir in the Frangelico to combine thoroughly.
- Combine & Whisk: Pour the hot Frangelico-infused cream over the chopped chocolate in the bowl. Let it sit undisturbed for a few minutes to allow the chocolate to melt. Then, whisk gently until the mixture is completely smooth and glossy.
- Chill the Ganache: Allow the ganache to cool down to room temperature, then transfer it to the refrigerator to chill for at least 2 hours, or until firm enough to roll. For best results, I often chill it overnight.
- Form Truffle Balls: Once chilled, use a small scoop or spoon to form rounds of ganache. Roll them between your palms to create smooth, uniform truffle balls. Place these balls onto a parchment-lined cookie sheet. Return them to the refrigerator to chill thoroughly while you prepare the tempered chocolate.
- Begin Tempering (Initial Melt): Place approximately two-thirds of the 8 ounces of finely chopped semisweet chocolate (a little more than 5 ounces) into a clean, heatproof bowl.
- Set Aside Seeding Chocolate: Set aside the remaining one-third of the finely chopped chocolate (a little less than 3 ounces) – these are your “seeds.” Place the bowl with the two-thirds chocolate over a saucepan of simmering water, ensuring the bottom of the bowl does not touch the water.
- Melt Evenly: Using a dry rubber spatula, gently stir the chocolate constantly, allowing it to melt evenly and slowly.
- Reach Initial Melt Temperature: Keep a close eye on your candy thermometer. As soon as the chocolate reaches 45°C / 113°F, immediately remove the bowl from the heat.
- Seed the Chocolate: Begin adding small amounts of the reserved un-melted chocolate “seeds” to the melted chocolate, stirring continuously until they melt completely.
- Cool to Target Temperature: Continue adding small additions of the seed chocolate and stirring until you’ve brought the chocolate’s temperature down to 27°C / 80.6°F. For dark chocolate, aiming for a range between 80°F and 82°F is ideal. This is the crucial cooling and crystallization phase.
- Reheat to Working Temperature: Place the bowl back over the double boiler for just a few seconds, stirring constantly, to gently bring the temperature back up to its working temperature of 89.6°F. Do not exceed this temperature.
- Chocolate is Tempered: Your chocolate is now perfectly tempered and ready for use!
- Dip the Truffles: Dip each chilled truffle ball into the tempered chocolate, allowing any excess to drip off. Place the coated truffles back onto a clean parchment-lined sheet. Allow the coating to harden completely at room temperature or in a cool spot.
Notes
If you prefer not to undertake the tempering process, a convenient alternative is to use Ghirardelli chocolate melts or similar compound chocolate to coat your truffles. These melts are designed to harden with a beautiful sheen without the need for precise temperature control.
Recommended Products for Truffle Making
As an Amazon Associate and member of other affiliate programs, I earn from qualifying purchases, helping to support this blog.
- Silicone Spatulas
- USA Pan Bakeware Half Sheet Pan
- Reynolds Cookie Baking Sheets Non-Stick Parchment Paper
- 3 Pyrex Mixing Bowls
Nutrition Information:
Yield:
24 Truffles
Serving Size:
1 truffle
Amount Per Serving:
Calories: 108Total Fat: 7gSaturated Fat: 5gTrans Fat: 0gUnsaturated Fat: 3gCholesterol: 6mgSodium: 3mgCarbohydrates: 12gFiber: 1gSugar: 10gProtein: 1g
HOW MUCH DID YOU LOVE THIS RECIPE?
Please leave a comment on the blog or share a photo on Pinterest!
More Decadent Chocolate Recipes You Will Love:
If these Chocolate Frangelico Truffles have sparked your passion for chocolate, you’re in luck! Here are some other cherished recipes from my kitchen that celebrate the glorious versatility of chocolate. Each one is a guaranteed crowd-pleaser and a perfect way to expand your repertoire of delicious homemade treats:
- No-Fail Chocolate Fudge: A classic, rich, and incredibly smooth fudge recipe that lives up to its name – it’s practically impossible to mess up! Perfect for a quick chocolate fix or gifting.
- Chocolate Mousse Cups: Light, airy, and intensely chocolatey, these elegant mousse cups are a sophisticated dessert option that’s surprisingly easy to assemble and always impresses.
- Caramel Filled Chocolate Truffles: Take your truffle game to the next level with these exquisite truffles, featuring a gooey caramel center and a hint of rum for an extra layer of indulgence.
- La Bete Noire (Flourless Chocolate Cake): Also known as “Black Beast,” this intensely rich and dense flourless chocolate cake is a dream for chocolate purists and those seeking a gluten-free option without compromising on flavor.
- Cherry Chocolate Brownies: A delightful twist on the classic brownie, these feature bursts of sweet cherries complementing the deep chocolate notes, creating a perfectly balanced treat.
- Death by Chocolate Cake: As the name suggests, this cake is for the ultimate chocolate lover, with multiple layers of chocolate cake, frosting, and ganache for an unforgettable experience.
- Flourless Chocolate Cake with Marshmallow Frosting: Another fantastic flourless option, this cake is made even more special with a fluffy, sweet marshmallow frosting that creates a harmonious contrast in textures and flavors.
- More Homemade Chocolate Recipes: Dive into our extensive collection of chocolate-centric delights, from cookies to cakes and everything in between, to satisfy every chocolate craving imaginable.
Storage and Gifting Your Homemade Truffles
Once your beautiful Chocolate Frangelico Truffles have set, store them in an airtight container in the refrigerator for up to two weeks. Allow them to come to room temperature for about 15-20 minutes before serving to fully appreciate their melt-in-your-mouth texture and rich flavors. These truffles make exceptional homemade gifts. Arrange them in decorative candy boxes, tie with a festive ribbon, and you have a thoughtful, luxurious present for any occasion. They are perfect for holidays, hostess gifts, or as a special token of appreciation for friends and family.
Conclusion: A Taste of Homemade Luxury
Crafting these Chocolate Frangelico Truffles is more than just baking; it’s an experience in creating luxury. From the aromatic hazelnut liqueur infusing the smooth ganache to the satisfaction of achieving a perfectly tempered chocolate shell, every step is a journey into gourmet confectionery. Whether you choose to master the art of tempering or opt for a convenient shortcut, the result will be a batch of undeniably delicious, professional-looking truffles that are sure to impress. So go ahead, treat yourself and your loved ones to these irresistible bites of heaven!