
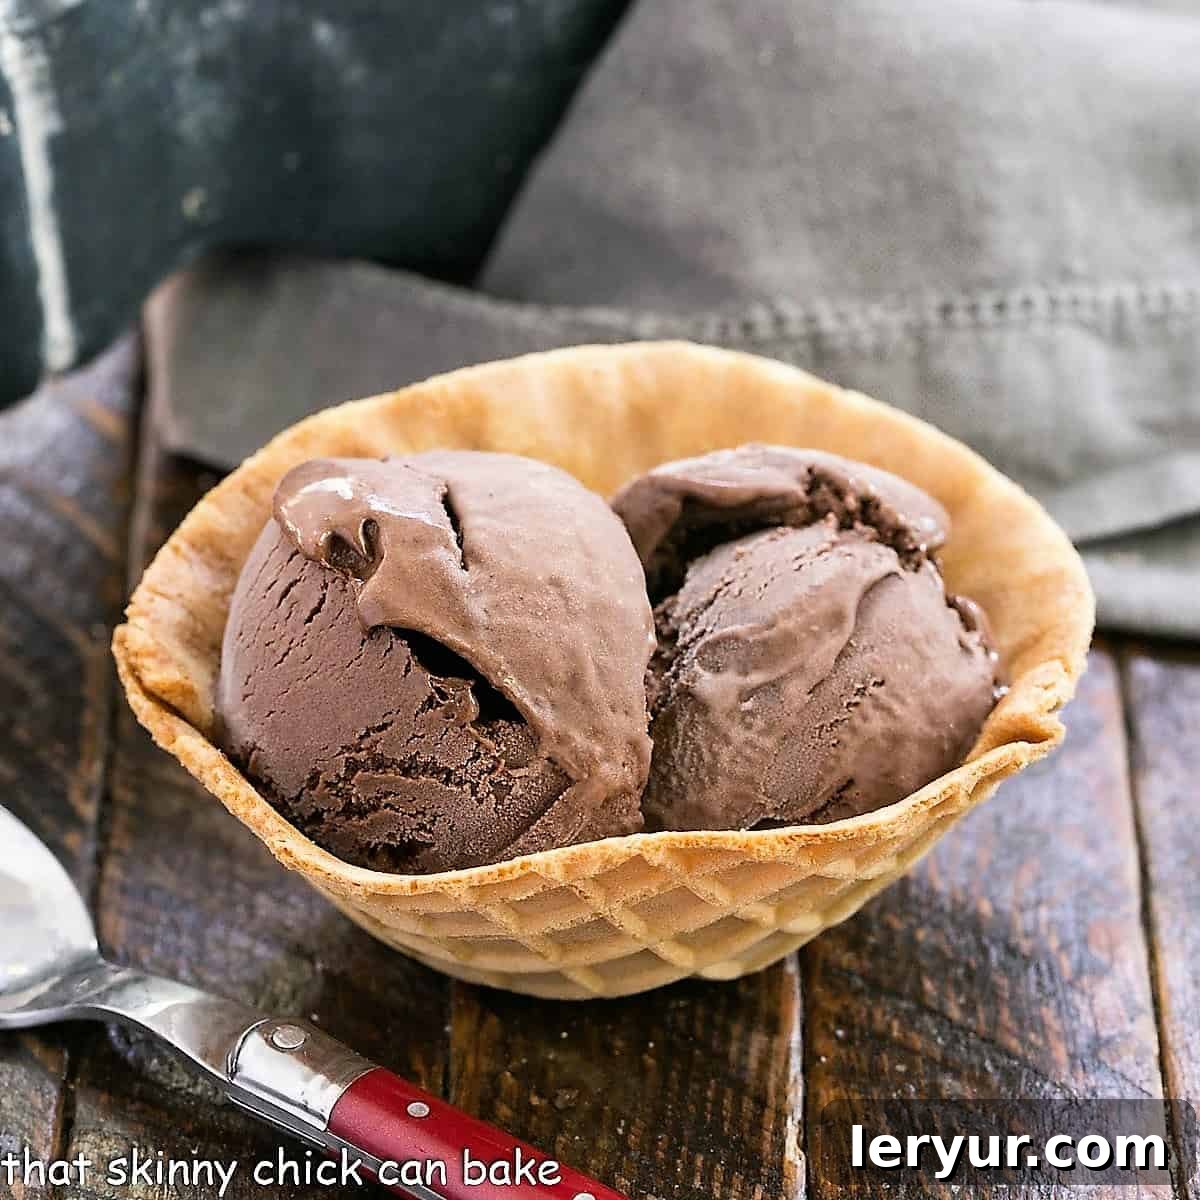
Chocolate Velvet Ice Cream is the epitome of frozen indulgence, offering a remarkably rich, intensely creamy, and luxuriously smooth experience. This decadent dessert delivers a double dose of chocolate, making it an ultra-chocolaty frozen treat that will satisfy even the most discerning chocoholic.
For those who consider chocolate a true passion, this Dark Chocolate Ice Cream Recipe is more than just a dessert; it’s a culinary journey into pure bliss. Crafted with care and designed to deliver an unparalleled flavor profile, it transforms simple ingredients into an extraordinary frozen delight. Prepare to elevate your dessert game and discover the ultimate homemade chocolate ice cream.
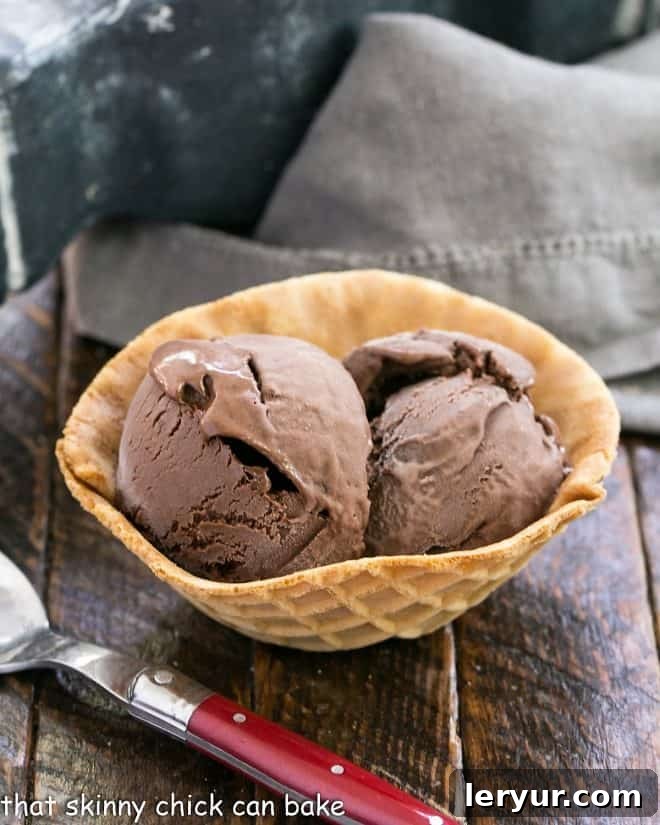
Why You’ll Love This Chocolate Velvet Ice Cream
Embarking on the journey to create your own homemade ice cream is a rewarding experience, and this Chocolate Velvet Ice Cream recipe is no exception. Here’s why it deserves a spot in your dessert repertoire:
- Unrivaled Decadence: This isn’t just chocolate ice cream; it’s an ultra-chocolaty, silky, and profoundly decadent masterpiece. The careful balance of cocoa powder and melted chocolate creates a complex, deep chocolate flavor that store-bought options simply can’t match. Each spoonful melts smoothly on your tongue, leaving a lasting impression of pure bliss.
- Perfect for Any Occasion: Whether you’re seeking a luxurious treat to cool off on a scorching summer day or a comforting indulgence during colder months, this ice cream fits the bill. Its rich flavor and creamy texture make it a crowd-pleaser for parties, family gatherings, or a quiet night in.
- Incredibly Versatile: While it’s utterly delightful on its own, this Chocolate Velvet Ice Cream serves as a fantastic base for numerous other desserts. Use it to craft an extravagant ice cream sundae piled high with your favorite toppings, build an impressive ice cream pie for a special occasion, or simply enjoy it in a classic waffle cone for a perfect everyday treat. Its robust flavor stands up beautifully to various additions and accompaniments.
- Homemade Goodness: There’s an undeniable satisfaction that comes from making dessert from scratch. With this recipe, you control the quality of ingredients, ensuring a fresh, preservative-free, and truly premium frozen dessert that tastes infinitely better than anything you can buy.
Understanding the Magic: Key Ingredients for Velvety Perfection
The secret to this ice cream’s extraordinary “velvet” texture and profound chocolate flavor lies in its carefully selected ingredients and the way they interact. Understanding their roles is key to achieving homemade ice cream perfection.
The Double Dose of Chocolate: Cocoa Powder and Melted Chocolate
Most chocolate ice cream recipes call for either cocoa powder or melted chocolate, but this recipe leverages both for maximum impact. The Dutch-processed cocoa provides a deep, dark color and a mellow, less bitter chocolate flavor that blends seamlessly into the custard base. Meanwhile, the semisweet or bittersweet chocolate, chopped and melted, adds richness, body, and a complex depth that rounds out the chocolate experience. This combination ensures an intensely chocolaty, multi-dimensional flavor that truly lives up to its “velvet” name.
The Creamy Foundation: Heavy Cream and Milk
Heavy cream is indispensable for achieving the luxurious, smooth texture of ice cream. Its high-fat content contributes significantly to the creaminess, preventing ice crystal formation and providing a rich mouthfeel. Combined with milk, which lightens the base slightly while still contributing to its liquid volume, these dairy components create the perfect canvas for the chocolate flavors to shine.
The Essential Thickener: Egg Yolks
This is a custard-based ice cream, meaning it relies on egg yolks to create a rich, silky, and stable base. The yolks act as an emulsifier, binding the fat and water molecules together, which results in an incredibly smooth and decadent texture. When properly tempered and cooked, they contribute to the ice cream’s thickness and help it resist forming large ice crystals during freezing, ensuring that signature “velvet” consistency.
Sweetness and Balance: Sugar
Beyond providing sweetness, sugar plays a crucial role in the texture of ice cream. It lowers the freezing point of the mixture, preventing it from freezing solid and allowing it to remain scoopable. It also enhances the overall flavor profile, balancing the bitterness of the dark chocolate and highlighting its nuanced notes.
Frequently Asked Questions About Chocolate Velvet Ice Cream
What ingredients are in chocolate ice cream?
To make a truly exceptional chocolate ice cream, you need more than just chocolate. At its core, any good chocolate ice cream requires a source of rich chocolate flavor, typically from cocoa powder or melted chocolate. Our Chocolate Velvet Ice Cream recipe brilliantly utilizes both, creating an unparalleled depth of flavor. Beyond the chocolate, a churned, custard-style ice cream like ours also necessitates essential dairy components like heavy cream and milk for creaminess, egg yolks for a rich, smooth base and emulsification, and of course, sugar for sweetness and texture balance. Vanilla extract, while not listed in the provided recipe card ingredients, is often a subtle yet crucial addition to enhance and round out the chocolate notes.
Why does chocolate ice cream taste so good?
The deliciousness of chocolate ice cream can largely be attributed to its high fat content. Fat molecules are incredible carriers of flavor. In ice cream, fat from ingredients like heavy cream, egg yolks, and the chocolate itself effectively encapsulate and deliver the intricate flavor molecules of chocolate and vanilla (if used). This amplifies the taste experience, making the chocolate notes more pronounced and lingering. Additionally, fat contributes to the rich, smooth, and creamy texture that we associate with indulgent ice cream, ensuring that each bite is not just flavorful but also exquisitely satisfying on the palate.
Does chocolate ice cream have caffeine?
Yes, chocolate ice cream does contain caffeine. This is because chocolate itself naturally contains caffeine, along with another stimulant called theobromine. The amount of caffeine in your chocolate ice cream will depend on the type and quantity of chocolate used. Generally, the darker the chocolate (meaning a higher percentage of cocoa solids), the higher its caffeine content. Therefore, a rich, dark chocolate ice cream like our Chocolate Velvet variety will typically have a more noticeable amount of caffeine compared to a milk chocolate ice cream.
Can dogs and cats have chocolate ice cream?
Absolutely not. It is critically important to understand that neither cats nor dogs should ever be given chocolate ice cream or any chocolate products. Chocolate contains a compound called theobromine, which is toxic to both dogs and cats and can be deadly even in small amounts. Pets metabolize theobromine much more slowly than humans, leading to its accumulation in their system. Symptoms of chocolate poisoning can range from vomiting and diarrhea to seizures and heart problems. Furthermore, cats, like many adult humans, are often considered lactose intolerant; their digestive systems do not process cow’s milk well, which can lead to digestive upset, making milk-based ice cream another reason to keep it away from felines. Always keep chocolate and chocolate-containing products out of reach of your beloved pets.
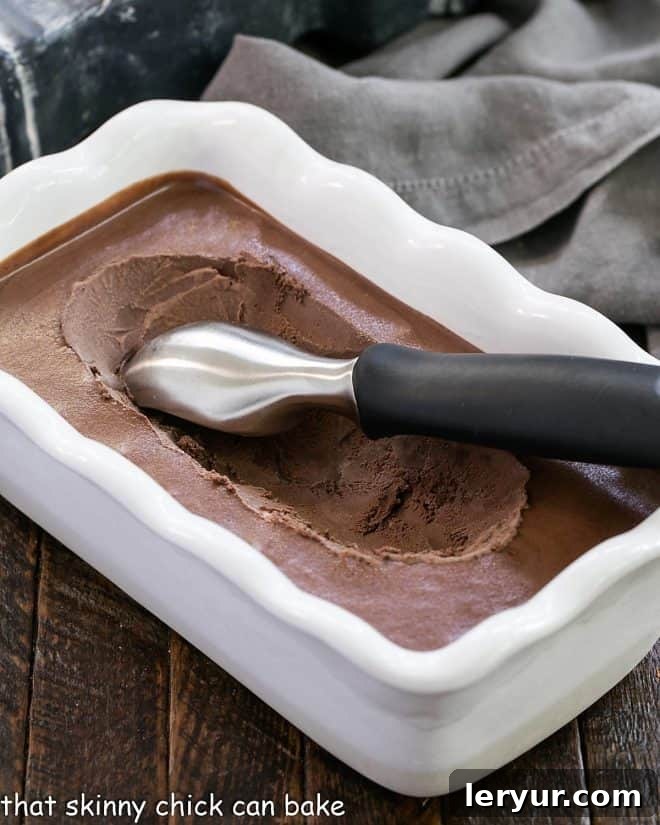
Crafting Your Own Chocolate Velvet Ice Cream: A Step-by-Step Guide
The murmurs of “terrific” and contented silence that follow the emptying of bowls filled with this glossy, intensely chocolaty goodness are all the proof you need. This Chocolate Velvet Ice Cream recipe is destined to become a staple, made again and again. It’s so versatile; imagine using it as a luscious filling for leftover cookies or alongside a warm brownie. While the full recipe card below provides precise measurements and an easy-to-follow format, here’s a detailed overview of the process to guide you through making this incredible frozen treat.
- Prepare the Custard Base: Begin by combining sugar and cocoa powder in a heavy-bottomed saucepan. Whisk in the heavy cream and milk until smooth. Gradually bring this mixture to a gentle boil over medium heat, stirring occasionally to prevent sticking. Once it reaches a boil, immediately remove the pan from the heat.
- Temper the Egg Yolks: While your chocolate-milk mixture is hot, prepare your egg yolks. In a separate bowl (a Pyrex measuring cup with a spout works perfectly for easy pouring), whisk the egg yolks until they are smooth and pale yellow. This step is crucial for achieving a silky custard and preventing scrambled eggs.
- Careful Tempering: Slowly, and in a thin, steady stream, pour about one cup of the hot chocolate mixture into the whisked egg yolks. It’s vital to whisk the egg yolks constantly during this process to gradually raise their temperature without cooking them. This is called tempering.
- Combine and Cook: Once about a cup of the hot mixture has been incorporated into the eggs, pour the tempered egg mixture back into the saucepan with the remaining hot chocolate liquid. Return the pan to medium-low heat and continue to cook, stirring constantly with a spatula or wooden spoon. Scrape the bottom and sides of the pan to prevent scorching. Cook until the liquid thickens slightly and reaches a temperature of 170°F (77°C). The mixture should coat the back of a spoon. Do not boil.
- Melt the Chocolate: Immediately remove the saucepan from the heat and add the finely chopped semisweet or bittersweet chocolate. Whisk vigorously until the chocolate is completely melted and the mixture is smooth and glossy.
- Strain and Chill: To ensure an incredibly smooth and lump-free ice cream base, pour the liquid through a fine-mesh sieve into a clean bowl. This catches any tiny bits of cooked egg or undissolved cocoa. Cover the bowl tightly with plastic wrap, pressing the wrap directly onto the surface of the custard to prevent a skin from forming. Chill the custard in the refrigerator for at least 3 hours, or ideally overnight, until it is thoroughly cold. Proper chilling is essential for optimal churning.
- Churn for Creaminess: Once the custard is well chilled, transfer it to your ice cream maker. Follow your manufacturer’s instructions for churning. The mixture will gradually thicken and become the consistency of soft-serve ice cream.
- Freeze Until Firm: The churned ice cream will still be quite soft. Transfer it to an airtight container. Press plastic wrap directly onto the surface of the ice cream to minimize ice crystal formation. Place the container in the freezer for at least 4-6 hours, or until it reaches a firm, scoopable consistency.
Tips for Achieving the Perfect Velvet Texture
Creating truly “velvet” ice cream is a delicate art, and a few key practices can elevate your homemade treat from good to extraordinary. Follow these tips to ensure your Chocolate Velvet Ice Cream is as smooth and creamy as possible:
- High-Quality Ingredients are Paramount: The better the quality of your chocolate, cocoa, and dairy, the better your ice cream will taste. Invest in a good quality semisweet or bittersweet chocolate and Dutch-processed cocoa for the most profound flavor.
- Don’t Skip the Chilling: The custard base must be thoroughly chilled before churning. This means at least 3 hours, but ideally overnight. A cold base churns more efficiently, incorporates less air, and results in a smoother, creamier final product with smaller ice crystals.
- Temper Eggs Slowly and Steadily: Tempering is the most critical step for a custard base. Pour the hot liquid into the egg yolks gradually while whisking vigorously. This prevents the eggs from scrambling. If you rush, you might end up with grainy ice cream.
- Avoid Overcooking the Custard: Cook the custard only until it reaches 170°F (77°C) and coats the back of a spoon. Overcooking can lead to a curdled texture. A good instant-read thermometer is your best friend here.
- Strain the Base: Always strain your custard through a fine-mesh sieve after cooking. This catches any small bits of cooked egg or undissolved cocoa, ensuring a perfectly smooth and luxurious texture.
- Don’t Over-churn: Follow your ice cream maker’s instructions carefully. Over-churning can lead to a grainy texture and can warm the mixture, which is counterproductive. Churn just until it reaches the consistency of soft-serve.
- Airtight Storage is Key: Once churned, transfer the soft ice cream to an airtight container. Press plastic wrap directly onto the surface of the ice cream before sealing the lid. This creates a barrier against air, which is the enemy of creamy ice cream as it causes ice crystals to form and leads to freezer burn.
Serving Suggestions and Creative Pairings
While a scoop of Chocolate Velvet Ice Cream is pure perfection on its own, its rich flavor and velvety texture make it an incredible canvas for creative serving ideas. Here are some suggestions to elevate your dessert experience:
- Classic Indulgence: Serve in a simple bowl or a crispy waffle cone, allowing the deep chocolate flavor to be the star.
- Ultimate Chocolate Sundae: Top with warm fudge sauce, a dollop of whipped cream, chopped nuts, and a maraschino cherry for a classic treat.
- Ice Cream Pie: Use it as the luscious filling for an OREO or graham cracker crust. Freeze until firm, then add more toppings or a layer of ganache.
- Milkshakes and Floats: Blend with a splash of milk for a thick, creamy chocolate milkshake, or drop a scoop into a glass of root beer or cold brew coffee for a sophisticated float.
- Affogato Style: Pair a scoop with a shot of hot, freshly brewed espresso for a sophisticated Italian-inspired dessert.
- Alongside Baked Goods: It’s the perfect accompaniment to warm brownies, chocolate lava cakes, apple crisp, or even a slice of simple vanilla cake.
- Fruit Pairings: The richness of the chocolate pairs beautifully with fresh raspberries, sliced strawberries, or segments of orange for a refreshing contrast.
- Sprinkle Fun: For a festive touch, add some colorful sprinkles, chocolate shavings, or mini chocolate chips.
Variations: Customizing Your Chocolate Indulgence
This Chocolate Velvet Ice Cream recipe is fantastic as is, but it also lends itself beautifully to customization. Feel free to experiment with these variations to create your own signature chocolate frozen dessert:
- Spice It Up: Add a pinch of cayenne pepper or chili powder to the custard base for a subtle, warming heat that complements the chocolate beautifully.
- Coffee Infusion: Incorporate 1-2 teaspoons of instant espresso powder or strong brewed coffee into the custard base for a mocha-flavored ice cream.
- Minty Fresh: Stir in a few drops of peppermint extract after the custard has chilled for a refreshing chocolate mint ice cream.
- Nutty Crunch: Fold in chopped toasted nuts like pecans, walnuts, or almonds during the last few minutes of churning for added texture and flavor.
- Chocolate Chunks: For even more chocolate, fold in a cup of chocolate chips or chopped chocolate chunks after churning.
- Caramel Swirl: Swirl in some homemade or store-bought caramel sauce into the soft ice cream before freezing for a chocolate caramel ripple effect.
- Raspberry Ripple: Gently swirl in a spoonful of raspberry puree or preserves for a fruity contrast.
- Alcoholic Twist: For an adult treat, a tablespoon or two of Kahlúa, crème de cacao, or a good quality dark rum can be added to the chilled custard before churning.
More Decadent Chocolate Desserts You’ll Love:
If you’re a true chocolate enthusiast, your journey into decadent desserts doesn’t have to end with this incredible ice cream. Here are more delightful chocolate creations to explore:
- Copycat Dairy Queen Ice Cream Cake from Life, Love and Sugar
- Chocolate Ice Cream Pie
- Sour Cream Bundt Cake
- Chocolate Pudding
- More Homemade Chocolate Desserts
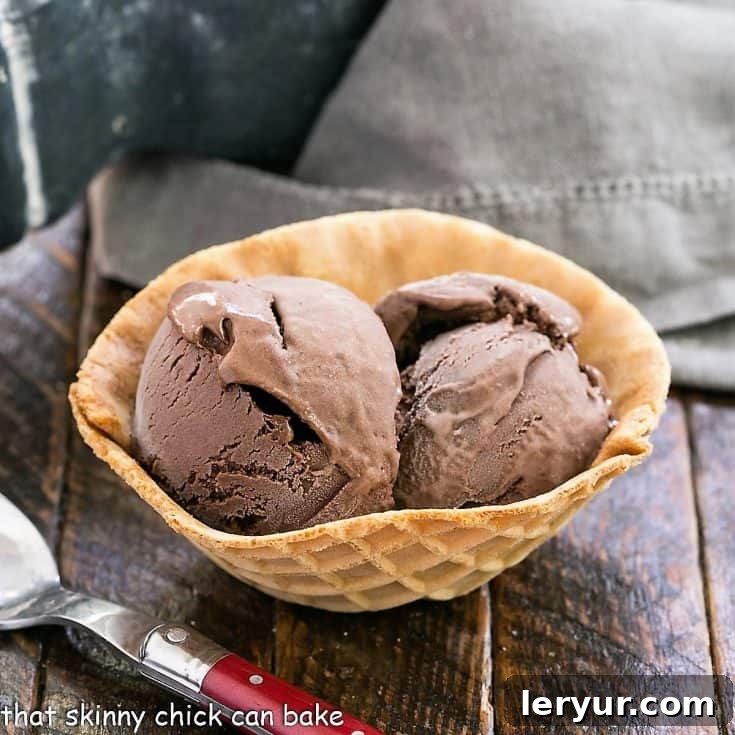
Chocolate Velvet Ice Cream
A truly rich, intensely luscious homemade ice cream with a double dose of chocolate for an unforgettable frozen treat.
Ingredients
- 6 ounces semisweet or bittersweet chocolate, finely chopped
- 1 cup granulated sugar
- 1/2 cup Dutch-processed cocoa powder
- 1 1/2 cups heavy cream
- 1 cup whole milk
- 3 large egg yolks
Instructions
- In a medium saucepan, combine the sugar and Dutch-processed cocoa powder. Whisk thoroughly to break up any lumps. Gradually whisk in the heavy cream and milk until the mixture is smooth.
- Place the saucepan over medium heat and bring the mixture to a gentle boil, stirring occasionally to prevent scorching. Once it reaches a boil, immediately remove the pan from the heat.
- In a separate heatproof bowl (a Pyrex measuring cup with a spout works well), whisk the egg yolks until they are smooth and light yellow. Slowly and gradually, pour a thin stream of about one cup of the hot chocolate mixture into the whisked egg yolks, whisking constantly to temper the eggs and prevent them from cooking.
- After tempering with a cup or so of the hot mixture, pour the egg yolk mixture back into the saucepan with the remaining chocolate liquid. Return the pan to medium-low heat and cook, stirring constantly with a spatula, until the liquid thickens slightly and reaches a temperature of 170°F (77°C). It should coat the back of a spoon. Do not allow it to boil.
- Remove the pan from the heat and add the finely chopped semisweet or bittersweet chocolate. Whisk continuously until the chocolate is completely melted and the custard is smooth and glossy.
- Pour the entire liquid mixture through a fine-mesh sieve into a clean bowl. This step ensures a silky-smooth ice cream base by catching any small lumps. Cover the bowl with plastic wrap, pressing it directly onto the surface of the custard to prevent a skin from forming. Chill in the refrigerator for at least 3 hours, or preferably overnight, until thoroughly cold.
- Once the custard is perfectly chilled, transfer it to your electric ice cream maker. Churn according to your manufacturer’s instructions until the mixture is thick and fluffy, resembling soft-serve ice cream.
- The ice cream will still be soft at this stage. Transfer it to an airtight freezer-safe container. Press plastic wrap directly onto the surface of the ice cream before securing the lid to prevent ice crystals. Freeze for at least 4-6 hours, or until the ice cream is firm and scoopable.
Notes
Recipe adapted from Gourmet magazine.
You may substitute regular natural cocoa powder, though the chocolate taste will be slightly less intense and the color a bit lighter than with Dutch-processed cocoa.
For best results, ensure all your dairy ingredients are very cold before you begin the cooking process. This helps in chilling the custard faster.
Homemade ice cream is best enjoyed within one to two weeks for optimal texture and flavor, though it will remain edible for longer.
Recommended Products
As an Amazon Associate and member of other affiliate programs, I earn from qualifying purchases.
- Pyrex Measuring Cups
- OXO Good Grips 11-Inch Better Balloon Whisk
- 4 Quart All Clad Sauce Pan
- KitchenAid 9-Speed Digital Hand Mixer
- Ice Cream Scoop
- Ice Cream Maker
Nutrition Information:
Yield:
10 servings
Serving Size:
1 scoop
Amount Per Serving:
Calories: 353Total Fat: 24gSaturated Fat: 14gTrans Fat: 0gUnsaturated Fat: 8gCholesterol: 98mgSodium: 29mgCarbohydrates: 30gFiber: 4gSugar: 21gProtein: 6g
Thatskinnychickcanbake.com occasionally offers nutritional information for recipes contained on this site. This information is provided as a courtesy and is an estimate only. This information comes from online calculators. Although thatskinnychickcanbake.com attempts to provide accurate nutritional information, these figures are only estimates. Varying factors such as product types or brands purchased can change the nutritional information in any given recipe. Also, many recipes on thatskinnychickcanbake.com recommend toppings, which may or may not be listed as optional and nutritional information for these added toppings is not listed. Other factors may change the nutritional information such as when the salt amount is listed “to taste,” it is not calculated into the recipe as the amount will vary. Also, different online calculators can provide different results. To obtain the most accurate representation of the nutritional information in any given recipe, you should calculate the nutritional information with the actual ingredients used in your recipe. You are solely responsible for ensuring that any nutritional information obtained is accurate.
HOW MUCH DID YOU LOVE THIS RECIPE?
Please leave a comment on the blog or share a photo on Pinterest