
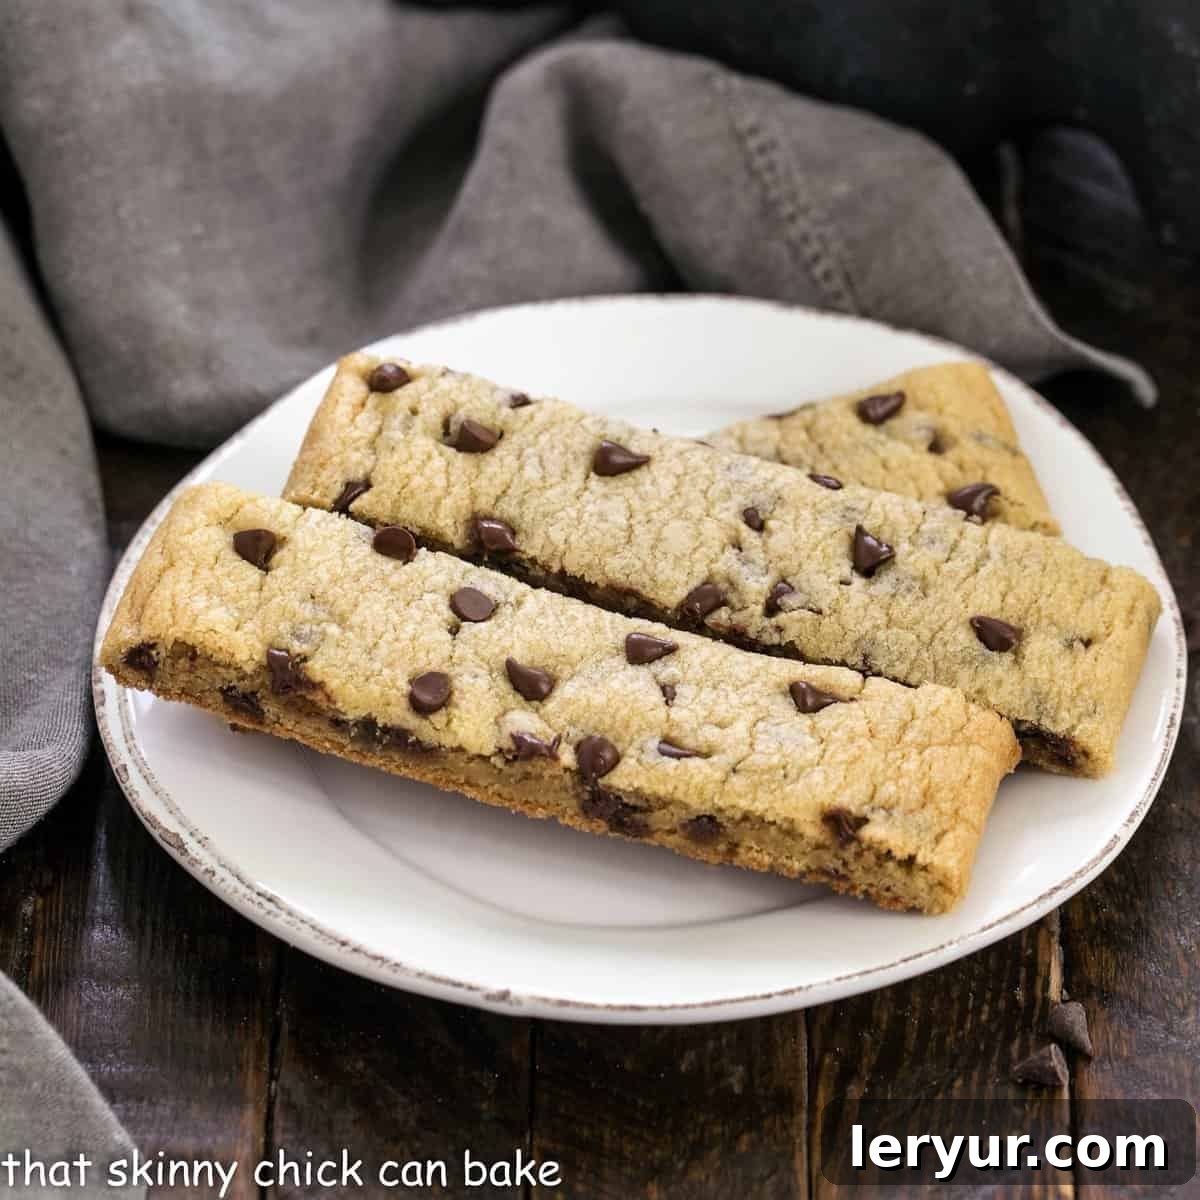
Welcome to a delightful twist on a timeless classic: Chewy Chocolate Chip Cookie Sticks! Imagine all the beloved flavor of your favorite homemade chocolate chip cookies, but ingeniously reimagined into a convenient, elongated shape perfect for every occasion. These aren’t just cookies; they’re an experience designed for easy snacking, satisfying dunking, and elegant dipping. Say goodbye to the tedious process of scooping individual cookies and embrace the simplicity of baking one glorious sheet of deliciousness.
Preparing these irresistible cookie sticks is an absolute breeze, guaranteeing a dessert that will bring smiles and satisfaction to your entire household. My family, without a doubt, gives these a resounding two thumbs up – and yours will too!
Why These Cookie Sticks Belong in Your Baking Repertoire
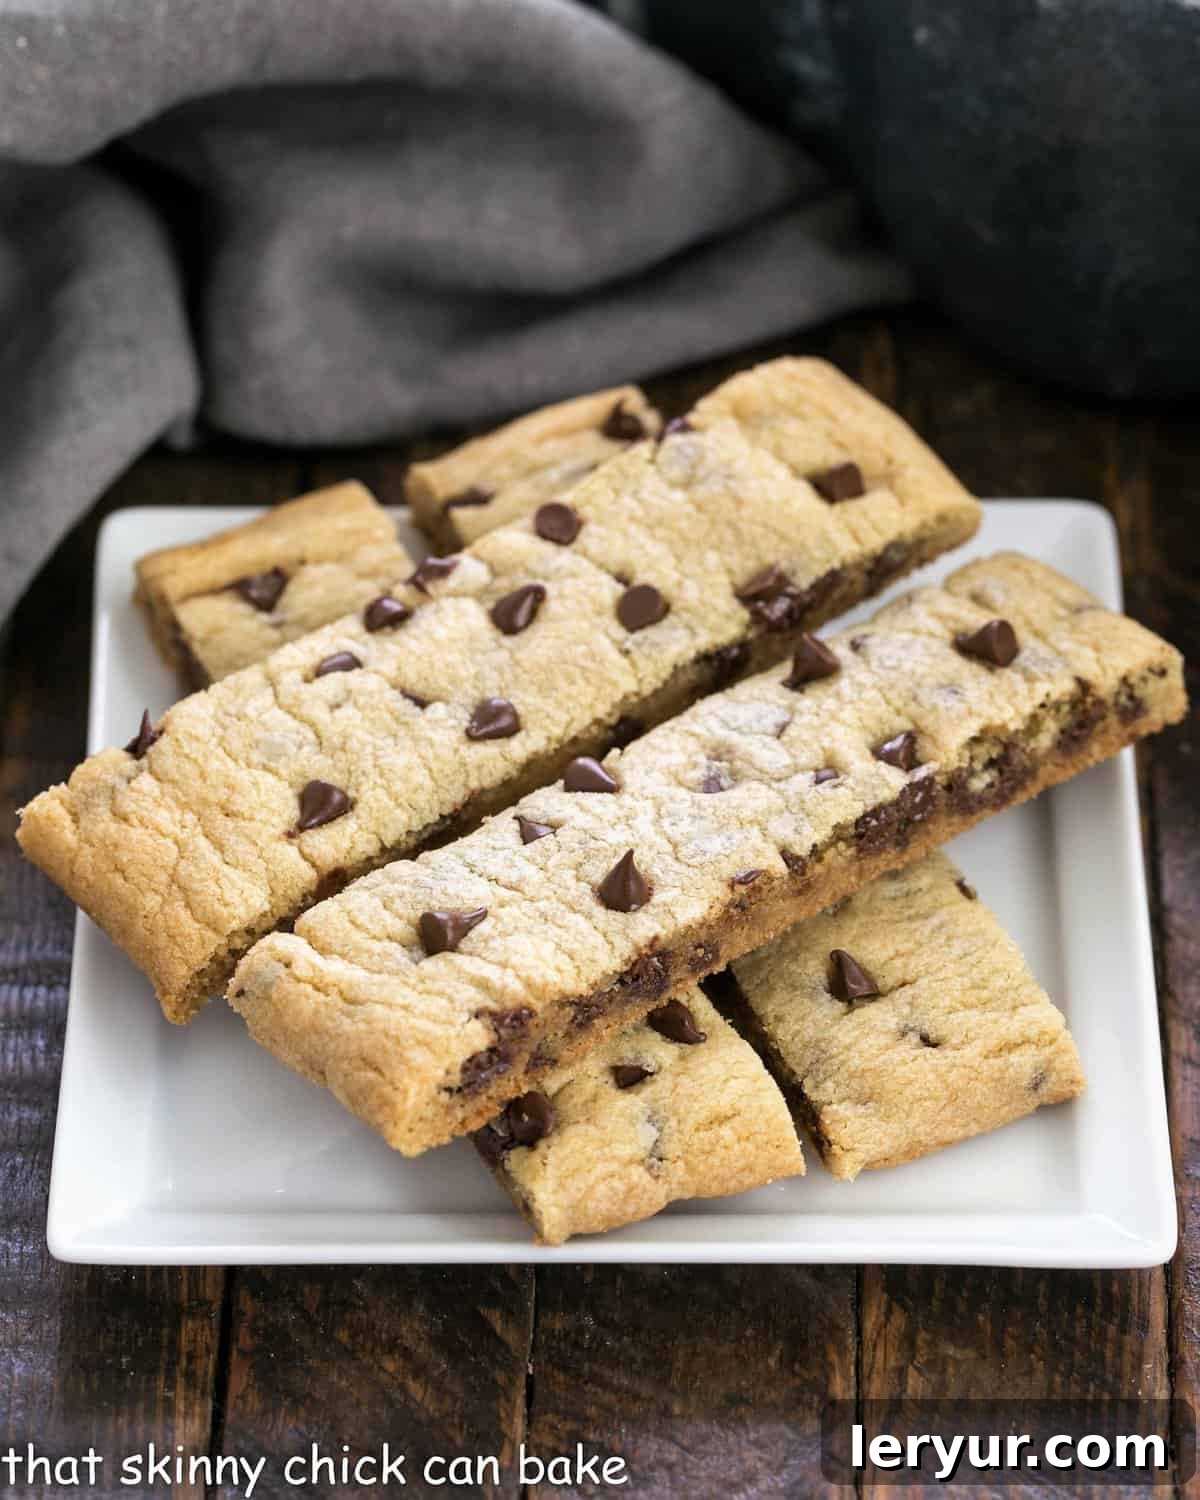
There’s a special magic in a chocolate chip cookie, a universally loved treat that evokes comfort and nostalgia. But what if that experience could be made even better, more convenient, and more versatile? That’s precisely what our Chocolate Chip Cookie Sticks offer. If you’re someone who enjoys a little something sweet alongside your afternoon tea or morning coffee, these elegant sticks are an absolute revelation. They’re perfectly shaped to rest on your saucer, making them ideal companions for your favorite hot beverage without the risk of a messy crumble. Beyond their charming presentation, the true genius of this recipe lies in its streamlined technique: no individual scooping, just a single, efficient baking time for an entire batch.
The feedback from my own toughest critic, my daughter, was the ultimate validation. After her first bite, she simply stated, “These taste just like chocolate chip cookies, Mom.” And that, my friends, is exactly what we’re aiming for! The familiar, comforting flavor remains paramount, now delivered in a format that enhances the eating experience.
Unbeatable Benefits of the Cookie Stick Format:
- Effortless Enjoyment: The elongated shape makes them incredibly easy to handle, whether you’re enjoying them as a quick snack or passing them around at a gathering. They minimize crumbs and maximize delight.
- Dunking Perfection: If you’re a devoted dunker, these sticks are your new best friend. Their sturdy yet chewy structure makes them ideal for submerging into a steaming mug of coffee, a comforting cup of tea, or a cold glass of milk. No more awkward attempts with crumbly round cookies!
- A Fresh Take on a Classic: Let’s be honest, everyone adores chocolate chip cookies. This recipe simply elevates that love by providing a novel and engaging way to enjoy them. It’s a fun twist that surprises and delights.
- Batch Baking Simplified: The “no scooping” method saves precious time and effort. Instead of individually portioning dough, you simply press it into a rectangle, bake, and slice. This means less time in the kitchen and more time enjoying your delicious creations.
- Kid-Friendly Fun: Children love the novelty of these sticks, and their easy-to-hold shape makes them perfect for little hands. They’re also less messy than traditional cookies for lunchboxes or after-school snacks.
Mastering the Art of Chocolate Chip Cookie Sticks
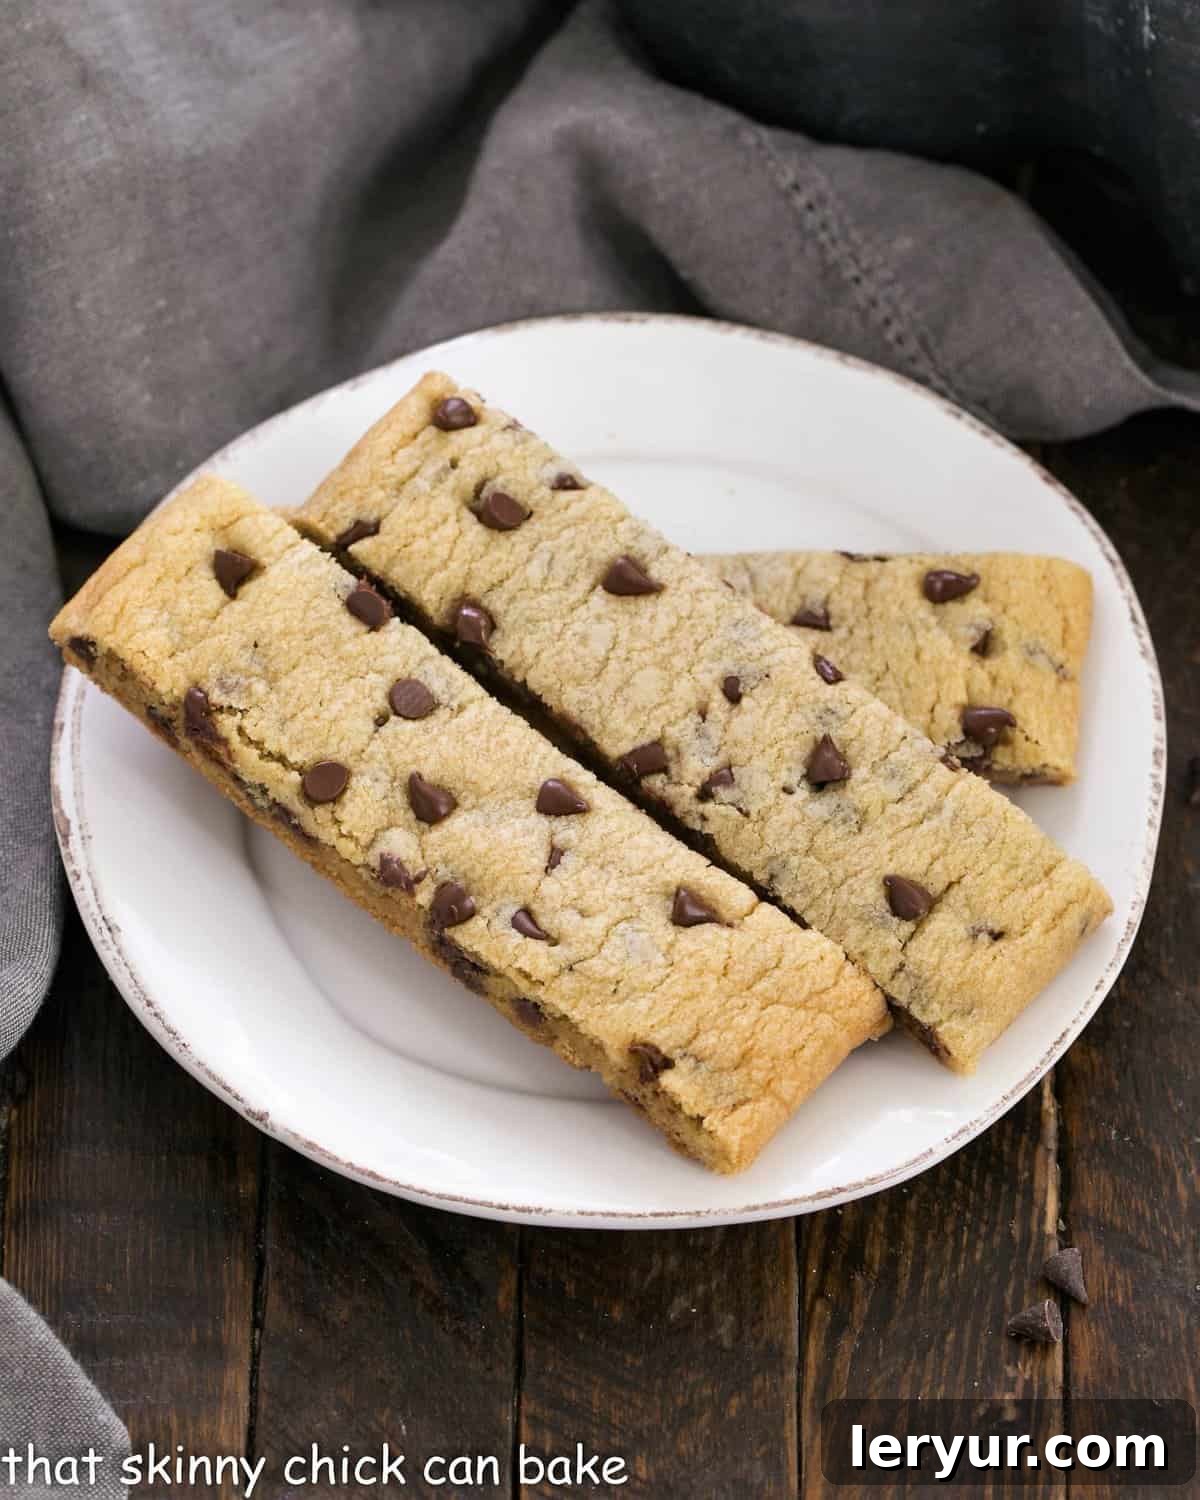
Creating these delightful chocolate chip cookie sticks is surprisingly straightforward, turning a beloved classic into an even more accessible treat. The process is designed for efficiency and ease, making it perfect for bakers of all skill levels. Here’s a detailed look at how to achieve cookie stick perfection:
- Dough Preparation: Begin with your basic chocolate chip cookie dough. The foundation of any great cookie lies in its dough, so ensure your ingredients are at room temperature for optimal mixing. Cream together the melted butter and sugars until light and fluffy, then incorporate the egg and vanilla. Finally, gently fold in the dry ingredients – flour, baking soda, and salt – followed by a generous amount of chocolate chips. The key here is not to overmix, which can lead to tough cookies.
- Forming the Rectangles: This is where the magic of the “stick” format truly shines. Instead of laboriously scooping out individual cookie dough balls, you’ll divide your prepared dough into two equal portions. On a parchment-lined baking sheet, gently press each portion into a flat, even rectangle, approximately 3×15 inches in size, ensuring there’s ample space between them for even baking. This step is incredibly quick and eliminates the repetitive task of shaping dozens of cookies.
- Baking to Perfection: Place your prepared baking sheet into a preheated oven. Bake the cookie dough rectangles for the recommended time, typically 10-13 minutes, or until the edges are golden brown and the center is set but still looks slightly soft. This slight underbaking is crucial for achieving that wonderfully chewy texture that makes chocolate chip cookies so irresistible.
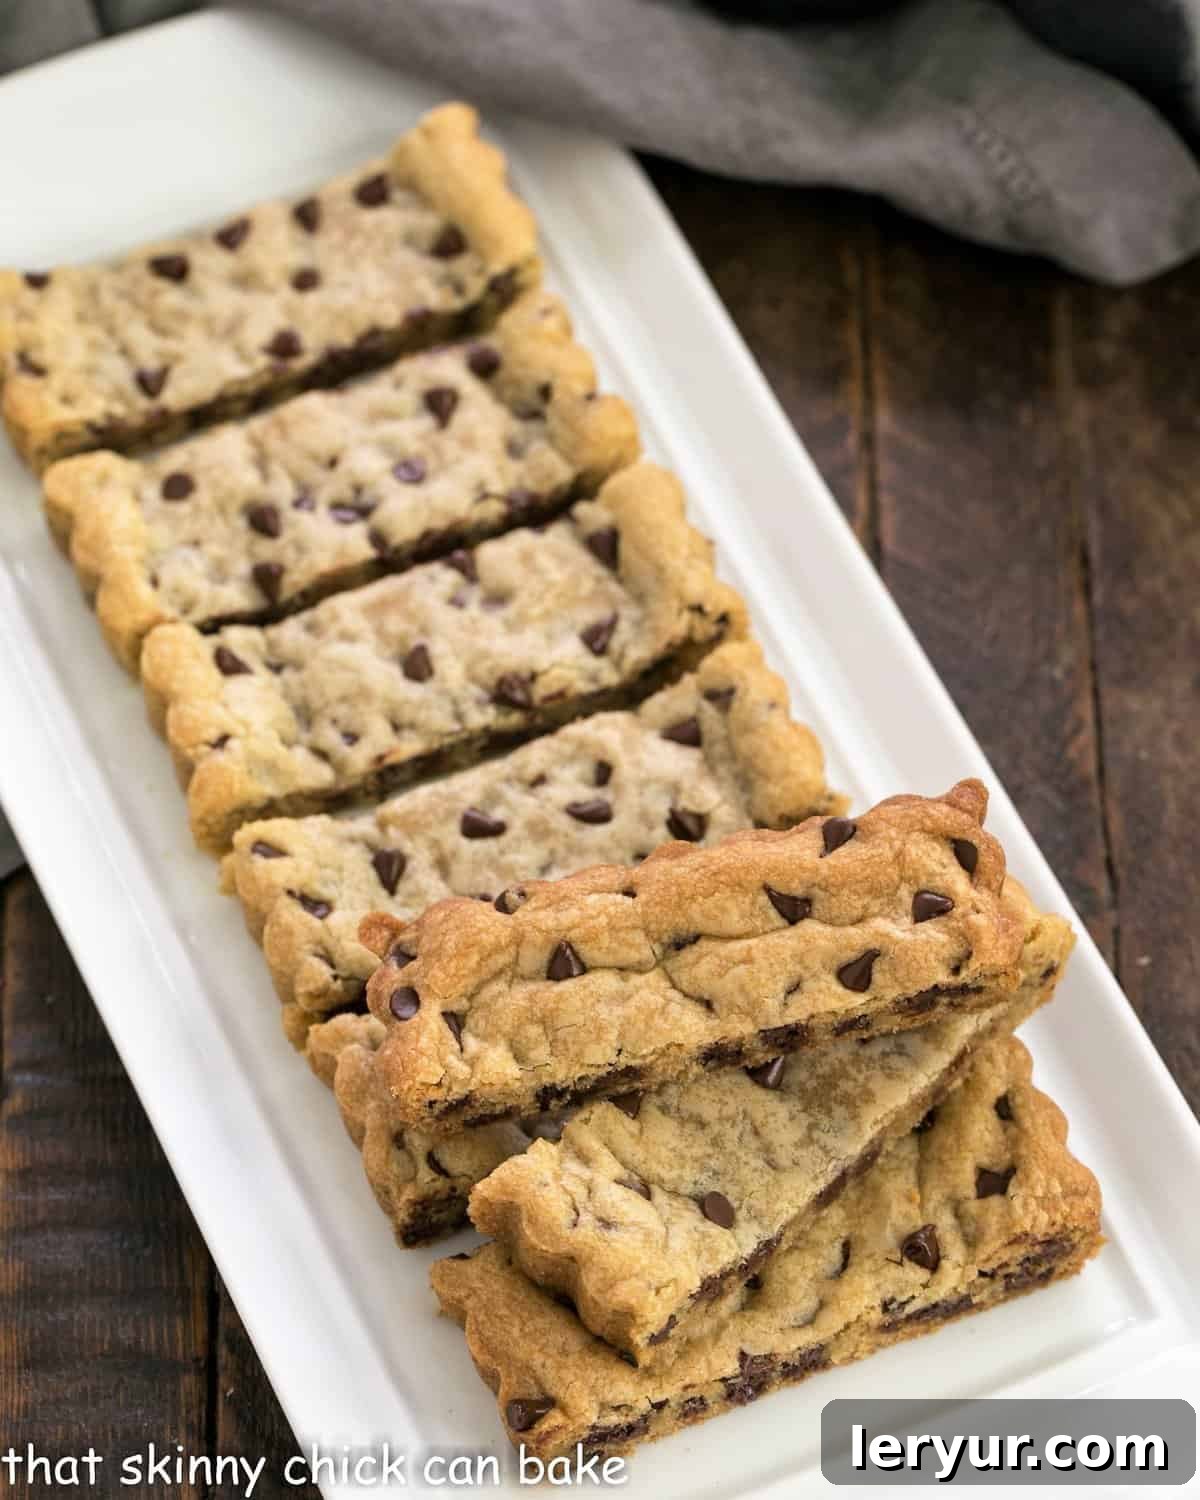
- Cooling and Slicing: Once baked, remove the sheet from the oven and let the large cookie bars cool on the baking sheet for a few minutes. This initial cooling period allows them to firm up slightly without becoming brittle. While still warm but not hot (this is the sweet spot!), use a sharp knife or a pizza wheel to slice them lengthwise and then crosswise into uniform sticks. The warmth is important because if they cool completely, they might crack when cut.
Unlock Your Inner Cookie Connoisseur: Expert Tips
While the recipe for Chocolate Chip Cookie Sticks is inherently simple, a few expert tips can elevate your baking game, ensuring every batch is perfectly delicious and beautifully presented. Mastering these small details can make all the difference:
- The Mini Chocolate Chip Advantage: When it comes to cookie sticks, size matters, especially for your chocolate chips! Opting for mini chocolate chips isn’t just a preference; it’s a strategic choice that makes slicing your baked cookie bars incredibly easy and clean. Larger chips can create drag and tear the cookie as you cut, leading to uneven or crumbly edges. Mini chips, on the other hand, slice through smoothly, ensuring perfect, uniform sticks every time.
- Precision Slicing – Timing is Everything: The moment you slice your cookie bars into sticks is critical. The ideal time is when they are still warm, but no longer piping hot from the oven. This sweet spot allows the cookie to be pliable enough for a clean cut without crumbling, yet firm enough to hold its shape. If you wait until they are completely cold, they may become brittle and prone to breaking. Conversely, if they’re too hot, they might tear or stick to the knife. A cooling period of 5-10 minutes on the baking sheet is usually perfect.
- Tools of the Trade: While a sharp chef’s knife works wonderfully for slicing, a pizza wheel is an absolute game-changer for speed and precision. Its rolling blade glides effortlessly through the warm cookie, creating perfectly straight and even sticks with minimal effort. If you have a bench scraper, that can also be excellent for guiding your cuts and ensuring uniformity.
- Flavor Adventure with Chocolate Chips: Don’t limit yourself to classic semi-sweet! These cookie sticks are a fantastic canvas for experimenting with different chocolate chip varieties. Imagine the rich decadence of bittersweet chocolate, the creamy sweetness of milk chocolate, or the delightful contrast of white chocolate chips. You could even combine them for a multi-chocolate experience! Consider adding a handful of butterscotch chips or toffee bits for an extra layer of flavor and texture.
- Uniformity for Perfection: When pressing the dough into rectangles, strive for an even thickness across the entire surface. This ensures that all parts of your cookie bar bake consistently, preventing some sticks from being undercooked while others are overdone. A gentle, even pressure with your hands or the back of a spatula will help achieve this.
- Parchment Paper is Your Friend: Always line your baking sheet with parchment paper. Not only does it prevent sticking, but it also makes lifting the baked cookie slab off the sheet and onto a cooling rack much easier, minimizing breakage. It also aids in cleanup!
- Don’t Overbake: For truly chewy cookie sticks, err on the side of slightly underbaking. The cookies will continue to cook slightly from residual heat once removed from the oven. Look for edges that are just set and lightly golden, with centers that still appear a bit soft.
Frequently Asked Questions About Cookie Sticks
Proper storage is key to maintaining the freshness and chewiness of your chocolate chip cookie sticks. Like most cookies, these are best stored at room temperature in an airtight container. They will remain wonderfully fresh and soft for up to 3 days. To extend their shelf life significantly, you can freeze them for up to 3 months. For freezing, arrange the cooled cookie sticks in a single layer on a baking sheet to flash freeze for about an hour until solid. Then transfer them to a freezer-safe bag or container, separating layers with parchment paper to prevent sticking. My husband enjoys them straight from the freezer for a quick, frosty treat, but my daughter prefers to microwave them for just a few seconds to warm them up and melt those mini chocolate chips back to gooey perfection.
Achieving that irresistible chewy texture in chocolate chip cookies, or in this case, cookie sticks, comes down to a few key factors in your recipe and baking technique. Firstly, the ratio of fat (butter) to flour plays a significant role. Using melted butter, as this recipe does, contributes to a denser, chewier crumb. Secondly, incorporating a higher ratio of brown sugar to white sugar adds moisture and molasses, both of which are crucial for chewiness. Some recipes even suggest adding an extra egg yolk for an added boost of moisture and richness. Lastly, and perhaps most importantly, is the baking time. Slightly underbaking your cookies – removing them from the oven when the edges are set and golden but the centers still look a little soft – allows them to finish cooking gently as they cool, resulting in that perfect soft and chewy interior.
The beauty of cookie sticks lies in their incredible versatility! Beyond being a fantastic snack on their own, their shape opens up a world of creative possibilities. Here are some fun ideas:
- Build Sandwich Cookies: Smear your favorite frosting, peanut butter, or even Nutella on the flat side of one cookie stick and top it with another similar-sized stick for a delightful cookie sandwich.
- Ultimate Dippers: Expand beyond milk and coffee! Use them as dippers for rich fudge sauce, a luscious brownie batter dip, s’mores dip, a creamy fruit dip, or even a warm caramel sauce.
- Dessert Decorations: Arrange them artfully on a dessert platter or use them as edible stirrers for milkshakes or hot chocolate.
- Ice Cream Sundae Topping: Crumble them over ice cream or use them as elegant spears to scoop up your favorite sundae toppings.
- Gifting with Style: Package them in decorative bags or boxes for a homemade gift that’s both unique and delicious.
Absolutely! This is a fantastic time-saving tip for these cookie sticks. You can prepare the dough up to 2-3 days in advance. Simply mix the dough as directed, then form it into the two rectangles, wrap them tightly in plastic wrap, and store them in the refrigerator. When you’re ready to bake, let the dough sit at room temperature for about 15-20 minutes to soften slightly, then proceed with baking as usual. This makes them perfect for spontaneous baking or entertaining.
You’ll need some basic baking tools that most home kitchens already have. Essential items include a large mixing bowl, an electric mixer (handheld or stand mixer) for creaming butter and sugar, measuring cups and spoons, a sturdy rubber spatula, a large baking sheet, and parchment paper. For slicing, a sharp chef’s knife or, ideally, a pizza cutter will be very helpful. A wire rack for cooling is also beneficial, though not strictly necessary.
More Irresistible Chocolate Creations You May Also Love:
If you’ve fallen in love with these delightful cookie sticks, you’re in for a treat! Explore a world of other chocolate-infused delights from our collection that are sure to satisfy any sweet craving:
- DoubleTree Chocolate Chip Cookie Recipe from The View from Great Island
- Mocha Cheesecake with Chocolate Chips
- Quadruple Chocolate Cookies
- Chocolate Chip Cookie Cake
- Gooey Chocolate Chip Pie
- Jumbo Chocolate Chip Cookies
- The New York Times Chocolate Chip Cookies
- Chocolate Chip Cookie Dough Dip
- Discover even more of the Best Chocolate Recipes in our extensive archive.
Stay connected with us for more delicious recipes and baking inspiration! Follow us on social media @ Instagram, Facebook, and Pinterest. We love seeing your culinary creations, so don’t forget to tag us when you try one of our recipes! If you’re thrilled with the results, please consider giving it a 5-star rating in the recipe card below – your feedback means the world to us.
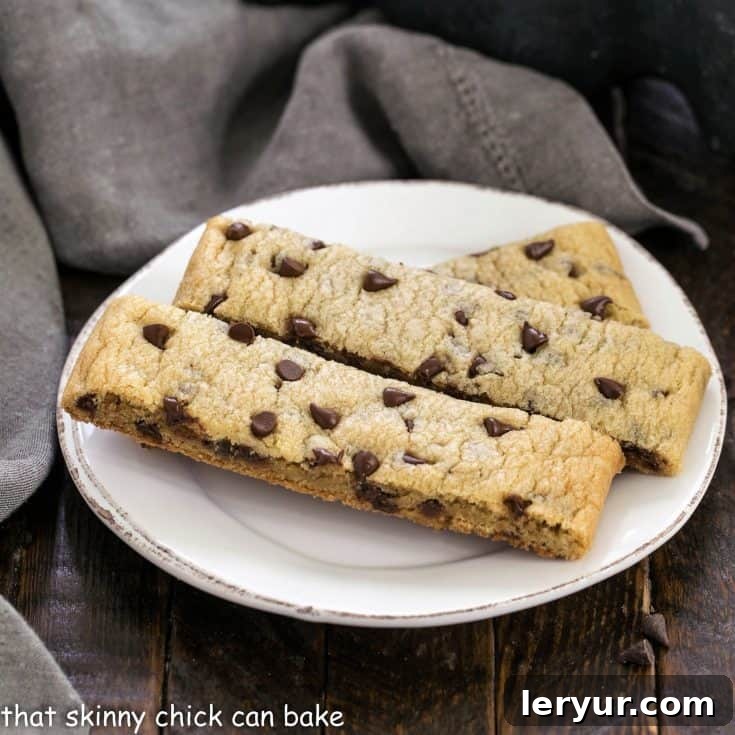
Chocolate Chip Cookie Sticks
20 minutes
13 minutes
15 minutes
48 minutes
30 Cookie Sticks
An easy and innovative way to enjoy the classic taste of chocolate chip cookies! These perfectly shaped sticks are ideal for dunking in milk or dipping into your favorite sauces.
Ingredients
- ½ cup butter, melted
- ½ cup white sugar
- ½ cup light brown sugar
- 2 teaspoons vanilla extract
- 1 large egg
- ½ teaspoon baking soda
- ½ teaspoon salt
- 1¾ cups all-purpose flour
- 1 cup mini chocolate chips
Instructions
- Preheat your oven to 375°F (190°C). Line a large baking sheet with parchment paper for easy removal.
- In a large bowl, combine the melted butter with both white sugar and light brown sugar. Mix until well combined. Allow the mixture to cool for a few minutes to prevent cooking the egg.
- Add the vanilla extract, egg, baking soda, and salt to the sugar mixture. Stir well until all ingredients are incorporated.
- Gradually stir in the flour until just combined, being careful not to overmix. Fold in the mini chocolate chips last, distributing them evenly throughout the dough.
- Divide the cookie dough into two equal halves. On the prepared baking sheet, shape each half into a flat rectangle, approximately 3×15 inches, ensuring there is sufficient space between the two rectangles for proper baking.
- Bake for 10-13 minutes, or until the edges are golden brown and the center appears set but still slightly soft.
- Remove the baking sheet from the oven. Let the large cookie bars cool on the baking sheet for a few minutes (about 5-10 minutes). While still warm, use a pizza cutter or a sharp knife to slice the baked rectangles into individual cookie sticks.
Notes
Adapted from Hugs and Cookies XOXO. For best results, use a kitchen scale to ensure precise measurements, especially for flour.
Recommended Products
As an Amazon Associate and member of other affiliate programs, I earn from qualifying purchases.
- Reynolds Kitchens Non-Stick Baking Parchment Paper Sheets – 12×16 Inch, 22 Count
- USA Pan Bakeware Half Sheet Pan
Nutrition Information:
Yield:
30
Serving Size:
1
Amount Per Serving:
Calories: 109Total Fat: 5gSaturated Fat: 3gTrans Fat: 0gUnsaturated Fat: 2gCholesterol: 14mgSodium: 85mgCarbohydrates: 16gFiber: 1gSugar: 10gProtein: 1g
HOW MUCH DID YOU LOVE THIS RECIPE?
Please leave a comment on the blog or share a photo on Pinterest