
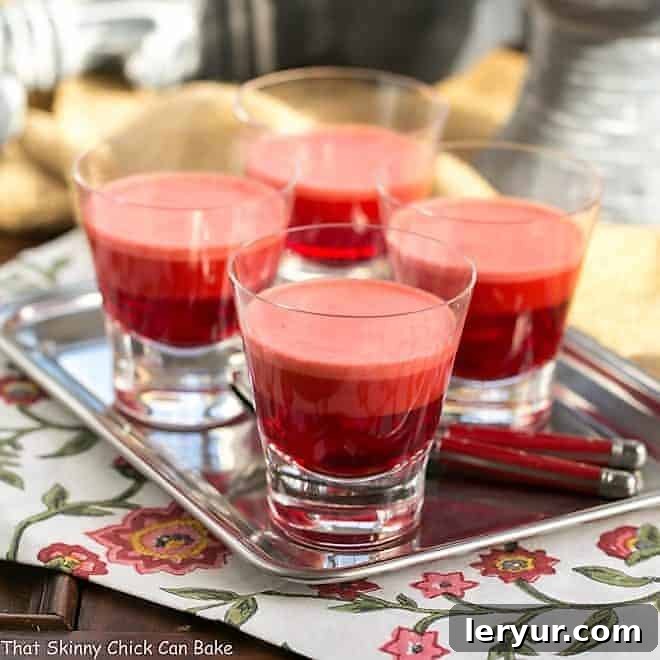
Step back in time to the vibrant 1970s and rediscover a dessert classic: the magical One Two Three Jello. This iconic layered gelatin transformed a simple box of Jell-O into a visually stunning and delightfully tasty treat, captivating generations with its effortless charm. Recreating this retro delight today is not only easy but also brings a wave of nostalgic comfort, proving that some culinary treasures truly stand the test of time.
Jello Desserts are more than just food; they are delicious portals to childhood memories, family gatherings, and simpler times. From elaborate molded salads to shimmering individual cups, gelatin creations held a special place on many dinner tables and party spreads. As we delve into the secrets of the One Two Three Jello, you’ll find yourself reminiscing about your own favorite throwback recipes and perhaps even be inspired to create new, cherished memories with this timeless dessert.
The Enduring Charm of Retro Jello Desserts
For many, the mention of Jell-O immediately conjures images of potlucks, holiday feasts, and the unbridled joy of childhood. In an era where convenience foods were king, Jell-O stood out as a versatile ingredient that could be transformed into anything from a refreshing side dish to an elaborate dessert. The 1970s, in particular, saw an explosion of creative (and sometimes questionable) gelatin recipes, including the infamous “jellied salads” that blurred the lines between savory and sweet. While some of these creations, like lime gelatin with shredded carrots, might seem peculiar by today’s standards, they were a testament to the culinary adventurousness of the time.
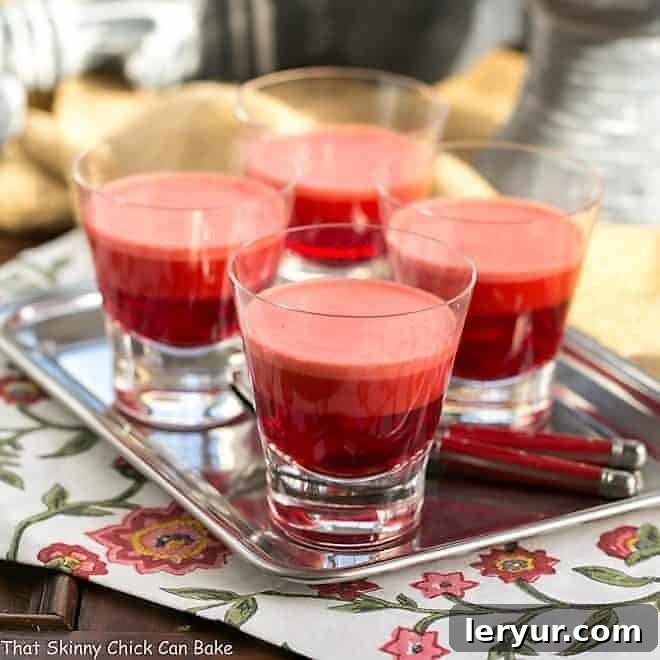
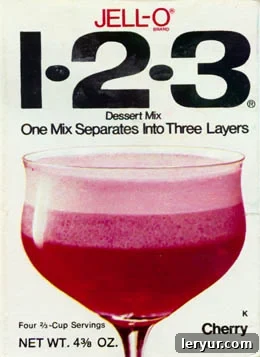
Among these vibrant concoctions, the original Jell-O brand’s 1-2-3 Jell-O held a special appeal. It was an instant classic, promising a three-layered dessert from a single box with minimal effort. The allure was in its perceived magic: a powder that, when mixed and chilled, would mysteriously separate into distinct layers – a clear bottom, a creamy middle, and a frothy top. This spectacle alone made it a beloved treat, especially for children who marveled at the transformation. Our recreation aims to capture that same enchantment, but with a few modern twists for an even more delightful experience.
Why Recreate This Iconic One Two Three Jello Today?
My childhood was undoubtedly punctuated by these vibrant, jiggly desserts. While some were certainly more palatable than others, the 1-2-3 Jell-O was always a clear winner. Its unique layering effect wasn’t just a dessert; it was a conversation starter and a source of wonder. Here’s why bringing back this retro recipe is a fantastic idea for your modern kitchen:
- A Touch of Magic: The most captivating aspect of One Two Three Jello is how the mixture seemingly “magically” separates into three distinct layers as it chills. This mesmerizing process is incredibly fun for kids and grandkids to watch and enjoy, making it a perfect family activity or a special treat.
- Effortlessly Simple: Despite its impressive appearance, this layered gelatin is surprisingly easy to make. With just a few basic ingredients and straightforward steps, even novice cooks or children can confidently assist in its preparation, fostering a love for baking and creating in the kitchen.
- A Wholesome Twist: Many contemporary recreations of layered Jell-O desserts often rely on ingredients like Cool Whip for the creamy layer. While convenient, Cool Whip contains a variety of artificial ingredients. Our recipe thoughtfully substitutes this with freshly whipped heavy cream, providing a richer flavor and a more wholesome, natural ingredient base. Though the Jell-O itself contains artificial coloring and flavors, the addition of real whipped cream elevates the overall quality and taste of the dessert.
- Economical and Versatile: Using a single box of Jell-O makes this dessert incredibly budget-friendly. Furthermore, the possibilities for flavor combinations are endless. Choose your favorite Jell-O flavor—cherry, strawberry, lime, orange, or even a combination for a multi-flavored dessert—and customize it to suit any preference or occasion.
- Perfect for Any Occasion: Whether you’re hosting a casual get-together, a themed party, or simply looking for a light and refreshing dessert after dinner, One Two Three Jello fits the bill. Its vibrant colors and unique texture make it a standout on any dessert table, inviting guests to relive cherished memories or create new ones.
Mastering the Art of Layered Jello Desserts
Growing up in the 1970s often meant navigating a landscape of health-conscious choices, sometimes to the extreme. I recall my parents adopting a “granola” lifestyle: powdered milk to avoid hormones, no salt for my dad’s blood pressure, and carob instead of chocolate. It felt like culinary torture at times! So, when my mom returned from the neighborhood Hy-Vee grocery store with a box of this mysterious layered gelatin “salad,” my sisters and I were absolutely overjoyed by the sheer presence of SUGAR and artificial color! It was a rare, delightful indulgence that we treasured.
Recreating this beloved retro recipe at home is an enjoyable process, and understanding the simple science behind it ensures perfect results every time. The magic of the layers comes from the interaction of the gelatin, hot and cold water, and the fat content of the whipped cream, which separates during chilling. Here’s a detailed guide to achieve those stunning, distinct layers:
- Prepare the Gelatin Base: Begin by dividing the dry Jell-O mix evenly into two separate medium-sized bowls. This ensures you have precise portions for each stage of layering.
- First Layer – The Clear Base: To the first bowl of dry Jell-O mix, add one cup of boiling water. Stir diligently until the gelatin powder is completely dissolved, leaving no granules. Next, stir in one cup of cold water until thoroughly combined. This mixture forms the clear, colorful bottom layer. Carefully pour this liquid gelatin into your chosen serving dishes (clear glasses or small bowls work best to showcase the layers), filling each approximately halfway. Place these dishes in the refrigerator and chill until the bottom layer is slightly jelled but not completely firm – about 30 minutes. It should be firm enough to support the next layer without mixing, but still slightly pliable.
- Prepare the Creamy Element: While the first layer is chilling, prepare your whipped cream. Ensure both your heavy cream and mixing bowl (ideally a metal bowl) are very cold. Whip the heavy cream with an electric mixer until it forms soft to medium peaks. This will be the luxurious, natural replacement for Cool Whip often used in other homemade versions, contributing significantly to the dessert’s superior taste and texture.
- Second Layer – The Frothy & Creamy Mixture: To the second bowl of dry gelatin, add one cup of boiling water and stir until fully dissolved. Then, slightly reduce the amount of cold water, adding only ¾ cup. This small adjustment helps create the desired consistency for separation. Whisk in the prepared whipped cream gently but thoroughly into this gelatin mixture. The goal is to incorporate the cream evenly, creating a lighter, opaque liquid.
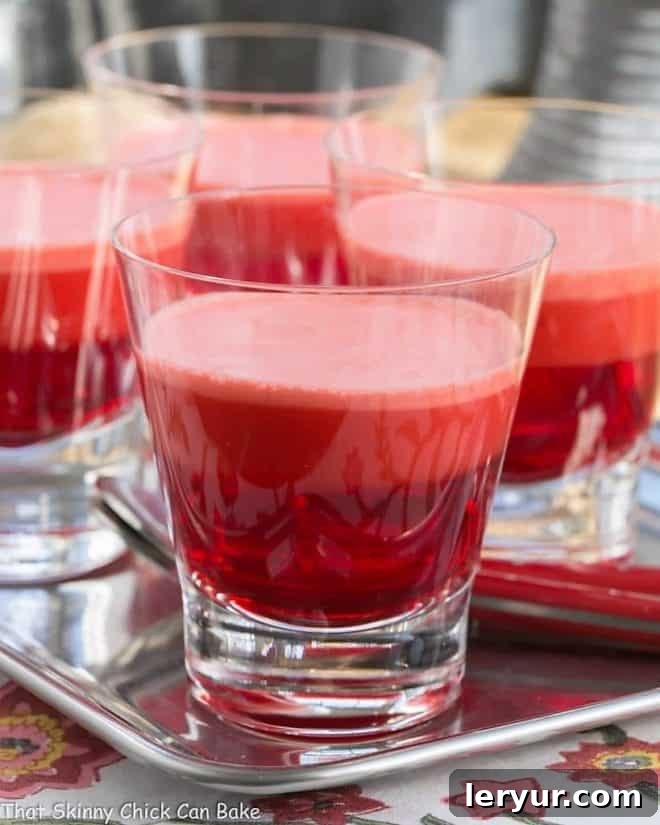
- Forming the Layers: Carefully pour this cream-infused gelatin mixture over the slightly jelled first layer in each serving dish. As this second mixture chills, a fascinating separation will occur. The lighter, frothy part of the mixture will rise to the top, forming a distinct, lighter-colored layer, while a creamier, slightly denser layer will settle just above the clear base. This natural phenomenon results in three beautiful, distinct layers.
- Final Chill: Return the dishes to the refrigerator and chill for at least 4 hours, or until completely set. For best results and perfectly firm layers, an overnight chill is often ideal.
The 70s Food Scene: A Walk Down Memory Lane
When I heard my friends were sharing their favorite Retro Recipes, my mind immediately drifted to the unforgettable era of the 1970s. It was a time of culinary innovation, convenience foods, and some truly memorable (and sometimes quirky) trends. Molded salads, often studded with canned fruit or even vegetables, graced many tables. Quiche, once considered an exotic French delicacy, became a staple, though some joked it was “real men didn’t eat quiche.” And who could forget the ubiquitous Hamburger Helper, a one-pan meal solution that saved countless weeknight dinners?
Amidst this backdrop, Jell-O desserts and “jellied salads” reigned supreme. They were vibrant, often colorful, and consistently brought a sense of fun to any meal. Did you grow up eating these gelatin salads? Are they ever making a comeback on your holiday table? You know, those salads that, to a child’s delight, tasted more like dessert than a side dish? The 1-2-3 Jello was a standout because it combined the simplicity of a boxed mix with an unexpected visual delight. It embodied the playful spirit of the 70s kitchen. If you have a particular favorite “salad that tastes like dessert,” I’d love to hear about it in the comments!
Endless Possibilities: Variations and Creative Twists
While the classic One Two Three Jello is perfect as is, its simplicity makes it an excellent canvas for creative experimentation. Don’t be afraid to put your own spin on this retro delight!
- Flavor Combinations: Don’t limit yourself to cherry! Imagine a zesty Lemon-Lime One Two Three Jello for a refreshing summer treat, or a vibrant Strawberry-Orange combination. You can even use two different Jell-O flavors for your two bowls, creating a two-toned clear base that adds another layer of visual interest.
- Adding Fruit: For an extra burst of flavor and texture, consider folding in canned or frozen (thawed) fruit into your first clear layer. Diced peaches, mandarin orange segments, or berries work wonderfully. Remember to avoid fresh pineapple, kiwi, or papaya, as enzymes in these fruits prevent gelatin from setting.
- Holiday Themes: This dessert is incredibly adaptable for festive occasions. Use red and green Jell-O for a Christmas-themed treat, or red, white, and blue layers for a patriotic celebration. The distinct layers lend themselves perfectly to color-themed events.
- Sugar-Free Options: For those minding their sugar intake, sugar-free Jell-O can be used. Just ensure that when whipping the cream, you taste and adjust sweetness with your preferred sugar substitute.
- Different Creams: While heavy cream provides the richest taste, you could experiment with coconut cream for a dairy-free version, or even a blend of cream cheese and whipped cream for a tangier, cheesecake-like layer, though this might alter the traditional three-layer separation.
- Garnish Galore: Before serving, consider garnishing your individual Jello cups with a dollop of extra whipped cream, fresh fruit, a sprig of mint, or a sprinkle of colorful edible glitter for an extra touch of pizzazz.
More Recipes with Gelatin You’ll Love:
- Coca Cola Jello Salad with Cherries from The Food Charlatan
- Jello Easter Eggs from Spend with Pennies
- Layered Rainbow Salad
- Broken Glass Jello
- Vanilla Panna Cotta with Strawberry Gelée
- Easy Lemon Bundt Cake
- Plus, more of the Best Dessert Recipes
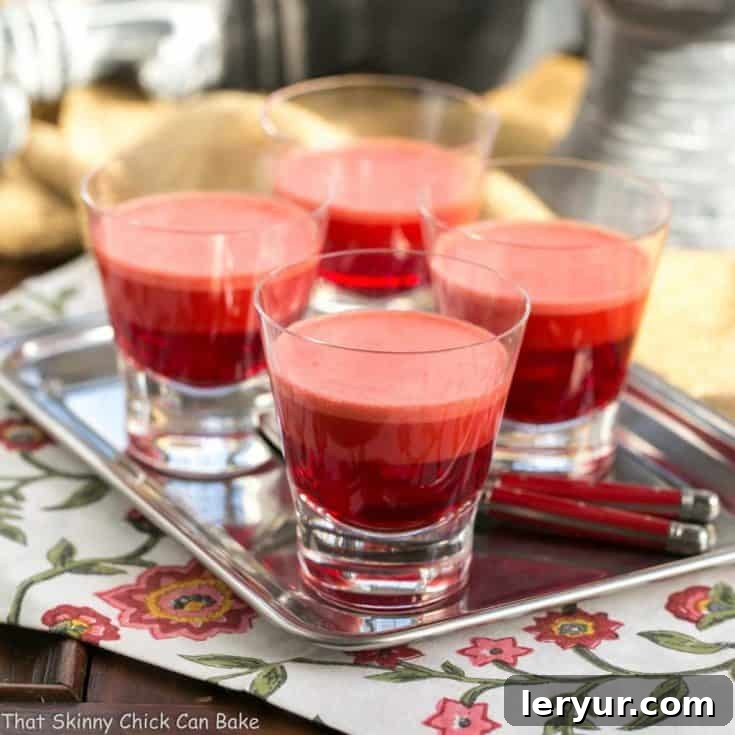
One Two Three Jello
10 minutes
4 hours 10 minutes (includes chilling)
6 servings
Recreate this charming retro Jello dessert, a magical childhood favorite with distinctive layers.
Ingredients
- 6 ounce box of Jello (flavor of your choice, cherry recommended)
- ¼ cup heavy cream, whipped
Instructions
- Divide the dry Jell-O mix evenly into two medium-sized bowls.
- To the first bowl, add one cup of boiling water and stir until all sugar is dissolved. Then, add one cup of cold water and mix until combined.
- Pour this mixture into clear glasses (6-8, depending on size), filling each to the halfway point.
- Chill in the refrigerator until slightly jelled, about 30 minutes. It should be firm but still jiggly.
- While the first layer chills, whip the heavy cream until it holds soft peaks. To the second bowl of dry gelatin, add one cup of boiling water and stir until dissolved. Reduce the cold water to ¾ cup and add it to the mixture. Whisk in the prepared whipped cream until well combined. Carefully pour this creamy Jell-O mixture on top of the first, slightly jelled layer. Chill for at least 4 hours, or until completely set and the layers have clearly separated.
Notes
For optimal layering and firmness, allow a full 4-hour chilling time, or preferably overnight.
Nutrition Information:
Yield:
6
Amount Per Serving:
Calories: 125Total Fat: 2gSaturated Fat: 1gTrans Fat: 0gCholesterol: 7mgSodium: 134mgCarbohydrates: 26gFiber: 0gSugar: 25gProtein: 2g
HOW MUCH DID YOU LOVE THIS RECIPE?
Please leave a comment on the blog or share a photo on Pinterest