
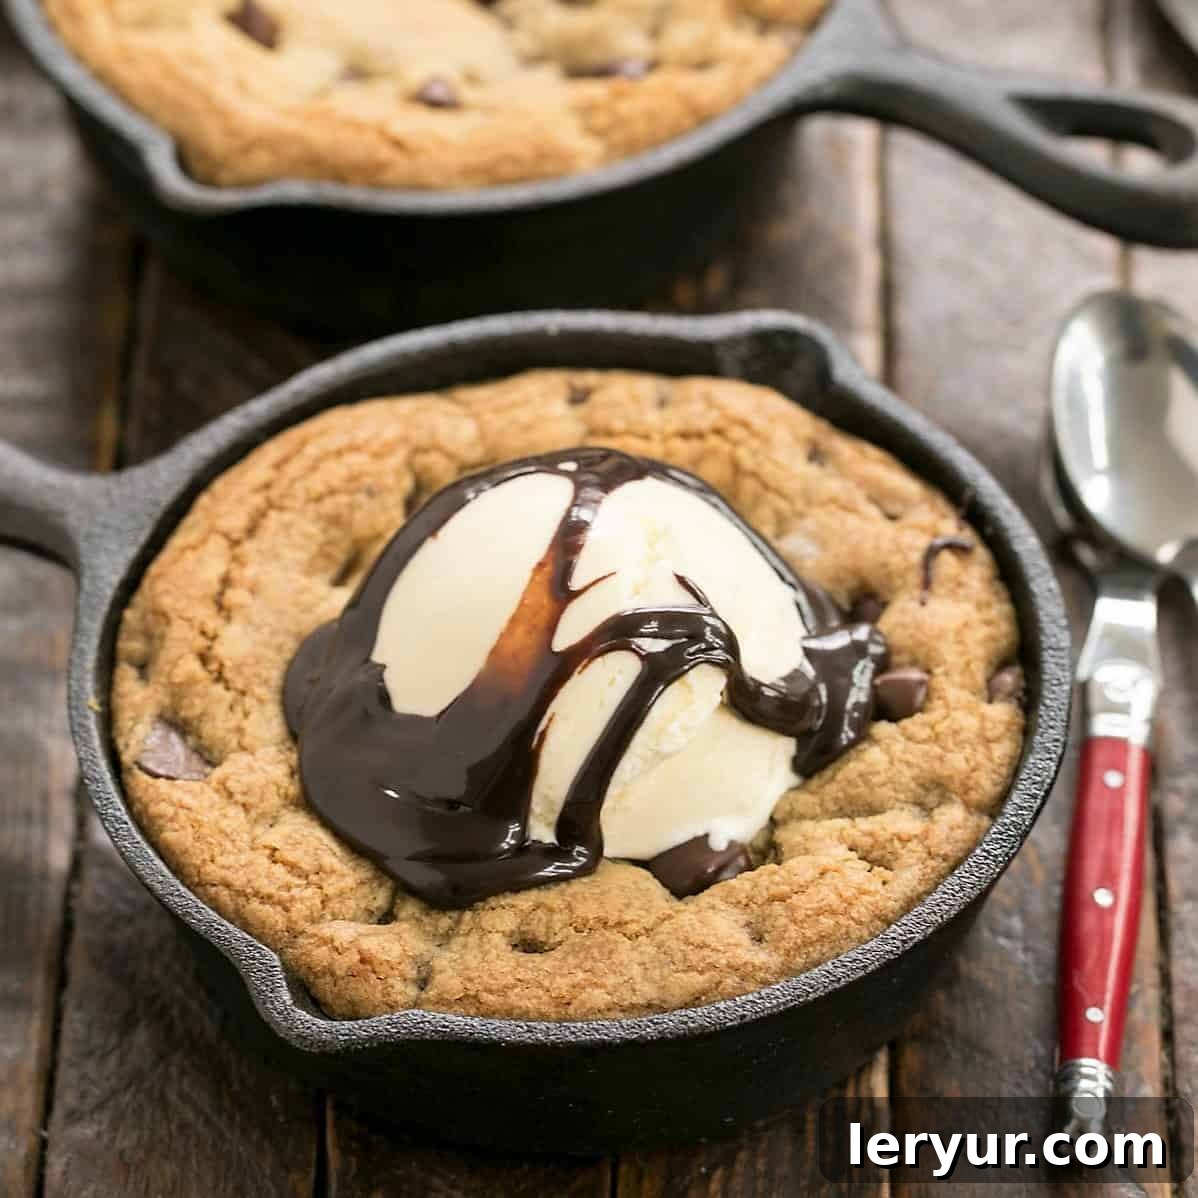
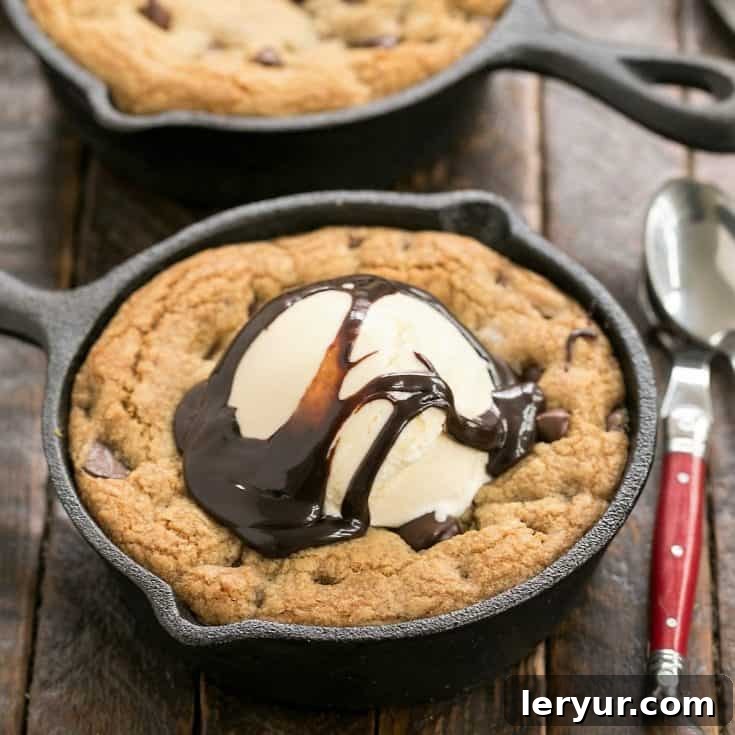
Homemade Pizookies: A delightful fusion of your favorite chocolate chip cookie and a warm, shareable pizza, these giant pan cookies are a dream come true for dessert enthusiasts. Imagine biting into a warm, gooey, chocolate-filled cookie, fresh from the oven, crowned with melting ice cream. That’s the magic of a Pizookie! This isn’t just a dessert; it’s an experience, a celebration in every delicious spoonful.
Craving that iconic dessert from BJ’s Restaurant Brewhouse? This Copycat BJ’s Pizookie recipe brings all the indulgent joy right into your kitchen. It’s an easy-to-follow guide to creating a truly unforgettable treat that the entire family will adore. Perfect for weekend gatherings, special occasions, or simply satisfying that late-night sweet tooth, these Pizza Cookies promise to become a beloved staple in your dessert repertoire.
Why You Must Make These Homemade Pizookies
If you’ve ever wondered what makes a Pizookie so irresistible, allow us to illuminate the reasons why this giant skillet cookie should be at the top of your baking list:
- It’s a HUGE Chocolate Chip Cookie! Forget individual cookies; this is a grand, impressive dessert designed for sharing (or not, we won’t judge!). The sheer size alone makes it a showstopper, guaranteeing smiles and satisfied sighs from everyone at the table. It’s the ultimate upgrade to a classic, taking the beloved chocolate chip cookie to an epic scale.
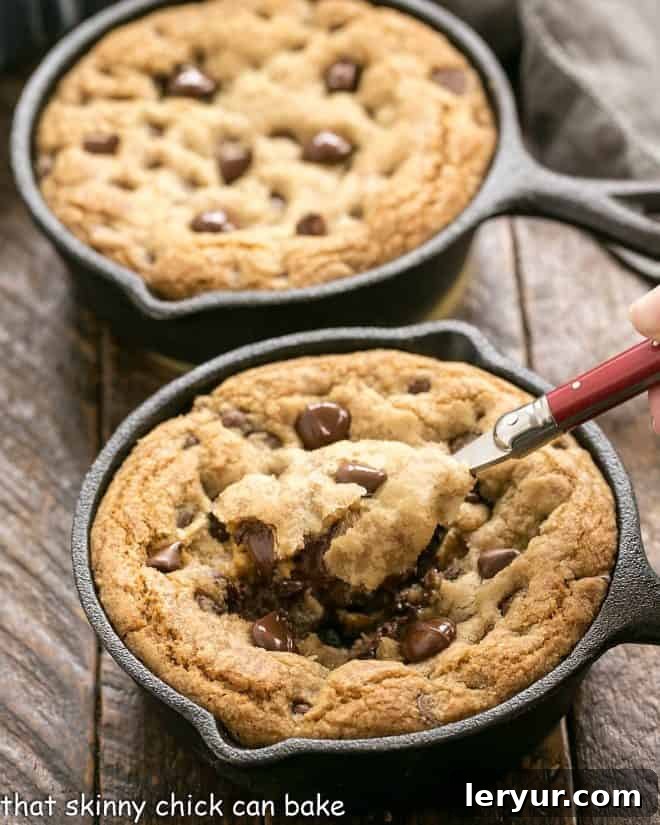
- A Pizookie is Perfectly Gooey in the Middle and Crispy Around the Edges. This textural contrast is what sets a Pizookie apart. The edges crisp up beautifully in the cast iron skillet, providing a delightful bite, while the center remains wonderfully soft, warm, and delightfully gooey. This ensures every spoonful is a harmonious blend of textures, from slightly chewy to melt-in-your-mouth tender.
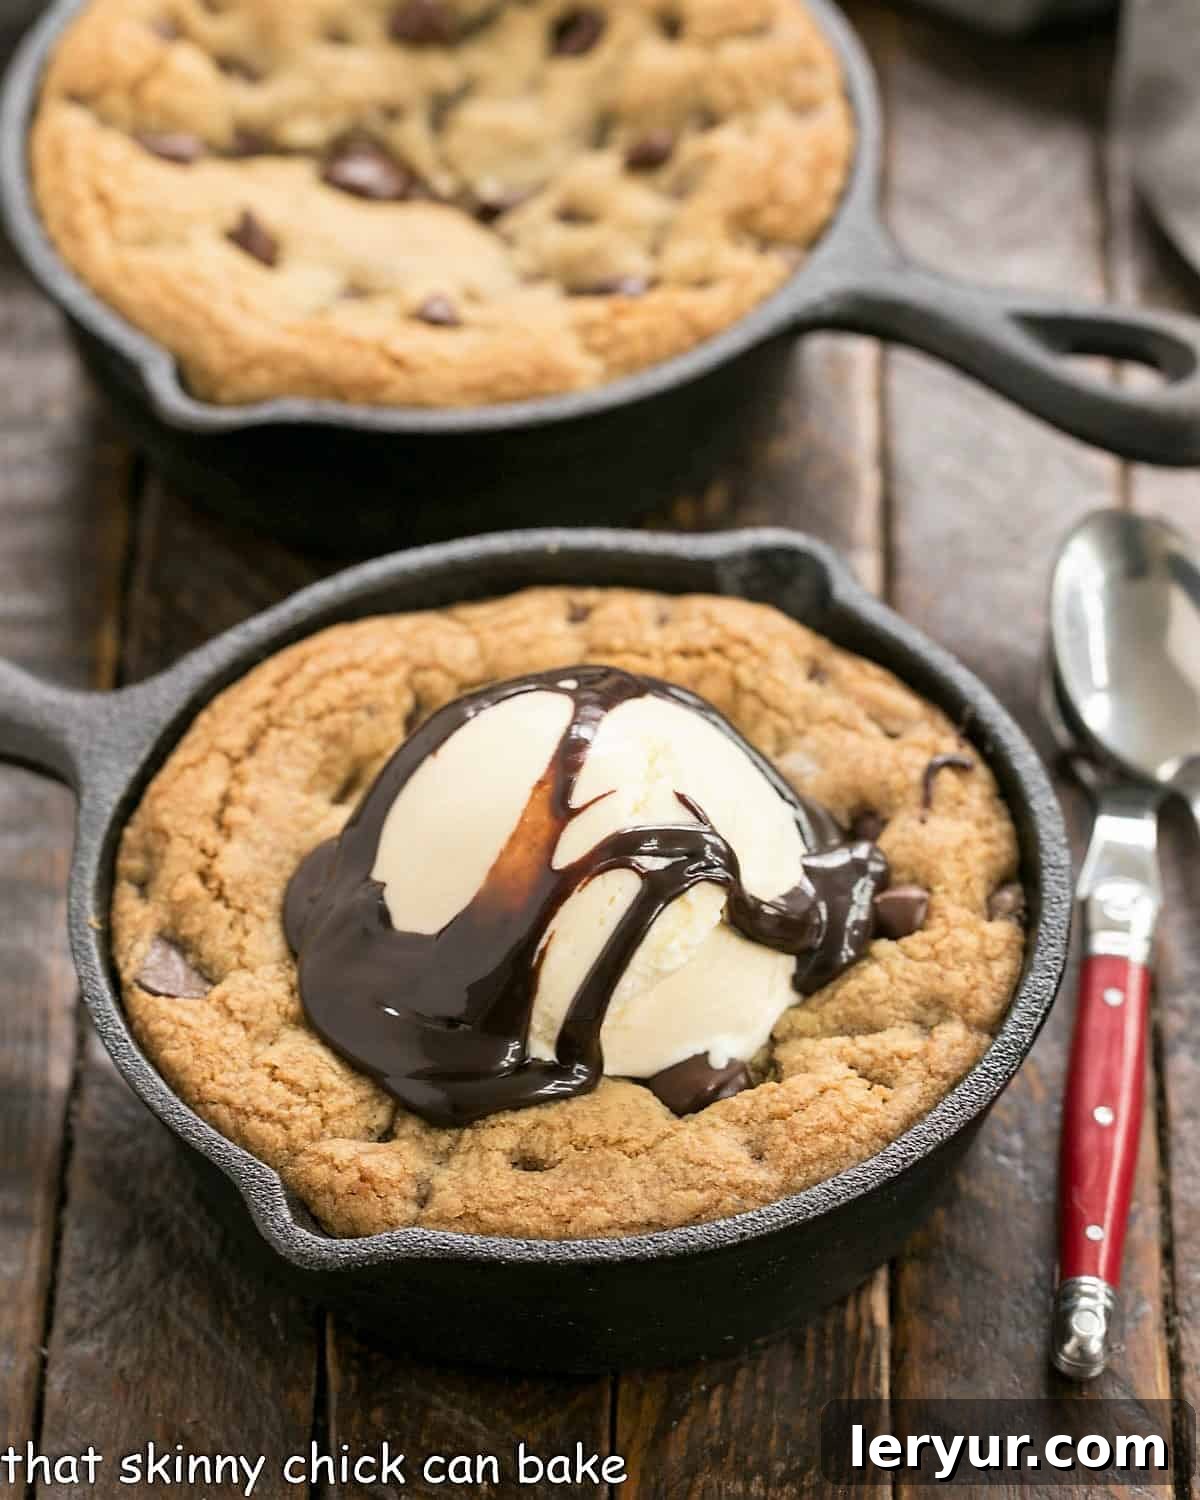
- Topped with Ice Cream and Sauce, It’s a Dessert Worthy of Any Celebration. While a Pizookie is incredible on its own, it truly shines when generously topped. A generous scoop (or three!) of creamy vanilla ice cream slowly melts over the warm cookie, creating a luxurious cascade. Drizzle with rich caramel sauce or decadent fudge, and you have a masterpiece. It’s the perfect finale for birthdays, holidays, family dinners, or any moment that calls for a truly special treat. The warm cookie and cold ice cream combination is simply divine.
- Effortlessly Impressive: Despite its grand appearance, making a Pizookie is surprisingly simple. If you can make chocolate chip cookies, you can make a Pizookie! It requires minimal fuss but delivers maximum impact, making you look like a baking superstar with minimal effort.
- Customizable Fun: The base recipe is fantastic, but Pizookies are incredibly versatile. You can experiment with different chocolate varieties, add nuts, candies, or even switch up the cookie dough base for endless flavor possibilities. It’s a canvas for your dessert creativity!
Expert Tips for the Perfect Pizookie
Crafting the ultimate Pizookie is an art, but with a few insider tricks, you’ll achieve perfection every time. Pizookies, also known as pizza cookies, offer flexibility in terms of bakeware. Whether you have mini skillets for individual servings or a larger skillet for a family-sized treat, the principles remain the same. Just remember that baking times will need to be adjusted based on the size and material of your pan.
- Mastering the Dough: The foundation of an amazing Pizookie is the cookie dough. Prepare your chocolate chip cookie dough as you normally would, but pay close attention to the temperature of your ingredients. Ensure eggs and butter are at room temperature for optimal incorporation. This allows them to cream together smoothly, creating a light and airy base for your dough. For that desired dense, chewy texture typical of a Pizookie, use a wooden spoon to blend the ingredients instead of an electric mixer once the wet ingredients are combined with the dry. This prevents overmixing, which can lead to a tougher cookie.
- Prepping Your Skillets: A properly prepared skillet is key to an easy release and a beautifully golden crust. Generously grease your cast iron skillet(s) with butter or a nonstick cooking spray. Make sure to get into all the nooks and crannies. This not only prevents sticking but also contributes to the delicious crispy edges.
- Dough Division and Smoothing: Once your dough is ready, divide it evenly among your prepared pans. Don’t press the dough too flat or too high; leave a little space at the top for the pan cookie to rise during baking. Use an offset spatula or the back of a spoon to gently smooth the surface. This ensures an even bake and a visually appealing Pizookie.
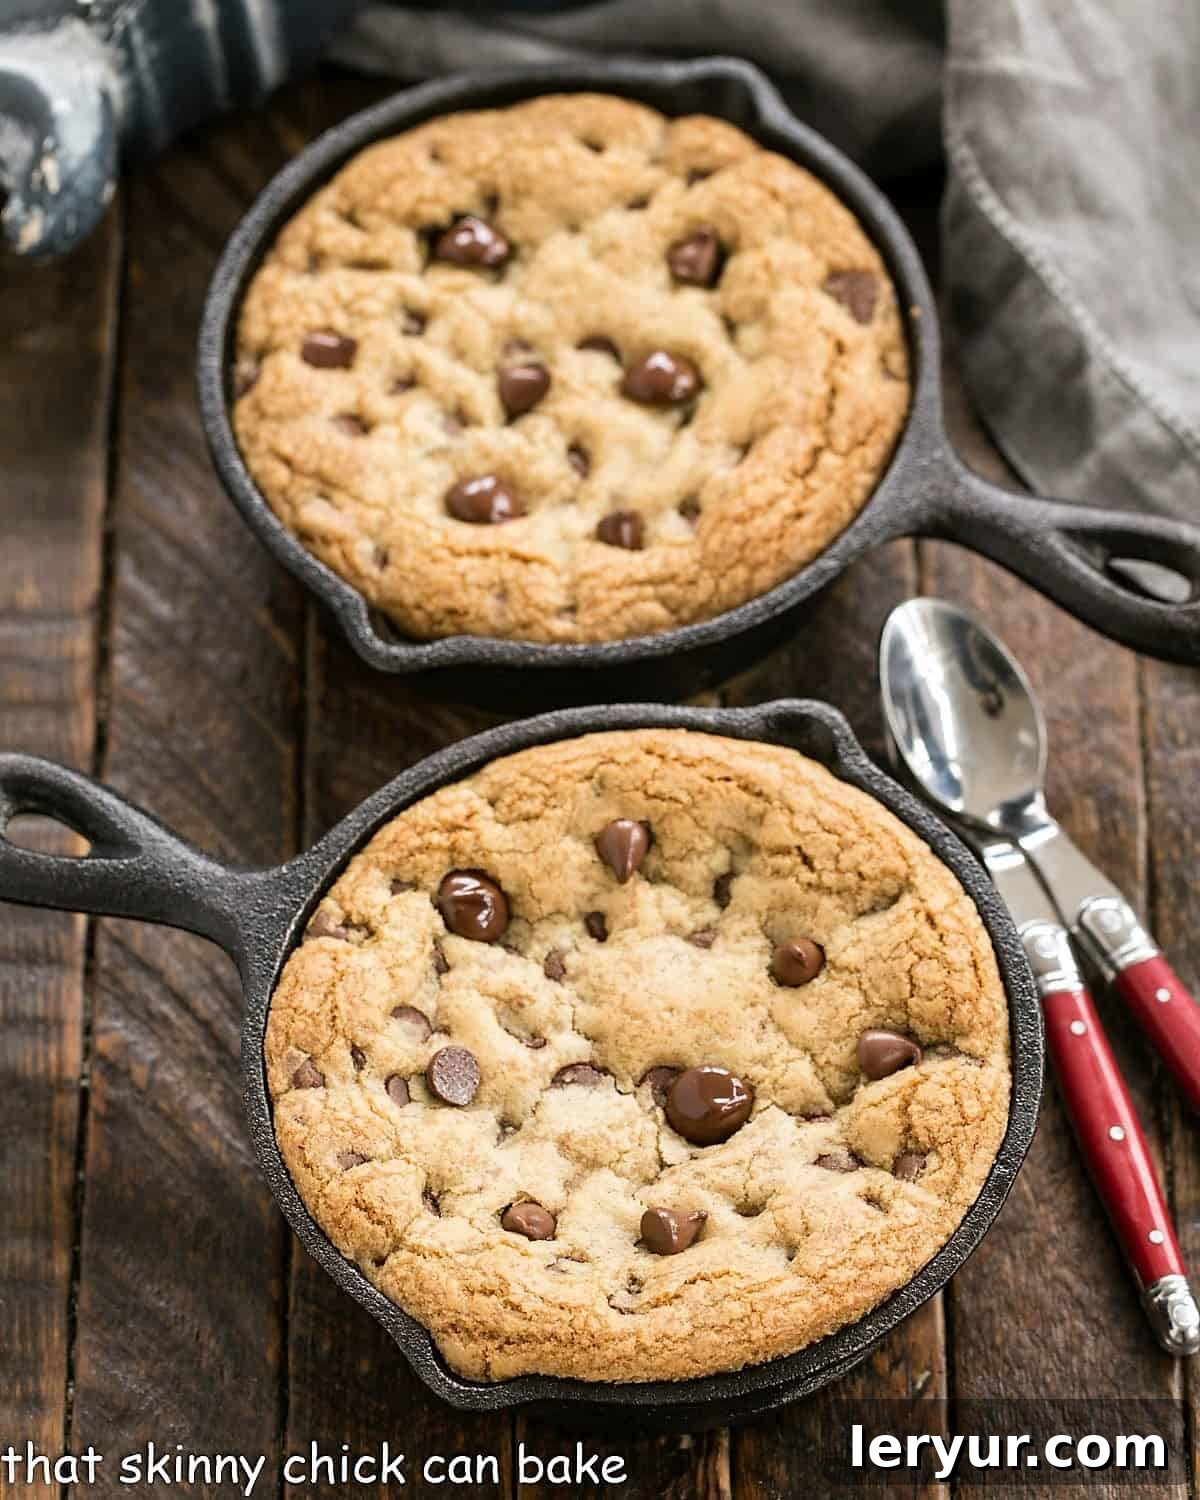
- PRO-Tip for a Professional Finish: For an extra-gorgeous Pizookie that looks like it came straight from a gourmet bakery, press a few additional chocolate chips across the surface of the dough before baking. These will melt beautifully and create glistening pools of chocolate on top. If you forget this step before baking, don’t worry! You can carefully add a few extra chocolate chips to the warm Pizookies as soon as they come out of the oven. The residual heat will melt them perfectly.
- The Art of Underbaking: The secret to that irresistible gooey center is slight underbaking. Bake your Pizookie until the edges are golden brown and crisp, and your kitchen fills with the amazing aroma of fresh chocolate chip cookies. The center should look almost set, but still slightly soft and jiggly. This magical sweet spot ensures a moist, molten, and perfectly gooey interior. Remember, it will continue to cook slightly from residual heat after being removed from the oven.
- Cooling and Topping: While it’s tempting to dig in immediately, allow your pizza cookie to cool slightly for about 5-10 minutes after removing it from the oven. This allows the cookie to set just enough to hold its structure without losing its warmth and gooeyness. Then, the real fun begins! Top generously with a scoop (or more!) of your favorite ice cream. While vanilla is a classic choice, don’t limit yourself. Experiment with flavors like salted caramel, coffee, mint chip, or even strawberry. Drizzle with fudge sauce, caramel, white chocolate sauce, or sprinkle with nuts, mini marshmallows, or sprinkles.
- Serving with Caution: Serve your Pizookie warm to fully appreciate the contrasting temperatures and textures. However, cast iron skillets retain heat extremely well, so caution is advised. If serving directly from the hot skillet, consider wrapping a kitchen towel or using a skillet handle cover around the handle to prevent accidental burns. Encourage guests to use spoons to scoop out their portions safely.
- PRO-Tip for Creative Variations: Don’t be afraid to customize your Pizookie! Shake up the classic chocolate chip recipe by incorporating different mix-ins. Consider adding chopped nuts (walnuts, pecans, almonds), other flavors of chips (peanut butter chips, white chocolate chips, butterscotch chips), toffee bits, pretzel pieces for a salty crunch, or even chopped candy bars. You can also experiment with a swirl of peanut butter or a dollop of cream cheese for a cheesecake Pizookie!
Pizookie Baking Times by Skillet Size
Achieving the perfect Pizookie texture—crispy edges and a gooey center—depends heavily on your skillet size and oven calibration. While general guidelines are provided below, always trust your senses: the smell of freshly baked cookies and the visual cue of the edges browning and the center looking *almost* set. Keep in mind that all ovens can bake a little differently, so these are starting points:
- 3.5-inch Skillets (Individual Servings): These mini marvels are perfect for personal Pizookies. Bake for approximately 15-20 minutes. Look for golden edges and a slightly molten center.
- 4-inch Ramekin: If you’re using a ceramic ramekin, which might conduct heat slightly differently than cast iron, bake for about 12-15 minutes. The shallower depth means quicker baking.
- 6-inch Skillet (Small Shareable): Ideal for a duo or a generous single serving, a 6-inch skillet Pizookie will require a bit more time. Bake for roughly 25 minutes.
- 8-inch Skillet (Standard Shareable): This is a popular size for a Pizookie designed for sharing among 2-4 people. Expect a baking time of 18-20 minutes, as the wider surface area allows for quicker heat distribution.
- Medium Skillet (Approximately 9-10 inches): For larger gatherings, a medium skillet will serve more. Bake for about 22-24 minutes. Keep a close eye on the center to ensure it’s just set.
Remember, the goal is a Pizookie that is delightfully warm and soft in the middle, so a slight underbake is preferred over an overcooked, dry cookie. A toothpick inserted into the center should come out with moist crumbs, not liquid batter, but definitely not completely clean.
Frequently Asked Questions About Pizookies
A Pizookie (pronounced pih-ZOO-kee) is a portmanteau of “pizza” and “cookie.” It’s essentially a giant, warm, soft-baked cookie served in a pan, typically a cast iron skillet, and traditionally topped with ice cream and other decadent garnishes. This legendary dessert first gained widespread popularity at BJ’s Restaurant & Brewhouse in 1978, where it was introduced as a chocolate chip cookie baked fresh in a personal-sized pizza pan and served piping hot out of the oven. Since then, it has evolved into a beloved dessert sensation, offering numerous flavor variations at BJ’s and becoming a popular homemade treat. It’s the ultimate dessert for those who love the warm, gooey center of a freshly baked cookie combined with the communal, fun aspect of sharing a pizza.
The name “Pizookie” is a clever blend of two words: “pizza” and “cookie.” The dessert gets its name because it mimics the presentation of a pan pizza. Instead of baking savory pizza dough in a cast iron skillet, you’re baking sweet chocolate chip cookie dough. The round, flat shape in the skillet resembles a pizza, making the playful name a perfect fit for this giant “pan” cookie.
The size of a Pizookie can vary significantly. The original Pizookies at BJ’s were designed to be shareable, likely baked in an 8-9-inch cake pan or skillet, although specific dimensions aren’t mentioned on BJ’s official website. When making them at home, you have complete control over the size. You can use any sized cast iron skillet or oven-safe pan you have on hand, from small 3.5-inch individual skillets to large 10-inch or even 12-inch pans for a crowd. Just remember that the larger or smaller the pan, the more you’ll need to adjust the baking time to ensure it cooks through without burning or remaining raw in the center.
The classic and most popular way to serve a Pizookie is warm, straight from the oven, and generously topped with ice cream. Typically, 2-3 scoops of vanilla ice cream are placed directly on the hot cookie, allowing it to melt slightly and create a creamy, dreamy cascade over the warm, gooey chocolate chips. However, the possibilities for toppings are endless! You can also add rich caramel sauce, decadent fudge sauce, whipped cream, sprinkles, chopped nuts, or even fresh berries. The communal aspect is key as well; Pizookies are often served with 3-4 spoons, encouraging everyone to dig in and share the deliciousness directly from the pan. The contrast between the warm, soft cookie and the cold, melting ice cream is what makes this dessert truly exceptional.
Absolutely! Preparing the Pizookie dough in advance is a fantastic time-saver, especially when entertaining. You can make the dough, form it into a disc, wrap it tightly in plastic wrap, and refrigerate it for up to 3-4 days. When you’re ready to bake, simply press the chilled dough into your prepared skillet and bake according to the recipe. You might need to add a few extra minutes to the baking time since the dough is cold, so keep an eye on it.
Yes, Pizookie dough freezes beautifully! You can portion the dough into your desired skillet sizes (e.g., press into mini skillets, then remove and freeze, or freeze a large disc of dough), wrap it tightly in plastic wrap and then aluminum foil, and store it in the freezer for up to 3 months. When you’re ready for a warm Pizookie, you can bake it directly from frozen (adding about 10-15 minutes to the baking time, or until golden and gooey) or let it thaw in the refrigerator overnight before baking.
For a truly exceptional Pizookie, a combination of chocolate chips often yields the best results. Using both semisweet and bittersweet chocolate chips, as suggested in this recipe, creates a more complex and rich chocolate flavor profile. Semisweet chips offer classic sweetness, while bittersweet chips provide a deeper, more intense chocolate experience that balances the overall sweetness of the cookie dough. High-quality chocolate chips will melt more smoothly and contribute to the delicious gooey texture. Don’t hesitate to experiment with milk chocolate chips or even chopped chocolate bars for different melting consistencies and flavors.
If your Pizookie isn’t coming out quite right, here are some common issues and solutions:
Too Dry: This usually means it was overbaked. Pizookies are meant to be slightly gooey in the center. Reduce baking time slightly next time and look for edges to be set, but the center still soft.
Burnt Edges: Your oven might be running hot, or the skillet was too close to a heating element. Try reducing the oven temperature by 10-20 degrees Fahrenheit or moving the skillet to a different rack.
Undercooked Center: If the center is still raw, it needs more time in the oven. Cover loosely with foil if the edges are browning too quickly, then continue baking until the center is almost set. Ensure your oven is fully preheated before baking.
You May Also Like These Dessert Recipes:
- Chocolate Chip Cookie Ice Cream Cake from Life Love and Sugar: A magnificent layered dessert combining the best of cookies and ice cream.
- Mocha Chocolate Chip Cookie Ice Cream Cake: A chilled, no-bake delight featuring the rich flavors of coffee and chocolate.
- Milky Way Chocolate Chip Cookies: Indulge in classic cookies elevated with chunks of Milky Way bars.
- Chocolate Chip Cookie Cake: A giant, sliceable cookie perfect for celebrations.
- Double Chocolate Chip Cookies: For the ultimate chocolate lover, these cookies deliver a powerful cocoa punch.
- Southern Living’s Best Chocolate Chip Cookies: A timeless recipe for perfectly chewy and flavorful cookies.
- More of theBest Cookie Recipes: Explore a wide array of cookie inspirations for every craving.
- More Homemade Chocolate Recipes: Discover delightful ways to incorporate chocolate into your baking.
Stay in touch through social media @ Instagram, Facebook, and Pinterest. Don’t forget to tag me when you try one of my recipes! And if you love the results, please give it a 5-star rating in the recipe card—your feedback is incredibly valuable!
Pizookies AKA Pizza Cookie
20 minutes
25-30 minutes
45-50 minutes
10 servings
When the irresistible chewiness of a classic cookie meets the fun, shareable format of a pizza, and a generous amount of chocolate chips are involved, you get the sensational Pizookie! This copycat BJ’s recipe delivers a warm, gooey, and decadent dessert that’s truly to die for.
Ingredients for Your Pizookie
- 2 cups (240g) all-purpose flour
- ½ teaspoon salt
- ½ teaspoon baking soda
- 1 ½ sticks (170g) unsalted butter, softened to room temperature
- 1 cup (200g) dark brown sugar, packed
- ½ cup (100g) granulated sugar
- 1 tablespoon pure vanilla extract
- 1 large egg, at room temperature
- 1 large egg yolk, at room temperature
- 1 cup (170g) semisweet chocolate chips
- 1 cup (170g) bittersweet chocolate chips (such as Ghirardelli for rich flavor)
- To Serve: Vanilla ice cream, hot fudge sauce, and/or caramel sauce
Step-by-Step Instructions
- Prepare Your Oven and Skillets: Preheat your oven to 375ºF (190ºC). Generously grease two (or three, depending on their size) 6-inch cast-iron skillets with butter or nonstick cooking spray. Ensure the entire interior surface is coated to prevent sticking. Set the prepared skillets aside.
- Cream Butter and Sugars: In a large mixing bowl, cream together the softened butter, dark brown sugar, and granulated sugar until the mixture is light, fluffy, and well blended. This step is crucial for incorporating air into the dough, contributing to a tender cookie.
- Add Wet Ingredients: Beat in the vanilla extract, the large egg, and the extra egg yolk. Mix until everything is thoroughly combined and the mixture is light and creamy. Scrape down the sides of the bowl as needed to ensure all ingredients are incorporated.
- Combine Dry Ingredients and Chocolate: In a separate bowl, whisk together the flour, salt, and baking soda. Gradually add the dry ingredient mixture to the wet ingredients, stirring with a wooden spoon until just incorporated. Be careful not to overmix the dough. Finally, fold in both the semisweet and bittersweet chocolate chips until they are evenly distributed throughout the dough. Chilling the dough is optional; if you choose to chill it for at least 30 minutes, you may need to extend the baking time slightly.
- Fill the Skillets: Divide the cookie dough evenly between your prepared skillets. Using an offset spatula or the back of a spoon, gently smooth the tops of the dough in each pan. If you’re using only two skillets and have a small amount of dough leftover, you can roll it into a couple of traditional-sized cookies to bake separately.
- Bake to Perfection: Place the skillets in the preheated oven and bake for 25-30 minutes. The Pizookies are done when the edges are beautifully browned and crisp, and the centers appear almost set but still wonderfully soft and slightly gooey. This underbaking ensures the signature molten center.
- Serve Warm and Indulgent: Once baked, remove the Pizookies from the oven and allow them to cool in the skillets for 5-10 minutes. This helps them set up slightly while remaining warm and gooey. Then, generously top each warm Pizookie with a scoop (or two!) of vanilla ice cream. Drizzle with your preferred toppings, such as hot fudge sauce or caramel sauce. Serve immediately with spoons for a truly decadent and shareable dessert experience!
Chef’s Notes and Variations
Adjusting to Pan Size: You can certainly vary the size of your skillets or pans when making Pizookies. Just remember that baking times will need to be carefully adjusted accordingly. Smaller pans will bake faster, while larger pans will require more time. Always rely on visual cues: golden-brown edges and a soft, almost-set center.
Flavor Enhancements: Feel free to experiment with different types of chocolate chips (milk chocolate, white chocolate, peanut butter chips) or add other mix-ins like chopped nuts (walnuts, pecans), toffee bits, or even a sprinkle of sea salt before baking for a salty-sweet twist.
Serving Suggestions: Beyond vanilla, try pairing your warm Pizookie with coffee ice cream, mint chocolate chip, or even a scoop of cookie dough ice cream for an extra indulgence. A dollop of whipped cream and a cherry can also elevate the presentation.
Recommended Products for Pizookie Making
As an Amazon Associate and member of other affiliate programs, I earn from qualifying purchases.
- OXO Good Grips 11-Inch Better Balloon Whisk
- 6.5 inch Cast Iron Skillets
- Le Creuset 10-inch Skillet
Nutrition Information:
Yield:
10 servings
Serving Size:
1 wedge
Amount Per Serving (estimated, without toppings):
Calories: 520Total Fat: 28gSaturated Fat: 17gTrans Fat: 1gUnsaturated Fat: 10gCholesterol: 74mgSodium: 311mgCarbohydrates: 64gFiber: 4gSugar: 38gProtein: 6g
HOW MUCH DID YOU LOVE THIS RECIPE?
Please leave a comment on the blog or share a photo on Pinterest and tag us!