
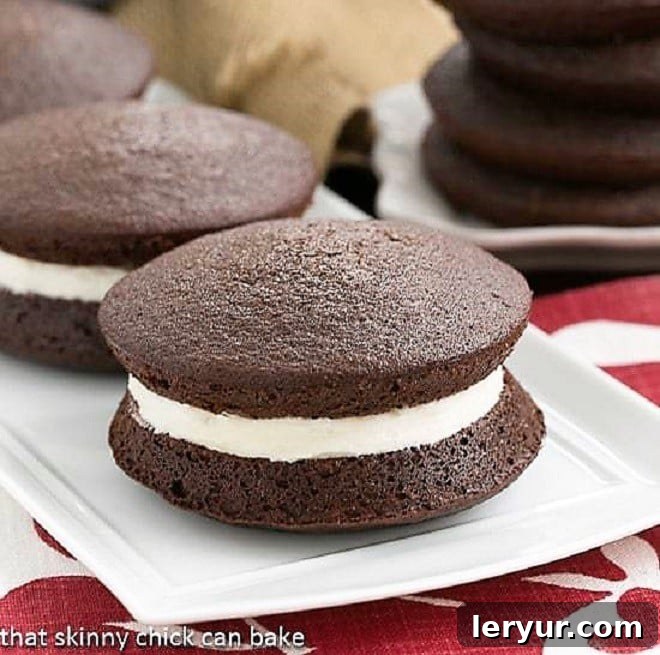
Indulge in the nostalgic delight of these Classic Chocolate Whoopie Pies: two perfectly moist, tender chocolate cake-like rounds embracing a lavish, melt-in-your-mouth filling crafted from marshmallow cream, rich butter, and confectioners’ sugar. This recipe promises an unforgettable journey for your taste buds!
Step aside, ordinary desserts! These Chocolate Whoopie Pies redefine homemade treats with their irresistible combination of soft, pillowy chocolate cakes and an ethereal marshmallow fluff filling. Every bite transports you straight to the charming bakeries of the Northeast, making them a true taste of authentic Maine Whoopie Pies. Forget everything you thought you knew about traditional cookies or cakes; whoopie pies are a category all their own, a delightful cake-sandwich hybrid that captures hearts with its unique texture and exquisite flavor profile.
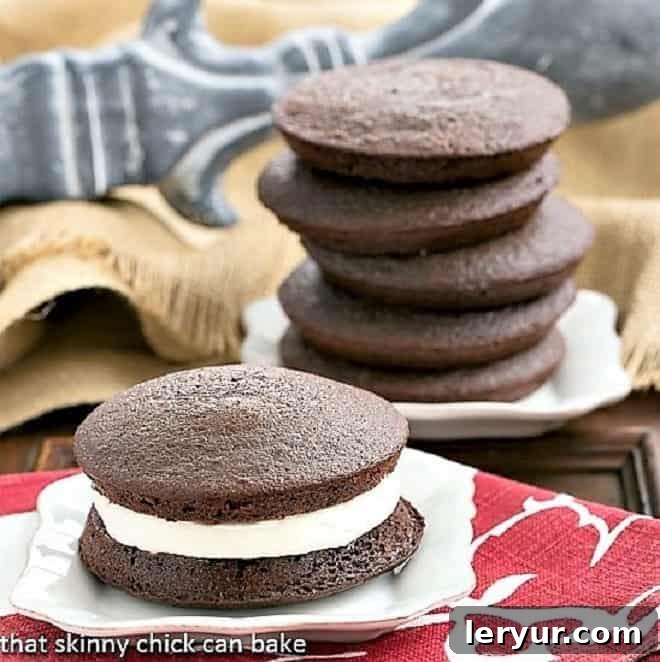
Why These Whoopie Pies Are a Must-Bake
- Unparalleled Chocolate Indulgence: If you’re a devoted fan of rich, moist chocolate cake, prepare for these mini marvels to elevate your dessert experience. Each soft cake round delivers a deep, satisfying chocolate flavor that’s simply heavenly.
- Dreamy Marshmallow Cream Filling: The secret to their allure lies in the filling. A luscious blend of fluffy marshmallow cream, creamy butter, and delicate powdered sugar creates an extraordinary confection that’s light, sweet, and perfectly balances the chocolate cake. It’s a filling so good, you’ll be tempted to eat it by the spoonful!
- Perfectly Portable Treats: Beyond their incredible taste, these whoopie pies are incredibly versatile. Their convenient sandwich form makes them ideal for on-the-go enjoyment. Pack them for picnics, school lunchboxes (a damp wipe is always a good idea!), office snacks, or as delightful party favors. They’re a crowd-pleaser that travels exceptionally well.
- A Touch of Nostalgia: For many, whoopie pies evoke a sense of warmth and tradition. Baking a batch brings a piece of American culinary history right into your kitchen, creating memories as sweet as the pies themselves.
Growing up in Ames, Iowa, whoopie pies weren’t a common sight in local bakeries or home kitchens. In fact, I never had the pleasure of tasting one until I decided to bake a batch for my family just a few years ago. It was watching the legendary Martha Stewart prepare her exquisite Cranberry Island Whoopie Pies on her show that sparked my inspiration. That moment was enough to send me straight to Sur la Table (or a quick click on Amazon, as you’ll find a convenient link in the recipe card below) to purchase the essential muffin top pans. It turns out, that simple impulse led to discovering a truly beloved dessert that has since become a perennial favorite in our home.
Ingredient Spotlight: What You Need for Perfect Whoopie Pies
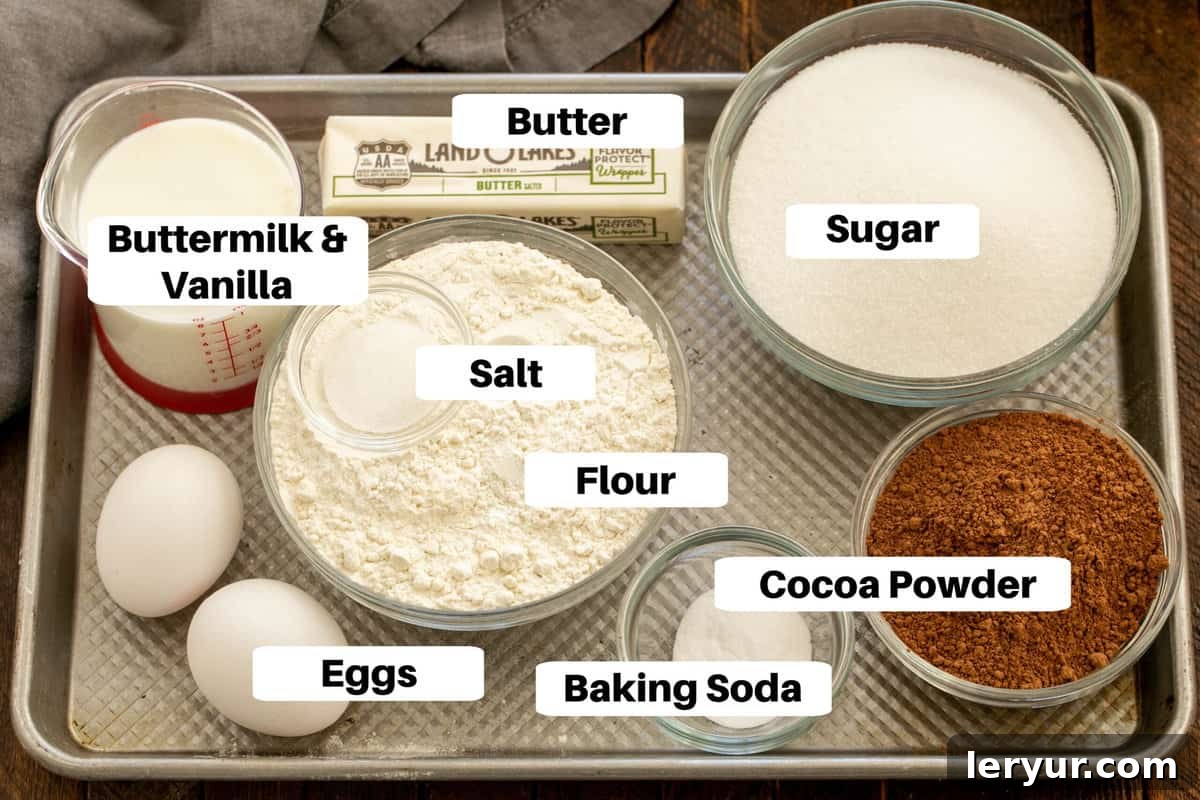
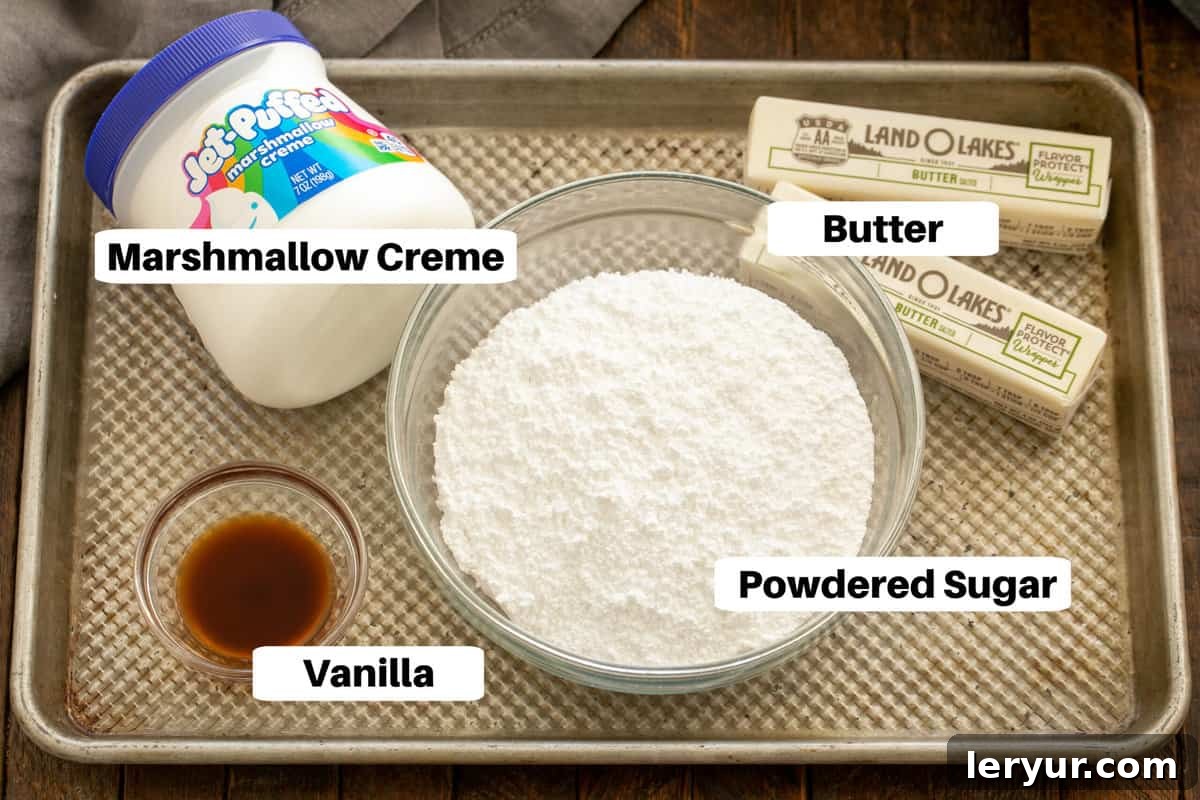
Crafting the perfect whoopie pie starts with understanding the role each ingredient plays. Here’s a closer look at what you’ll need and why:
- Kitchen Staples: You’ll begin with foundational baking ingredients such as granulated sugar, salt, baking soda, and all-purpose flour. Ensure your baking soda is fresh for optimal leavening, and sift your flour if it tends to clump.
- Butter: For both the cake rounds and the filling, ensure your butter is at a soft, room temperature consistency. This is crucial for achieving a smooth batter and a perfectly creamy filling. Additionally, you’ll need a little extra butter for greasing your muffin top pans, preventing sticking and ensuring easy release. I prefer using salted butter for a subtle flavor enhancement, but unsalted works too; just be sure to adjust the added salt slightly if using unsalted.
- Eggs: Large eggs, also at room temperature, are essential. They contribute to the structure, richness, and moisture of the chocolate cake rounds, binding the ingredients together beautifully.
- Vanilla Extract: Opt for pure vanilla extract over artificial vanilla flavoring. The real deal provides a depth of aroma and flavor that significantly enhances both the chocolate cakes and the marshmallow cream filling. It’s a small detail that makes a big difference.
- Buttermilk: This tangy ingredient is vital for creating incredibly tender and moist chocolate cakes. Its acidity reacts with the baking soda, aiding in leavening and yielding a soft crumb. If you don’t have buttermilk on hand, don’t worry! Consult our expert tips below for a simple homemade substitution using milk and lemon juice or vinegar.
- Cocoa Powder: For that rich, deep chocolate flavor, use good quality unsweetened cocoa powder. Sifting it before incorporating is highly recommended, especially if it’s prone to lumps, to ensure a smooth, uniform batter. The cocoa is the heart of the whoopie pie cakes, so choose wisely.
- Powdered Sugar (Confectioner’s Sugar): This fine sugar is the backbone of our magical marshmallow cream filling. Sifting is non-negotiable here to prevent any grainy texture and ensure a velvety smooth, lump-free frosting.
- Marshmallow Creme: The star of the filling! This sticky, sweet, and airy ingredient gives the whoopie pie filling its signature fluffy texture and unique flavor. I typically use a 7-ounce jar of Jet-Puffed brand marshmallow creme for consistent results, but any high-quality marshmallow creme will work wonders.
Step-by-Step Guide: Crafting Your Perfect Whoopie Pies
Making these classic chocolate whoopie pies is a fun and rewarding process. Follow these straightforward steps to create your own batch of delightful sandwich treats:
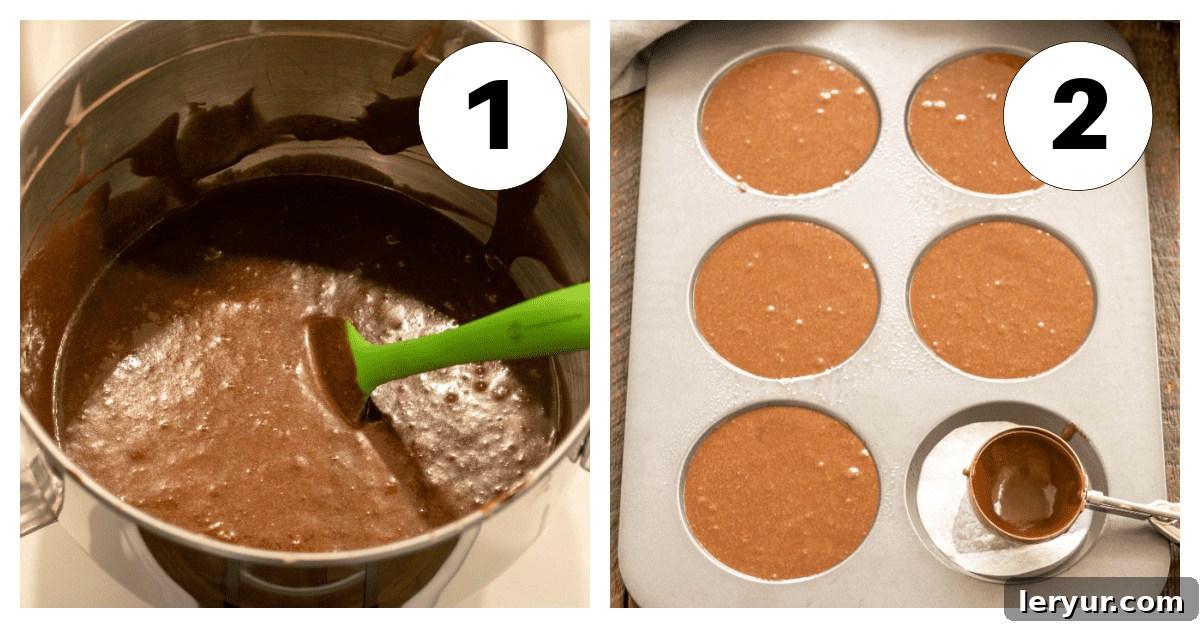
- Prepare the Batter: Begin by following the recipe instructions carefully to create the whoopie pie chocolate cake batter. Use a stand mixer for ease and efficiency, ensuring all ingredients are well combined until just smooth. Avoid overmixing, as this can lead to tough cakes.
- Scoop into Pans: Once your batter is ready, carefully scoop equal portions into the greased wells of your prepared muffin top pan. Aim for consistency in size to ensure even baking and uniform whoopie pies.
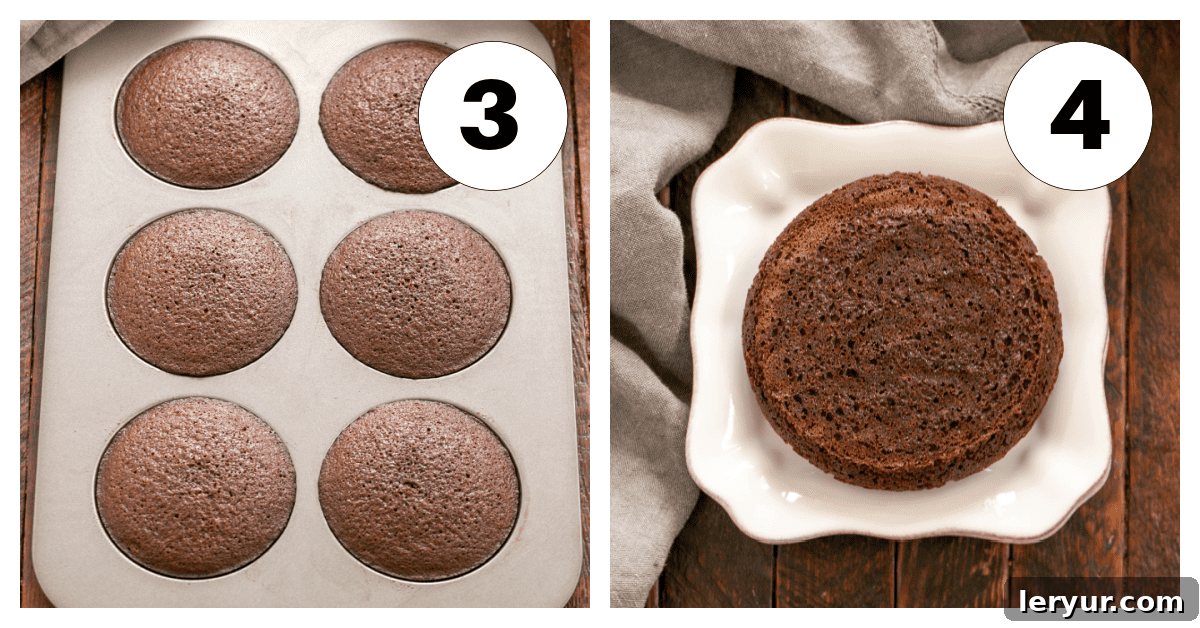
- Bake and Cool: Bake the cakes as directed in the recipe until they are springy to the touch. Once baked, allow them to cool briefly in the pans before gently transferring them to a wire rack to cool completely to room temperature. This prevents them from becoming soggy and makes them easier to handle for filling.
- Prepare the Filling: While your whoopie pie cakes are cooling, turn your attention to the magical marshmallow cream filling. Follow the recipe to whip up this airy, sweet confection. Ensure the cakes are fully cool before proceeding, as warm cakes will melt the filling.
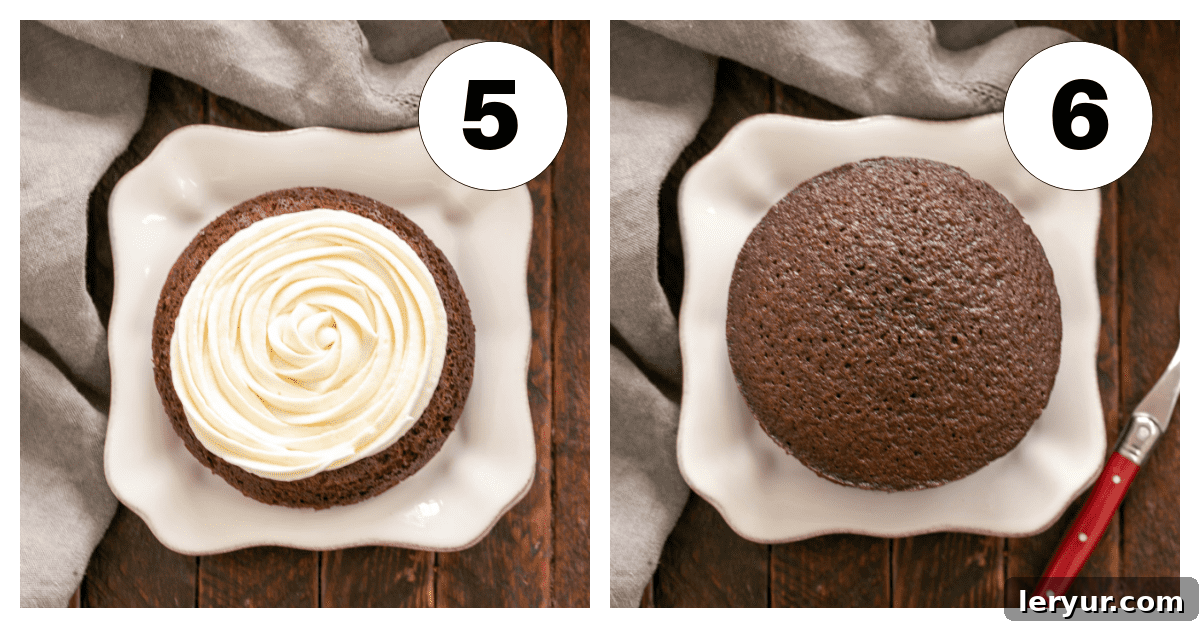
- Fill Your Pies: Once the cakes are completely cool, take half of them and spread or pipe a generous amount of the marshmallow cream filling onto their flat undersides. Don’t be shy with the filling; it’s what makes these whoopie pies truly special!
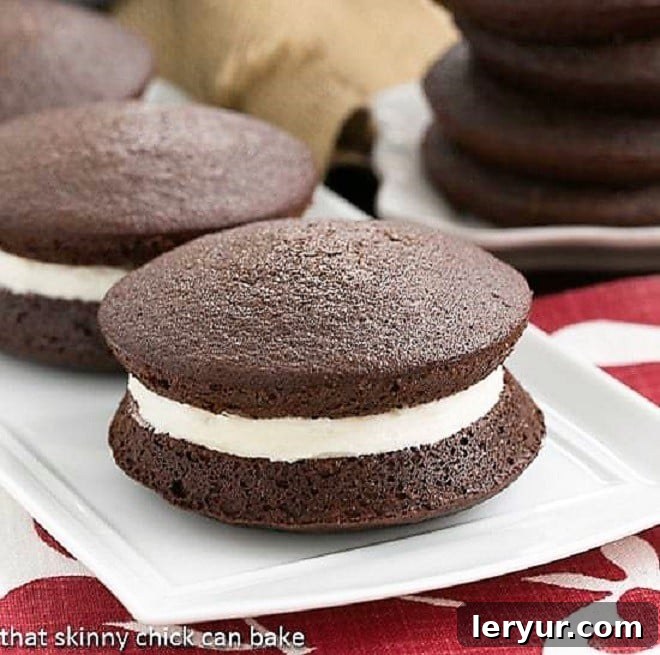
- Assemble and Enjoy: Gently place another plain whoopie pie half on top of the filled half, flat side down, to create your sandwich. Lightly press them together. And there you have it—your delicious, homemade whoopie pies are ready to be devoured! Get ready to dig in and savor every delightful bite!
Expert Tips for Whoopie Pie Perfection
These whoopie pies are more than just a dessert; they’re a tradition, a delightful indulgence that always brings smiles. Just recently, my son Nick, home from college for winter break, and my daughter Katie, put in a special request for another batch of these perennial favorites. It had been over a year since I last made this particular recipe, but its incredible flavor makes it undeniably our family’s favorite. We all gravitated towards the mixing bowl, eager to sample any leftover filling – truly peas in a pod! My husband even describes them as an “over-the-top Suzie-Q,” which I take as high praise. I sincerely hope you’ll give them a try and discover their magic for yourselves! To ensure your baking journey is as smooth and successful as possible, here are some invaluable expert tips:
- Invest in Muffin Top Pans: While some recipes claim you can make whoopie pies without a special pan (by simply dropping batter onto a baking sheet), investing in a “muffin top” pan is genuinely worth it if you plan to bake these regularly. These pans ensure perfectly uniform, round, and slightly domed cake halves, giving your whoopie pies their classic, appealing shape.
- PRO-Tip: Homemade Buttermilk Substitute: No buttermilk on hand? No problem! You can easily create a substitute with two common kitchen staples. Measure 1 tablespoon of fresh lemon juice or a neutral-flavored vinegar (like white vinegar) into a 1-cup liquid measuring cup. Then, fill the remainder of the cup to the 1-cup mark with whole milk or 2% milk. Stir it gently and let it rest for 5-10 minutes. The milk will curdle slightly, and you’ll have a perfect buttermilk substitute ready for baking.
- Avoid Overmixing the Batter: When combining your wet and dry ingredients, mix only until just combined and smooth. Overbeating the batter can over-activate the gluten in the flour, resulting in tough, dense whoopie pie cakes rather than the desired light and tender texture.
- PRO-Tip: Taming Marshmallow Creme: Marshmallow creme is notoriously sticky! To make it easier to scoop out of the jar and handle, lightly spray your spoon or spatula with a non-stick cooking spray (like Pam) beforehand. This simple trick will significantly minimize sticking and make your life much easier.
- Ensure Cakes are Completely Cool: This tip is crucial! Before you even think about applying the filling, make absolutely certain that your whoopie pie cakes have cooled completely to room temperature. Filling warm cakes will cause the creamy marshmallow filling to melt and slide, creating a messy rather than a delightful dessert.
- Fancy Presentation with a Star Tip: For a more elegant and professional presentation, consider using a pastry bag fitted with a star tip to pipe the filling onto your whoopie pies instead of just spreading it with a knife or offset spatula. The piped swirls add a beautiful touch and make them even more enticing.
- Intensify Chocolate Flavor: To truly boost the chocolatey richness of your whoopie pie cakes, try adding about ½ teaspoon of instant coffee or instant espresso powder to your dry ingredients. This addition won’t make your cakes taste like coffee; instead, it deepens and enhances the natural cocoa flavor, making the chocolate truly shine.
- Proper Storage for Moist Cakes: These chocolate whoopie pies are wonderfully moist, which means they can stick together easily. When storing them, avoid stacking them directly on top of each other, especially if they are freshly made. Place them in a single layer in an airtight container, or separate layers with parchment paper, to preserve their perfect shape and texture.
Frequently Asked Questions About Whoopie Pies
The charming and unusual name for these delightful treats is widely believed to have originated with the Pennsylvania Dutch. Legend has it that when these sweet, cake-like sandwiches were served, particularly to husbands and children working in the fields, their joyous response upon discovering such a treat in their lunch pails was an enthusiastic “Whoopie!!!” The name stuck, capturing the sheer delight these pies inspire.
The precise origin of the whoopie pie is a topic of friendly debate, though it’s generally agreed that these beloved desserts first made their appearance in the 1920s. Whether their birthplace was the picturesque state of Maine, where this particular recipe finds its roots, or the rich Amish country of Pennsylvania, one thing is certain: these delightful creations—be they cookies, pies, sandwiches, or cakes—have earned a cherished place in American culinary tradition and remain a universally adored treat across generations.
Absolutely! While special muffin top pans help achieve perfectly uniform rounds, you can certainly make whoopie pies without them. For those who prefer not to invest in two new muffin top pans (or perhaps borrow them from a friend!), you can simply drop spoonfuls of batter onto a parchment-lined baking sheet. The cakes might spread a bit more and be slightly less uniform, but they will still be delicious. I’d highly recommend sticking with the exquisite marshmallow fluff filling detailed in this recipe, regardless of which cake-making method you choose, as it’s truly the star of the show.
Whoopie pies store remarkably well, allowing you to enjoy them for days. They can be kept in an airtight container at room temperature for 1-2 days, maintaining their moist texture. For extended freshness, transfer them to the refrigerator, where they will last for an additional 3-4 days. It’s crucial not to stack freshly baked whoopie pies directly on top of each other, as their delicate, moist cakes will inevitably stick. For freezing, whoopie pies are excellent! Chill them first until the filling is firm, then individually wrap each whoopie pie in plastic wrap. They can be frozen for up to 3 months, ready for you to pull out one at a time whenever a chocolate craving strikes for a quick, delicious thaw-and-eat treat.
You May Also Love These Whoopie Pie Variations:
- Explore the cozy flavors of fall with Gingerbread Whoopie Pies from Saving Room for Dessert.
- Celebrate with a vibrant twist: Green Velvet Whoopie Pies from Love from the Oven.
- Indulge in a classic dessert reinvented: Carrot Cake Whoopie Pies.
- Discover another irresistible classic: Red Velvet Whoopie Pies.
- For even more sweet inspiration, browse my comprehensive collection of the Best Dessert Recipes.
Stay connected and share your baking adventures! Follow me on social media Instagram, Facebook, and Pinterest. Don’t forget to tag me when you whip up one of my recipes! If you adore the results as much as I do, please consider leaving a 5-star rating in the recipe card below—it truly helps!
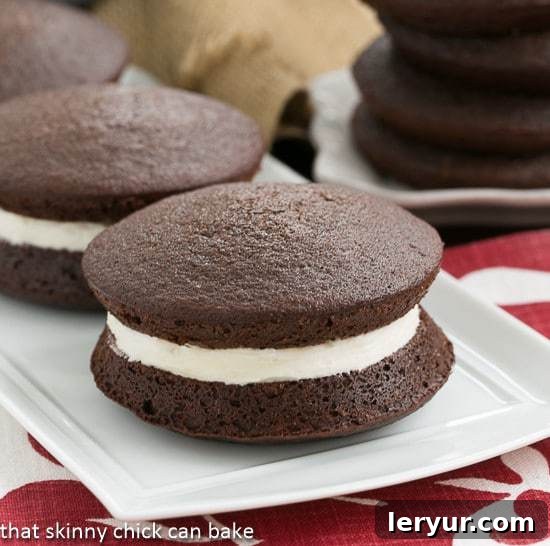
Whoopie Pies
30 minutes
18 minutes
48 minutes
10 whoopie pies
A classic Whoopie Pie recipe featuring deliciously moist chocolate cake rounds and a delectable, fluffy marshmallow cream-based filling. This recipe is thoughtfully adapted from Marthastewart.com, ensuring a perfect balance of flavor and texture for a truly indulgent homemade treat.
Ingredients
For the Whoopie Pies:
- ½ cup unsalted butter, softened to room temperature (plus more for greasing muffin top pans)
- 2 cups granulated sugar
- ½ teaspoon fine sea salt
- 2 large eggs, at room temperature
- 1 ½ teaspoons pure vanilla extract
- 1 ½ teaspoons baking soda
- 1 cup buttermilk (see Pro-Tip for homemade substitute)
- 1 ¾ cups all-purpose flour, sifted if lumpy
- ¾ cup unsweetened cocoa powder, sifted
- ¾ cup boiling water
For the Marshmallow Cream Filling:
- 1 cup unsalted butter, softened to room temperature
- 2 cups confectioners’ sugar (powdered sugar), sifted
- 1 (7-ounce) jar marshmallow cream (such as Jet-Puffed)
- 2 teaspoons pure vanilla extract
Instructions
- Preheat your oven to 350°F (175°C). Generously butter two 4-inch muffin top pans. For best results, line each cup with a round of parchment paper, then butter the parchment as well.
- In the bowl of a stand mixer fitted with the paddle attachment, cream together the softened butter and granulated sugar until light and fluffy, about 2-3 minutes. Add the salt, eggs, and vanilla extract, beating until just combined. Scrape down the sides of the bowl as needed.
- In a small separate bowl, whisk together the baking soda and buttermilk. In another bowl, sift the flour. Gradually add about one-third of the flour to the mixer, then half of the buttermilk mixture. Continue alternating with another third of the flour, the remaining buttermilk, and finally the last of the flour, mixing on low speed until just incorporated after each addition. Do not overmix.
- In a separate small bowl, whisk the cocoa powder with the boiling water until completely smooth and lump-free. Add this cocoa mixture to the batter in the stand mixer and mix until well combined and the batter is a uniform dark brown color.
- Fill each prepared muffin top cup with approximately ¼ cup of the chocolate batter. Bake the tins for 9 minutes, then rotate the pans in the oven and bake for an additional 9 minutes, or until the cakes are springy to the touch. Cool the cakes slightly in the pans for a few minutes before carefully transferring them to a wire rack to cool completely to room temperature.
- To make the filling: In the bowl of your stand mixer fitted with the paddle attachment, cream the softened butter and sifted powdered sugar for about three minutes until light and fluffy. Add the marshmallow cream and vanilla extract, then continue to mix until the filling is well combined, smooth, and airy.
- Once the whoopie pie cakes are completely cool, place a generous ¼ cup of the marshmallow cream filling onto the flat underside of half of the cake rounds. Gently place a second cake round on top, flat side down, to form a whoopie pie sandwich. Repeat with the remaining cakes and filling. Serve immediately or store as directed. Enjoy!
Notes
These whoopie pies can be stored in an airtight container at room temperature for 1-2 days. For longer storage, transfer them to the refrigerator, where they will keep for an additional 3-4 days. Remember, avoid stacking freshly made whoopie pies directly on top of each other, as their moist texture can cause them to stick. For freezing, chill pies until firm, then wrap each individually in plastic wrap and store in a freezer-safe bag for up to 3 months. Thaw at room temperature or in the refrigerator before enjoying.
Recommended Products
As an Amazon Associate and member of other affiliate programs, I earn from qualifying purchases.
- Set of Glass Mixing Bowls
- OXO Good Grips 11-Inch Better Balloon Whisk
- KitchenAid KSM150PSER Artisan Tilt-Head Stand Mixer with Pouring Shield, 5-Quart, Empire Red
- Muffin Top Pan
Nutrition Information:
Yield:
10
Serving Size:
1
Amount Per Serving:
Calories: 723Total Fat: 31gSaturated Fat: 18gTrans Fat: 1gUnsaturated Fat: 10gCholesterol: 115mgSodium: 630mgCarbohydrates: 106gFiber: 2gSugar: 78gProtein: 7g
HOW MUCH DID YOU LOVE THIS RECIPE?
Please leave a comment on the blog or share a photo on Pinterest