
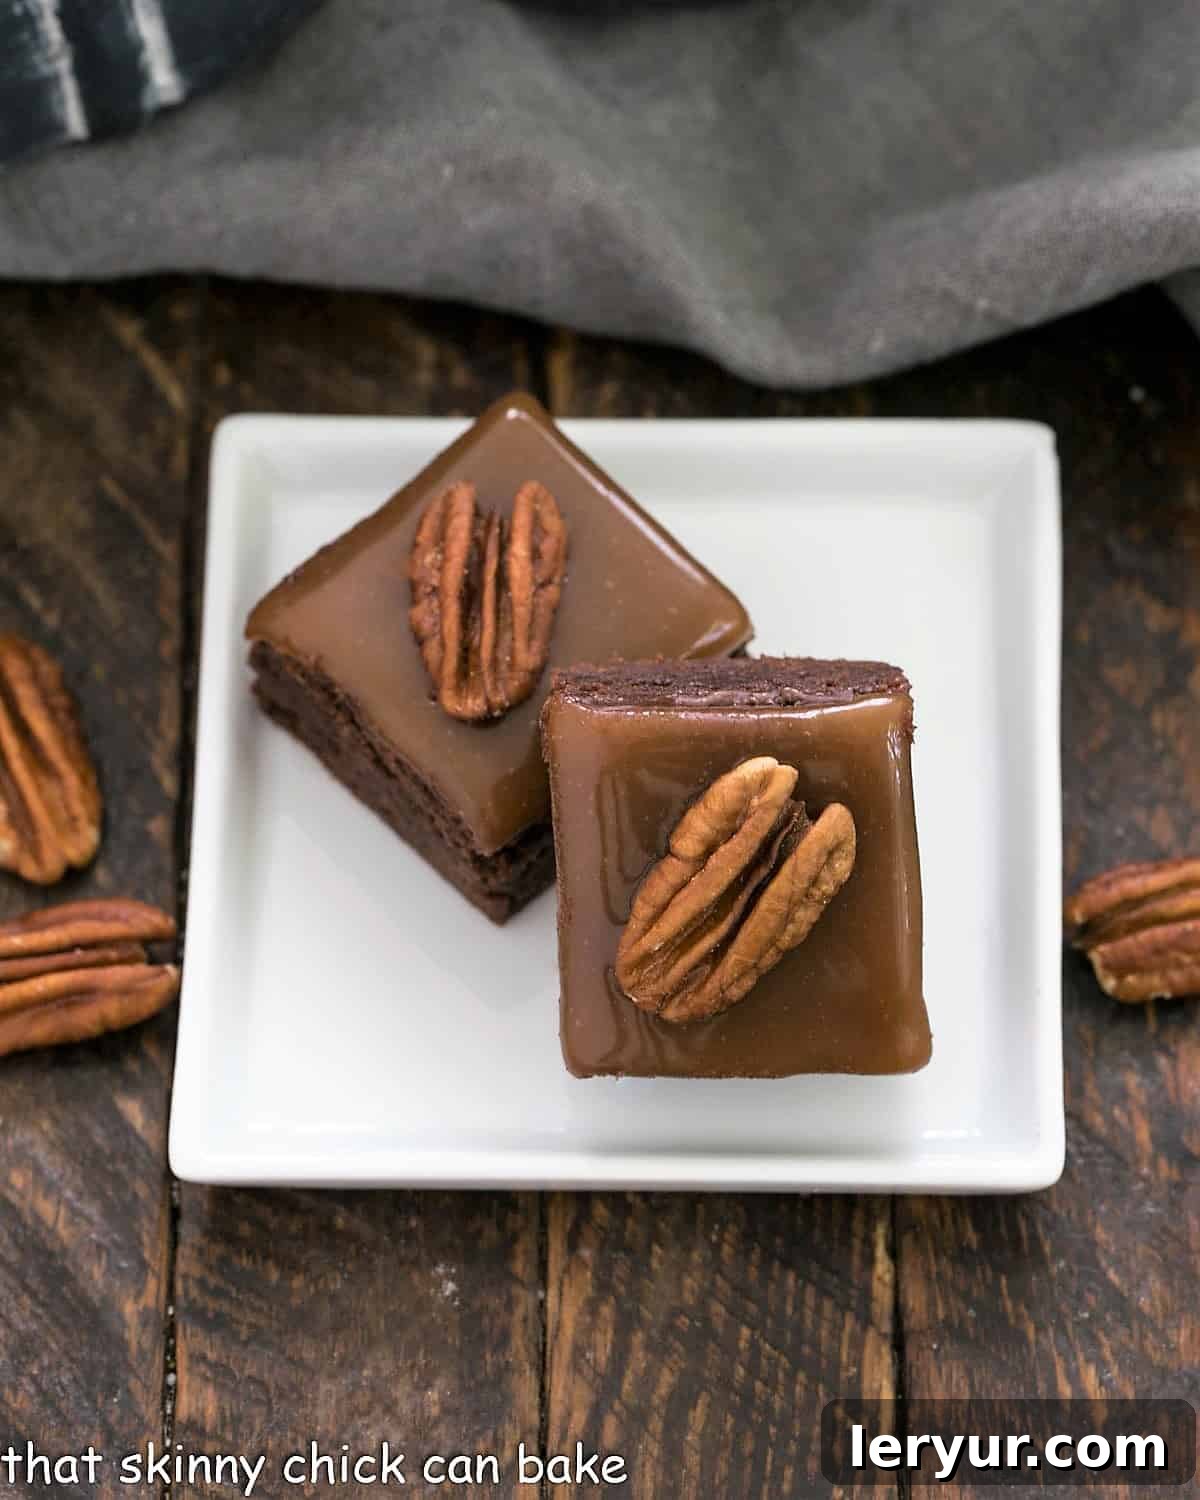
Prepare to experience a truly magical culinary creation where the luxurious depth of dark chocolate perfectly intertwines with the irresistibly gooey sweetness of caramel. These Ultimate Turtle Brownies are more than just a dessert; they are the quintessential embodiment of this beloved classic pairing, elevated to an art form.
Imagine biting into a rich, fudgy brownie, only to discover layers of chewy, golden caramel and crunchy, toasted pecan halves. These aren’t just any caramel brownies; they are a homage to the timeless appeal of turtle candies, delivering a symphony of flavors and textures that are absolutely irresistible. The harmonious combination of premium chocolate, silky caramel, and savory pecans in this extraordinary brownie recipe is guaranteed to tantalize your taste buds and redefine your dessert expectations.
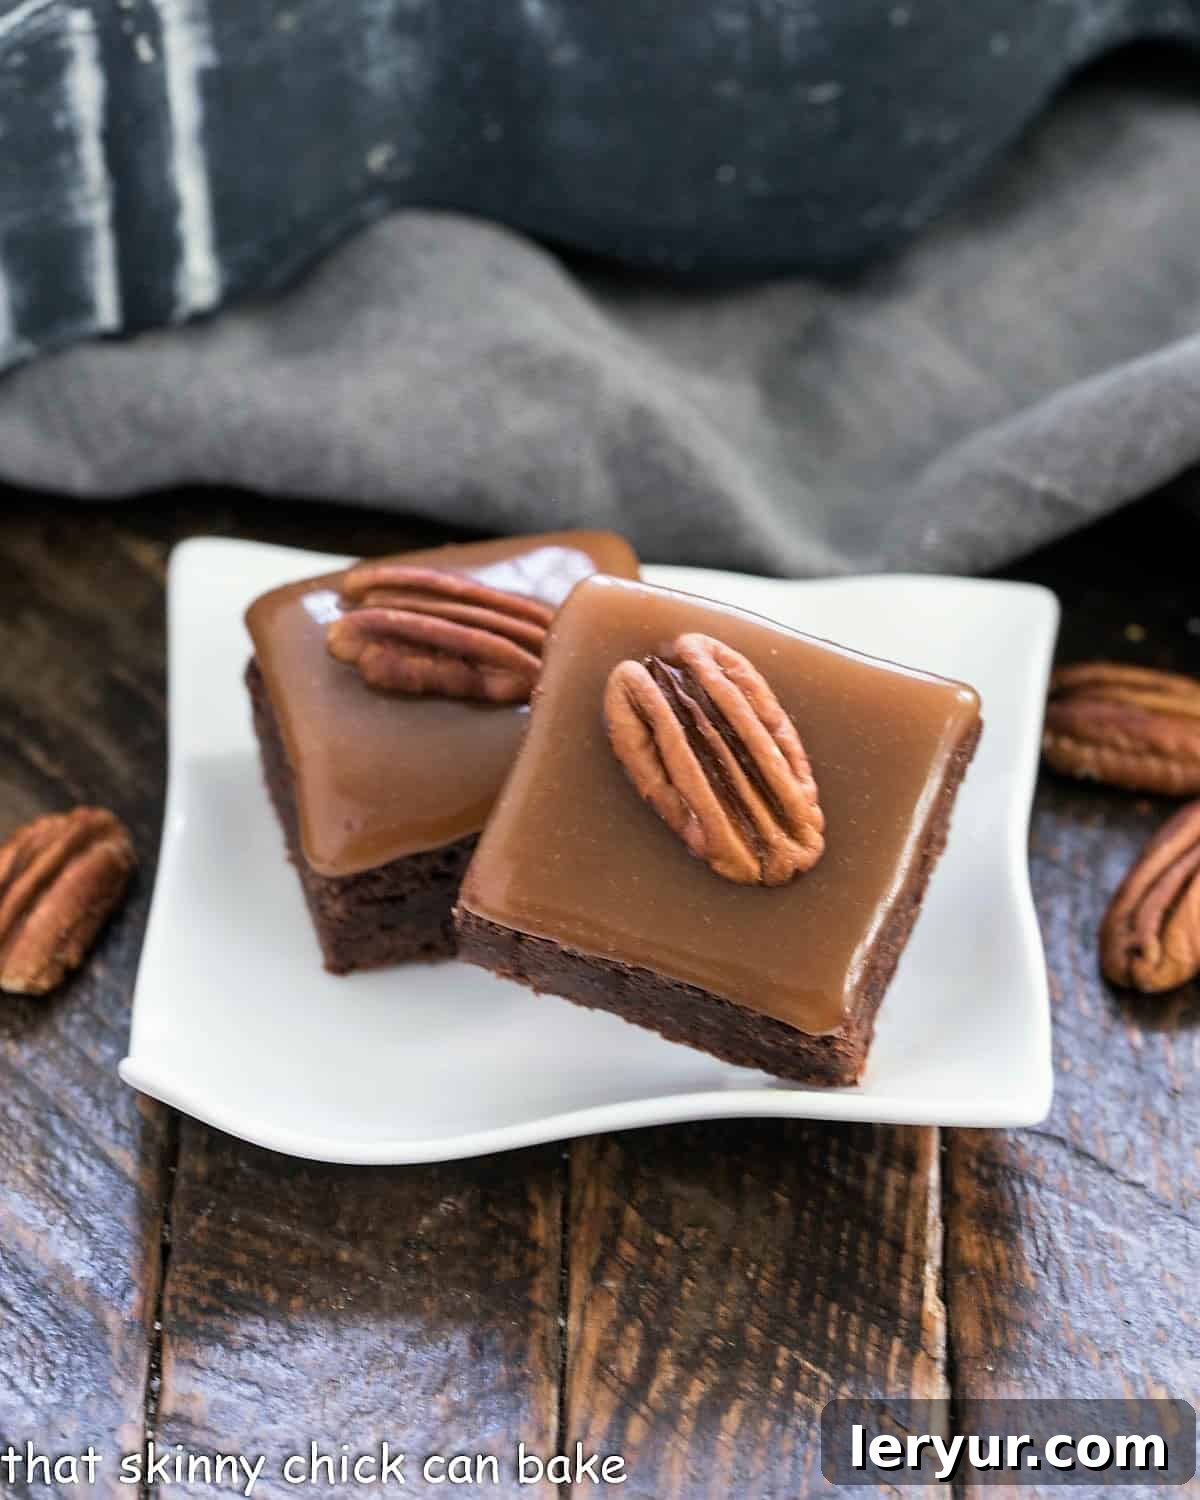
Why These Ultimate Turtle Brownies Are a Must-Bake
If you’re searching for a dessert that truly stands out, one that promises both indulgent flavor and impressive presentation, look no further. Our Ultimate Turtle Brownies recipe offers compelling reasons to clear your schedule and preheat your oven:
- A Dream for Chocolate & Caramel Lovers: For anyone who adores the classic combination of rich chocolate and luscious caramel, especially those with a soft spot for traditional turtle candies, these brownies are an absolute revelation. They deliver an unparalleled flavor experience that will undoubtedly “knock your socks off!”
- Tried, Tested, and Perfected: This isn’t just another recipe; it’s a meticulously developed creation adapted from the esteemed Cook’s Illustrated. This heritage ensures a robust, reliable, and exquisitely balanced recipe that consistently yields perfect results. You can bake with confidence, knowing you’re following a method refined by culinary experts.
- The Epitome of Decadence: When the occasion calls for an undeniably decadent dessert, these brownies rise to the challenge. Each square is a multi-layered masterpiece, boasting a deeply fudgy chocolate base, a rich, buttery caramel topping, and the delightful crunch of toasted pecans. It’s an indulgence that satisfies every craving and leaves a lasting impression.
- Perfect for Any Occasion: Whether you’re hosting a dinner party, celebrating a holiday, bringing a treat to a potluck, or simply craving something extraordinary for yourself, these Ultimate Turtle Brownies are versatile enough for any event. They are a guaranteed crowd-pleaser and a sophisticated upgrade from standard brownies.
- Beyond the Brownie: While the star is undoubtedly these brownies, if you’re a true turtle enthusiast, you might also find yourself drawn to other delightful interpretations like classic Homemade Turtles. These brownies simply expand on that beloved flavor profile.
Essential Ingredient Notes for Perfection
Achieving truly magnificent Turtle Brownies starts with understanding the role of each ingredient. Here’s a deeper dive into what makes this recipe exceptional:
- Heavy Cream – This is non-negotiable for a truly rich and creamy caramel topping. You must use heavy cream with a butterfat content of 36-38%. Lower fat content can result in a thinner, less luxurious caramel that doesn’t set properly, compromising the texture and richness.
- Kosher Salt – Often overlooked in desserts, kosher salt is a critical flavor enhancer. It doesn’t just add saltiness; it balances the intense sweetness of the caramel and chocolate, deepening their flavors and preventing them from tasting flat or cloyingly sweet. Do not omit it, as it’s essential for a well-rounded taste profile.
- Corn Syrup – This humble ingredient plays a vital role in the caramel’s texture and stability. It acts as an invert sugar, preventing the sucrose from recrystallizing, which is key to achieving a smooth, pliable, and perfectly chewy caramel that won’t turn grainy.
- Vanilla Extract – Opt for pure vanilla extract, not imitation vanilla. The depth and complexity of pure vanilla significantly elevate the overall flavor of both the brownies and the caramel, adding a warm, aromatic note that imitation versions simply can’t replicate.
- Baking Powder – In brownie recipes that feature cocoa powder, baking powder is often used to provide lift and create a tender crumb. Its leavening action helps create that perfect fudgy-yet-airy texture. Always check the expiration date; old baking powder loses its potency. You can test its activity by adding a spoonful to boiling water—vigorous bubbling indicates it’s still active. If there’s no reaction, replace it before you begin.
- Pecan Halves – To unlock their full potential, pecans must be toasted and then cooled before incorporation. Toasting brings out their natural oils, intensifying their nutty flavor and giving them a crisper texture, which provides a fantastic contrast to the soft brownies and chewy caramel. This small step makes a big difference in the final taste.
Expert Tips for Flawless Turtle Brownies
Crafting these exceptional Turtle Brownies is a rewarding experience, and these expert tips will help ensure your success, especially when working with caramel:
- PRO-Tip: Master the Caramel Ahead of Time. The caramel component is often considered the most technically challenging part of this recipe. To eliminate stress and ensure perfect results, go ahead and prepare your caramel topping the day before. This allows you to focus solely on the brownie batter on baking day, making the entire process more enjoyable and less rushed. Simply store the finished caramel at room temperature in an airtight container.
- Invest in an Accurate Candy Thermometer. Precision is paramount when making caramel. An accurate candy thermometer is your best friend here. It’s crucial to cook the caramel to the exact temperatures specified to achieve the perfect chewy consistency – too low, and it will be runny; too high, and it will be brittle. Always test your thermometer’s accuracy by placing it in boiling water; it should read 100°C or 212°F. If it’s off, adjust your target temperatures accordingly.
- PRO-Tip: Optimize Caramel Pouring with a Pyrex Measuring Cup. Once your caramel is cooked to perfection, immediately pour it into a liquid Pyrex measuring cup that has been lightly sprayed with a non-stick cooking spray like Pam. The non-stick coating will ensure the caramel glides out effortlessly, and the spout of the measuring cup makes for incredibly easy and precise drizzling over both the brownie batter and the cooled baked brownies. This trick prevents messy spills and sticky situations.
- Rewarming Caramel for Seamless Drizzling. If your caramel has cooled too much to pour easily (especially if you made it ahead), don’t fret! Simply zap it in the microwave for short bursts (15-20 seconds), stirring well after each interval, until it reaches a perfectly pourable consistency. Be careful not to overheat it, which can alter its texture.
- PRO-Tip: Elevate the Texture with Pecans in the Batter. For the ultimate turtle brownie experience, consider mixing in ⅔ cup of toasted, chopped pecans directly into your brownie batter. This adds an extra layer of nutty flavor and delightful crunch throughout the brownie itself, not just on top, creating a more cohesive and immersive “turtle” sensation with every bite.
- Don’t Overmix Your Brownie Batter. Once you’ve added the flour and baking powder, mix just until combined. Overmixing develops the gluten in the flour, which can lead to tough or cakey brownies instead of the desired fudgy texture.
- Allow for Proper Cooling. Patience is key! For the best structure and cleanest cuts, ensure your brownies are completely cooled before adding the final caramel layer and definitely before slicing. Chilling them after the final caramel application will also make them much easier to cut into perfect squares.
Frequently Asked Questions About Turtle Brownies
Turtle candies hold a special place in confectionery history, first created in the early 1900s. The original concept involved arranging pecan halves to resemble a turtle’s legs and head, then drenching them in rich, buttery caramel, and finally enrobing the entire cluster in decadent chocolate. This unique presentation, with the nuts subtly protruding, gave the confection its beloved “turtle” nickname. Over time, any dessert that masterfully combines these three iconic ingredients—chocolate, caramel, and pecans—has adopted the “turtle” moniker. Our delectable Turtle Brownies perfectly embody this profile, delivering all the classic flavors in a delightful new form.
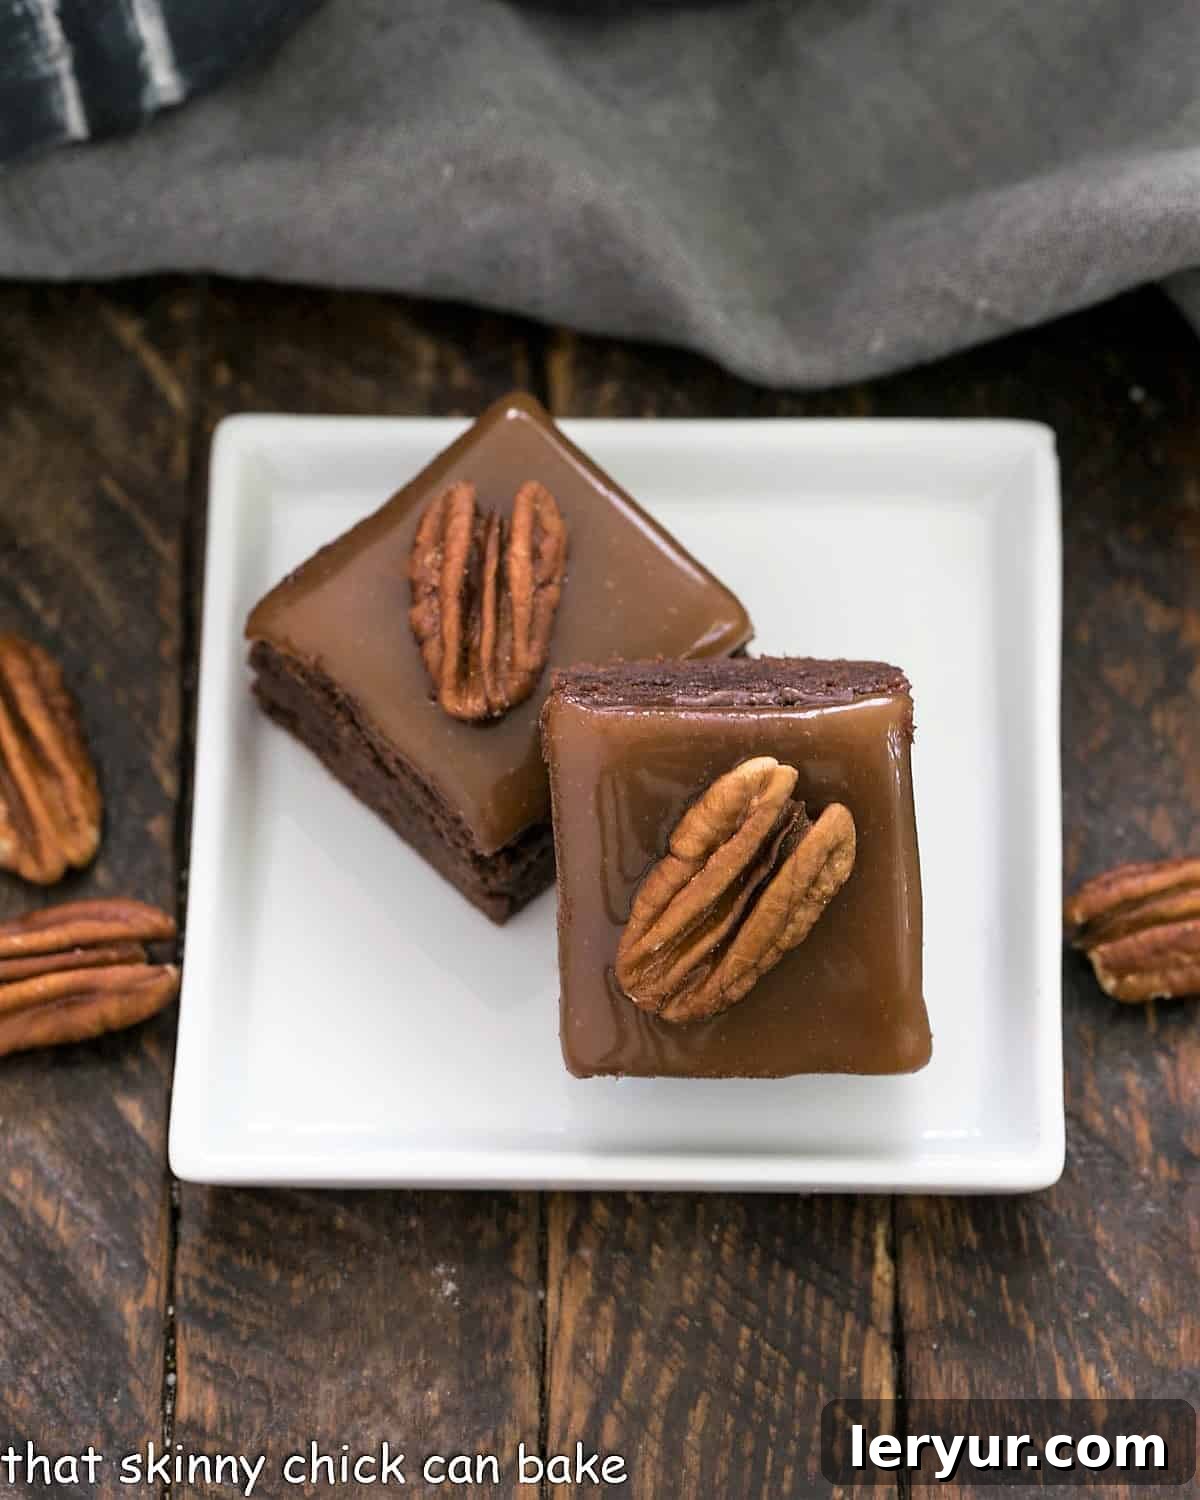
A Turtle Brownie is any brownie creation that incorporates the signature trifecta of flavors found in traditional turtle candies: chocolate, caramel, and pecans. Our specific Ultimate Turtle Brownie recipe takes this concept to new heights by offering multiple layers of these incredible ingredients. This version features an option to mix chopped pecans directly into the fudgy brownie batter for an integrated nutty crunch, a lavish layer of our homemade chewy caramel topping, and is elegantly garnished with whole pecan halves, ensuring every bite is packed with the unmistakable taste of a turtle treat.
Creating a flawless caramel topping is indeed the most intricate part of this recipe, but with careful attention to detail, it’s entirely achievable. The key to success lies in precision and proper technique. Firstly, an accurate, high-quality candy thermometer is absolutely essential; it’s imperative that you cook the caramel to precisely 360ºF (182°C) to ensure it sets firmly enough to stay put atop your brownies without being too hard or too runny.
Here’s a breakdown of the critical steps:
Dissolve the Salt: Begin by dissolving the kosher salt completely into the heavy cream. This step ensures an even distribution of flavor throughout the caramel and helps prevent a grainy texture.
Prepare the Sugar Base: Carefully add water, corn syrup, and sugar to a heavy-bottomed saucepan as directed. It’s crucial not to stir the sugar initially once it’s in the pan, and avoid letting any sugar crystals cling to the sides of the pan.
Initial Cook & Boil: Cook the mixture over medium-high heat, stirring only very gently until the edges just begin to boil. This gentle stirring ensures uniform heating without encouraging crystallization.
Crystal Prevention: Cover the saucepan with a tight-fitting lid and allow it to boil for a few minutes. The steam trapped under the lid will wash down any sugar crystals from the sides of the pan, preventing them from causing the entire batch to crystallize later.
First Temperature Mark: Remove the lid and continue to boil until the mixture reaches 290ºF (143°C) on your candy thermometer. This is the “soft-ball” stage, indicating the sugar syrup is thickening.
Achieve Amber Perfection: Lower the heat to medium-low and continue cooking, swirling the pan occasionally, until the mixture transforms into a beautiful light amber color and reaches precisely 360ºF (182°C) on your thermometer. This “hard-ball” stage is critical for the caramel’s chewy, firm-but-not-brittle texture.
Finish with Cream, Butter & Vanilla: Immediately remove the caramel from the heat and carefully stir in the reserved salted cream. Be prepared for vigorous bubbling—this is normal as the hot sugar mixture reacts with the cooler cream. Continue stirring and scraping the bottom and sides of the pan until the bubbling subsides. Finally, once the bubbling has stopped, incorporate the butter and pure vanilla extract, stirring until the caramel is luxuriously smooth and glossy. This meticulous process guarantees a rich, perfectly textured caramel.
While brownies are undeniably delicious when served at room temperature, their fudginess can make them notoriously challenging to cut into clean, elegant squares. The ultimate trick for achieving perfect cuts is to chill them thoroughly first. Once chilled, use a sharp, hot, and dry knife to slice them. To heat the knife, run it under hot water for a few seconds, wipe it completely dry (to prevent sticking), and then make your cuts. For consistently clean edges, clean and reheat the knife as needed between each cut. After cutting, allow the brownies to return to room temperature before serving to fully appreciate their rich texture and flavor.
In this specific Ultimate Turtle Brownies recipe, the caramel is introduced at two distinct stages to maximize flavor and create layers of indulgence. Initially, a portion of the caramel is drizzled strategically between two layers of brownie batter before the pan goes into the oven. This creates a delightful hidden pocket of gooeyness within the brownie itself. The remaining, and larger, portion of the caramel is then generously poured over the top of the brownies only after they have been completely baked and cooled to room temperature. It’s crucial that the brownies are at room temperature, or even slightly chilled, before applying the top caramel layer. If the brownies are still warm, they will absorb the caramel, leading to a messy rather than layered effect.
Explore More Decadent Desserts
If you’ve fallen in love with the irresistible combination of chocolate, caramel, and pecans in these Turtle Brownies, you’ll be thrilled to discover other fantastic recipes that celebrate these flavors. Here are some more delightful treats you might enjoy:
- Chocolate Turtle Bundt Cake from Melissa’s Southern Style Kitchen – A grand and elegant dessert with all the turtle flair.
- Turtle Thumbprint Cookies – Bite-sized delights that pack a punch of turtle flavor.
- Turtle Poke Cake – A moist cake infused with caramel and chocolate, topped with pecans.
- Caramel Pecan Cheesecake Bars – Creamy, crunchy, and utterly delightful.
- Plus, don’t forget to check out all my Favorite Brownie Recipes for more chocolatey inspiration!
We hope you enjoy baking and sharing these Ultimate Turtle Brownies as much as we do. Their rich flavors and delightful textures make them a truly unforgettable treat.
Stay in touch and share your baking triumphs with our community! Find us on social media @ Instagram, Facebook, and Pinterest. Don’t forget to tag me when you try one of my recipes! If you adore the results, please consider giving it a 5-star rating in the recipe card below—your feedback truly helps!
Ultimate Turtle Brownies
30 minutes
1 hour
1 hour 30 minutes
25 generous brownies
These are the perfect turtle brownies, a rich and fudgy chocolate base topped with a luscious, chewy caramel and crunchy toasted pecans. This beloved recipe is adapted from Cook’s Illustrated, ensuring a delightful and reliable baking experience every time.
Ingredients List
For the Irresistible Caramel Topping
- ¼ cup heavy cream plus 2 tablespoons (ensure 36-38% butterfat)
- ⅛ teaspoon kosher salt (finely dissolved)
- ¼ cup water (filtered if possible)
- 2 tablespoons light corn syrup (essential for smooth texture)
- 1 ¼ cups white sugar (granulated)
- 2 tablespoons unsalted butter (cut into small pieces)
- 1 teaspoon pure vanilla extract (for rich aroma)
For the Fudgy Chocolate Brownies
- 8 tablespoons unsalted butter, cut into pieces
- 4 ounces quality semisweet chocolate, finely chopped
- 2 ounces unsweetened chocolate, finely chopped
- 2 teaspoons Dutch-process cocoa powder
- ¾ cup all-purpose flour
- ½ teaspoon baking powder (fresh for best results)
- 2 large eggs, at room temperature
- 1 cup granulated sugar
- ¼ teaspoon kosher salt
- 2 teaspoons pure vanilla extract
- 25 whole pecan halves, toasted and cooled (plus an optional ⅔ cup chopped pecans for the batter)
- ⅓ cup semisweet chocolate chips (for a delightful melt on top)
Step-by-Step Instructions
Crafting the Perfect Caramel
- Measure the heavy cream into a 1-cup Pyrex measuring cup or a small bowl. Add the kosher salt, stirring diligently until it dissolves completely into the cream. Set this salted cream mixture aside; it will be added to the hot caramel later.
- In a heavy-bottomed, medium-sized saucepan, combine the water and light corn syrup. Carefully pour the granulated sugar into the center of the saucepan, taking great care to ensure that none of the sugar crystals touch or adhere to the sides of the pan. This helps prevent crystallization.
- Place the saucepan over medium-high heat. Cook the mixture, stirring very gently and sparingly, just until the edges of the syrup begin to bubble vigorously. Avoid excessive stirring, which can promote crystallization.
- Immediately cover the saucepan with a tight-fitting lid and allow the mixture to boil undisturbed for about 2-3 minutes. This crucial step generates steam that washes down any sugar crystals clinging to the sides of the pan. After this initial boil, remove the lid and continue boiling until your candy thermometer precisely reads 290ºF (143°C).
- Once 290ºF is reached, reduce the heat to medium-low. Continue to cook the caramel, swirling the pan gently and occasionally, until the mixture transforms into a beautiful light amber color and registers exactly 360ºF (182°C) on your candy thermometer. This color and temperature are vital for the caramel’s chewy texture.
- Promptly remove the saucepan from the heat. Carefully pour in the reserved salted heavy cream. Be prepared for the mixture to bubble up quite vigorously as the cooler cream meets the hot sugar. Continue to stir constantly and thoroughly with a heatproof spatula, scraping the bottom and sides of the pan, until the bubbling subsides and the caramel is uniformly mixed.
- As soon as the caramel ceases to bubble, add the butter pieces and the pure vanilla extract. Stir continuously until the butter is fully melted and incorporated, and the caramel mixture is perfectly smooth and glossy. Set this exquisite caramel aside while you prepare the brownie batter.
Baking the Fudgy Brownies
- Preheat your oven to 325 degrees Fahrenheit (163°C).
- Line a 9×9-inch baking pan with nonstick foil, ensuring that you leave a generous amount of excess foil overhanging on two opposite sides to create “handles.” These handles will make it much easier to lift the cooled brownies out of the pan. Alternatively, line with regular aluminum foil and thoroughly coat it with a nonstick cooking spray. Set the prepared pan aside.
- In a microwave-safe bowl, combine the chopped semisweet and unsweetened chocolates with the cut-up butter pieces. Heat gently in the microwave in 20-30 second intervals, stirring after each, until the chocolates are fully melted and smooth. Stir in the Dutch-process cocoa powder until no lumps remain and the mixture is well combined.
- In a separate, larger mixing bowl, beat together the 1 cup of sugar, ¼ teaspoon kosher salt, 2 teaspoons vanilla extract, and the 2 large room-temperature eggs. Beat with an electric mixer until the mixture becomes pale in color and slightly thickened. Gradually whisk in the melted chocolate mixture until thoroughly combined and smooth. Using a rubber spatula, gently fold in the flour and baking powder just until no streaks of flour remain; be careful not to overmix. If desired for extra crunch and flavor, gently fold in ⅔ cup of toasted, chopped pecans at this stage.
- Pour exactly half of the brownie batter evenly into the prepared baking pan. Using an offset spatula, carefully smooth the surface. Drizzle ¼ cup of the prepared caramel topping evenly over this first layer of brownie batter. If the caramel has thickened too much, gently rewarm it in the microwave for a few seconds until pourable again. Carefully spread the remaining brownie batter over the caramel layer, smoothing the top once more.
- Bake for 35-40 minutes, or until a toothpick inserted into the center of the brownies comes out with moist crumbs attached but no wet batter. Avoid overbaking to maintain fudginess.
- Immediately upon removing the brownies from the oven, evenly sprinkle the semisweet chocolate chips over their hot surface. Quickly cover the pan with foil or a cookie sheet and allow it to rest for 10 minutes. The residual heat will melt the chocolate chips.
- After 10 minutes, remove the cover and use an offset spatula to gently smooth the melted chocolate over the top of the brownies, creating a smooth, glossy chocolate layer. Allow the brownies to cool completely to room temperature on a wire rack. This cooling step is crucial before the final caramel layer.
- Once the brownies are at room temperature, gently rewarm the remaining caramel to a smooth, pourable consistency (again, microwave in short bursts if needed). Pour this luscious caramel evenly over the cooled brownies, spreading it carefully to the edges. For the caramel to set properly, refrigerate the brownies for at least 4 hours, or ideally overnight.
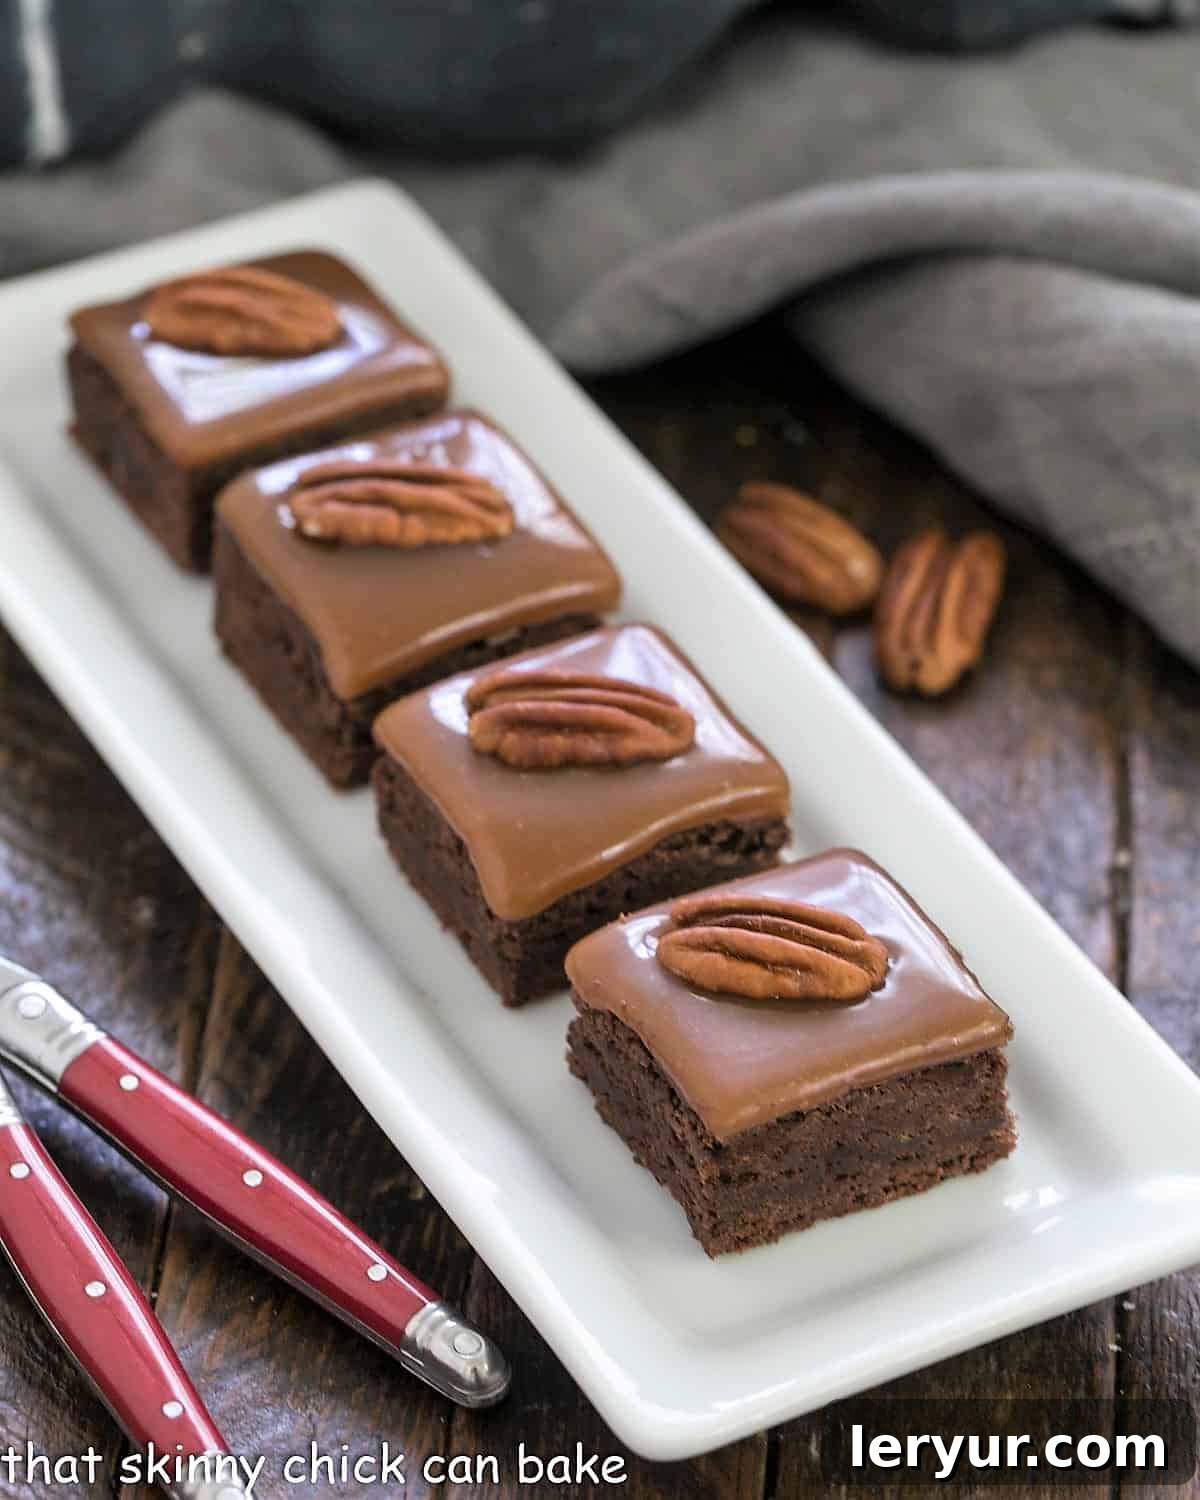
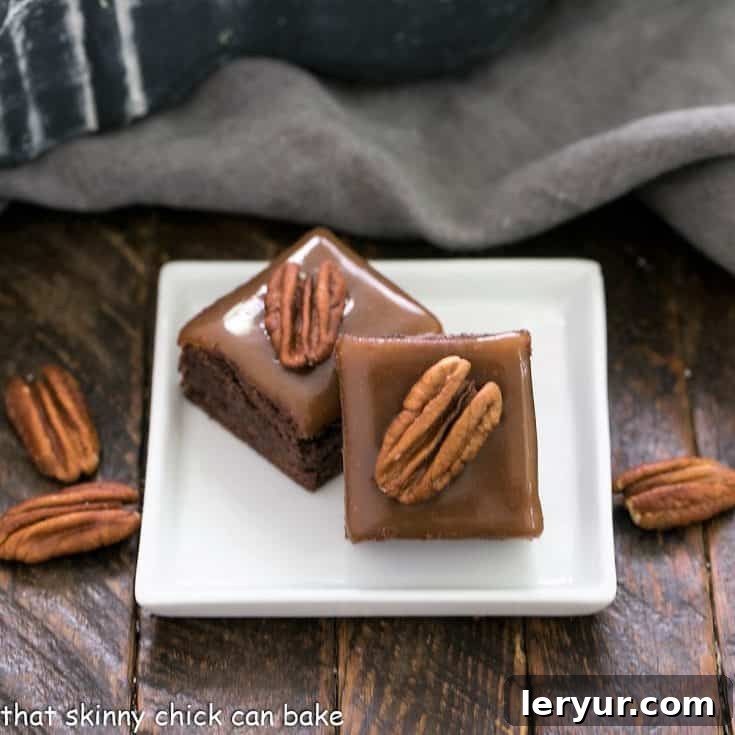
- To serve these magnificent treats, use the foil handles to carefully lift the chilled brownies from the pan. Remove the foil and place the brownie slab on a cutting board. Using a hot, dry knife (refer to the FAQ for cutting tips), cut the brownies into 25 neat pieces. Top each individual brownie with a toasted whole pecan half for a beautiful presentation and added crunch.
Chef’s Notes & Storage Tips
Achieving the perfect caramel texture is key. Always use an accurate candy thermometer. If you’re ever unsure about its calibration, test it in a pan of vigorously boiling water—it should read 100°C (212°F). If it reads differently, adjust your target caramel temperatures accordingly.
A common pitfall is not cooking the caramel sauce to the correct temperature. If you don’t bring the caramel to precisely 360°F (182°C), it will likely be too runny and won’t set properly, resulting in a messy rather than layered brownie.
Store these decadent Turtle Brownies in an airtight container in the refrigerator to maintain their freshness and structure. For the cleanest cuts and best experience, always cut the chilled brownies just before you plan to serve them. This helps ensure the caramel remains firm and doesn’t get too soft, especially if your kitchen is warm.
Recommended Baking Tools
As an Amazon Associate and member of other affiliate programs, I earn from qualifying purchases.
- Small Offset Spatula
- 4 Quart All Clad Sauce Pan
- Nonstick Foil
- 9 x 9-inch Baking Pan
- Pyrex Measuring Cups
- Deep Frying Thermometer
Nutrition Information:
Yield:
25
Serving Size:
1 brownie
Amount Per Serving:
Calories: 202Total Fat: 10gSaturated Fat: 6gTrans Fat: 0gUnsaturated Fat: 4gCholesterol: 30mgSodium: 87mgCarbohydrates: 28gFiber: 1gSugar: 23gProtein: 2g
HOW MUCH DID YOU LOVE THIS RECIPE?
Please leave a comment on the blog or share a photo on Pinterest