
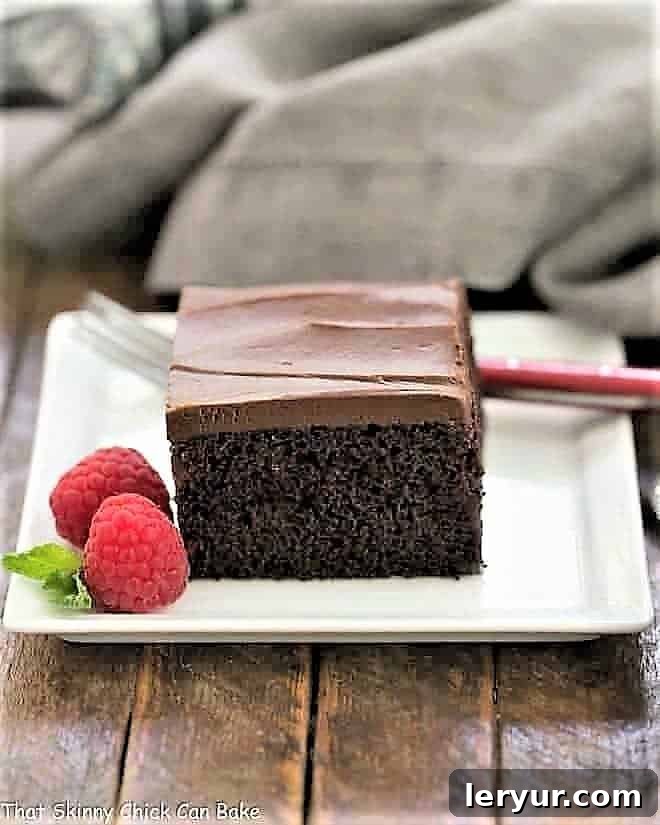
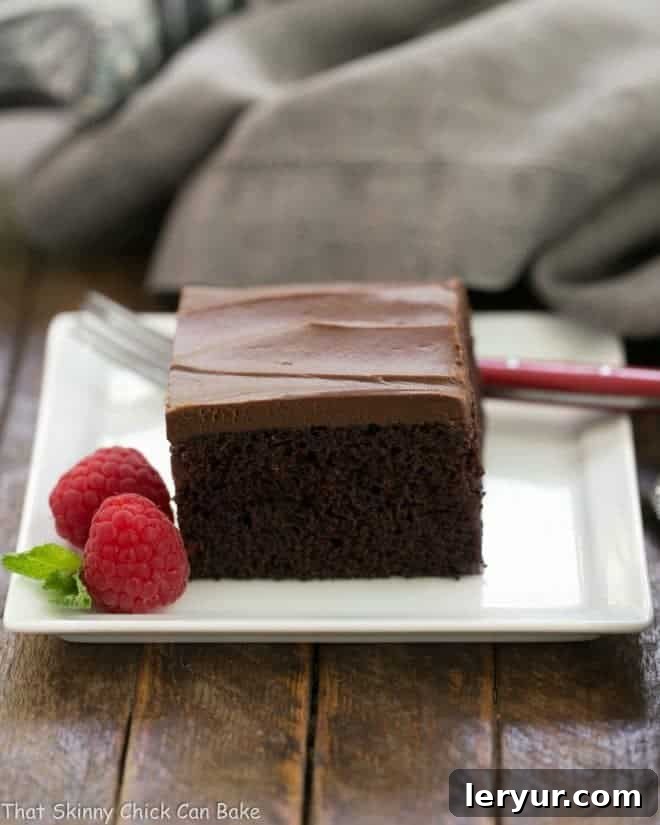
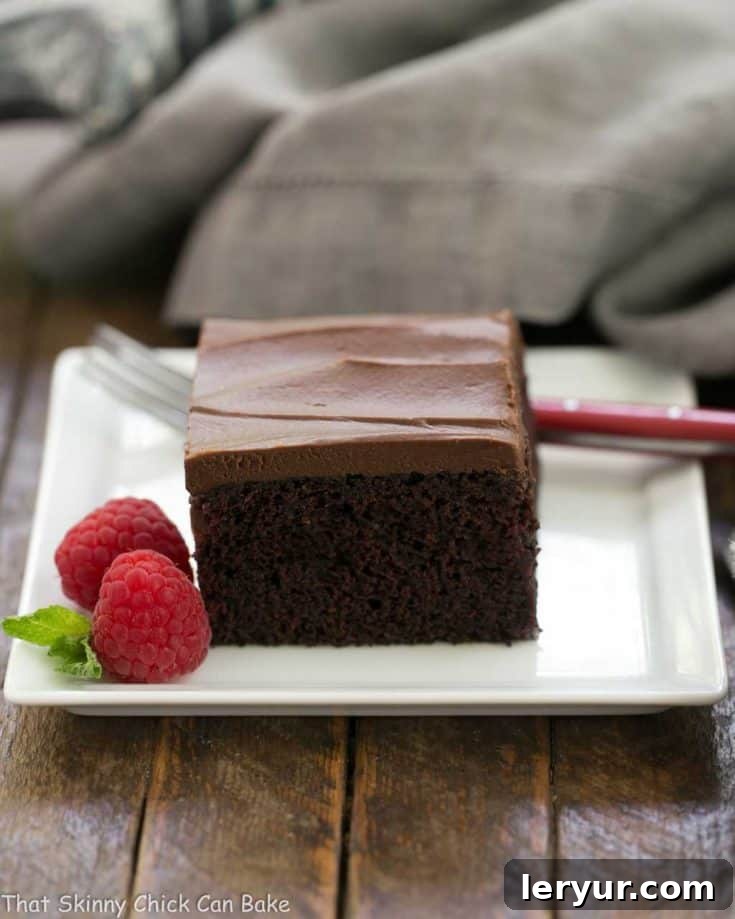
Indulge in the rich, moist, and utterly decadent experience of this Black Magic Cake, crowned with a velvety smooth chocolate buttercream frosting. Baked conveniently in a 9×13-inch pan, this delightful dessert is a perfect companion for any gathering, from casual family dinners to lively picnics and potlucks, offering both ease of transport and universal appeal.
Life can be wonderfully chaotic, and sometimes, the simplest pleasures bring the greatest joy. Amidst home renovations, I found myself craving a straightforward yet spectacular treat. This “Black Magic Cake” recipe, requiring just two bowls for preparation, proved to be an absolute triumph for me and a beloved hit with my family. It’s the kind of uncomplicated chocolate cake that delivers profound satisfaction every single time.
The Irresistible Allure of Black Magic Cake
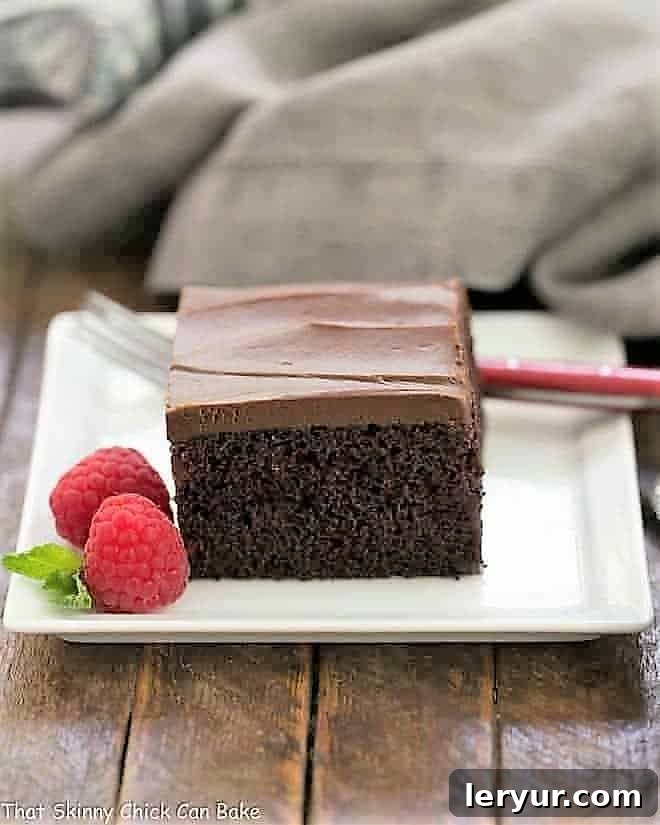
The “Black Magic Cake” boasts a storied legacy, with its origins tracing back to the kitchens of Hershey’s. This time-honored recipe has captivated generations with its deep chocolate flavor and remarkably moist crumb. What truly sets it apart is the ingenious inclusion of strong black coffee, which doesn’t impart a coffee flavor but rather acts as a secret weapon, intensifying the chocolate notes to an extraordinary degree. This 9×13-inch sheet cake version makes for the ultimate snack cake, offering a generous, yet manageable, serving size perfect for everyday indulgence.
Forget the fuss of elaborate layer cakes; a slice of this old-fashioned chocolate buttermilk cake is a delightful after-school surprise or an elegant after-dinner treat. Its single-layer format, generously slathered with luscious chocolate buttercream, provides all the decadence without being overly heavy or complex. It’s an ideal choice for those seeking a rich chocolate experience that feels both comforting and special, yet remains lighter than a towering, frosting-laden multi-tiered cake.
Beyond its incredible taste and texture, the sheer simplicity of this recipe is another compelling reason to make it a staple in your baking repertoire. It truly isn’t much harder than preparing a cake from a box mix. You’ll only need one bowl for the cake batter and another for the frosting, streamlining the cleanup process and making baking a joyful, stress-free endeavor. This ease of preparation means you can whip up this magical dessert even on your busiest days.
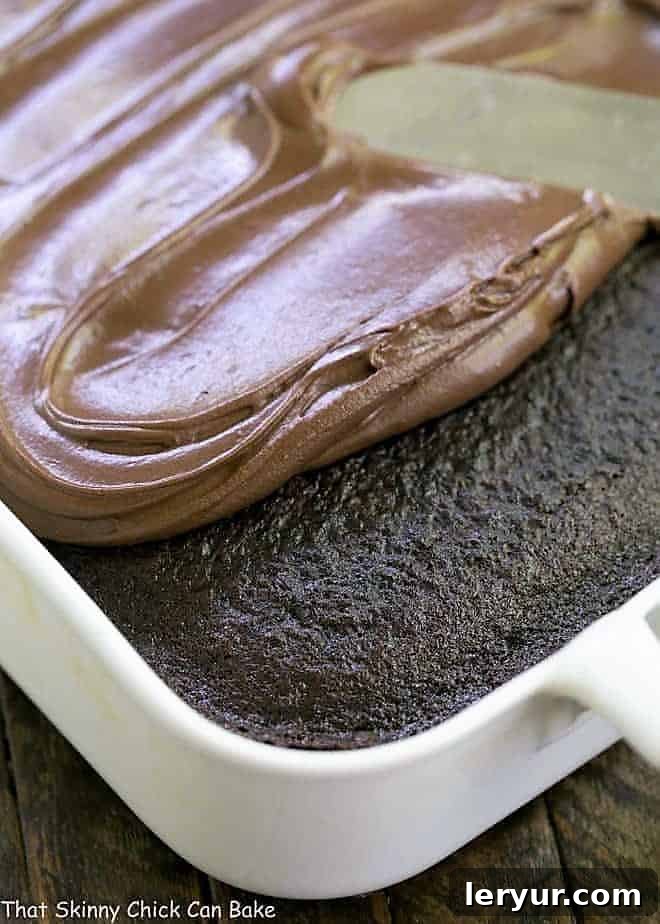
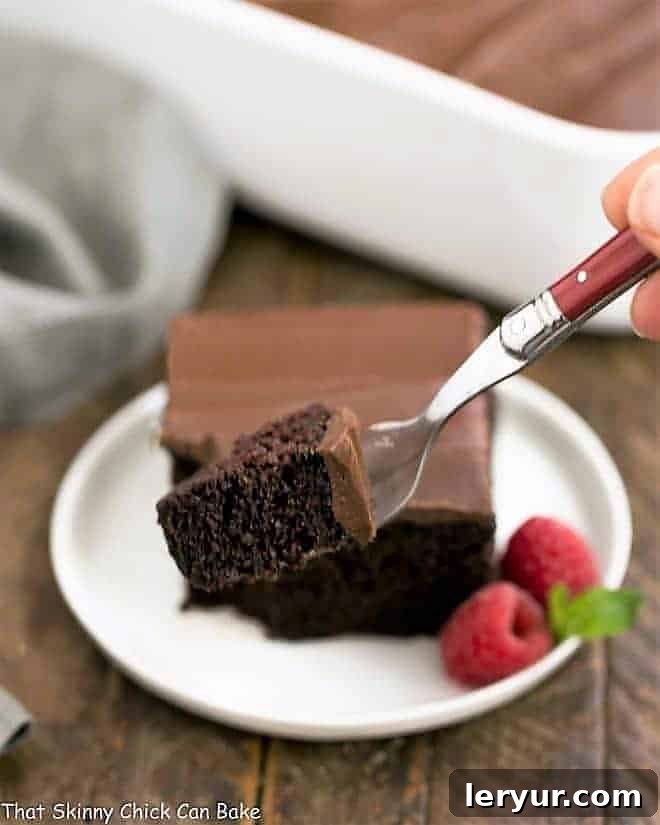
The magic continues with buttermilk, a pivotal ingredient that works wonders in achieving the cake’s signature tender crumb and exquisite moisture. Buttermilk reacts with the baking soda, creating tiny air pockets that contribute to a light, fluffy texture that melts in your mouth. And let’s talk about that frosting! A quick glance at any photo of this cake will show you why the frosting bowl is often the first thing people want to lick clean. The chocolate buttercream is not just smooth; it’s silken, rich, and utterly luxurious, providing the perfect counterpoint to the deeply flavored cake.
What Our Readers Are Saying:
The rave reviews speak for themselves! One enthusiastic reader shared, “Made this cake last night and took some to my friend who cuts my hair. She just sent me a text ‘Holy hell!!! I swear on my son’s life that is the best cake I have EVER had!'” Such endorsements highlight the cake’s truly unforgettable quality and its ability to impress even the most discerning palates.
Essential Ingredients for Your Black Magic Cake
Creating this extraordinary chocolate cake begins with selecting the right ingredients. While many are common kitchen staples, paying attention to a few key details will elevate your baking results to perfection. Remember, the quality of your ingredients directly impacts the final flavor and texture of your cake.
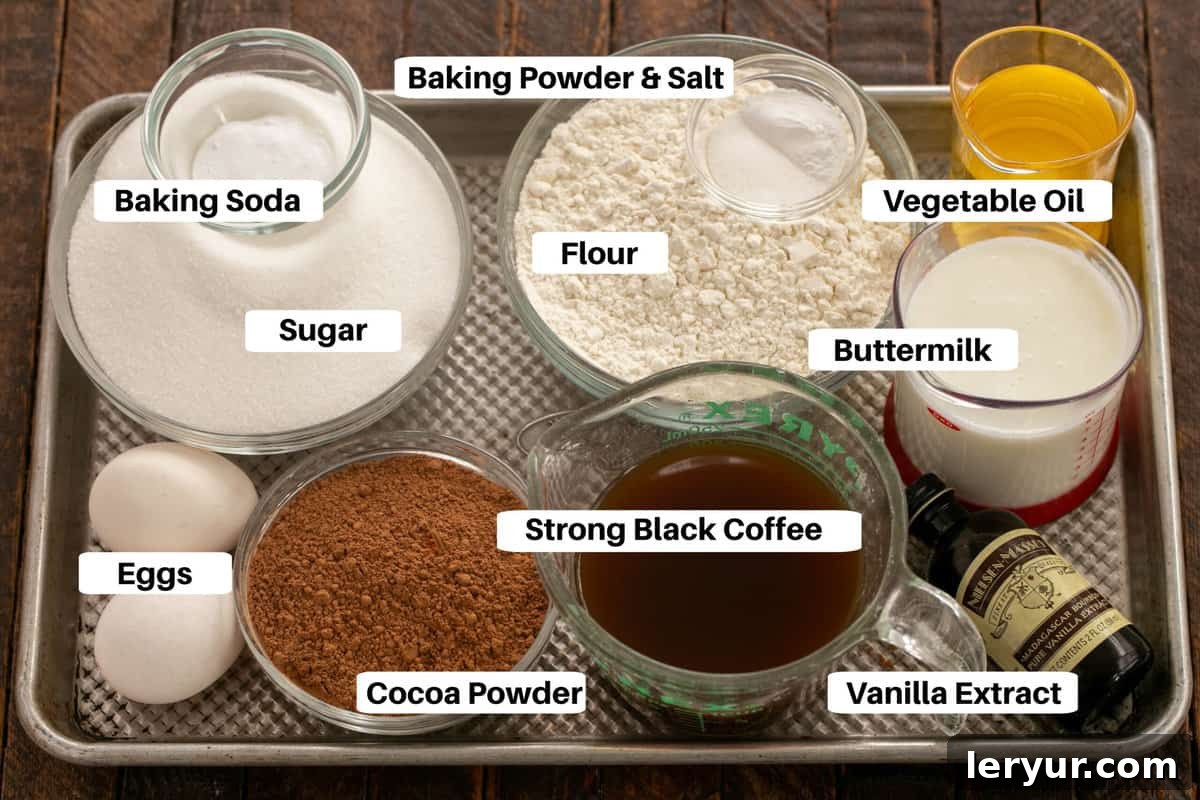
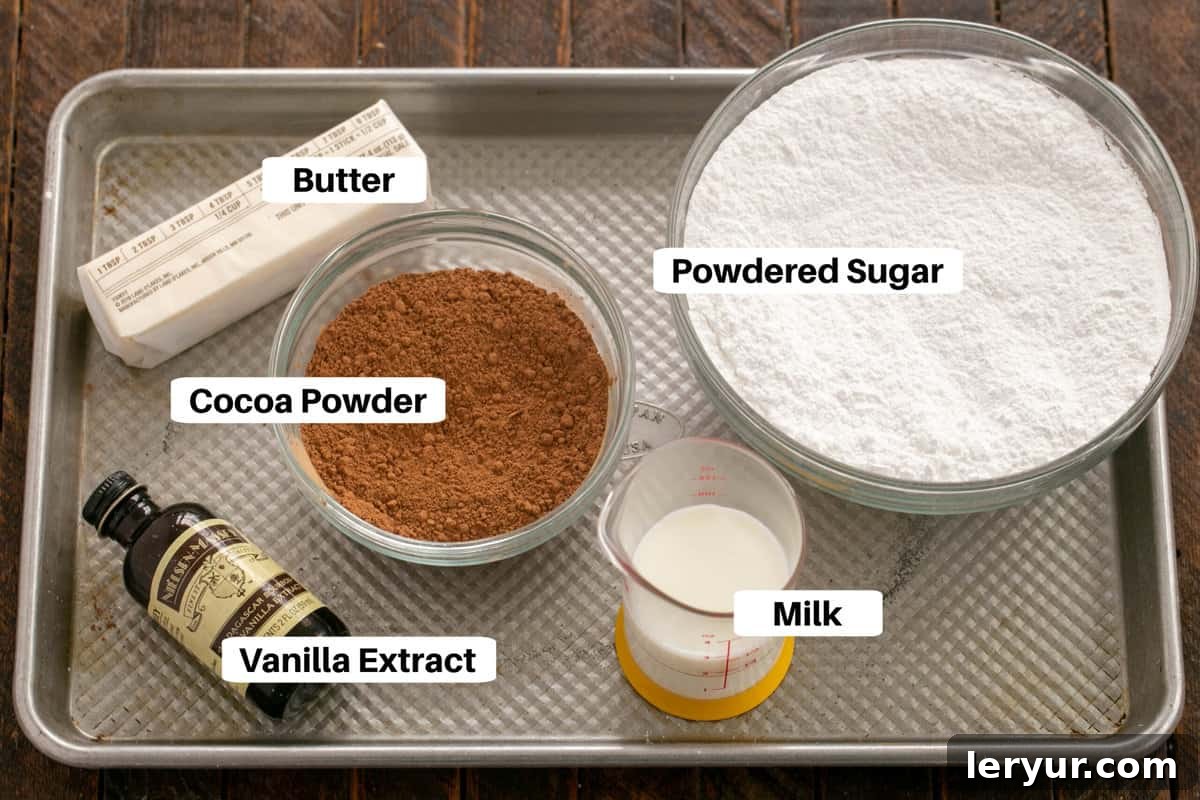
- Kitchen Staples: You’ll need granulated sugar, all-purpose flour, baking soda, salt, vegetable oil, unsalted butter, and milk. These form the fundamental structure and base flavor of both the cake and its frosting.
- Unsweetened Cocoa Powder: For the deepest, richest chocolate flavor, opt for a high-quality unsweetened cocoa powder. I personally favor the Ghirardelli brand for its consistent excellence, but any good quality cocoa will yield delicious results. This is crucial for the cake’s “black magic” depth.
- Baking Powder: This recipe calls for both baking soda and baking powder. While baking soda is frequently used and has a longer shelf life, baking powder tends to expire more quickly, often before the entire container is used. Always check the expiration date on your baking powder before you begin. To be absolutely sure it’s active, place a spoonful in a cup of very hot water; if it bubbles vigorously, it’s fresh and ready to work its magic. If not, replace it to ensure your cake rises beautifully.
- Large Eggs: Always use large eggs for consistent baking results. Bringing them to room temperature before mixing is a simple yet effective step. Room temperature eggs emulsify more easily with other ingredients, creating a smoother, more uniform batter and contributing to a better overall texture and rise in your cake. Take them out of the refrigerator an hour or two before you plan to bake, or quickly warm them in a bowl of warm water for about 10-15 minutes.
- Buttermilk: This ingredient is key to the cake’s tender crumb and moistness. If you find yourself without a carton of buttermilk, don’t despair! You can easily make a substitute at home. Simply pour 2 tablespoons of white vinegar or lemon juice into a 2-cup liquid measuring cup, then fill the rest of the way to the 2-cup mark with regular milk. Let it sit for 5-10 minutes until it visibly thickens and curdles slightly. Stir it well before measuring and adding it to your batter.
- Vanilla Extract: For the best flavor, always use real vanilla extract. Artificial vanilla flavoring simply cannot compare to the depth and warmth that pure vanilla brings to chocolate desserts. I keep the Nielsen-Massey brand on hand for its exceptional quality, but any reputable brand of pure vanilla extract will suffice.
Baking Your Black Magic Cake: A Step-by-Step Guide
Creating this delightful Black Magic Cake is a straightforward process, ensuring a perfectly moist and flavorful result every time. Follow these simple steps for a baking experience that’s as enjoyable as the cake itself.
Mastering Your Black Magic Cake: Expert Baking Tips
Achieving a perfectly moist and flavorful Black Magic Cake is simple with a few expert tips. These insights will help you navigate the baking process, ensuring your cake turns out flawlessly every time.
- Temperature Matters: Always ensure your eggs and buttermilk are at room temperature before mixing. This seemingly small detail makes a significant difference. Room temperature ingredients emulsify more effectively, leading to a smoother, more uniform batter and a cake with a finer, more tender crumb and better rise. Simply take them out of the refrigerator about an hour before you plan to bake. For a quicker warm-up, place eggs in a bowl of warm water for 10-15 minutes.
- DIY Buttermilk for the Win: If you realize you’re out of buttermilk, there’s no need to rush to the store. You can easily make a homemade substitute. Add 1 tablespoon of lemon juice or white vinegar to a liquid measuring cup, then fill the rest of the way to the 1-cup mark with regular milk. Let it sit for 5-10 minutes. The acid will slightly curdle and thicken the milk, creating a perfect buttermilk stand-in. This reaction is crucial for the cake’s tender texture.
- Perfect Pan Preparation: To prevent your cake from sticking, always prepare your baking pan meticulously. Grease the pan thoroughly with butter or cooking spray, then lightly dust it with flour. Tap out any excess flour. For an even easier method, use a baking spray that contains both flour and oil, like Baker’s Joy. This ensures a clean release and a beautifully intact cake.
- The Power of Oil: You might notice this recipe uses vegetable oil instead of butter in the cake batter. This is intentional! Oil contributes to an exceptionally moist cake because, unlike butter, it’s 100% fat and remains liquid at room temperature. This helps keep the cake tender and moist for longer, giving it that characteristic “snack cake” appeal.
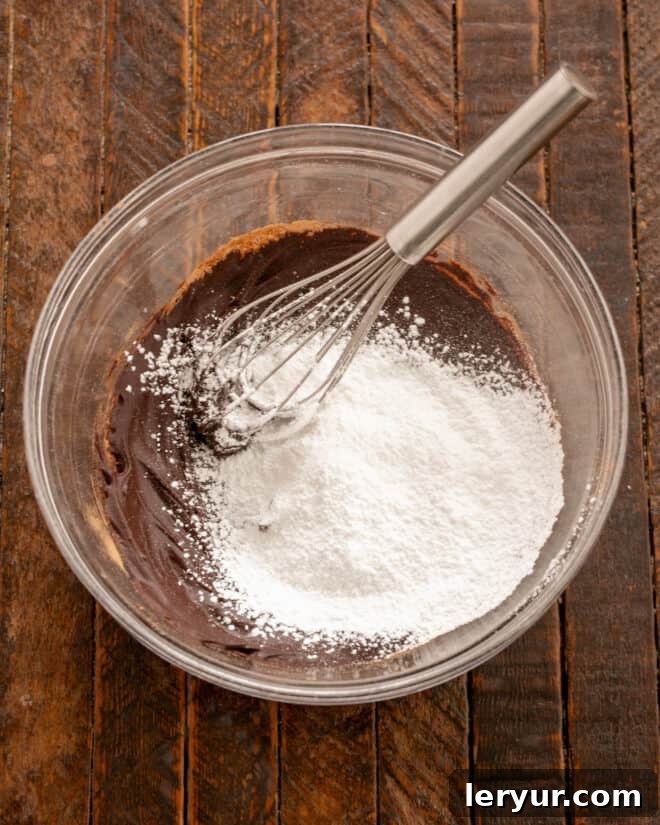
- For the Smoothest Frosting: To achieve a truly silky, lump-free chocolate buttercream, sifting your powdered sugar is a non-negotiable step. Powdered sugar tends to clump easily, and sifting ensures a uniform, smooth consistency that spreads beautifully over your cake.
- Check Your Leaveners: Since this recipe uses both baking soda and baking powder, it’s vital that both are active. While baking soda generally has a longer shelf life, baking powder often expires before it’s fully used. Always check the expiration date. If it’s within a month or two, or if you’re unsure, test its activity: place a spoonful in a cup of very hot water. If it bubbles vigorously, it’s good to go! Inactive leaveners can lead to a dense, flat cake.
- Don’t Overmix: After combining the wet and dry ingredients, beat the batter only until just smooth, typically for about 2 minutes as directed. Overmixing develops the gluten in the flour, which can lead to a tough, dry cake.
- Cool Completely: Resist the urge to frost a warm cake! Frosting a warm cake will cause the buttercream to melt and slide right off. Allow your cake to cool completely on a wire rack before applying the frosting for the best results.
Versatile Baking Tools & Pan Options
One of the beauties of the Black Magic Cake recipe is its adaptability to various pan types, making it suitable for any occasion. While the original recipe is designed for a 9×13-inch snack cake, you can easily transform it into a stunning Bundt cake, elegant layer cakes, or individual cupcakes. All variations are baked at 350°F (175°C), but baking times will vary to accommodate the different sizes and shapes.
- For a classic 12-Cup Bundt Pan, bake for approximately 50-55 minutes. The intricate design of a Bundt pan makes for a beautiful presentation with minimal effort.
- If you prefer a more formal presentation, divide the batter between two 9-inch Round Cake Pans. Bake these for about 30-35 minutes. This option is perfect for creating a stunning two-layer cake.
- For individual servings, transform the batter into 24 Cupcakes. These will bake much faster, typically in 20-25 minutes. Cupcakes are ideal for parties, lunchboxes, or simply portion control.
- And of course, for the traditional and easy-to-share option, use a 9 x 13-inch Cake Pan, baking for 35-40 minutes. This size is unbeatable for potlucks, picnics, and family gatherings, allowing for easy slicing and serving.
Frequently Asked Questions About Black Magic Cake
While the cake might not be truly pitch-black, its intensely dark chocolate hue and profound flavor certainly make it deserving of the “Black Magic” moniker. The rich cocoa and strategic use of coffee create a deep, almost mystical chocolate experience that truly feels magical on the palate. If you wish to achieve an even darker cake, some bakers opt for black cocoa, a Dutch-processed cocoa powder. However, using black cocoa requires careful adjustment of leavening agents due to its different acidity. A simpler approach is to substitute ¼ cup or less of the regular cocoa powder with black cocoa to enhance the intensity without altering the recipe too dramatically.
The inclusion of strong black coffee in this chocolate cake recipe is a brilliant culinary secret. Coffee doesn’t make the cake taste like coffee or a mocha dessert; instead, it acts as a powerful flavor enhancer. The robust notes of coffee deepen and amplify the natural chocolate flavor, making it taste richer and more intense without adding any discernible coffee taste. Even if you’re not a coffee enthusiast, rest assured that its addition is so subtle it’s practically indistinguishable, simply serving to elevate the chocolate to its peak.
This iconic recipe originates from the Hershey’s kitchens, a testament to their mastery of chocolate-based desserts. Hershey’s version is traditionally made in a Bundt pan and is renowned for its consistent popularity and an impressive track record of almost exclusively 5-star reviews, cementing its status as a beloved classic among bakers worldwide.
To maintain its freshness and moisture, store the Black Magic Cake at room temperature in an airtight container for up to 3-4 days. If your kitchen is particularly warm, or if you prefer a firmer frosting, you can refrigerate it. Just be sure to bring it back to room temperature before serving for the best texture and flavor.
Yes, this cake freezes beautifully! For best results, allow the cake to cool completely, then frost it. Once frosted, place the cake (uncovered) in the freezer for about an hour until the frosting is firm. Then, wrap the cake tightly in plastic wrap and a layer of aluminum foil. It can be frozen for up to 2-3 months. Thaw overnight in the refrigerator, then bring to room temperature before serving.
Explore More Chocolate Delights:
- For another irresistible chocolate creation, try the Gooey Upside Down German Chocolate Cake from TidyMom, a twist on a classic.
- If you’re intrigued by unique ingredients, my Chocolate Mayonnaise Cake offers an incredibly moist and rich experience.
- And for a crowd-pleasing, easy-to-make option, don’t miss the Fudgy Chocolate Sheet Cake.
- Enhance your baking skills with my comprehensive Best Baking Tips, packed with advice for perfect desserts every time.
- Plus, explore a wide array of Chocolate Recipes and delightful Cake Recipes on the blog for endless inspiration.
Note: This post may contain affiliate links; please view my Disclosure Policy for full details. I earn a small percentage from any purchase you make by clicking on these links, at no extra cost to you.
Stay in touch through social media! Find me @ Instagram, Facebook, and Pinterest. Don’t forget to tag me when you try one of my recipes! If you love the results, please consider leaving a 5-star rating in the recipe card below.
The Recipe:
Black Magic Snack Cake
30 minutes
40 minutes
1 hour 10 minutes
24 servings
A one-layer chocolate cake that’s super moist and perfect for picnics, potlucks, and family gatherings!
Rated 4.9 out of 5 stars based on 31 reviews.
Ingredients
Cake:
- 2 cups granulated sugar
- 1 ¾ cups all-purpose flour
- ¾ cup unsweetened cocoa powder
- 2 teaspoons baking soda
- 1 teaspoon baking powder
- 1 teaspoon salt
- 2 large eggs
- 1 cup buttermilk
- 1 cup strong black coffee
- ½ cup vegetable oil
- 1 teaspoon pure vanilla extract
Frosting:
- ⅔ cup unsweetened cocoa powder
- ½ cup (1 stick) unsalted butter, melted
- 3 cups powdered sugar, sifted
- ⅓ cup milk
- 1 teaspoon pure vanilla extract
Instructions
- Preheat oven to 350°F (175°C).
- Grease and flour one 13 x 9 x 2-inch baking pan.
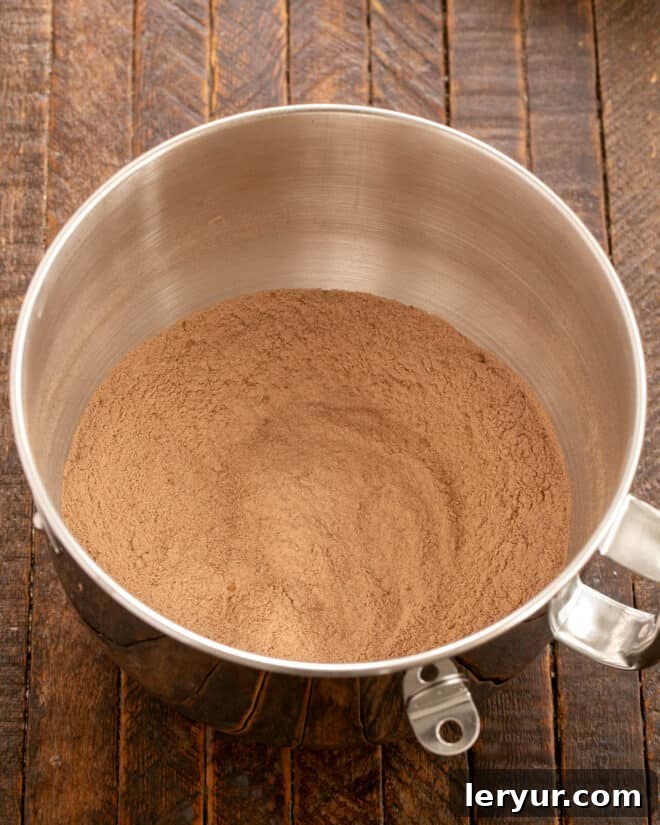
- In a large bowl, whisk together the sugar, flour, cocoa, baking soda, baking powder, and salt.
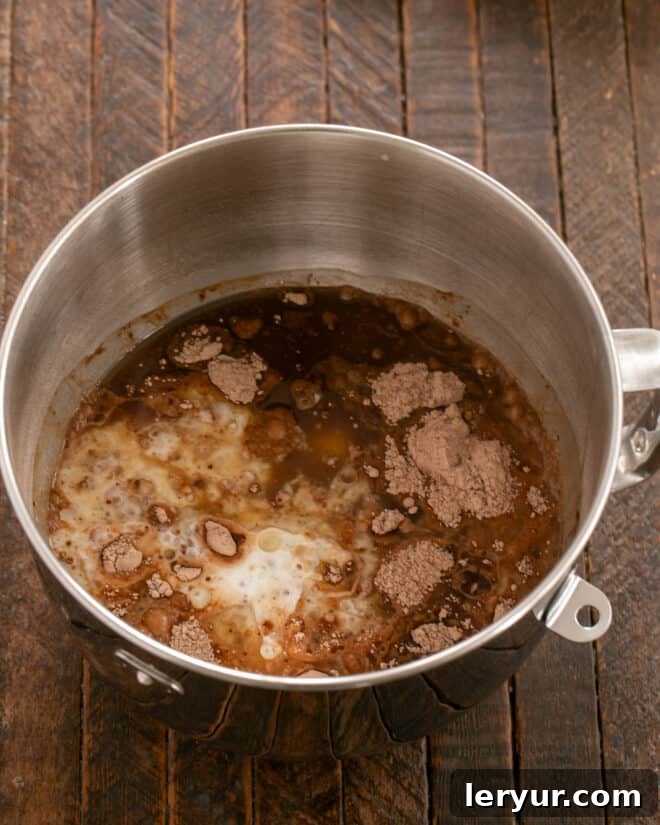
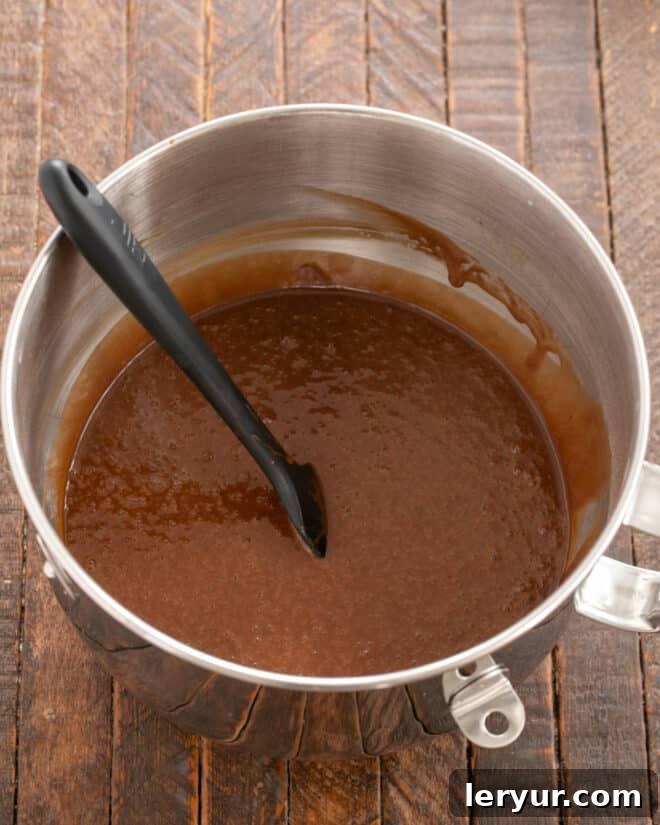
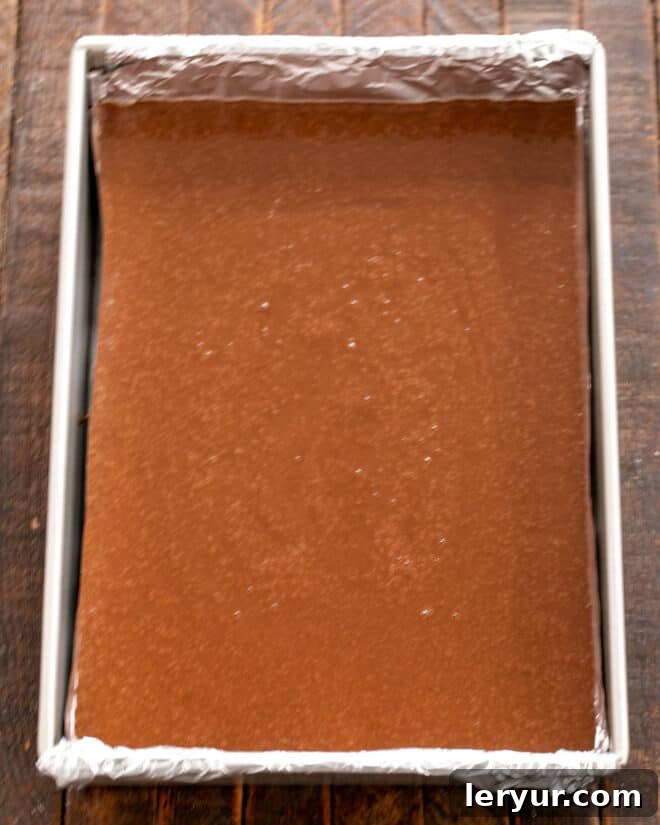
- Add the room temperature eggs, buttermilk, strong coffee, vegetable oil, and vanilla extract to the dry ingredients. Beat on medium speed of a mixer for 2 minutes until the batter is smooth. (Note: The batter will be thin.)
- Pour the batter evenly into the prepared baking pan.
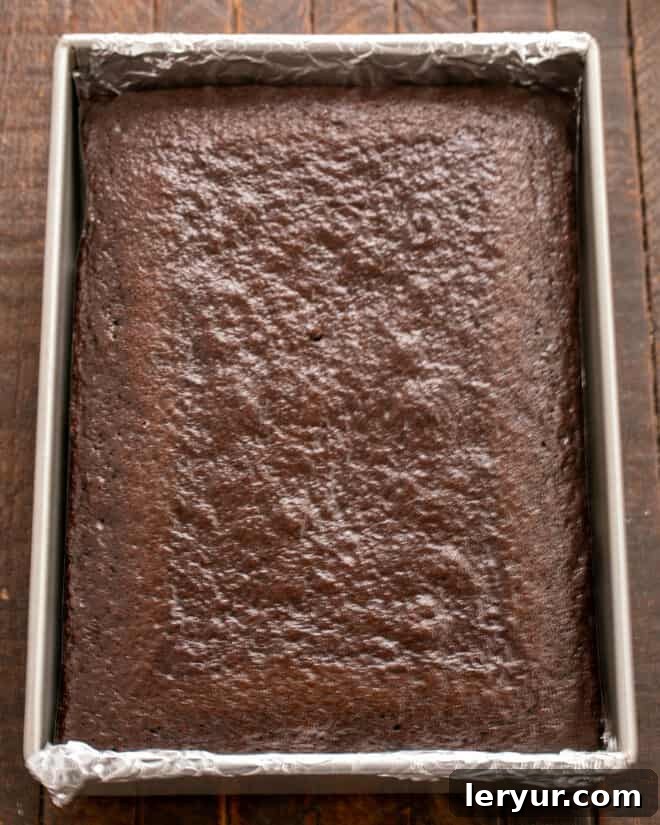
- Bake for 35 to 40 minutes, or until a wooden pick inserted into the center of the cake comes out clean.
- Remove from the oven and cool completely on a wire rack before frosting.
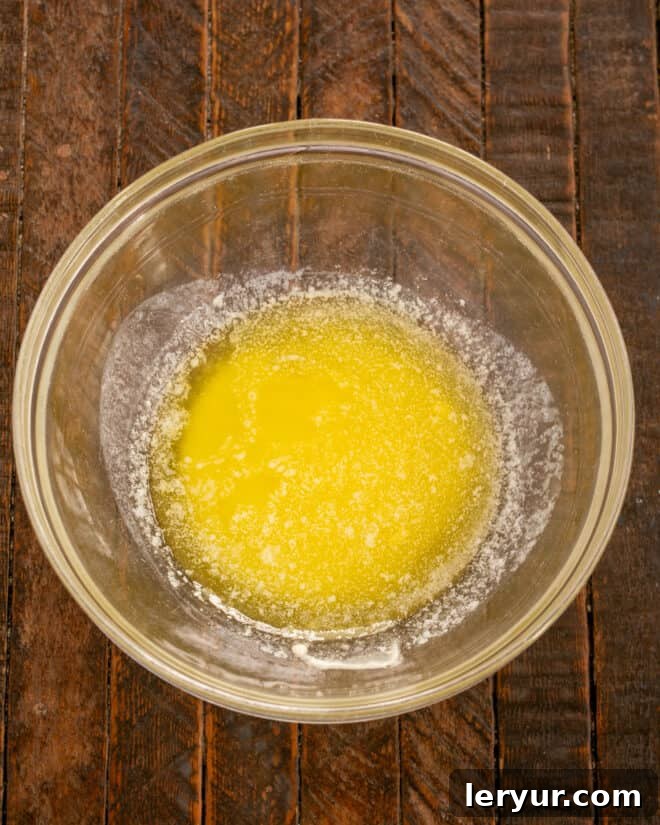
- To make the frosting: First, melt the butter in a medium bowl.
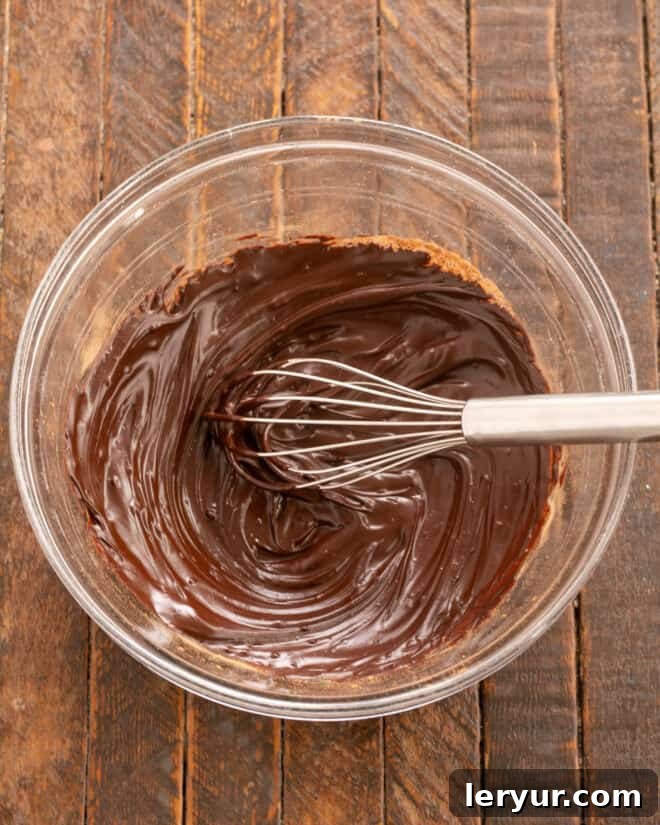
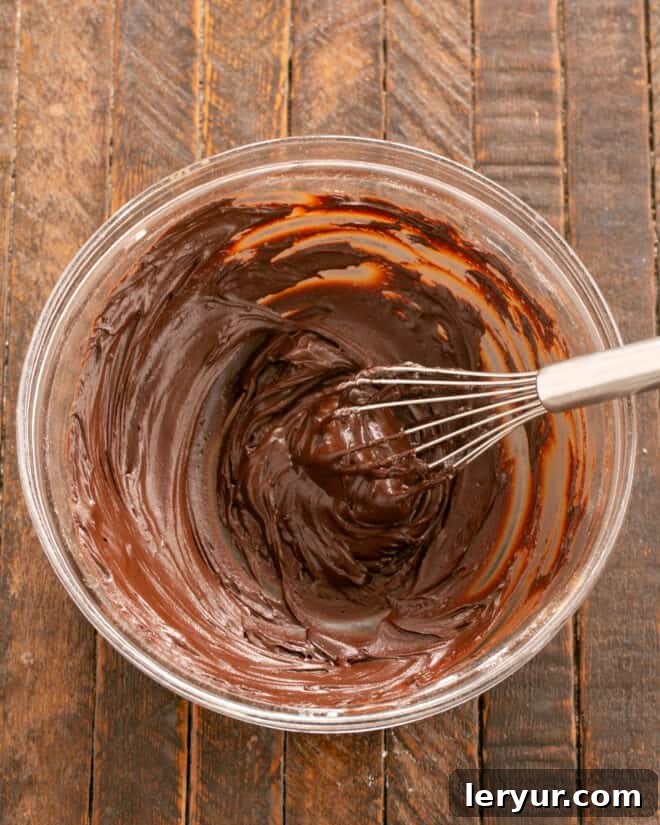
- Stir in the cocoa powder until well combined with the melted butter.
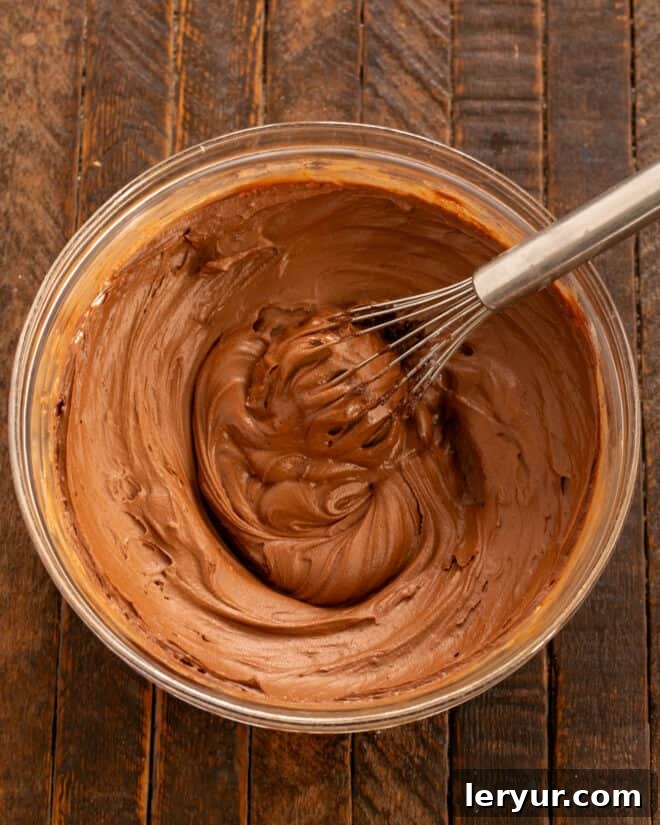
- Alternately add the sifted powdered sugar and milk to the cocoa-butter mixture, beating well after each addition until a smooth, spreading consistency is achieved.
- If needed, add a small amount of additional milk (1 teaspoon at a time) to reach your desired frosting consistency.
- Stir in the vanilla extract until fully incorporated.
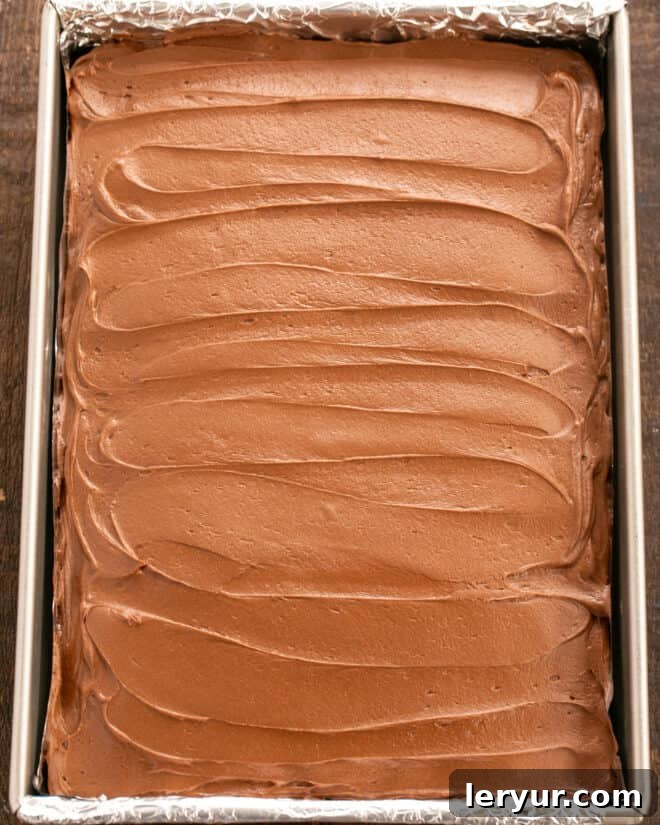
- Once the cake is completely cooled, spread the luscious chocolate buttercream evenly over the top. Slice and serve!
Notes
Cake recipe adapted from Hershey’s.
The frosting recipe makes about 2 cups, which is ample for a 9×13-inch cake.
Recommended Products
As an Amazon Associate and member of other affiliate programs, I earn from qualifying purchases.
- Set of Glass Mixing Bowls
- KitchenAid 9-Speed Digital Hand Mixer
- 9 x 13 Baking Pan
Nutrition Information:
Yield:
24
Serving Size:
1 slice
Amount Per Serving:
Calories: 224Total Fat: 6gSaturated Fat: 1gTrans Fat: 0gUnsaturated Fat: 4gCholesterol: 16mgSodium: 241mgCarbohydrates: 41gFiber: 1gSugar: 31gProtein: 3g
HOW MUCH DID YOU LOVE THIS RECIPE?
Please leave a comment on the blog or share a photo on Pinterest!