
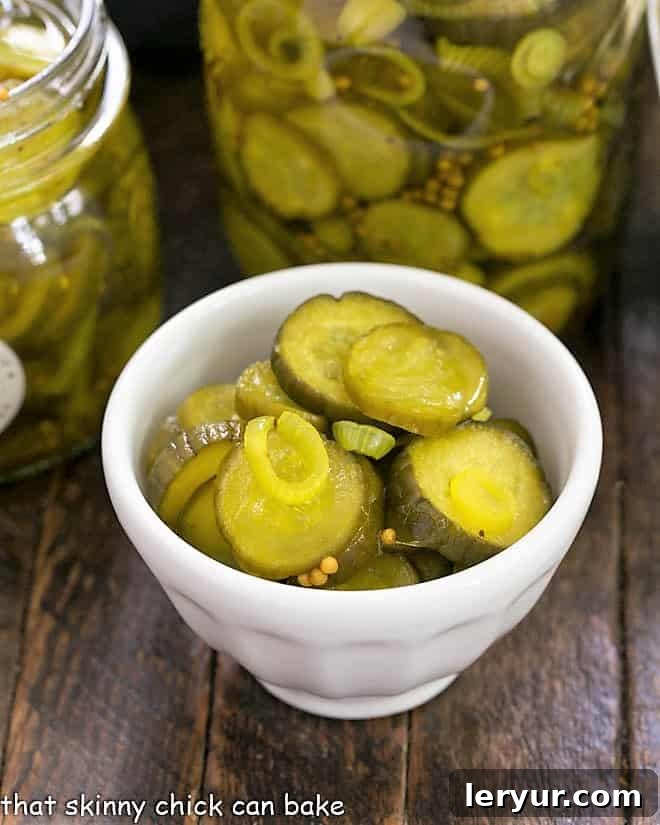
Discover the ultimate guide to making irresistible Bread and Butter Pickles right in your own kitchen! These easy-to-make Refrigerator Pickles capture the nostalgic flavor of homemade goodness, just like Grandma used to make, but without the fuss and specialized equipment of traditional canning. Get ready to enjoy perfectly sweet, tangy, and crunchy pickles in no time!
If you’ve ever dreamt of crafting your own sweet pickles but felt intimidated by the full-fledged canning process, you’ve come to the right place. This straightforward recipe for homemade sweet pickles is designed for beginners and seasoned picklers alike, offering a simple, no-stress approach to achieving delicious results. Forget complex sterilization steps; with this method, you’ll be enjoying your fresh batch of pickles much sooner and with minimal effort.
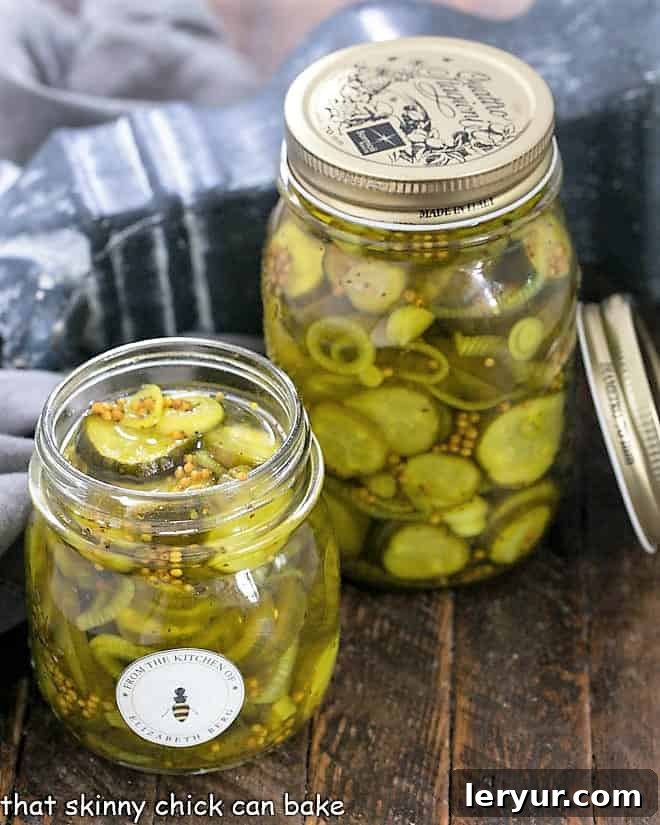
Why Our Readers Rave About These Refrigerator Pickles:
Our community loves these pickles for their authentic taste and incredible ease. Here’s what one happy pickler had to say:
From Vermaast via Pinterest: “I made 24 pints of these Bread and Butter Pickles, and they came out great. They are delicious.”
Join the chorus of satisfied home cooks who have embraced this simple recipe. These pickles aren’t just easy; they’re a crowd-pleaser that brings a burst of flavor to any meal or snack.
Why You Absolutely Need to Make These Easy Bread and Butter Pickles
There are countless reasons to whip up a batch of these fantastic refrigerator pickles. Beyond their incredible taste, they offer a convenient and rewarding experience:
- **Beginner-Friendly:** If you’re new to the world of pickling, this recipe is your perfect starting point. It requires no specialized canning equipment or complicated processing, making it accessible for everyone.
- **Unbeatable Flavor:** These pickles are delightfully sweet, perfectly tangy, and infused with aromatic spices, delivering a taste that’s both classic and incredibly satisfying. They hit that ideal balance that makes them utterly addictive.
- **Versatile Snacking & Enhancements:** Whether you enjoy them straight from the jar, piled high on a sandwich, or as a crunchy addition to a vibrant crudité platter, these homemade refrigerator pickles elevate any occasion. Their crisp texture and unique flavor make them an excellent accompaniment to a variety of dishes.
- **Freshness You Can Taste:** Making your own pickles allows you to control the ingredients, ensuring you use only the freshest cucumbers and natural spices. The result is a vibrant, fresh-tasting pickle far superior to most store-bought varieties.
- **Cost-Effective:** Especially during peak cucumber season, making your own pickles can be significantly more economical than buying gourmet brands. It’s a smart way to enjoy a high-quality product without breaking the bank.
- **Impress Your Guests:** Serve these at your next gathering and watch them disappear! Your friends and family will be impressed by your homemade touch and the delicious flavors. They also make a thoughtful, handmade gift.
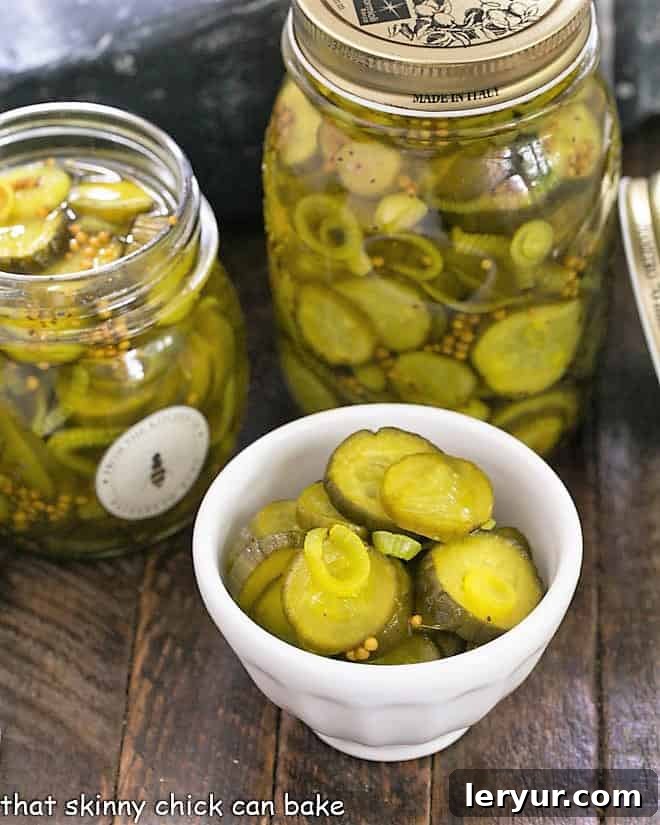
Expert Tips for Crafting Perfect Refrigerator Pickles
Even though this recipe simplifies the pickling process, a few expert tips can help you achieve the best possible results. If you appreciate the convenience of avoiding the full canning routine, these bread and butter refrigerator pickles are truly a game-changer! While the entire process still involves a few hours, much of that is hands-off time. Get ready for some happy preserving!
Buying and Prepping Your Cucumbers for Pickling
- **Select the Freshest Cucumbers:** The foundation of great pickles starts with great cucumbers. Always opt for the freshest, firmest, and unblemished cucumbers you can find. Avoid any with soft spots, wrinkles, or visible damage, as these can affect the texture and longevity of your pickles.
- **Choose Pickling Cucumbers:** For the ideal bread and butter pickles, look for specific pickling cucumber varieties. These are typically smaller, firmer, and have thinner skins compared to the larger slicing cucumbers often used in salads. Varieties like Kirby or Gherkin are excellent choices due to their crisp texture and ability to absorb the pickling brine beautifully.
- **Proper Washing:** Before starting the brining process, thoroughly wash your cucumbers under cold running water. It’s crucial to remove any dirt, pesticide residues, or contaminants without using soap, which can leave an unwanted residue and flavor. A soft brush can be helpful for scrubbing off any stubborn grime.
- **Consistent Slicing:** Uniformly slice your cucumbers (and onions). This ensures that they pickle evenly and have a consistent texture in every bite. A mandoline slicer can be incredibly helpful for achieving perfectly even slices, or a sharp knife and a steady hand will do the trick.
Mastering the Pickling Process for Optimal Flavor
- **The Essential Brine:** The initial step involves heavily salting your cucumber and onion slices and covering them with ice. This crucial brining process, typically lasting around three hours as the ice melts, draws out excess water from the vegetables. This not only intensifies their flavor but also helps maintain that desirable crisp texture, preventing soggy pickles.
- **Rinsing is Key:** After brining, a double rinse of the cucumbers and onions is absolutely necessary. This step removes the excess salt, ensuring your final pickles aren’t overly salty and allowing the sweet and tangy notes of the pickling liquid to shine. Drain them thoroughly after rinsing to remove as much water as possible.
- **The Flavorful Pickling Mixture:** Once prepped, the brined cukes and onions are added to a hot, aromatic pickling mixture. This brine typically consists of vinegar (often white vinegar for a clean taste), sugar for sweetness, and a blend of complementary spices.
- **Customizing Your Spices and Sweetness:** The beauty of homemade pickles lies in your ability to customize the flavor profile. While this recipe provides a perfect balance of vinegar, sugar, and spices, feel free to tweak it to your personal preference. For instance, if you prefer a less sweet pickle, you might slightly decrease the sugar content. Experiment with different spices like whole peppercorns, dill seeds, or a touch of red pepper flakes for a subtle kick. Remember, taste as you go and adjust to find your ideal pickle!
Proper Storage for Lasting Freshness
- **Packing and Cooling:** After the hot mixture is carefully ladled into clean jars, allow them to cool completely before securely screwing on the lids and transferring them to the refrigerator. This simple step is all it takes to prepare these delightful pickles for storage.
- **Refrigerator Lifespan:** Unlike traditionally canned pickles that undergo a sterilization process for shelf stability, these refrigerator pickles are not hermetically sealed. Therefore, they must be stored in the refrigerator and have a limited shelf life. Generally, they are best enjoyed within a couple of weeks for optimal crispness and flavor, though some sources suggest they can be good for 6-8 weeks. Always trust your senses: if the brine appears murky, develops an off-odor, or the pickles’ texture deteriorates, it’s time to discard them.
- **Share the Bounty:** If you’re fortunate enough to have a bountiful harvest of pickling-sized cucumbers from your garden, consider making an extra batch! These homemade bread and butter pickles make a wonderful gift for friends, family, and neighbors. They’ll appreciate the thoughtful, delicious homemade treat.
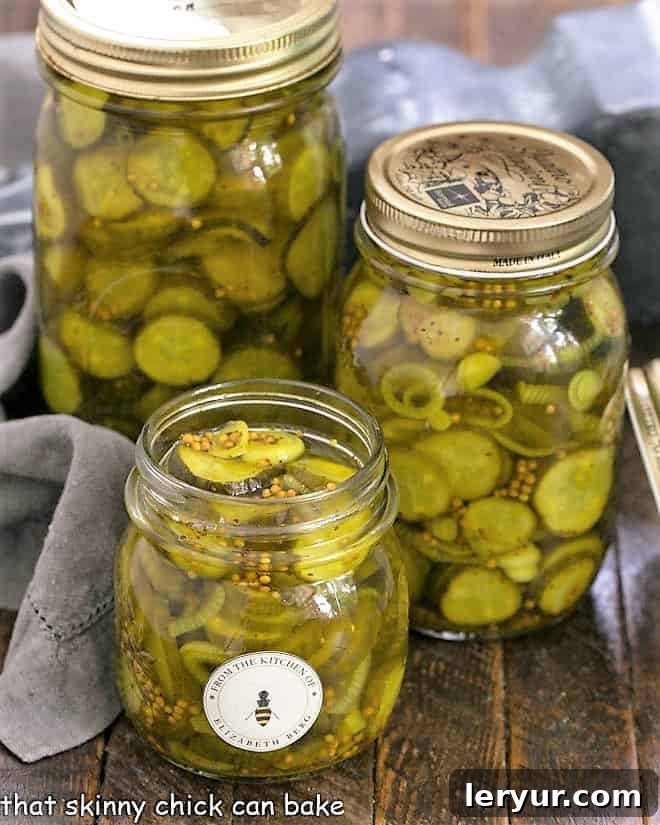
Frequently Asked Questions About Refrigerator Pickles
Refrigerator pickles are a fantastic alternative to traditional canned pickles. The key difference lies in their preparation and storage. While true canned pickles require a specific water bath or pressure canning process to achieve a hermetic seal and become shelf-stable, refrigerator pickles are simply heated at a high temperature for a shorter duration. This method sterilizes the ingredients enough for refrigeration but doesn’t create a vacuum seal, meaning they must be kept in the refrigerator and consumed within a limited timeframe. They offer all the fresh flavor without the extensive canning effort.
Bread and Butter Pickles are a beloved subclass of sweet pickles, renowned for their delightful balance of tangy, sweet, and savory flavors. Their distinctive taste comes from a brine typically made with vinegar, sugar, mustard seeds, and celery seeds, often accompanied by thinly sliced onions. The intriguing origin of their name is often attributed to the Great Depression era. During tough economic times, these humble pickles, when combined with simple bread and butter, might have served as a readily available and inexpensive sandwich filling, providing a comforting and flavorful meal.
Refrigerator pickles are best enjoyed fresh, typically keeping well for 3-4 weeks when continuously stored in the refrigerator. Their shelf life can extend up to 6-8 weeks, but the texture may soften over time. It’s important to monitor the brine; if it starts to look murky, cloudy, or develops an unusual odor, or if the pickles themselves become soft or slimy, it’s a clear sign that they should be discarded. Always ensure your pickles are fully submerged in the brine for optimal preservation.
Explore More Pickle-Inspired Recipes & Snacks
If you’ve fallen in love with the tangy goodness of these bread and butter pickles, you’ll surely enjoy these other pickle-centric and snack recipes:
- Homemade Claussen Knock-Off Pickles from Foodie with Family: A fantastic recipe for those who prefer a dill pickle with a snap.
- Kool-Aid Pickles from Tornadough Alli: For an adventurous and colorful twist on traditional pickles.
- Easy Pasta Salad with Pickle Relish: A creamy and flavorful pasta salad featuring the zesty kick of pickle relish.
- Cubano with Sliced Dill Pickles: Elevate your sandwich game with the perfect tangy accompaniment.
- Pickled Onions: A vibrant and versatile condiment perfect for tacos, salads, and more.
- Easy Dill Pickle Dip: A creamy, savory dip that’s a pickle lover’s dream come true.
- More Snack Recipes: Discover a wide array of delightful snacks to satisfy all your cravings.
Stay connected and share your culinary creations with us! Follow us on Instagram, Facebook, and Pinterest. Don’t forget to tag us when you try one of our delicious recipes! If you love the results, please consider giving it a 5-star rating in the recipe card below – your feedback means the world to us!
Note: The beautiful canning labels featured in our photos were purchased from Felix Doolittle. Keep an eye out for their sales, especially around the holidays!
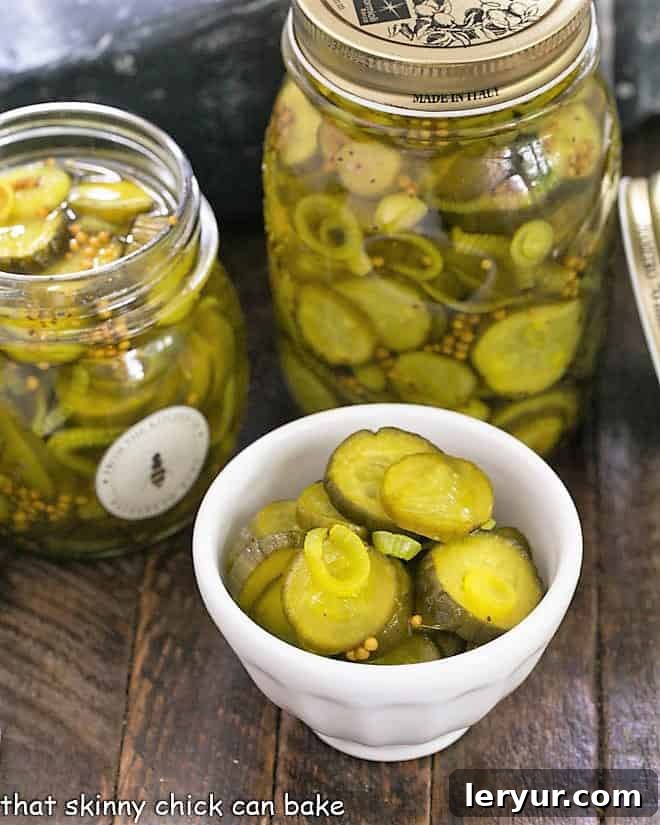
Easy Bread and Butter Pickles
15 minutes
15 minutes
30 minutes
Approx. 1 1/2 quarts (or 6 cups)
Effortlessly create delicious, sweet, and tangy refrigerator bread and butter pickles, just like the cherished homemade recipes from generations past!
Rated 4.9 out of 5 stars based on 90 reviews.
Ingredients
- 2 pounds pickling cucumbers, thinly sliced
- 8 small pearl onions, thinly sliced
- ¼ cup canning salt (important for texture)
- 2 cups granulated sugar
- 2 cups white vinegar (5% acidity)
- 1 tablespoon mustard seed (whole)
- 1 teaspoon celery seed
- ½ teaspoon ground turmeric (for color and flavor)
- A pinch of ground cloves (enhances sweetness)
Instructions
- In a large, non-reactive container, combine the sliced cucumbers, pearl onions, and canning salt. Add enough crushed ice to generously cover the vegetables and mix everything thoroughly. Let this mixture stand at room temperature for at least 3 hours. This brining step is crucial for drawing out excess water and ensuring crisp pickles. Afterwards, drain the vegetables completely, then rinse them twice under cold water and drain again very well to remove excess salt.
- While the cucumbers are brining, prepare the pickling liquid. In a large pot or Dutch oven, combine the sugar, white vinegar, mustard seed, celery seed, ground turmeric, and a pinch of ground cloves. Bring this mixture to a rolling boil over medium-high heat, stirring occasionally to dissolve the sugar.
- Once the pickling liquid is boiling, add the rinsed and drained cucumber and onion mixture to the pot. Stir gently to ensure all vegetables are submerged. Bring the entire mixture back to a boil, then immediately remove the pot from the heat. Avoid overcooking, as this can soften the pickles.
- Carefully ladle the hot pickle mixture, including the liquid and vegetables, into clean, sterilized pint or quart jars, leaving about ½ inch of headspace. Ensure the cucumbers and onions are fully submerged in the brine.
- Allow the jars to cool completely to room temperature without their lids. Once cooled, securely screw on the lids and transfer the jars to the refrigerator. For best flavor, let them sit in the refrigerator for at least 24-48 hours before enjoying. They will keep well for up to 2-3 weeks.
- If you are interested in storing these pickles for a longer, shelf-stable period, please consult a reliable canning manual or trusted canning website for detailed, safe water bath canning instructions, as this recipe is specifically for refrigerator pickles.
Notes
Since these delicious Bread and Butter Pickles are prepared using a quick, no-canning method, they are not shelf-stable. They must be stored in the refrigerator at all times and are best consumed within 2-3 weeks for optimal flavor and crispness. Enjoy the fresh taste!
A video tutorial for making these Easy Bread and Butter Pickles will be available soon!
Nutrition Information:
Yield:
24 servings (approx. 1 1/2 quarts total)
Serving Size:
1 (slice equivalent)
Amount Per Serving:
Calories: 73Total Fat: 0gSaturated Fat: 0gTrans Fat: 0gUnsaturated Fat: 0gCholesterol: 0mgSodium: 1180mgCarbohydrates: 18gFiber: 0gSugar: 17gProtein: 0g
HOW MUCH DID YOU LOVE THIS RECIPE?
Please leave a comment on the blog or share a photo on Pinterest
Each summer, a cherished tradition involved piling into our trusty, unairconditioned station wagon for the eight-hour journey north to visit our relatives in North Dakota. In those days, seat belts were a luxury, and car radios were non-existent. My dad, a man of frugality, ensured our travels were both simple and memorable! We’d pass the time by spotting our favorite farmhouses, playing license plate games as we headed up I-35. One unforgettable trip even coincided with a total eclipse of the sun, prompting us to cross the Canadian border for a truly spectacular show by Mother Nature.
More typically, our adventures with our cousins revolved around the simple joys of farm life. We’d climb into the barn lofts, spend time with the dogs and horses, and indulge in delicious homemade treats like creamy caramels and savory tacos. Among these cherished memories was helping my mom and aunt prepare batches of bread and butter pickles. While my dad always favored the sharp, garlicky taste of dill pickles, I, like my mom and her family, absolutely adored those sweet pickles, subtly flavored with mustard and celery seeds.
I distinctly recall my aunt Angela’s dedication to the full canning process for her pickles. However, for this recipe, I’ve opted for the much simpler route, creating these easy bread and butter pickles as refrigerator pickles. Back then, as a child, my primary interest lay in eating the delicious results rather than meticulously observing the preserving process. But I’m absolutely thrilled to discover how effortlessly I could replicate that exact nostalgic taste with this no-fuss method. Now, you too can capture those classic flavors and create new memories with this wonderfully easy recipe!