
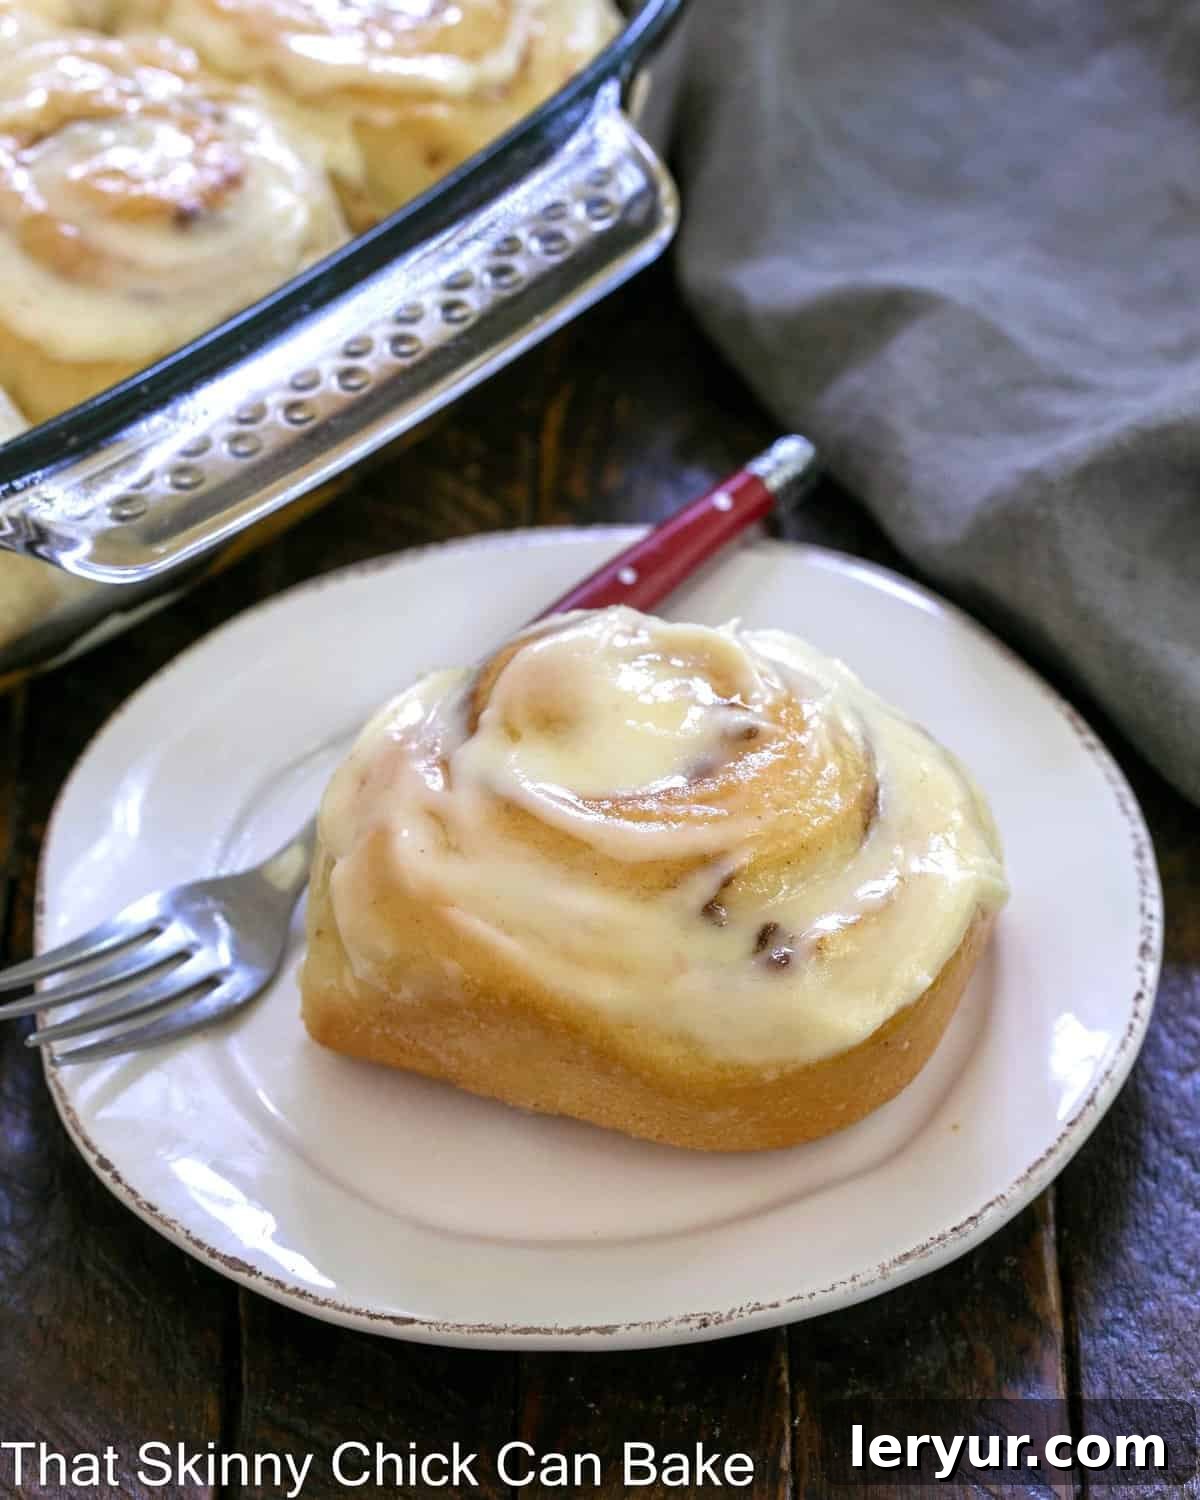
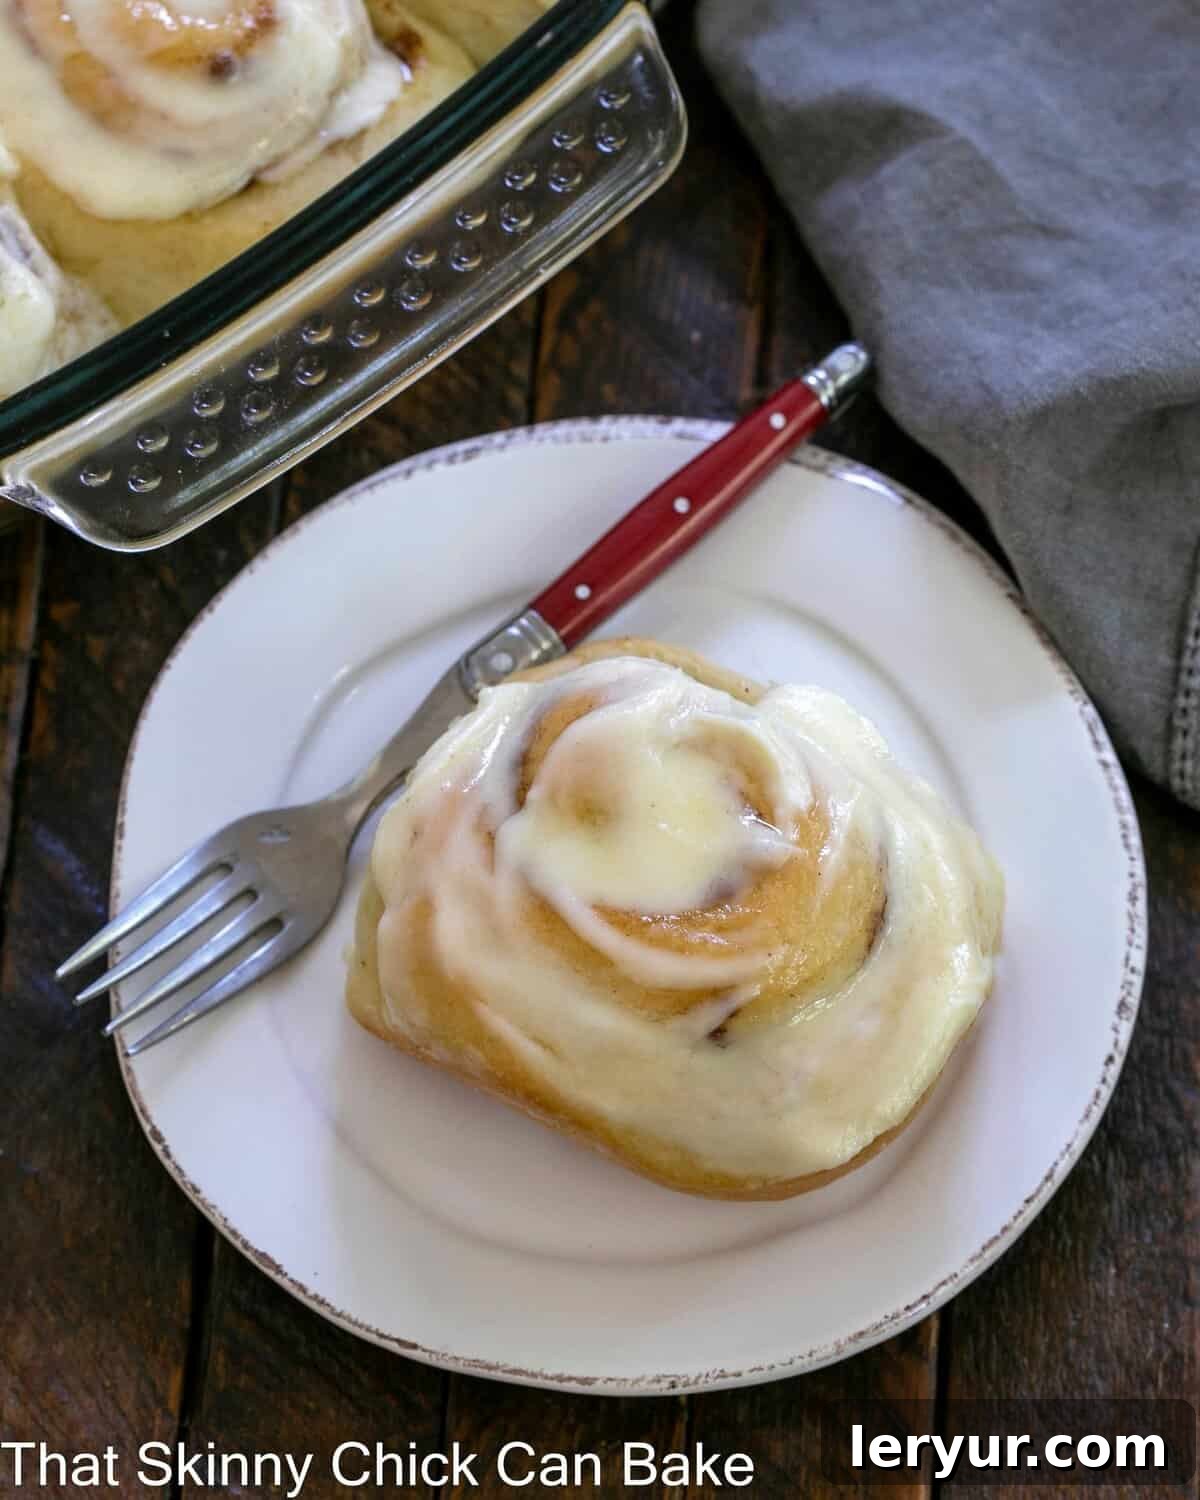
Indulge in the nostalgic comfort of these tender, melt-in-your-mouth Old Fashioned Cinnamon Rolls. Crafted with a secret ingredient – mashed potatoes in the dough – they boast an irresistible softness and flavor that will transport you straight to your grandmother’s kitchen. This cherished recipe promises an authentic taste of home, perfect for creating new family traditions.
This heirloom-quality recipe for Homemade Cinnamon Rolls yields two generous 9×13-inch pans of exceptionally soft and fluffy rolls. This means you can enjoy one pan immediately, sharing the warmth and delicious aroma with loved ones, while the second pan can be frozen for a delightful treat on a busy morning or whenever a craving strikes. Prepare to experience the ultimate breakfast pastry that’s both deeply comforting and surprisingly simple to master.
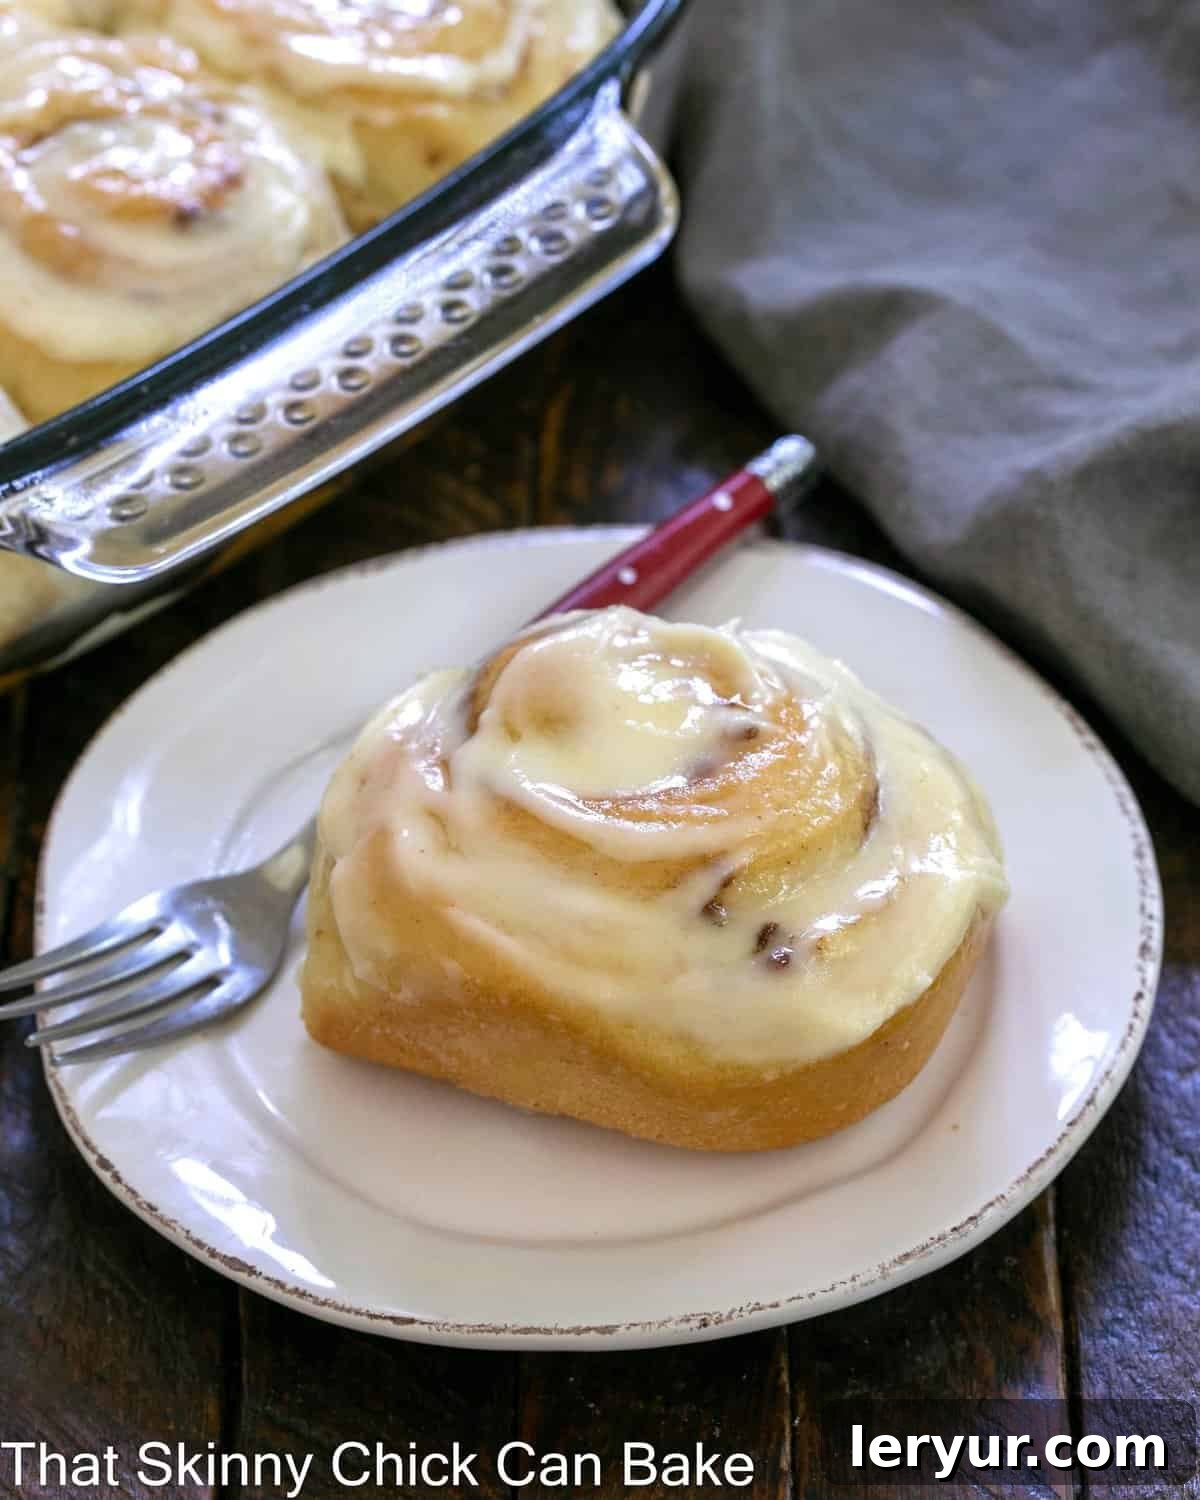
Why These Mashed Potato Cinnamon Rolls Are a Must-Bake
There’s a reason some recipes stand the test of time, passed down through generations. These old-fashioned cinnamon rolls embody that timeless appeal, offering more than just a sweet treat. Here’s why this recipe deserves a special place in your baking repertoire:
- Unparalleled Tenderness: The magical addition of mashed potatoes to the dough is the secret to their incredibly soft, moist, and pillowy texture. It’s a game-changer that makes these rolls stand out from the rest.
- Irresistible Homemade Charm: There’s simply nothing quite like the aroma and taste of freshly baked cinnamon rolls wafting through your home. This recipe brings that quintessential comfort and warmth right to your kitchen.
- A Legacy Recipe: Rooted in traditional baking methods, this recipe has been perfected over decades, ensuring a reliable and delicious outcome every single time. It’s a taste of history in every bite.
- Freezer-Friendly Convenience: Making two pans means you can enjoy one now and freeze the other, allowing you to have homemade goodness ready for any occasion with minimal effort.
The Heartfelt Story Behind These Tender Rolls
Every truly “old-fashioned” recipe carries a story, a connection to the past that makes it even more special. For me, these cinnamon rolls evoke memories of my mom and her childhood, spent in a tiny North Dakota town, often at her grandmother’s house. Her beloved Dama, a petite Irish woman, barely topping four feet, eight inches, was a beacon of warmth. She seemed to always have an apron on, ever ready to offer a comforting hug and, undoubtedly, delicious homemade treats.
I cherish a collection of Dama’s recipes, compiled lovingly by one of my mom’s cousins. While it features delights like Dr. Wink’s Brown Bread and Dama’s Banana Bread, surprisingly, there isn’t a single yeast bread recipe. Yet, I know Dama was a formidable bread baker. My mom often recounts her favorite memory: practicing her kneading techniques by gently “kneading” Dama’s soft, fleshy arm. It makes perfect sense, doesn’t it? Practice truly does make perfect, and my mom went on to bake some of the most terrific bread. Although I never inherited Dama’s specific cinnamon roll recipe, I envision these Mashed Potato Cinnamon Rolls as something she would have absolutely adored making for her daughters and grandchildren – a sweet testament to family, tradition, and the joy of baking from scratch.
Mastering Your Ingredients for the Best Cinnamon Rolls
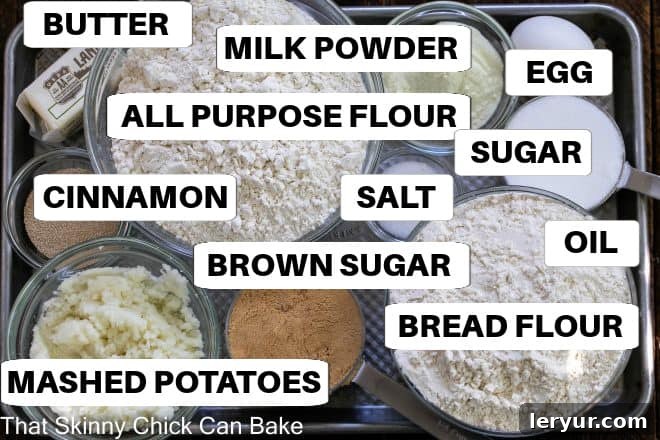
The success of these incredible Tender Cinnamon Rolls lies in understanding each ingredient and its role. Using quality components and following these specific notes will ensure a perfect batch every time:
- Warm Water: Aim for approximately 120ºF (49ºC). This is crucial for activating the yeast without killing it. If you don’t have an instant-read thermometer, test by running your hot tap water until it’s almost too hot to keep your finger in comfortably – that should be just about right.
- Granulated Sugar: Beyond sweetness, sugar feeds the yeast, helping the dough to rise beautifully and contributing to the rolls’ tender texture.
- Vegetable Oil: Opt for canola oil or your preferred neutral-flavored vegetable oil. It adds richness and moisture to the dough, enhancing its softness.
- Mashed Potatoes: This is the star secret! Use plain, unseasoned mashed potatoes with no milk or butter added. I simply cube, cook, drain, and mash a medium russet potato. The starch in the potatoes helps keep the rolls incredibly moist and tender, extending their freshness. While I haven’t tested it, reconstituted instant potatoes (made with only water) might work as an alternative.
- Egg: A large egg adds richness, structure, and a beautiful golden hue to the dough.
- Salt: Table salt is preferred here as its finer granules disperse more evenly throughout the dough compared to coarser kosher salt, ensuring balanced flavor.
- Active Dry Yeast: Three envelopes (approximately 6 ¾ teaspoons) of active dry yeast are needed. I consistently use Red Star Yeast for reliable results. Ensure your yeast is fresh and active for a good rise.
- Nonfat Dry Milk Powder: This ingredient contributes to a softer crumb, enhances flavor, and helps the rolls brown nicely without making them overly rich.
- All-Purpose Flour: I recommend King Arthur brand for its consistent quality. This flour provides a delicate balance of structure and tenderness.
- Bread Flour: Also King Arthur brand. The higher protein content in bread flour provides additional gluten, which gives the rolls the necessary structure to rise tall and maintain their shape, while still remaining wonderfully soft when combined with all-purpose flour.
- Unsalted Butter (Room Temperature for Filling): For the filling, use butter that’s softened to room temperature. This makes it easy to spread evenly across the dough.
- Brown Sugar (Packed): Make sure to firmly pack the brown sugar into your measuring cup. Its molasses content adds a deeper, richer flavor and moisture to the cinnamon filling.
- Cinnamon: Use regular grocery store Cassia cinnamon, such as McCormick brand. Cassia has a bolder, spicier flavor profile that stands up well in baked goods, creating that classic cinnamon roll taste.
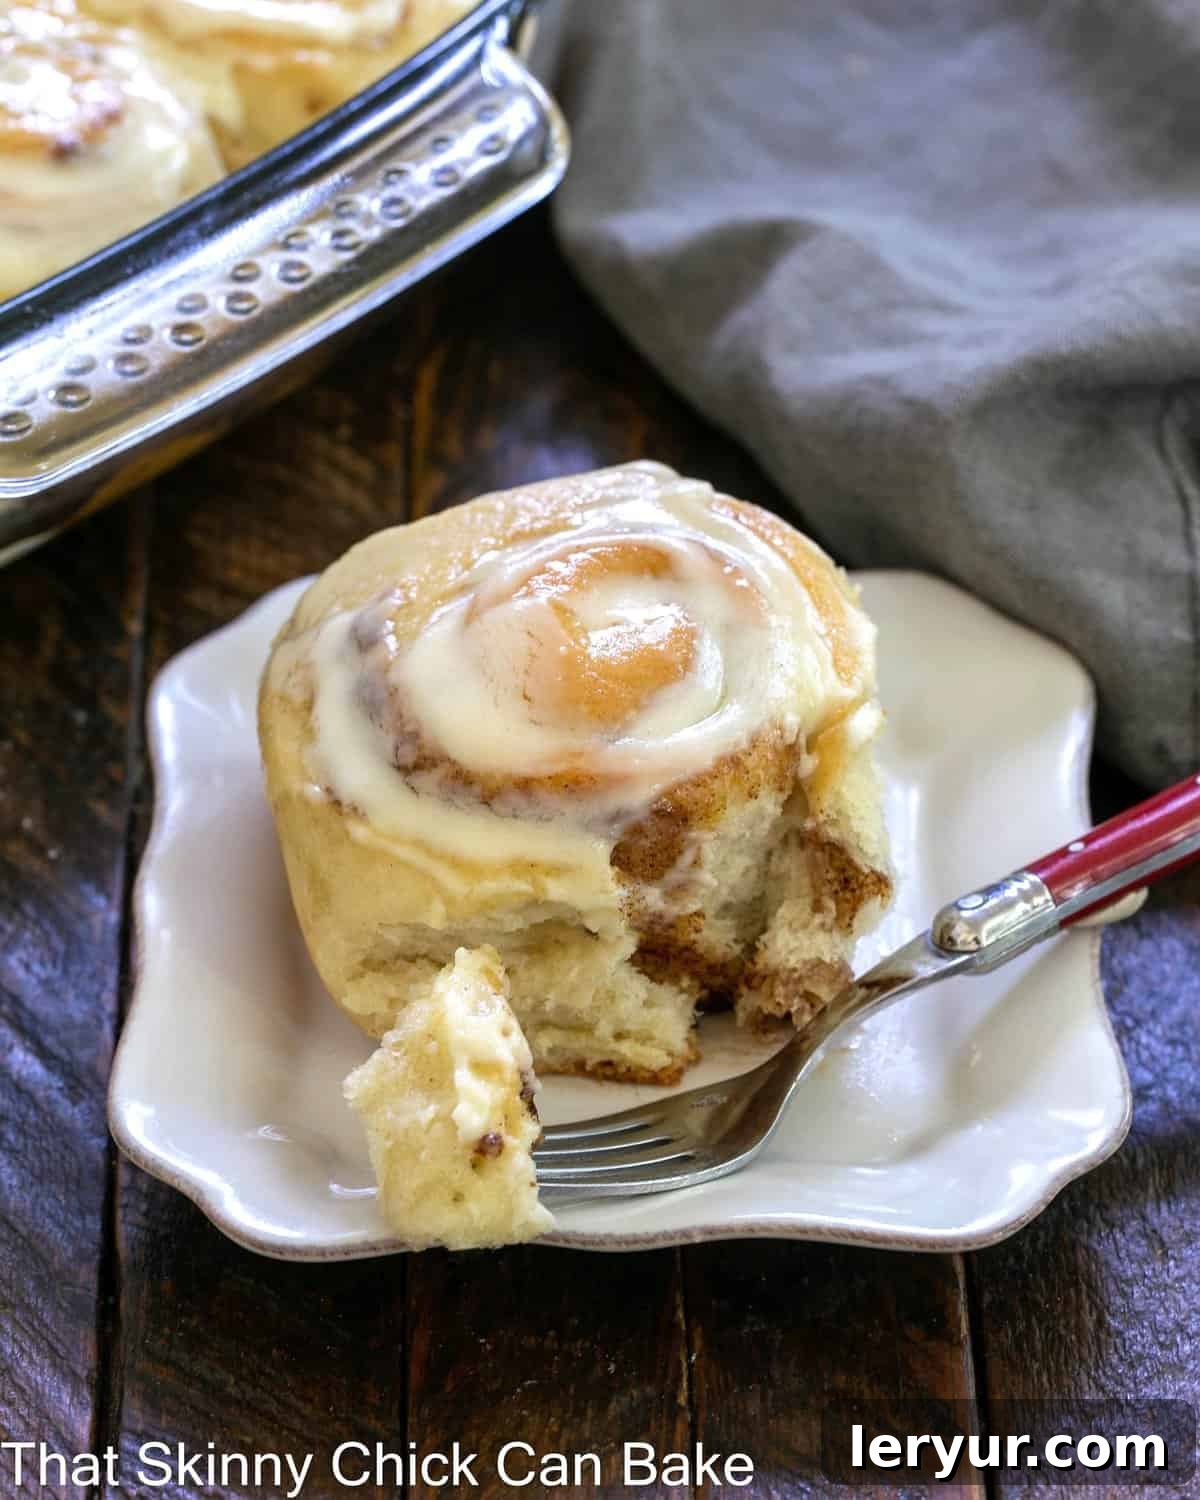
Expert Baking Tips for Achieving the Best Old Fashioned Cinnamon Rolls
Crafting perfect Old Fashioned Cinnamon Rolls is an art, but with these proven tips, you’ll achieve bakery-quality results every time. From handling the dough to achieving that ideal rise, these insights will guide you through the process:
- The Flour Power Duo: Using a combination of all-purpose flour and bread flour is key. The bread flour’s higher gluten content provides excellent structure, allowing the rolls to rise beautifully and hold their shape. The all-purpose flour, however, moderates this structure, ensuring the rolls remain wonderfully tender and not overly chewy. This balance is crucial for that classic, soft texture.
- PRO-Tip: Accurate Flour Measurement: Measuring flour correctly is paramount. Avoid scooping directly from the bag with your measuring cup, as this compacts the flour and leads to using too much. Instead, gently spoon the flour into your measuring cup until it overflows, then level off the top with a straight edge, like the back of a knife or an offset spatula. This “fluff and scoop” method ensures precise measurement.
- Kneading Perfection: Knead the dough until it’s smooth and elastic, feeling tacky but no longer sticky. A well-kneaded dough will pass the “windowpane test” – you should be able to stretch a small piece thin enough to see light through it without tearing. This indicates proper gluten development, which is essential for a soft, airy texture.
- PRO-Tip: Optimal Proofing Temperature: Yeast thrives in a warm environment. The ideal proofing temperature ranges from 75-95°F (24-35°C). Many modern ovens have a “proof” setting, often around 85°F (29°C), which is perfect. If your oven doesn’t have this, you can create a warm spot by heating your oven to its lowest setting for a few minutes, then turning it off and placing the dough inside with the door slightly ajar.
- Effortless Rolling: For easy cleanup and perfectly sized dough, I highly recommend rolling your dough out on a large silicone mat, such as a Roul’pat (Amazon affiliate link: Roul’pat). It helps contain any excess flour to the mat, making cleanup a breeze.
- Flour Wisely: When rolling out the dough, use only the absolute minimum amount of flour necessary to prevent sticking. Incorporating too much extra flour into the dough will make the rolls tougher and less tender, counteracting the moistness brought by the mashed potatoes.
- Give Them Room to Grow: Arrange only 12 rolls in each 9×13-inch pan. This spacing is vital. It provides ample room for the rolls to expand as they proof, preventing them from crowding. It also allows them sufficient space to rise again in the oven, ensuring light and fluffy results with beautiful swirls.
- Frosting Your Way: While this recipe includes a delightful simple powdered sugar and butter frosting, don’t hesitate to customize! If you adore the tangy sweetness, a homemade cream cheese frosting is an equally classic and delicious choice that pairs wonderfully with these rolls.
My family, especially my husband Bill, has always had a fervent passion for cinnamon rolls. I remember when our kids were small, Bill would often stock up on Sara Lee’s frozen microwaveable versions for quick weekend breakfasts. To this day, he still quietly scours the frozen food aisles, fingers crossed, hoping against hope that production might have magically resumed. His love for cinnamon rolls stems from childhood, spoiled by his grandmother’s incredible homemade batches. She would bake them every Saturday morning, alongside loaves of bread, all by sight and feel – no written recipes to pass down. Since Sara Lee hasn’t returned to satisfy his craving, and our son Nick was about to head back to college, I knew it was the perfect time to treat them both to some truly old-fashioned goodness.
These Mashed Potato Cinnamon Rolls received the ultimate seal of approval from my discerning hubby! Their tenderness, rich cinnamon swirl, and creamy frosting hit all the right nostalgic notes. I truly hope you and your family will enjoy this exceptional “cinnamon buns” recipe as much as we do, creating your own sweet memories with every bite.
Frequently Asked Questions About Cinnamon Rolls
While the terms “cinnamon rolls” and “cinnamon buns” are often used interchangeably, there’s a traditional distinction. Typically, cinnamon buns tend to be richer, sometimes featuring nuts like pecans, and are often baked with a sticky, gooey sweet sauce that caramelizes on the bottom of the pan. Cinnamon rolls, on the other hand, are usually nut-free and are characteristically topped with a generous layer of frosting or icing, which is precisely how these old-fashioned delights are served.
For classic cinnamon rolls, Cassia cinnamon is generally preferred over Ceylon cinnamon. Cassia is the variety most commonly found in U.S. grocery stores, including brands like McCormick. It has a stronger, spicier, and more pungent flavor profile that stands up beautifully to baking, giving your rolls that distinct, robust cinnamon taste we all love. Ceylon cinnamon is milder and more delicate, often used in desserts where a subtle spice is desired, but for cinnamon rolls, Cassia truly shines.
To keep your homemade cinnamon rolls fresh and soft, store them in the pan they were baked in. Once cooled, cover the pan tightly with plastic wrap to prevent them from drying out, and store them at room temperature. They will remain wonderfully fresh and delicious for 2-3 days. If you need to store them for a longer period, they can be kept in the refrigerator for up to a week. For best enjoyment after refrigerating, gently warm them in the microwave or oven until soft.
Freezing cinnamon rolls is an excellent way to enjoy them later! You can freeze both baked and unbaked rolls. For baked rolls, allow them to cool completely. Then, seal the entire pan with a layer of plastic wrap, followed by a layer of aluminum foil, ensuring it’s airtight to prevent freezer burn. They can be frozen for 6-8 weeks. To defrost, transfer the pan to the refrigerator overnight. You can then warm them in the oven before serving. For unbaked rolls, after shaping and placing them in the pan, wrap tightly and freeze. When ready to bake, thaw overnight in the fridge, then allow to proof at room temperature for an hour before baking as directed.
Absolutely! The dough for these old-fashioned cinnamon rolls can be prepared in advance, making your baking day much easier. After the first rise (and punching down), cover the bowl tightly with plastic wrap and refrigerate for up to 24 hours. The cold temperature will slow down the yeast activity. When you’re ready to bake, remove the dough from the refrigerator and let it come to room temperature for about 30-60 minutes before proceeding with punching down, rolling, filling, and the second proofing.
Several factors can lead to dense or dry cinnamon rolls. Over-mixing the dough can develop too much gluten, making it tough. Not enough kneading, conversely, can prevent proper gluten development, resulting in a crumbly texture. Using too much flour during kneading and rolling is also a common culprit; it dries out the dough. Finally, over-baking is a frequent cause of dryness. Make sure to bake until just golden brown and check the internal temperature if you’re unsure (around 190-200°F or 88-93°C is ideal). The unique addition of mashed potatoes in this recipe significantly helps in keeping the rolls moist and tender, combating these common issues.
Discover More Comforting Recipes You’ll Love:
- Nana’s Million Dollar Cake by The Crumby Cupcake
- Grannies Clam Dip by Serena Bakes Simply From Scratch
- Dama’s Overnight Fruit Salad
- Mom’s Cream Cheese Tea Roll
- Gretchen’s Spinach Souffle
- Mom’s Puffed Pancake
- Plus more delightful Breakfast Recipes to start your day right!
Stay connected and share your baking journey with me through social media! You can find me on Instagram, Facebook, and Pinterest. Don’t forget to tag me when you try one of my delicious recipes! If you absolutely love the results, please consider giving it a 5-star rating in the recipe card below. Your feedback and shares mean the world to me!
Old Fashioned Cinnamon Rolls
30 minutes
15 minutes
2 hours
2 hours 45 minutes
24 rolls
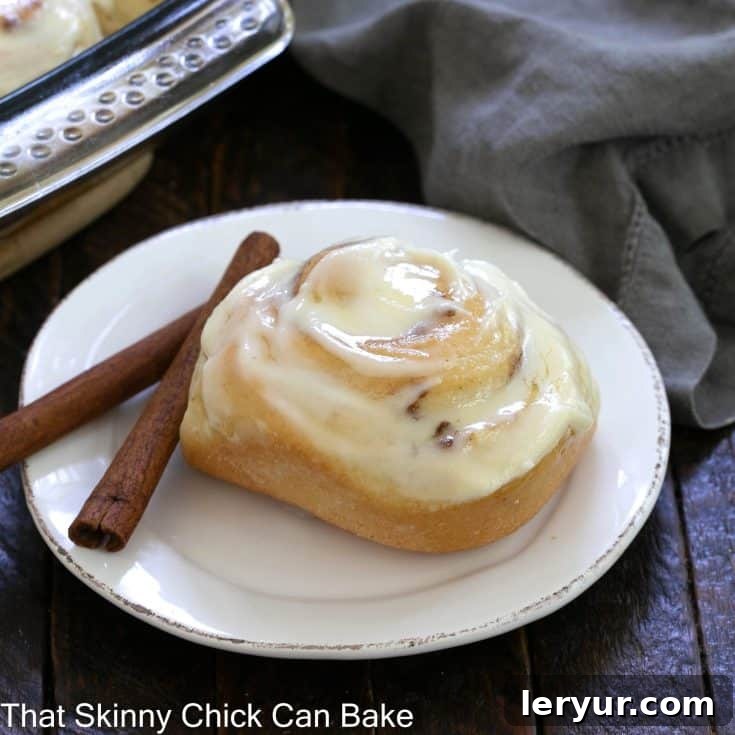
Sweet, tender cinnamon rolls topped with a delectable vanilla buttercream icing.
Ingredients
- 1-½ cups warm water, about 120ºF (49ºC)
- ½ cup granulated sugar
- ½ cup vegetable oil
- ½ cup mashed potatoes, unseasoned, no milk
- 1 large egg
- 2 teaspoons table salt
- 3 envelopes active dry yeast (6 ¾ teaspoons), I use Red Star Yeast
- 3 tablespoons nonfat dry milk powder
- 3 cups all-purpose flour
- 2-½ to 3 cups bread flour
- ⅓ cup unsalted butter, at room temperature (for filling)
- ¾ cup packed brown sugar (for filling)
- 1½ tablespoons ground cinnamon (for filling)
For the Vanilla Buttercream Frosting:
- ½ cup unsalted butter, at room temperature
- 2 tablespoons all-purpose flour
- 1 cup powdered sugar
- Pinch of salt
- 1 teaspoon vanilla extract
Instructions
- In a large mixing bowl or the bowl of a stand mixer fitted with the paddle attachment, combine the warm water, granulated sugar, vegetable oil, mashed potatoes, egg, and active dry yeast. Mix thoroughly on low speed until well combined, ensuring the yeast begins to dissolve.
- Add the salt to the mixture and mix again briefly. Then, incorporate the nonfat dry milk powder and the 3 cups of all-purpose flour. Beat for 3 minutes on medium speed until the mixture is smooth and somewhat elastic.
- Switch to the dough hook attachment if using a stand mixer. Gradually add the bread flour, ½ cup at a time, until the dough comes together and is workable. You may not need all 3 cups. Transfer the dough to a lightly floured surface (or continue in the stand mixer) and knead for 10 minutes until the dough is smooth, elastic, and feels tacky but not sticky.
- Lightly grease a large, deep bowl with vegetable oil.
- Form the kneaded dough into a smooth ball and place it in the greased bowl. Turn the dough once to ensure the top is lightly coated with oil. Cover the bowl tightly with plastic wrap and/or a clean kitchen towel. Place in a warm, draft-free location (like a proofing oven or a warm spot in your kitchen) to rise until doubled in size, which typically takes about 1 hour and 45 minutes to 3 hours, depending on the warmth of your environment.
- Once the dough has doubled, gently punch it down to release the air bubbles. Reform it into a smooth ball, turn it again to re-grease the surface, cover, and let it rise for a second time for approximately 1 hour. This second rise contributes to a finer, softer texture.
- After the second rise, punch the dough down once more. Transfer it to a lightly floured surface. Roll the dough into a large rectangle, approximately 15 inches wide by 12 inches tall. Take care to square the corners nicely. The dough should be about ⅓ to ½ inch thick. Evenly spread the softened butter (⅓ cup) over the entire surface of the dough, leaving about a 1-inch margin along the top long edge.
- Prepare your baking pans: Lightly grease two 9×13-inch baking dishes (or one 9×13-inch and one 9×9-inch dish for smaller portions).
- In a small bowl, thoroughly mix the packed brown sugar with the ground cinnamon. Generously sprinkle this cinnamon-sugar mixture evenly over the buttered dough, making sure to cover almost to the edges. Tightly roll the dough from the bottom long side all the way up to the top edge. You may need to gently pat the ends of the roll inward to ensure they are uniform. Using a sharp serrated knife or even unflavored dental floss, cut the rolled dough into 1-inch thick rounds with a gentle saw-like motion. Place these cut rolls, swirl side up, into your prepared baking pans, arranging 12 rolls per 9×13-inch pan.
- Cover the pans loosely with a clean kitchen towel and let the rolls rise in a warm, draft-free spot for one final hour. They should look visibly puffy.
- While the rolls are completing their final rise, preheat your oven to 325ºF (160ºC).
- Bake the rolls for 10 minutes at 325ºF (160ºC). Then, increase the oven temperature to 350ºF (175ºC) and continue baking for another 5-10 minutes, or until the tops are golden brown and the internal temperature reaches at least 190ºF (88ºC) with an instant-read thermometer. (Adjust baking time as needed for your oven.) Remove the pans from the oven and immediately transfer the rolls to a wire rack to cool completely before frosting.
- To prepare the luscious vanilla buttercream frosting: In a mixing bowl, combine the softened butter (½ cup), all-purpose flour (2 tablespoons), powdered sugar, pinch of salt, and vanilla extract. Beat with an electric mixer on medium speed until the mixture is light, fluffy, and well blended. Spread a generous amount of frosting on top of the cooled cinnamon rolls just before serving. Enjoy the unparalleled tenderness and sweet cinnamon flavor!
Notes
Total time listed does not include the essential proofing times, which are crucial for the rolls’ texture. This recipe is thoughtfully adapted from Marcia Adams’ “Cooking from Quilt Country,” a testament to its old-fashioned authenticity and charm.
Nutrition Information:
Yield:
24
Serving Size:
1 roll
Amount Per Serving:
Calories: 292
Total Fat: 12g
Saturated Fat: 5g
Trans Fat: 0g
Unsaturated Fat: 6g
Cholesterol: 26mg
Sodium: 261mg
Carbohydrates: 41g
Fiber: 1g
Sugar: 15g
Protein: 5g
HOW MUCH DID YOU LOVE THIS RECIPE?
Please leave a comment on the blog or share a photo on Pinterest