
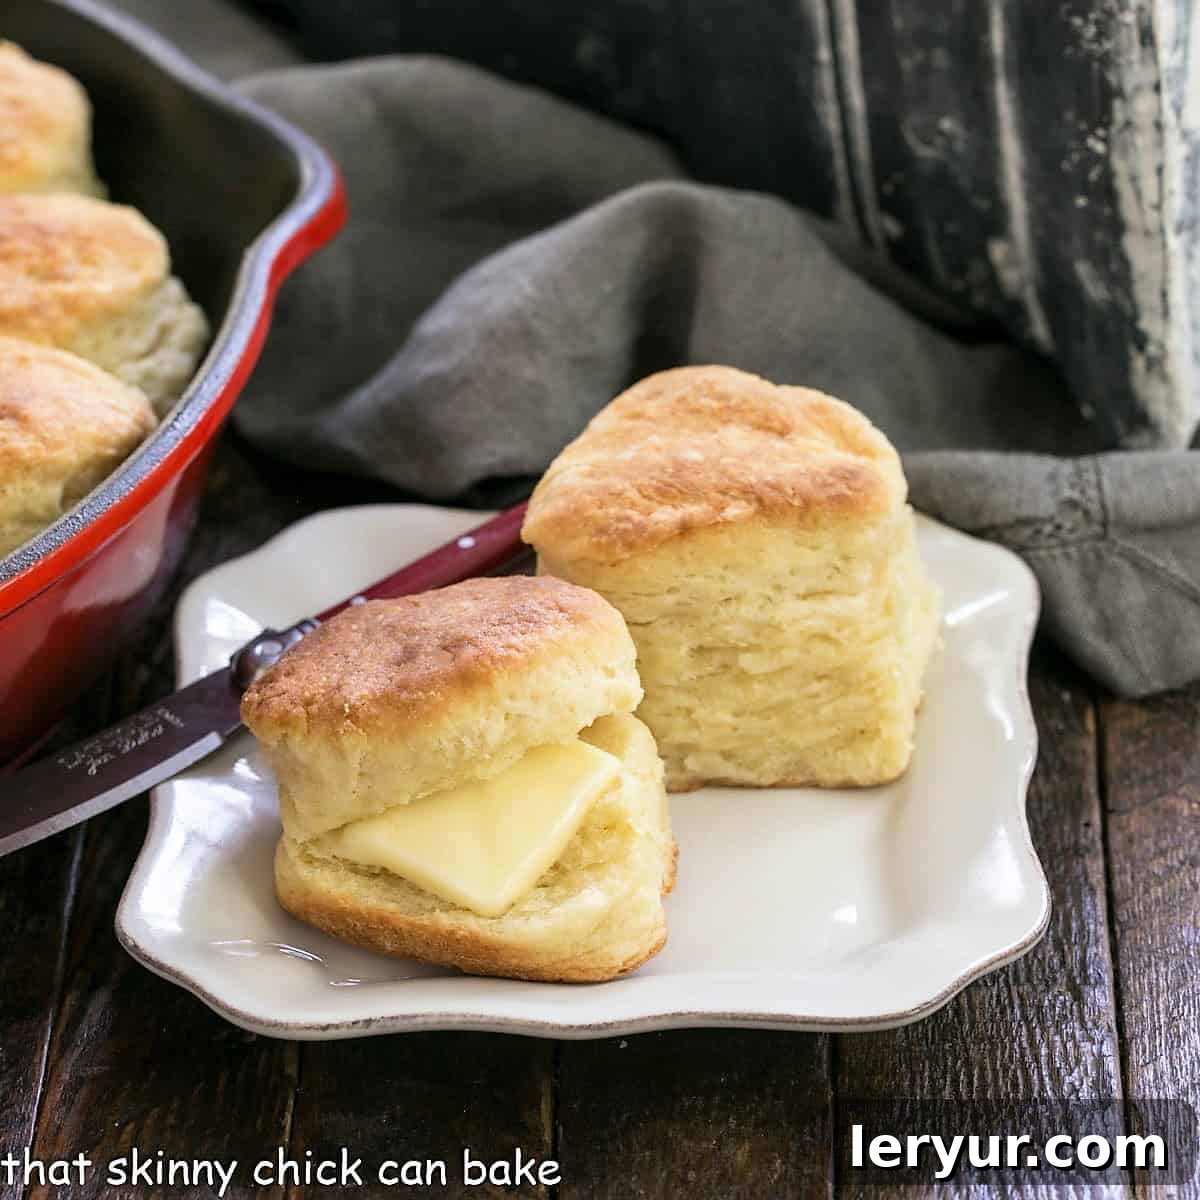
Experience the unparalleled delight of baking the most tender, flakiest Angel Biscuits you’ve ever tasted! These yeast biscuits rise like a dream, boasting a light, airy texture that is simply phenomenal. Whether enjoyed for breakfast, brunch, or alongside a hearty dinner, these homemade biscuits are guaranteed to become a family favorite.
Are you ready to transform your biscuit-making game? Unlike traditional recipes, our Homemade Angel Biscuit Recipe expertly combines the power of yeast, baking powder, and baking soda. This unique trio of leavening agents creates layer after irresistible layer, ensuring a moist, airy interior and a perfectly golden exterior that will have everyone reaching for more. Say goodbye to dense, crumbly biscuits and hello to a culinary masterpiece!
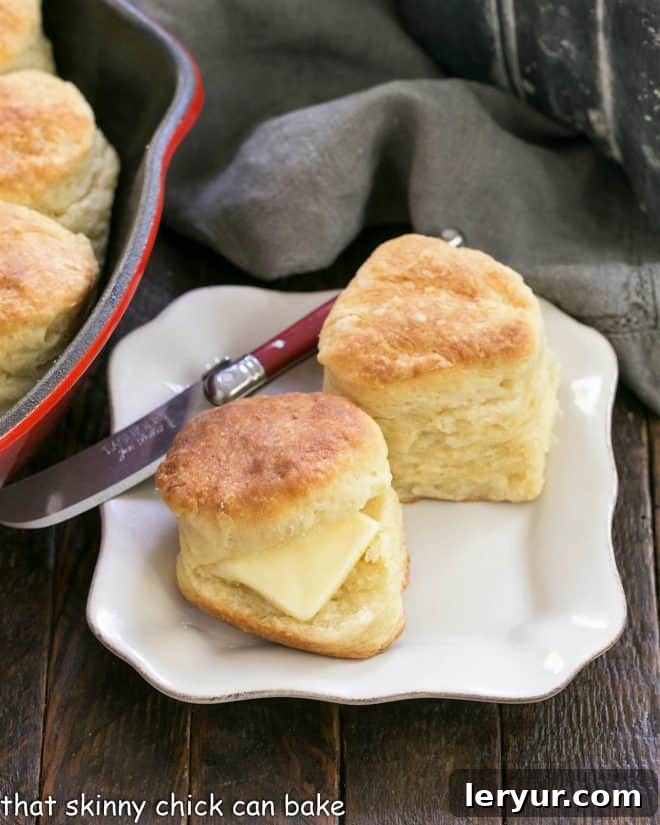
Unlock the Secret to Unforgettable Biscuits: Why Angel Biscuits Are a Must-Try
If your past attempts at biscuit baking have resulted in creations akin to doorstops or hockey pucks, prepare for a revelation. These Angel Biscuits are the polar opposite, offering an exquisite lightness and tenderness that sets them apart. Here’s why this recipe deserves a permanent spot in your culinary repertoire:
- Unbeatable Texture: The magic truly lies in the ingenious combination of three leavening agents: instant yeast, baking powder, and baking soda. This powerful trio ensures an exceptional rise and an incredibly light, flaky texture with distinct, airy layers that melt in your mouth. You won’t find a denser biscuit anywhere near this recipe!
- Superior Flavor and Moisture: We believe in using the best ingredients for the best results. Our recipe calls for rich heavy cream and tangy buttermilk, which infuse the biscuits with unparalleled moisture and a subtle, delightful tang. Furthermore, real butter, with its exquisite flavor, takes precedence over shortening, contributing to a truly decadent taste that’s simply irresistible.
- Consistent, Beautiful Rise: Achieving perfectly shaped biscuits can be tricky, but this recipe has a clever trick. Baking the biscuits nestled closely together in a cast-iron skillet provides crucial structural support, encouraging an even rise and preventing those unfortunate “leaning tower of Pisa” incidents often seen when biscuits are baked individually on a flat sheet. This method ensures each biscuit emerges beautifully risen and uniform.
Essential Ingredients for Perfect Angel Biscuits: What You Need to Know
Crafting perfect Angel Biscuits begins with understanding the role of each ingredient. Here’s a closer look at what you’ll need and important considerations for each:
- Instant Yeast (or Active Dry Yeast): This is one of the key differentiators of Angel Biscuits. Yeast contributes to a softer, more bread-like crumb and a unique depth of flavor. Instant yeast is convenient as it can be mixed directly with dry ingredients, while active dry yeast requires initial proofing in warm water. Ensure your yeast is fresh for optimal activity.
- All-Purpose Flour: The foundation of any great biscuit. All-purpose flour provides the necessary structure. While specific protein content can vary by brand, a standard all-purpose flour works wonderfully here.
- Salt: Enhances all the flavors in your biscuits. We recommend using finer table salt. If you only have kosher salt, which has a larger crystal size, you’ll need to use approximately twice the amount to achieve a similar level of seasoning.
- Baking Powder: A crucial chemical leavener that reacts when wet and with heat, producing carbon dioxide gas that helps the biscuits rise. Always check the expiration date, as baking powder loses its potency over time. A simple test (see tips below) can confirm its freshness.
- Baking Soda: The third leavening agent, baking soda, requires an acid to activate. This is where buttermilk plays a vital role, creating a reaction that contributes to the biscuits’ incredible rise and tender texture.
- Cold Butter: Cold butter is non-negotiable for flaky biscuits. As the butter melts in the hot oven, the water content turns into steam, creating pockets of air that result in distinct, separated layers. Using salted butter adds another layer of flavor, but unsalted butter is also fine; just adjust the added salt slightly if desired.
- Heavy Cream: With at least 36% butterfat, heavy cream adds richness and a tender crumb. Its high-fat content contributes significantly to the luxurious texture and flavor profile of these biscuits.
- Buttermilk: The acidity in buttermilk reacts with the baking soda, contributing to the biscuits’ rise and yielding a wonderfully tender crumb. Low-fat buttermilk works just as effectively as full-fat, providing that essential tang and chemical reaction.

Mastering the Art: Essential Tips for Baking Flawless Angel Biscuits
Baking perfect Angel Biscuits is an achievable goal with a few key techniques and considerations. Follow these expert tips to ensure your biscuits turn out light, flaky, and absolutely delicious every time:
- PRO-Tip: Verify Leavener Freshness. The efficacy of your yeast and baking powder is paramount. Always check the expiration dates on their packages. For yeast, a quick test involves dissolving a pinch in a small amount of warm water (around 105-115°F) with a tiny sprinkle of sugar. If it’s active, it will foam and expand within 5-10 minutes. No reaction means it’s time for new yeast. For baking powder, add a spoonful to a cup of hot water; fresh baking powder will produce a vigorous fizzing reaction.
- Mind the Yeast’s Temperature: When dissolving active dry yeast, the water temperature is critical. Water that is too hot will kill the yeast, preventing it from activating. Aim for a temperature between 110°F and 115°F (43°C-46°C). A kitchen thermometer is your best friend here to ensure precision.
- The Power of Cold Butter: This is a cornerstone of flaky biscuit technique. Ensure your butter is very cold, ideally straight from the refrigerator. As tiny pieces of cold butter encounter the heat of the oven, the moisture within them rapidly turns to steam, creating air pockets that separate the dough into countless delicate layers. Resist the urge to use softened butter.
- Butter vs. Shortening: While this recipe champions the flavor of butter, some bakers prefer shortening for its ability to create an exceptionally tender and tall biscuit. If opting for shortening, make sure it is frozen and grated or cut into very small pieces for the best results. You can also experiment with a 50/50 blend of cold butter and frozen shortening to combine the best attributes of both.
- PRO-Tip: Incorporating the Butter. For optimal flakiness, incorporate the cold butter into the flour mixture in a way that creates thin, flat pieces dispersed throughout the dough. Using your fingertips to work the butter in, pressing and smearing it until it resembles pea-sized or smaller flakes, helps achieve this. Alternatively, a pastry blender is an excellent tool for this task, followed by a quick check with your fingers for any larger pieces.
- Precision Cutting for Proper Rise: When cutting out your biscuits, use a sharp, round biscuit cutter and press straight down. Critically, do not twist the cutter. Twisting seals the edges of the biscuit dough, which impedes the layers from separating and rising properly in the oven. For easy release and to prevent sticking, dip your biscuit cutter in flour between each cut.
- The Importance of Proofing: Angel Biscuits benefit significantly from a proofing period, where the yeast has time to activate and expand the dough. Aim to proof your dough in a warm, draft-free environment for approximately one hour. An ideal proofing temperature is around 85°F (29°C), though some ovens have a specific proofing setting, or you can create a warm spot by briefly heating your oven to its lowest setting and then turning it off before placing the dough inside.
Your Journey to Baking Delight: A Simplified Guide to Angel Biscuits
Baking Angel Biscuits is a rewarding process that combines the best of yeast breads and quick biscuits. While the full recipe card below provides detailed measurements, here’s a concise overview of the steps to guide you through creating these light and flaky delights:
- Activate the Yeast: Begin by dissolving the instant or active dry yeast in warm water. This creates a paste and ensures the yeast is ready to work its magic.
- Combine Dry Ingredients: In a large mixing bowl, whisk together your flour, sugar, salt, baking powder, and baking soda. This ensures an even distribution of all leavening agents and seasoning.
- Incorporate Cold Butter: Add the small cubes of cold butter to the dry mixture. Use your fingers or a pastry blender to cut the butter into the flour until it resembles coarse meal with some pea-sized pieces remaining.
- Mix Wet with Dry: Whisk the yeast paste into your heavy cream and buttermilk. Then, gradually add this liquid mixture to the dry ingredients, mixing just until a shaggy, cohesive dough forms. Avoid overmixing to keep the biscuits tender.
- Fold and Laminate: Turn the dough out onto a lightly floured surface. Gently pat it into a rectangle, then fold it in half. Turn the dough 90 degrees and repeat this pat-and-fold process two more times. This layering technique helps create the incredible flakiness.
- Cut and Arrange: Using a sharp biscuit cutter, cut out your biscuits by pressing straight down. Arrange them in a cast-iron skillet, ensuring they touch each other. This contact encourages them to rise upwards rather than spreading out. You may need a second skillet depending on the batch size.
- Proof the Dough: Cover the skillet loosely with plastic wrap and let the biscuits proof in a warm place for about one hour. This allows the yeast to work, expanding the dough and setting the stage for a spectacular rise in the oven.
- Bake to Golden Perfection: Preheat your oven and bake the biscuits until they are beautifully golden brown on top and cooked through.
- Cool and Serve: Let the biscuits cool briefly in the skillet before transferring them to a wire rack. Serve warm with your favorite toppings.
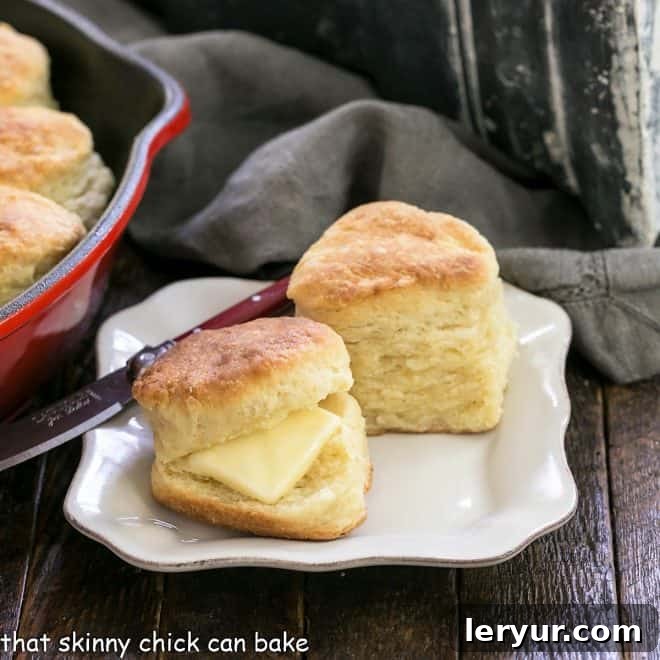
Frequently Asked Questions About Angel Biscuits
Angel Biscuits are a distinct and beloved variety of quick bread, characterized by their incredibly light and flaky texture. What truly sets them apart from most other biscuit recipes is their unique triple-leavening system. While most biscuits rely solely on baking powder or baking soda (or a combination of both), Angel Biscuits incorporate baking powder, baking soda, and yeast. This innovative combination yields a biscuit that offers the speed of a quick bread with the subtle depth of flavor and tender crumb usually associated with yeast-risen breads.
For the best possible rise and flakiest layers, always use a sharp, round cookie or biscuit cutter and press straight down firmly through the dough. It is absolutely crucial to avoid twisting the cutter once it’s in the dough. Twisting seals the delicate edges of the biscuit layers, which can prevent them from separating and expanding properly in the oven, leading to a denser biscuit. To ensure clean cuts and prevent sticking, dip your cutter in flour as needed between each biscuit.
Angel Biscuits are best enjoyed fresh, but they can be stored effectively. At room temperature, they will stay fresh for up to two days when kept in an airtight container to prevent them from drying out. For longer storage, it is highly recommended to freeze them. Proper storage helps maintain their tender texture and prevents them from becoming stale.
Absolutely, Angel Biscuits freeze wonderfully, making them perfect for meal prep or enjoying a fresh-baked treat on demand. To freeze, allow the baked biscuits to cool completely, then place them in an airtight freezer-safe bag or container. They will maintain their quality in the freezer for about one to two months. When you’re ready to enjoy them, simply take out as many as you need, let them come to room temperature, and then gently reheat them. You can warm them briefly in the microwave for a few seconds or, for a crispier exterior, pop them into a 350°F oven for a few minutes until heated through.
Angel Biscuits are incredibly versatile and pair beautifully with both sweet and savory accompaniments. We particularly love them served warm, simply topped with a generous pat of creamy butter, allowing their inherent flavor to shine. However, they are equally delightful with various jams, fruit preserves, or a drizzle of golden honey. For a more savory experience, they make an excellent companion to gravies, fried chicken, or even as a base for mini sandwiches.
Explore More Delicious Recipes: You May Also Like These
- Homemade Buttermilk Biscuits
- Buttermilk Goat Cheese Biscuits
- Vanilla Bean Scones
- Fresh Blackberry Scones
- More of the Best Quick Bread Recipes
Stay in touch through social media @ Instagram, Facebook, and Pinterest. Don’t forget to tag me when you try one of my recipes! And if you love the results, please give it a 5-star rating in the recipe card.
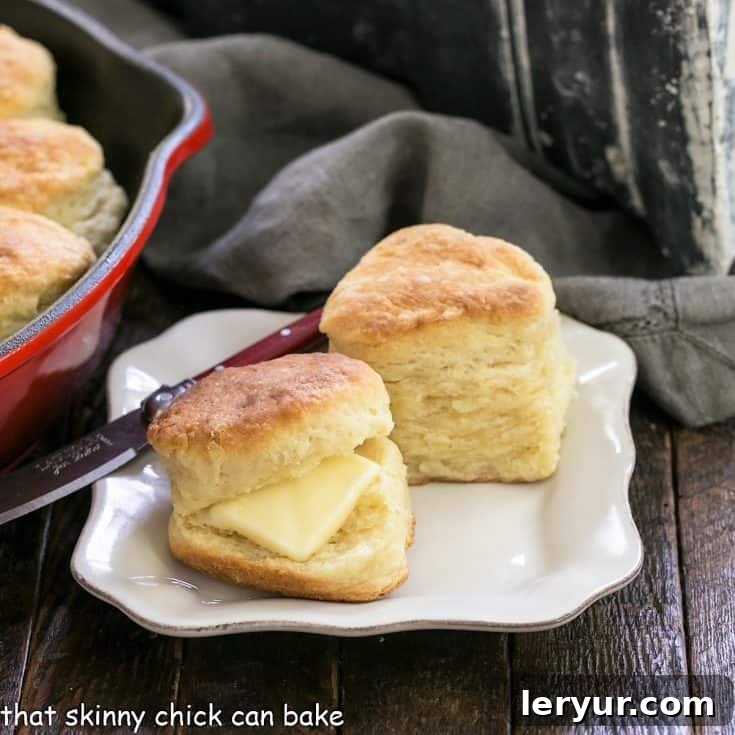
Angel Biscuits Recipe
30 minutes
18 minutes
1 hour
1 hour 48 minutes
18 biscuits
The flakiest, most tender biscuits you’ll ever eat!!
Rating: 4.9 stars based on 89 reviews
Ingredients
- 2 packages instant or active yeast, 4½ teaspoons
- 3 tablespoons warm water, 110-115 degrees F
- 5 cups all-purpose flour
- ¼ cup granulated sugar
- ¾ teaspoon table salt (use 1.5 teaspoons if using kosher salt)
- 2 teaspoons baking powder (ensure freshness)
- 1 teaspoon baking soda
- 1 cup cold butter, cut into small cubes (plus extra, melted, for brushing if desired)
- 1 cup heavy cream (at least 36% butterfat)
- 1 cup buttermilk (low-fat is fine)
Instructions
- Dissolve the yeast in the warm water in a small bowl to create a paste. Set aside for a few minutes to ensure activation if using active dry yeast.
- Whisk together the all-purpose flour, granulated sugar, salt, baking powder, and baking soda in a large bowl. Ensure all dry ingredients are well combined.
- Cut in the cold butter. Using your fingers, quickly work the butter into the dry mixture, flattening the pieces until they are roughly pea-sized. Alternatively, use a pastry blender, then use your fingers to flatten any larger pieces that remain. The goal is to have small, cold pieces of butter dispersed throughout the flour.
- Whisk the dissolved yeast mixture into the heavy cream and buttermilk. Once thoroughly combined, add this liquid mixture to the dry ingredients with the butter.
- Mix using a silicone spatula or your hands until a shaggy, somewhat sticky dough forms. Be careful not to overmix; just combine until no dry streaks of flour remain. Use your fingers to incorporate any visible lumps of yeast.
- On a lightly floured surface, pat out the dough into a rectangle, approximately one inch thick. Fold the dough in half, then turn it 90° (a quarter turn). Repeat this pat-and-fold process two more times. This layering technique helps build flakiness.
- Using a 2-inch biscuit cutter, cut out the biscuits by pressing straight down. Avoid twisting the cutter to ensure proper rise. Dip the cutter in flour between each cut to prevent sticking.
- Place the cut biscuits into a cast-iron skillet (or two, if needed). Arrange them so they are touching each other; this helps them rise tall and even.
- Proof, covered loosely with plastic wrap, in a warm, draft-free spot for one hour. This allows the yeast to activate fully and the dough to slightly expand. An ideal temperature is around 85°F.
- Preheat your oven to 400°F (200°C) towards the end of the proofing time.
- Brush the tops of the proofed biscuits with a little melted butter before baking if desired, for extra goldenness and flavor. You can also brush them again immediately after baking.
- Bake in the preheated oven for 16-18 minutes, or until the biscuits are beautifully golden brown on top and cooked through.
- Cool the biscuits in the skillet for about 10 minutes before carefully removing them to a wire rack to cool completely, or serve warm.
Notes
Dip your biscuit cutter in flour if it starts to stick, to ensure clean cuts.
This recipe for Angel Biscuits is adapted from Simply Recipes, bringing you a trusted method for delightful results.
Recommended Products
As an Amazon Associate and member of other affiliate programs, I earn from qualifying purchases.
- Biscuit Cutters
- OXO Good Grips 11-Inch Better Balloon Whisk
- Roul’Pat Silicone Counter Sized Mat
- Silicone Pastry Brush
- Pastry Blender
- Le Creuset 10-inch Skillet
Nutrition Information:
Yield:
18
Serving Size:
1
Amount Per Serving:
Calories: 279Total Fat: 15gSaturated Fat: 10gTrans Fat: 1gUnsaturated Fat: 5gCholesterol: 43mgSodium: 324mgCarbohydrates: 31gFiber: 1gSugar: 4gProtein: 5g
Thatskinnychickcanbake.com occasionally offers nutritional information for recipes contained on this site. This information is provided as a courtesy and is an estimate only. This information comes from online calculators. Although thatskinnychickcanbake.com attempts to provide accurate nutritional information, these figures are only estimates.
Varying factors such as product types or brands purchased can change the nutritional information in any given recipe. Also, many recipes on thatskinnychickcanbake.com recommend toppings, which may or may not be listed as optional and nutritional information for these added toppings is not listed. Other factors may change the nutritional information such as when the salt amount is listed “to taste,” it is not calculated into the recipe as the amount will vary. Also, different online calculators can provide different results.
To obtain the most accurate representation of the nutritional information in any given recipe, you should calculate the nutritional information with the actual ingredients used in your recipe. You are solely responsible for ensuring that any nutritional information obtained is accurate.
HOW MUCH DID YOU LOVE THIS RECIPE?
Please leave a comment on the blog or share a photo on Pinterest